August 26, 2026
Create a Dimensional Scrapbook Layout with Die-Cutting & Embossing
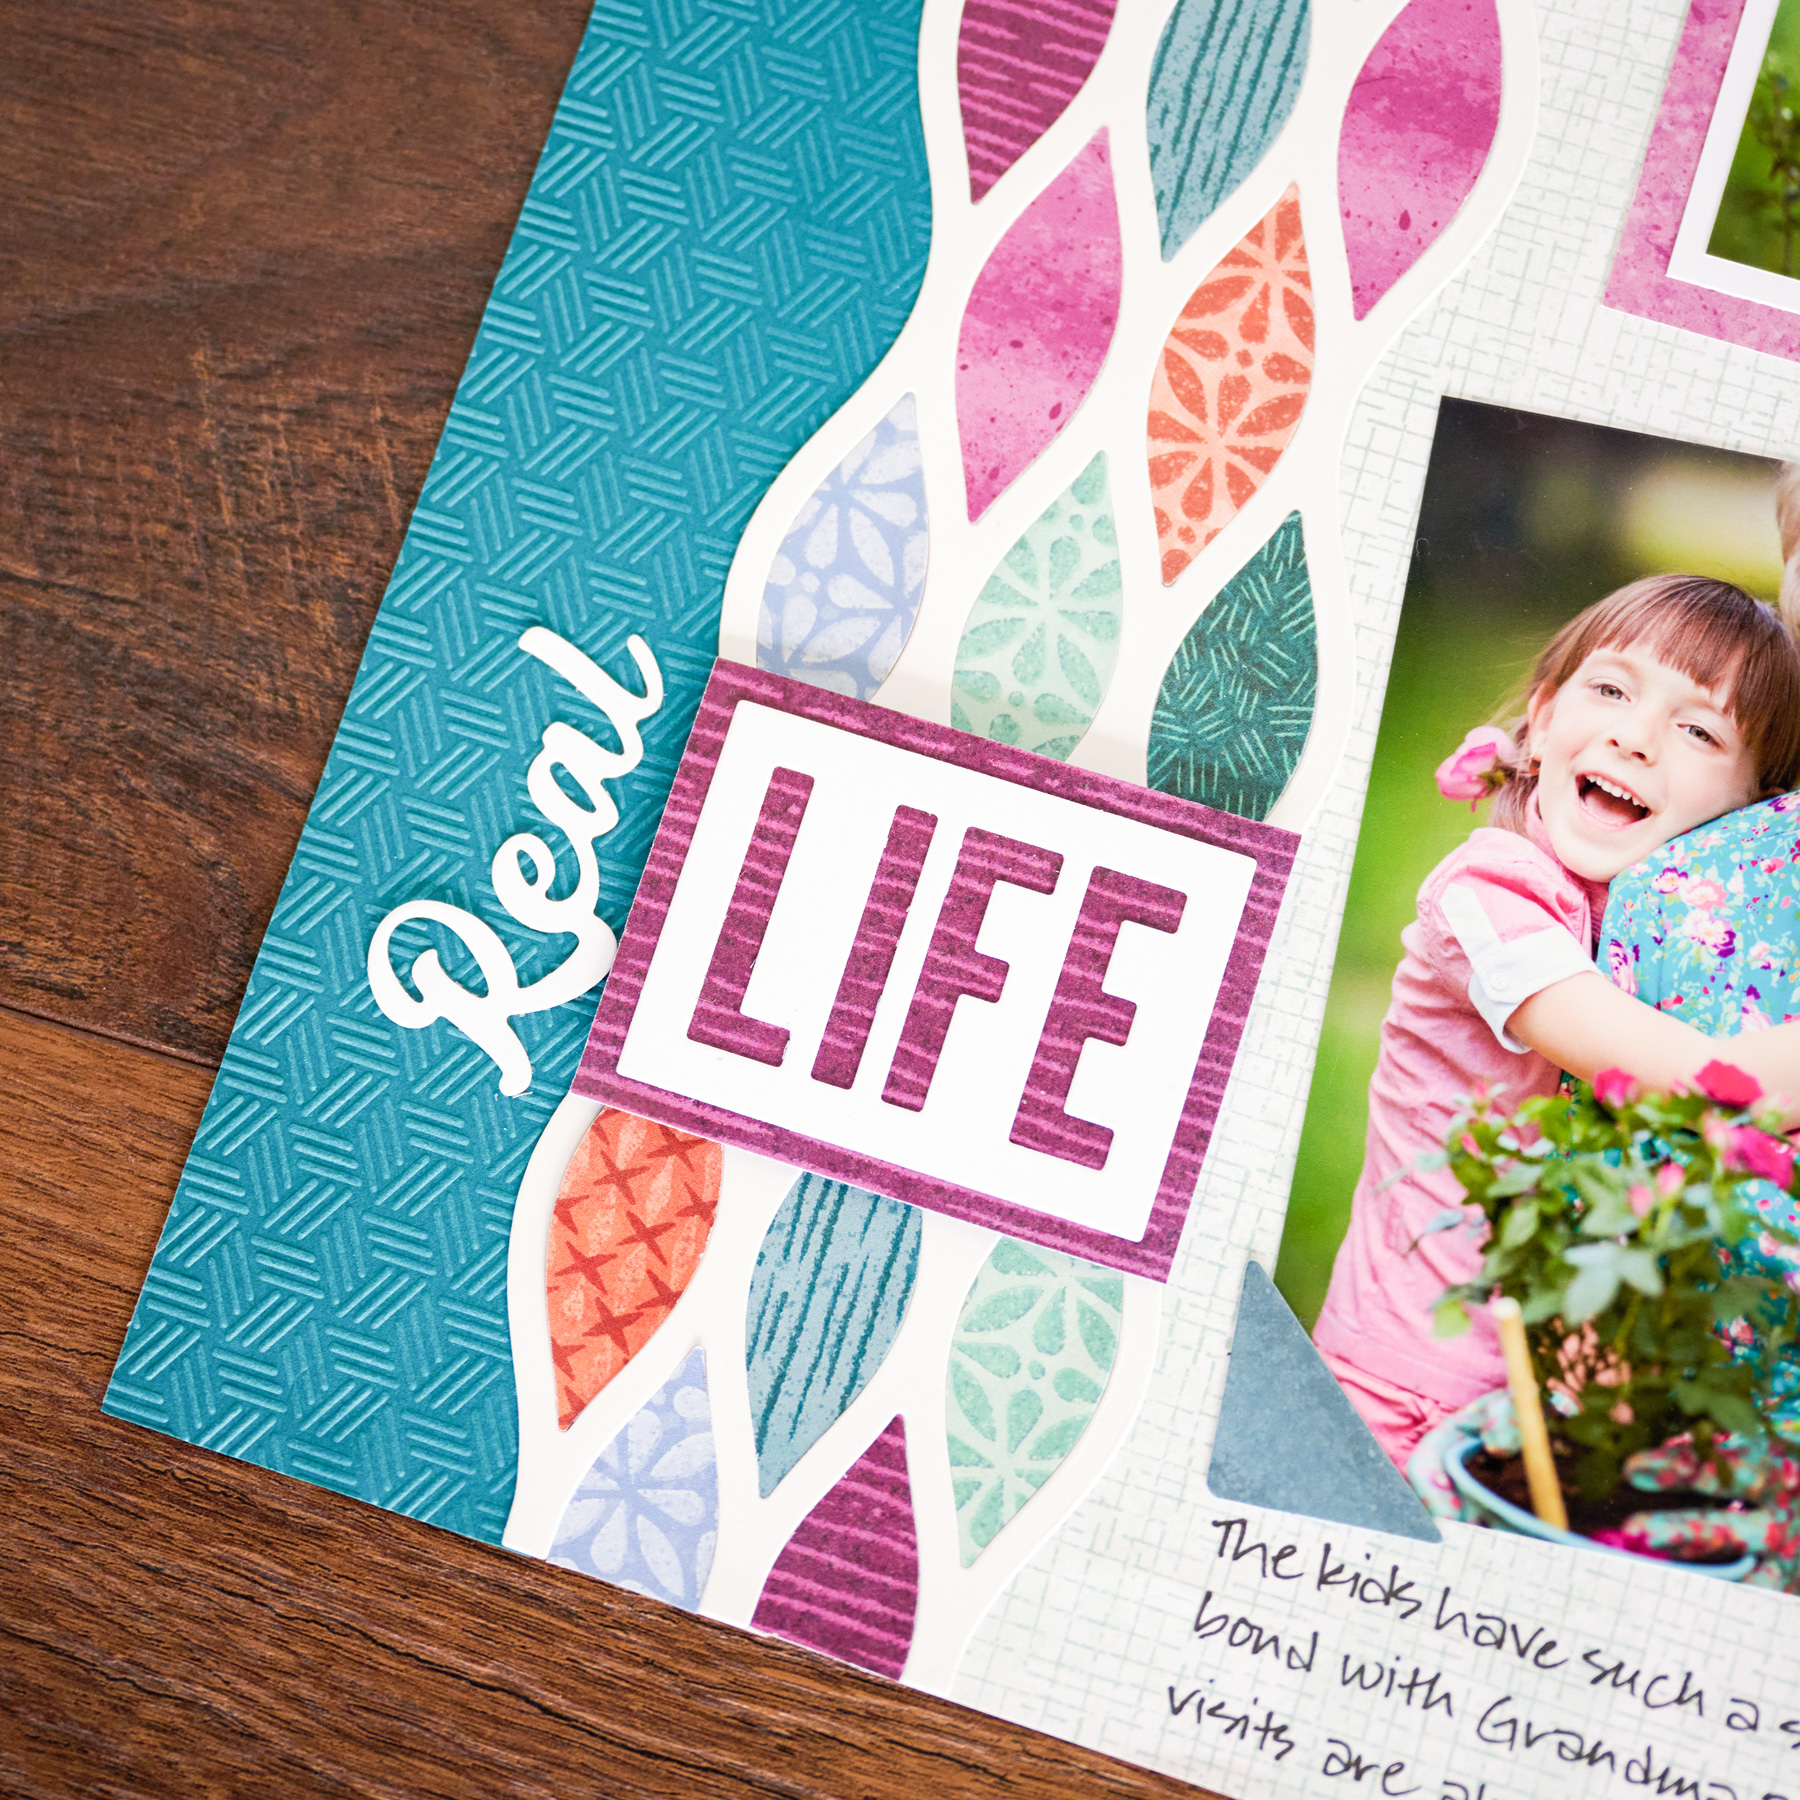
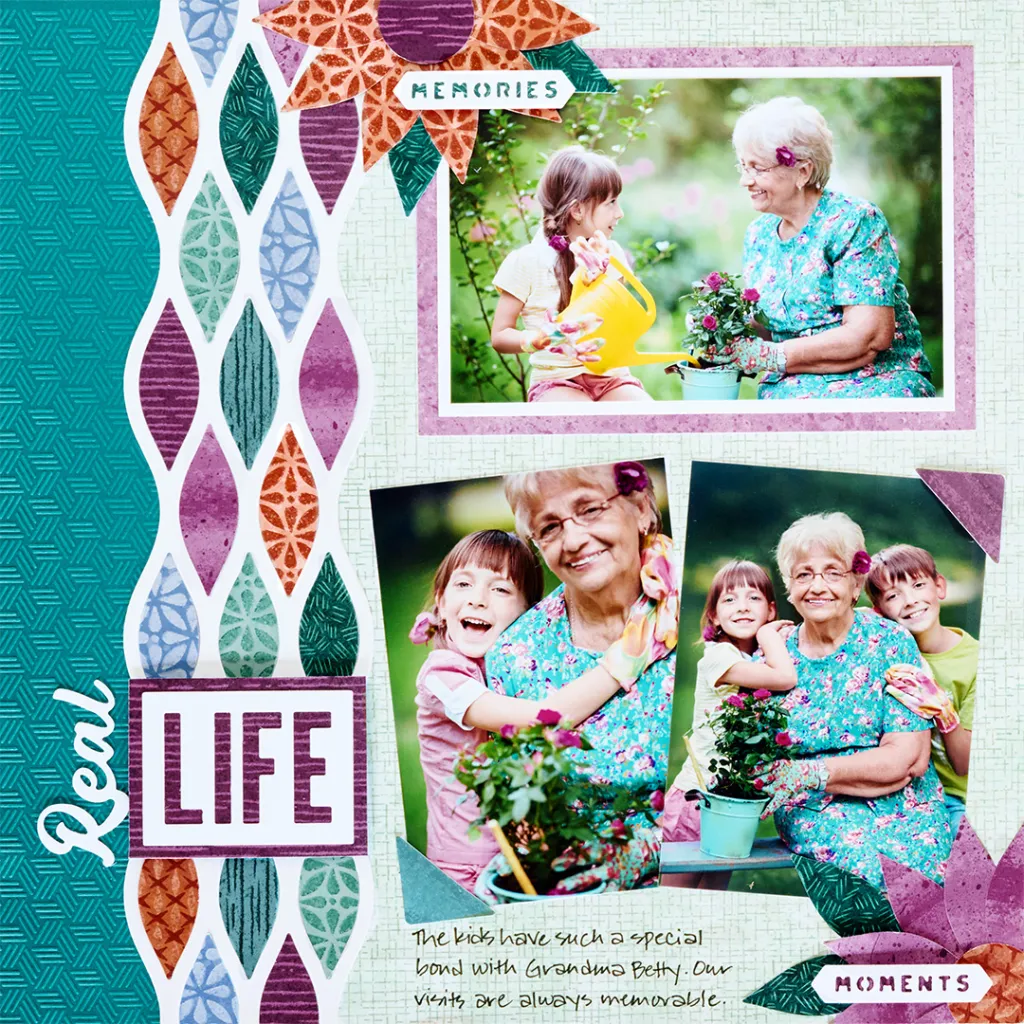
The Your Own Way collection gets a whole new dimension in this layout, where the real star is our new Die-Cutting & Embossing System. From the textured embossed strip to the layered die-cut flowers and playful title pieces, this page shows how a few simple cuts and a little texture can make a big impact.
New to the Die-Cutting & Embossing System? Start with our Die-Cutting & Embossing Official Guide and FAQ posts for helpful tips, how-to information and answers to common questions. Then grab your supplies and follow along as we put the system to work on this fun, dimensional layout.
To create this layout, you will need:
- Your Own Way Designer Paper Pack
- Your Own Way Tone-on-Tone Paper Pack
- Your Own Way Mat Pack
- Bright White Solid Cardstock
- Dark Sea Green Solid Cardstock
- Die-Cutting & Embossing Machine
- Lattice Wave Die-Cutting Border
- Hexagon Dash Embossing Folder
- Real Life Die-Cutting Titles & Icons
- Dual-Tip Die-Cutting Tool
- Custom Cutting System with Circle Patterns
- 12-inch Trimmer
- Photo Trimmer
- Micro-Tip Scissors
- Place & Peel Tape
- Repositionable Tape Runner
- Foam Squares
- Black Dual-Tip Pen
Watch: Create a Dimensional Scrapbook Layout With Die-Cutting & Embossing

Love this layout?

Love this layout?

Step 1: Use a piece of sketch grid designer paper as the base for this layout.
Step 2: Cut a 2″ x 12″ strip from Dark Sea Green Solid Cardstock. Place the strip inside the Hexagon Dash Embossing Folder, then sandwich the folder between the Embossing Base Plate and the Universal Top Plate. Run it through the Die-Cutting & Embossing Machine to add texture to the strip. Adhere the strip along the left edge of the layout.
Step 3: Cut a 3″ x 12″ strip from Bright White Solid Cardstock. Place the strip on the Cutting Base Plate, then place the Lattice Wave Die-Cutting Border on top, followed by the Universal Top Plate.
Tip: Use Place & Peel Tape to temporarily secure your metal die and help prevent it from shifting as it rolls through the machine.
Step 4: Run it through the Die-Cutting & Embossing Machine to create the lattice border. Adhere the border 1-1/2″ from the left edge of the layout. Follow the same procedure to die-cut several more teardrop pieces from a variety of designer and tonal papers. Adhere the teardrop pieces inside the lattice piece as shown.
Step 5: Adhere a 6-1/2″ x 4-1/2″ orchid mat to the top right of the layout. Cut a 6″ x 4″ mat from Bright White Solid Cardstock and adhere it to the Orchid mat. Crop a photo to 5-3/4″ x 3-3/4″ and mount it on top. Crop two photos to 3-1/2″ x 5″ and adhere them as shown.
Step 6: Die-cut additional lattice wave teardrops from orange tile, orchid brushstroke and crosshatch designer papers. Using the CCS circle patterns and the Red Blade, cut two circles from scrap paper with the inside edge of the medium circle pattern.
Step 7: Adhere several teardrop petals on half of each circle, overlapping the pieces to create a half-flower shape. Using the CCS circle patterns and the Green Blade, cut a circle from both the orchid stripe and orange dash designer papers with the inside edge of the small circle pattern.
Step 8: Adhere all floral pieces to the layout as shown, trimming away the excess.
Step 9: Using scraps of Bright White Solid Cardstock, die-cut the “Real”, “LIFE”, “MOMENTS” and “MEMORIES” titles.
Step 10: Cut a 2-3/4″ x 2-1/8″ piece from the deep orchid stripe designer paper. Cut small strips of paper to adhere behind the other titles. Adhere the paper pieces behind the title die-cuts as shown.
Step 11: Adhere all titles on the layout as shown, using foam squares for added dimension. Journal as desired.
Want to recreate this layout?
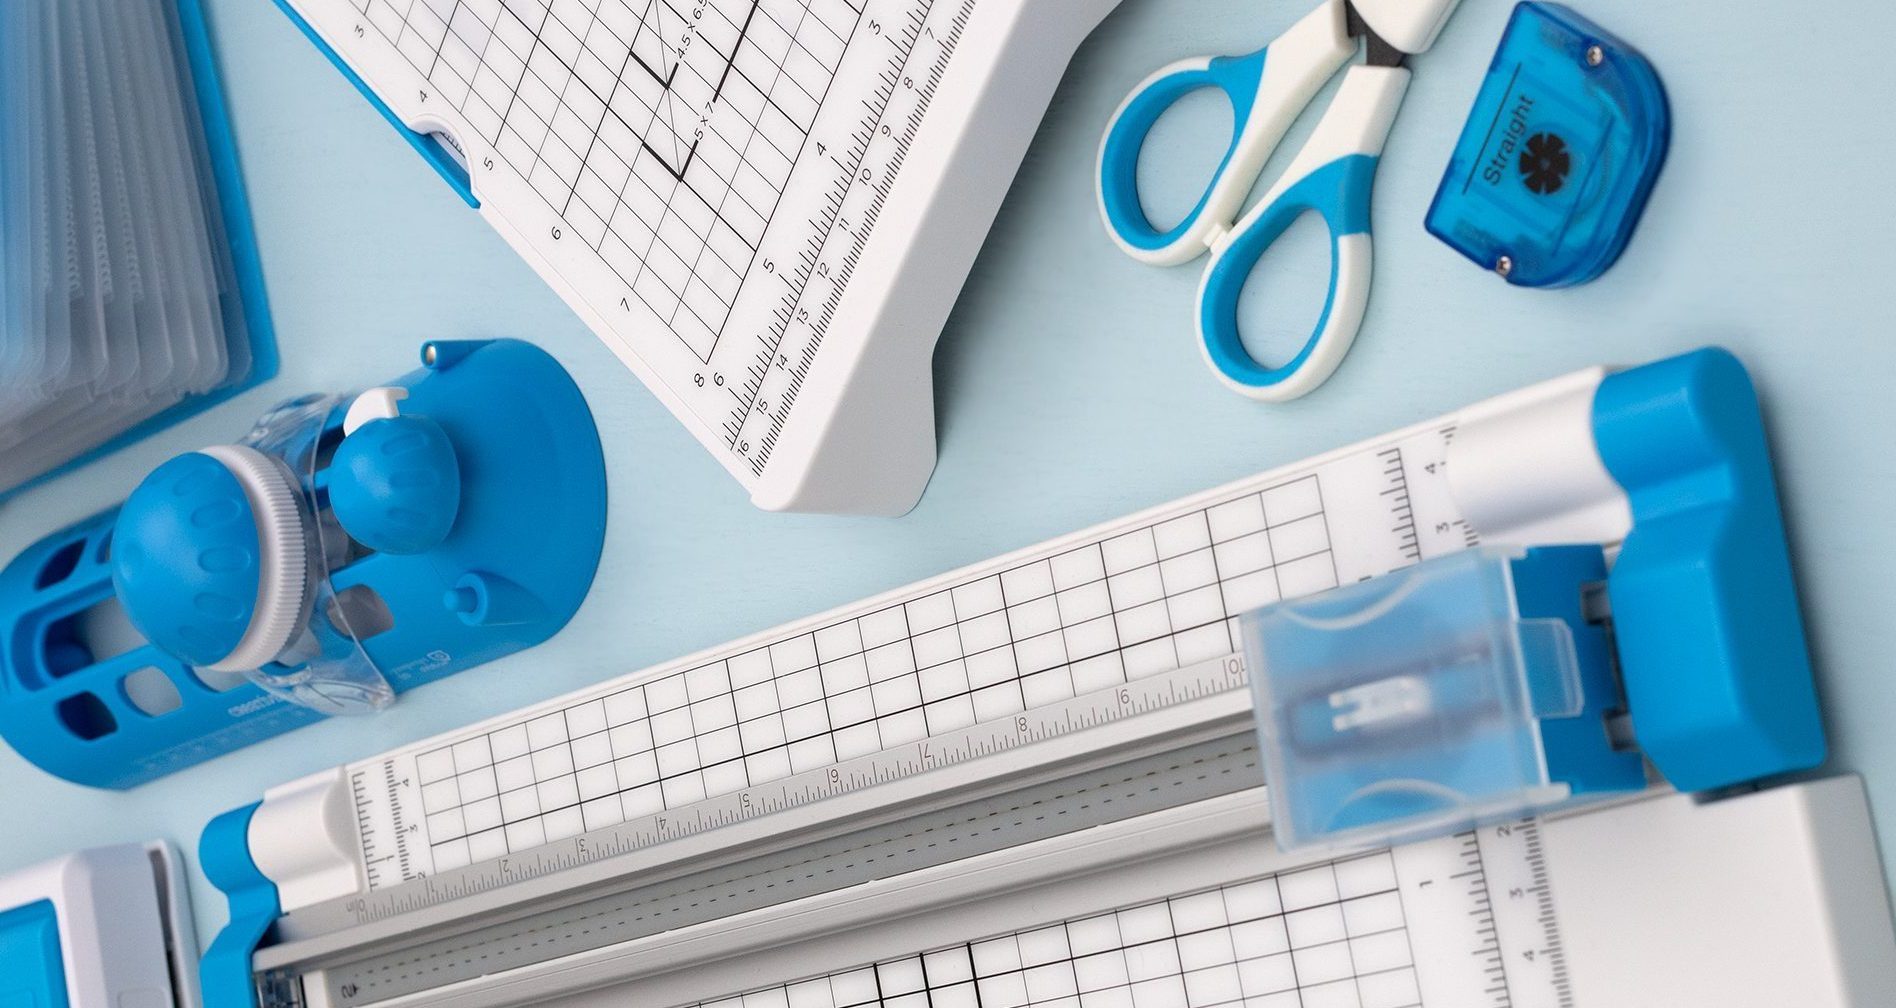
We’ve gathered all the products featured in this project in one place, making it easy to find the papers, embellishments, tools and more.
P.S. Are YOU a member of the Virtual Crop Group? It’s your go-to place for MONTHLY Virtual Crops, MONTHLY Completed Album Challenges, QUARTERLY Secret Box Openings with project tutorials and so much more! We hope you’ll join our community of more than 53,000 fellow memory-keeping enthusiasts — you’ll feel right at home!

