September 25, 2026
Make Your Own Paper Awards with the School Years Collection
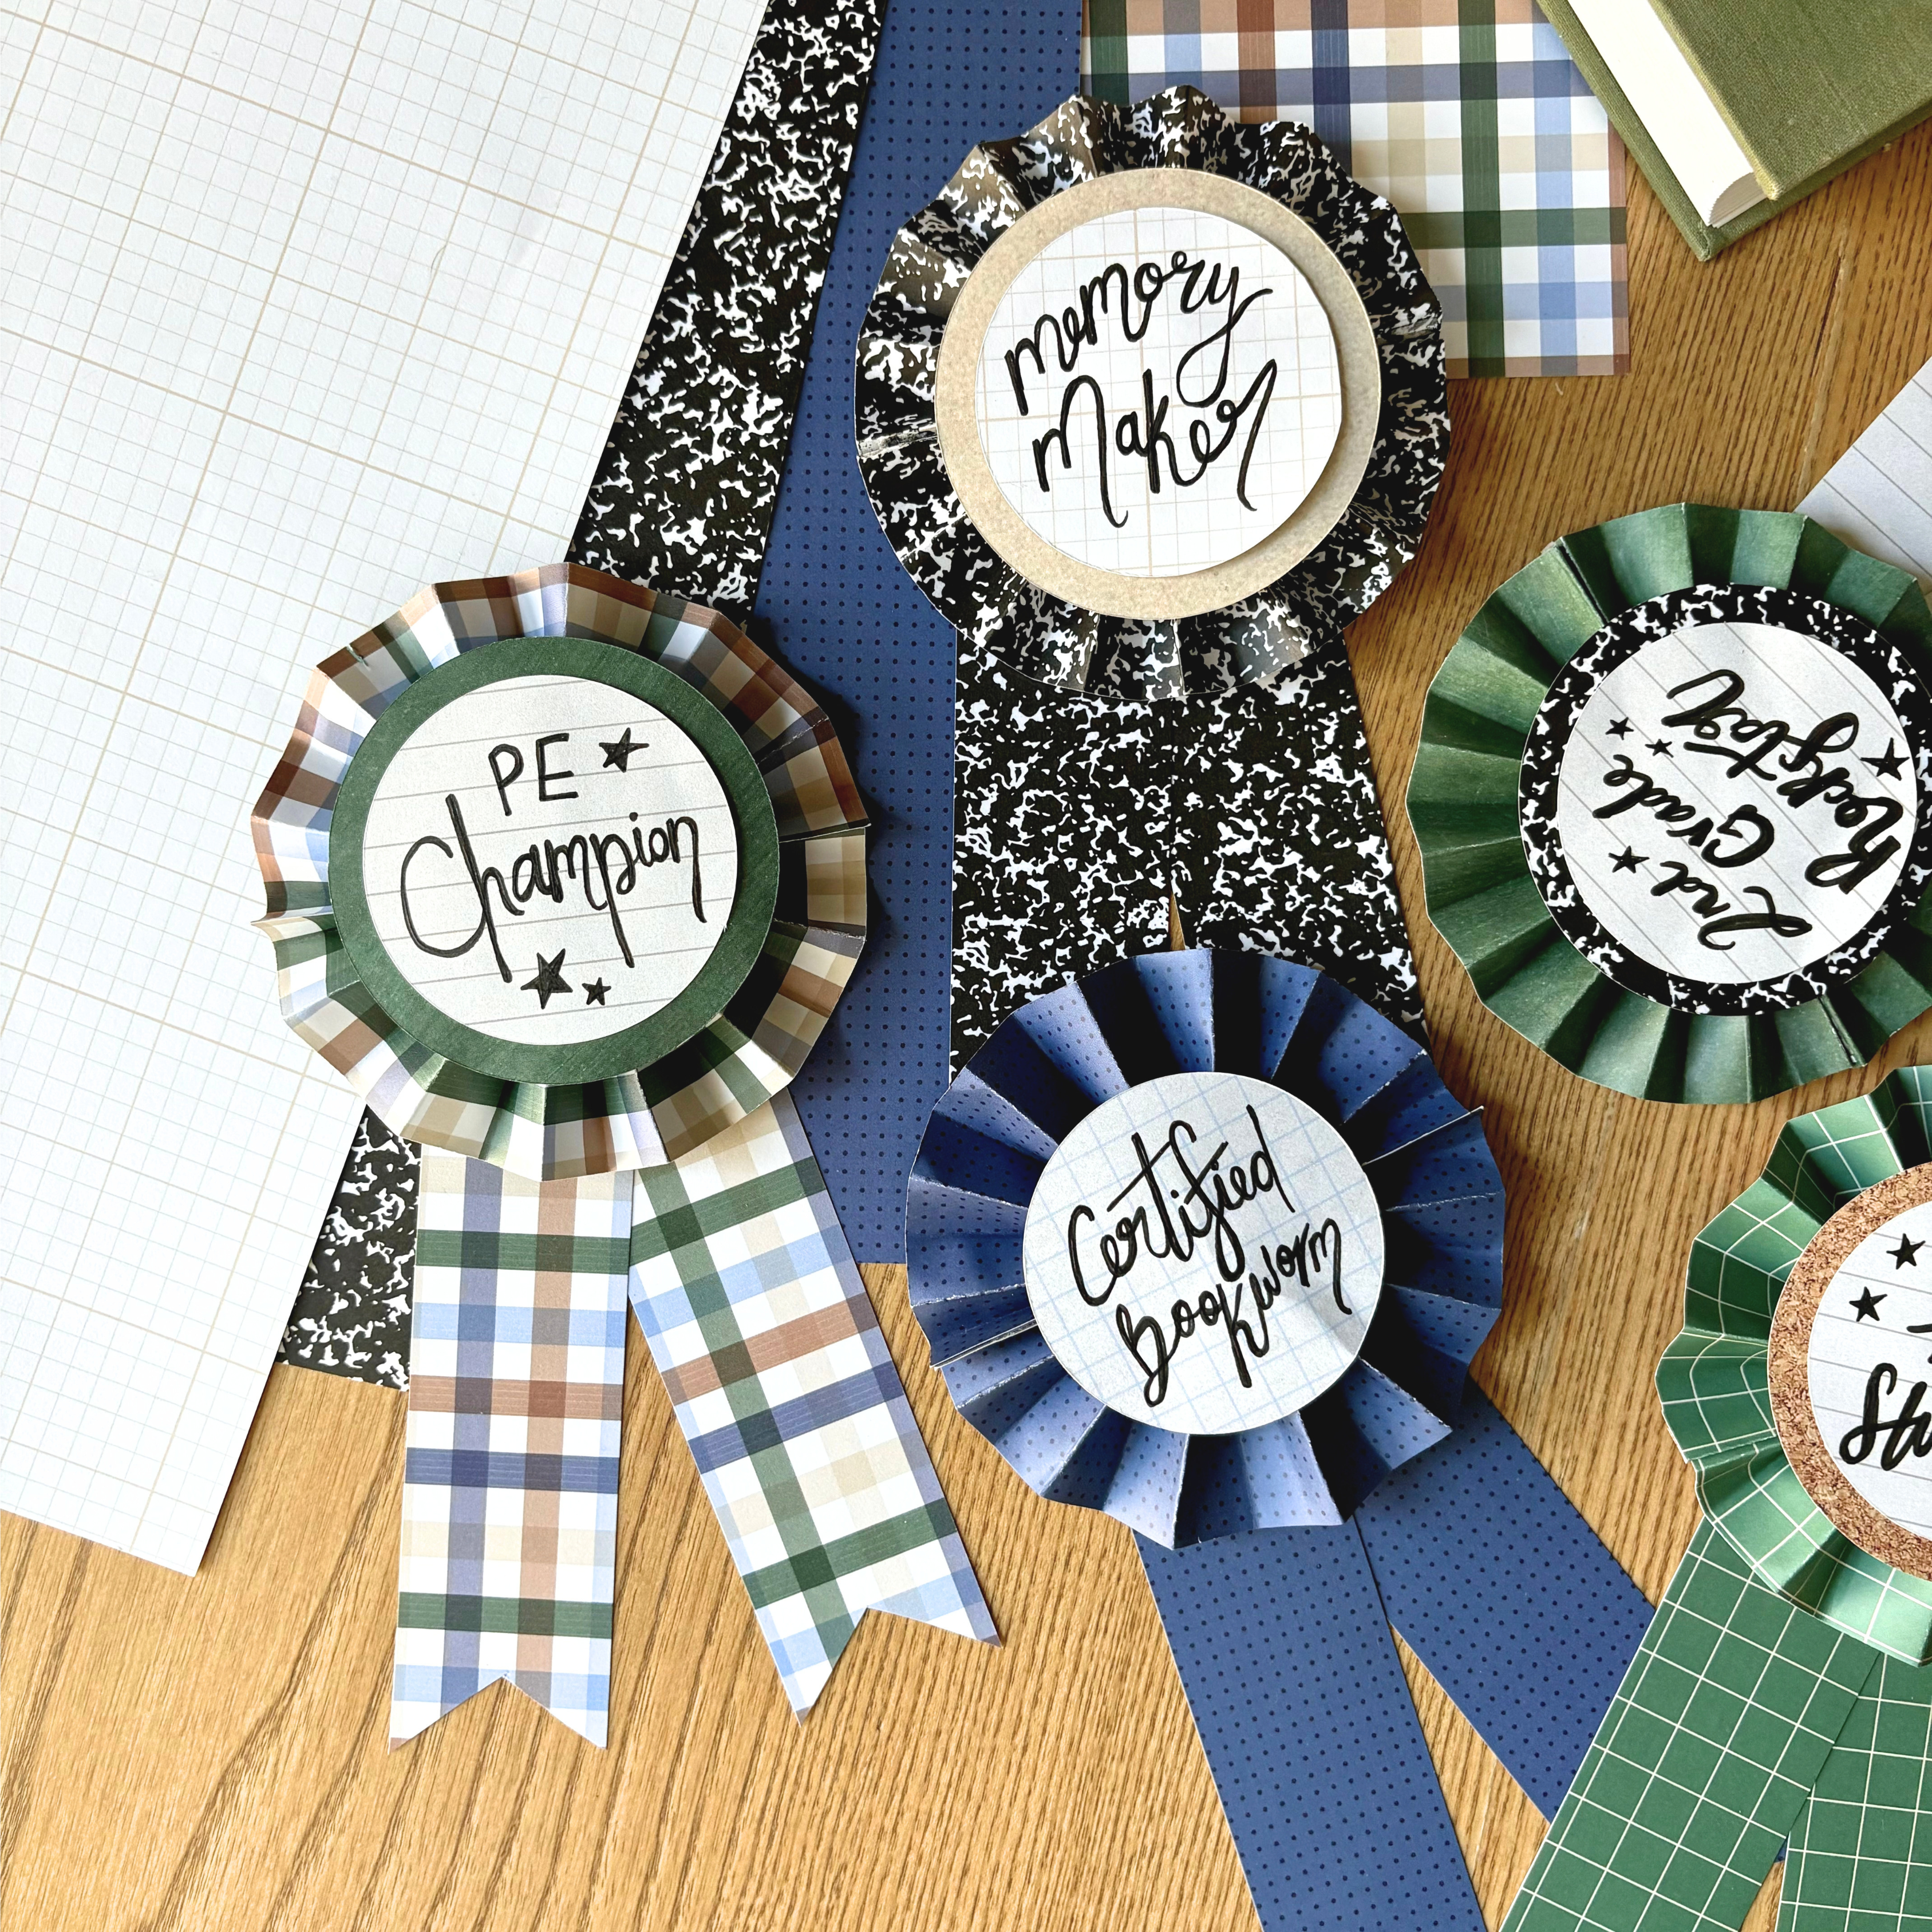
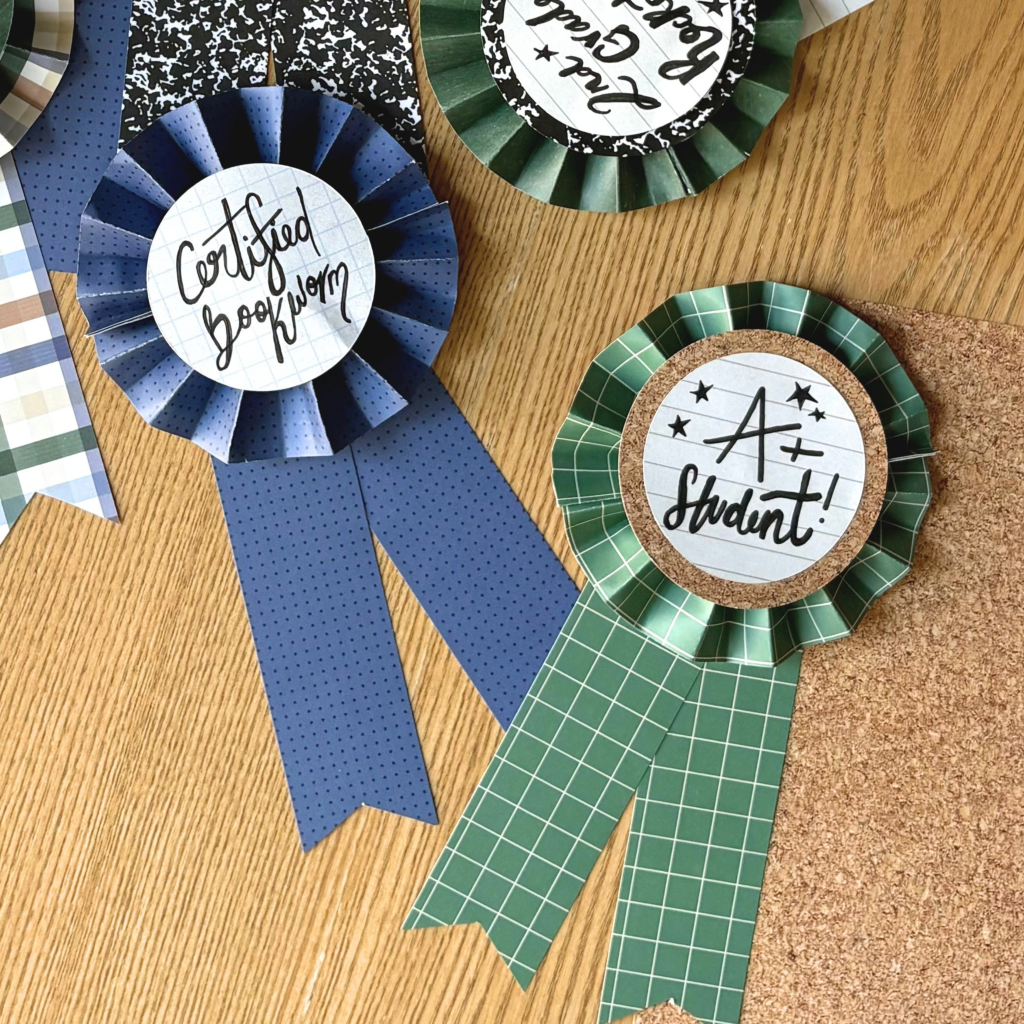
School is back in session, so why not have a little fun with it? These paper awards would be great to make for a student who’s working hard, or for a teacher to use for a classroom activity or just a little extra encouragement. And if you’re a scrapbooker, they’re a fun way to use up some of those last pieces of the School Years collection and add something unexpected to a school page. Pick a few papers, add your own message and make one for whatever or whoever deserves a little celebrating!
Watch: School Years Paper Awards DIY
To create this layout, you will need:
- School Years Paper Pack
- Circle Custom Cutting System Patterns
- Red Custom Cutting System Blade Cartridge
- Blue Custom Cutting System Blade Cartridge
- 13×13 Cutting Mat
- 12-inch Trimmer
- Repositionable Tape Runner
- Foam Squares
- Black Dual-Tip Pen

Love this layout?

Love this project?

Step 1: Trim two strips of School Years Designer Paper to measure 1-1/2″ x 7″.
Step 2: Trim another piece of School Years Designer paper to measure 4″ x 8″.
Step 3: Use Micro-Tip Scissors to dovetail one end of each 1-1/2″ x 7″ strip.
Step 4: Starting at one short end of the 4″ x 8″ piece, accordion fold the paper with each fold measuring approximately 1/4″ to 1/2″ wide, depending on your preference.
Step 5: To create the rosette, pinch the center of the accordion-folded piece so it resembles a bow. Bring the upper folds on each side upward to meet at the center and adhere them together. Repeat with the lower folds, bringing them downward to meet at the center and adhering them in place to form the round rosette shape.
Step 6: Overlap the two dovetailed strips and adhere them together at an angle to create the ribbon tails.
Step 7: Use the medium CCS circle pattern with the blue blade to cut a circle from your choice of School Years Designer Paper.
Step 8: Use the small CCS circle pattern with the red blade to cut a circle from a different School Years Designer Paper. Adhere the smaller circle to the center of the larger circle.
Step 9: Use a Black Dual-Tip Pen to write your award message on the center circle.
Step 10: Assemble the award by attaching the rosette to the ribbon tails, then attach the layered circles to the center of the rosette.
Tip: For best results, use Foam Squares to attach the rosette to the ribbon tails and the layered circles to the center of the rosette.

Want to recreate this project?
We’ve gathered all the products featured in this project in one place, making it easy to find the papers, tools and more.
P.S. Are YOU a member of the Virtual Crop Group? It’s your go-to place for MONTHLY Virtual Crops, MONTHLY Completed Album Challenges, QUARTERLY Secret Box Openings with project tutorials and so much more! We hope you’ll join our community of more than 53,000 fellow memory-keeping enthusiasts — you’ll feel right at home!

