September 28, 2026
It’s Time for the September Completed Album Challenge PLUS a Special Album Kit Twist!
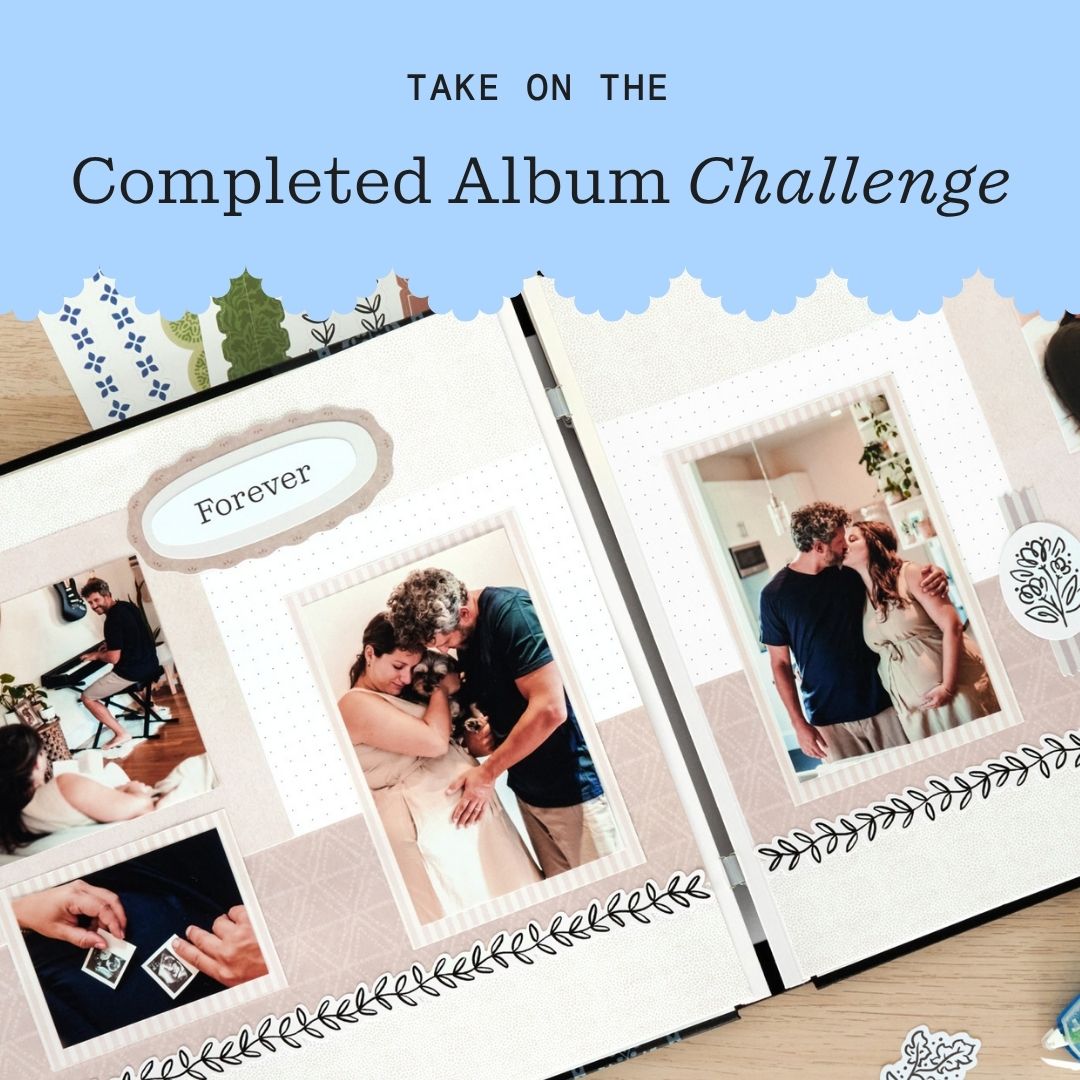
Finished an album this month? It’s time to celebrate! Head over to the Virtual Crop Group and show it off during the September Completed Album Challenge. If you need a little inspiration to finish those last few pages, check out the layout below to help you wrap things up!
A Special Twist for Album Kits!
Completed an Album Kit in September? We’re adding something extra to this month’s challenge! Add #AlbumKitClub to your post to be entered into a special Album Kit Club giveaway. Two winners will each receive an Album Kit of their choice, plus TWO Custom Spines – one for their completed album and one for their next Album Kit project!
How to Enter
Record a quick video flipping through your completed album and post it in the Virtual Crop Group with #CompletedSeptember2026 by Sunday, Oct. 4 at 11:59 p.m. CT (AU: Monday, Oct. 5 at 2:59 p.m. AET). Completed an Album Kit? Add #AlbumKitClub to your post, too.
Your album does not need to be started and finished in September. It just needs to be completed during the month to count!
What Can You Win?
Completed Album Challenge: Three winners will each receive a pack of their choice of 12×12 White Plain Pages + Protectors or 12×12 Top-Loading Single-Pocket Pages, one Tape Runner Refill, one Repositionable Tape Runner Refill and their choice of any plain 12×12 bookcloth album cover.
#AlbumKitClub: Two winners will each receive an Album Kit of their choice plus credit for two Custom Spines – one for their completed album and one for their next Album Kit project.
For all the details on the Completed Album Challenge, check out this blog post.

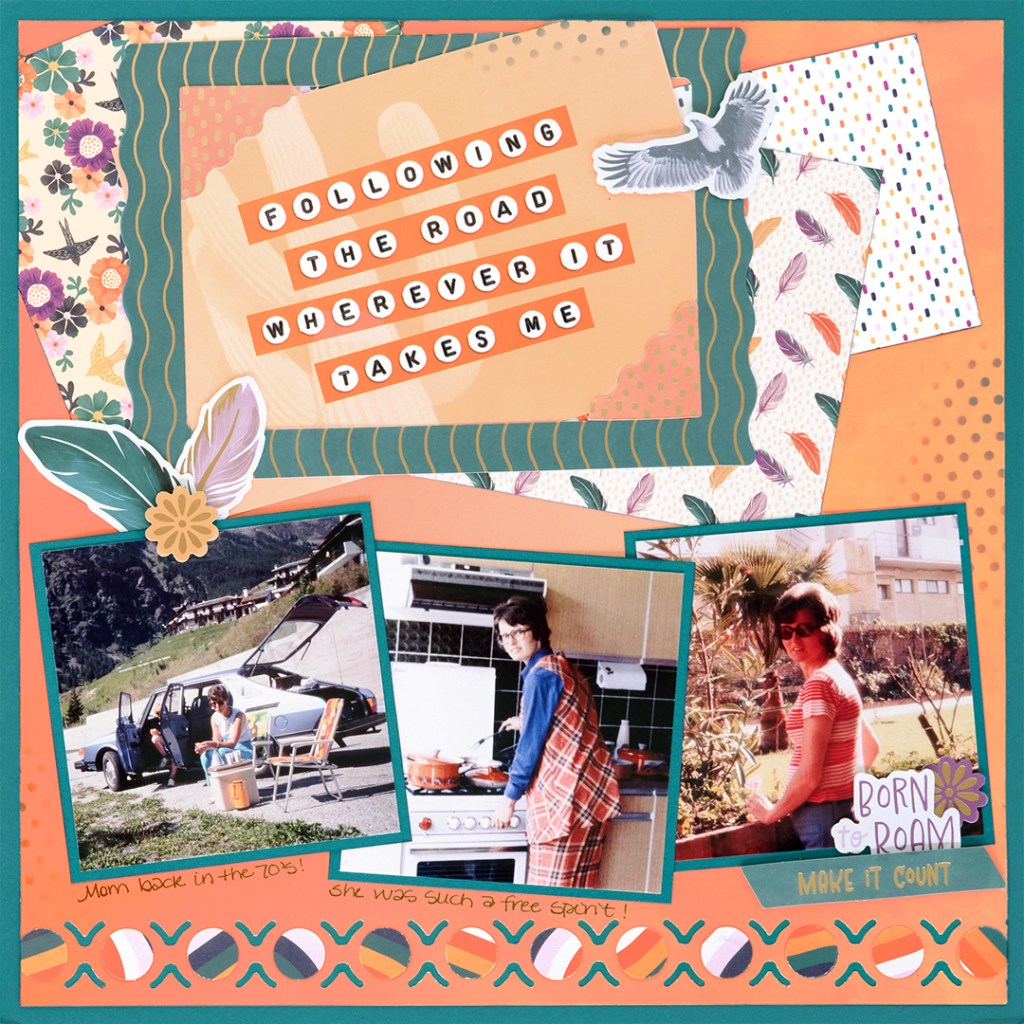

Love this layout?

Love this layout?
To create this layout, you will need:
- Free Spirit Paper Pack
- Free Spirit Mat Pack
- Free Spirit Embellishments
- Dark Sea Green Solid Cardstock
- Border Maker System
- Cyclic Circles Border Maker Cartridge
- Ink Pad – Dark Sea Green
- Craft Blending Brush – Dark Sea Green
- 5×5 Stencil – Polka Dots
- 12-inch Trimmer
- Photo Trimmer
- Repositionable Tape Runner
- Foam Squares
- Black Dual-Tip Pen

Step 1: Use a piece of Dark Sea Green Solid Cardstock as the base for this layout.
Step 2: Using orange tonal paper, punch a border along the bottom with the Border Maker System and Cyclic Circles BMC. Save the small punched circles. Trim 1/4″ from each side and 1/2″ from the top of the orange paper.
Step 3: Cut the floral designer paper to 5-1/2″ x 5-1/2″, the feather designer paper to 6″ x 4-1/2″, and the speckled designer paper to 4″ x 3-1/2″. Ink the edges with Dark Sea Green Ink.
Step 4: Arrange and adhere the three patterned papers at angles across the upper portion of the orange paper as shown.
Step 5: Adhere the photo frame embellishment over the designer papers. Tuck a mat with a horizontal title into the frame at an angle.
Step 6: Use the polka dot stencil with a Blending Brush and ink to add the pattern along the edges of the orange tonal paper and mat.
Step 7: Cut three 4″ x 4″ photo mats from Dark Sea Green Cardstock. Cut three photos to 3-1/2″ x 3-1/2″, then adhere them to the mats, leaving a 1/4″ border on all sides. Ink the edges of the mats and adhere them below the large photo frame.
Step 8: Trim any excess from the edges of the orange paper, then adhere the orange paper to the layout base. Turn the punched circles over and adhere them into the circles along the bottom border.
Step 9: Add embellishments, using Foam Squares on select pieces for added dimension. Journal as desired.

Want to recreate this layout?
We’ve gathered all the products featured in this project in one place, making it easy to find the papers, embellishments, tools and more.
P.S. Are YOU a member of the Virtual Crop Group? It’s your go-to place for MONTHLY Virtual Crops, MONTHLY Completed Album Challenges, QUARTERLY Secret Box Openings with project tutorials and so much more! We hope you’ll join our community of more than 53,000 fellow memory-keeping enthusiasts — you’ll feel right at home!

