September 14, 2026
Die-Cut Your Way to a Handmade Card
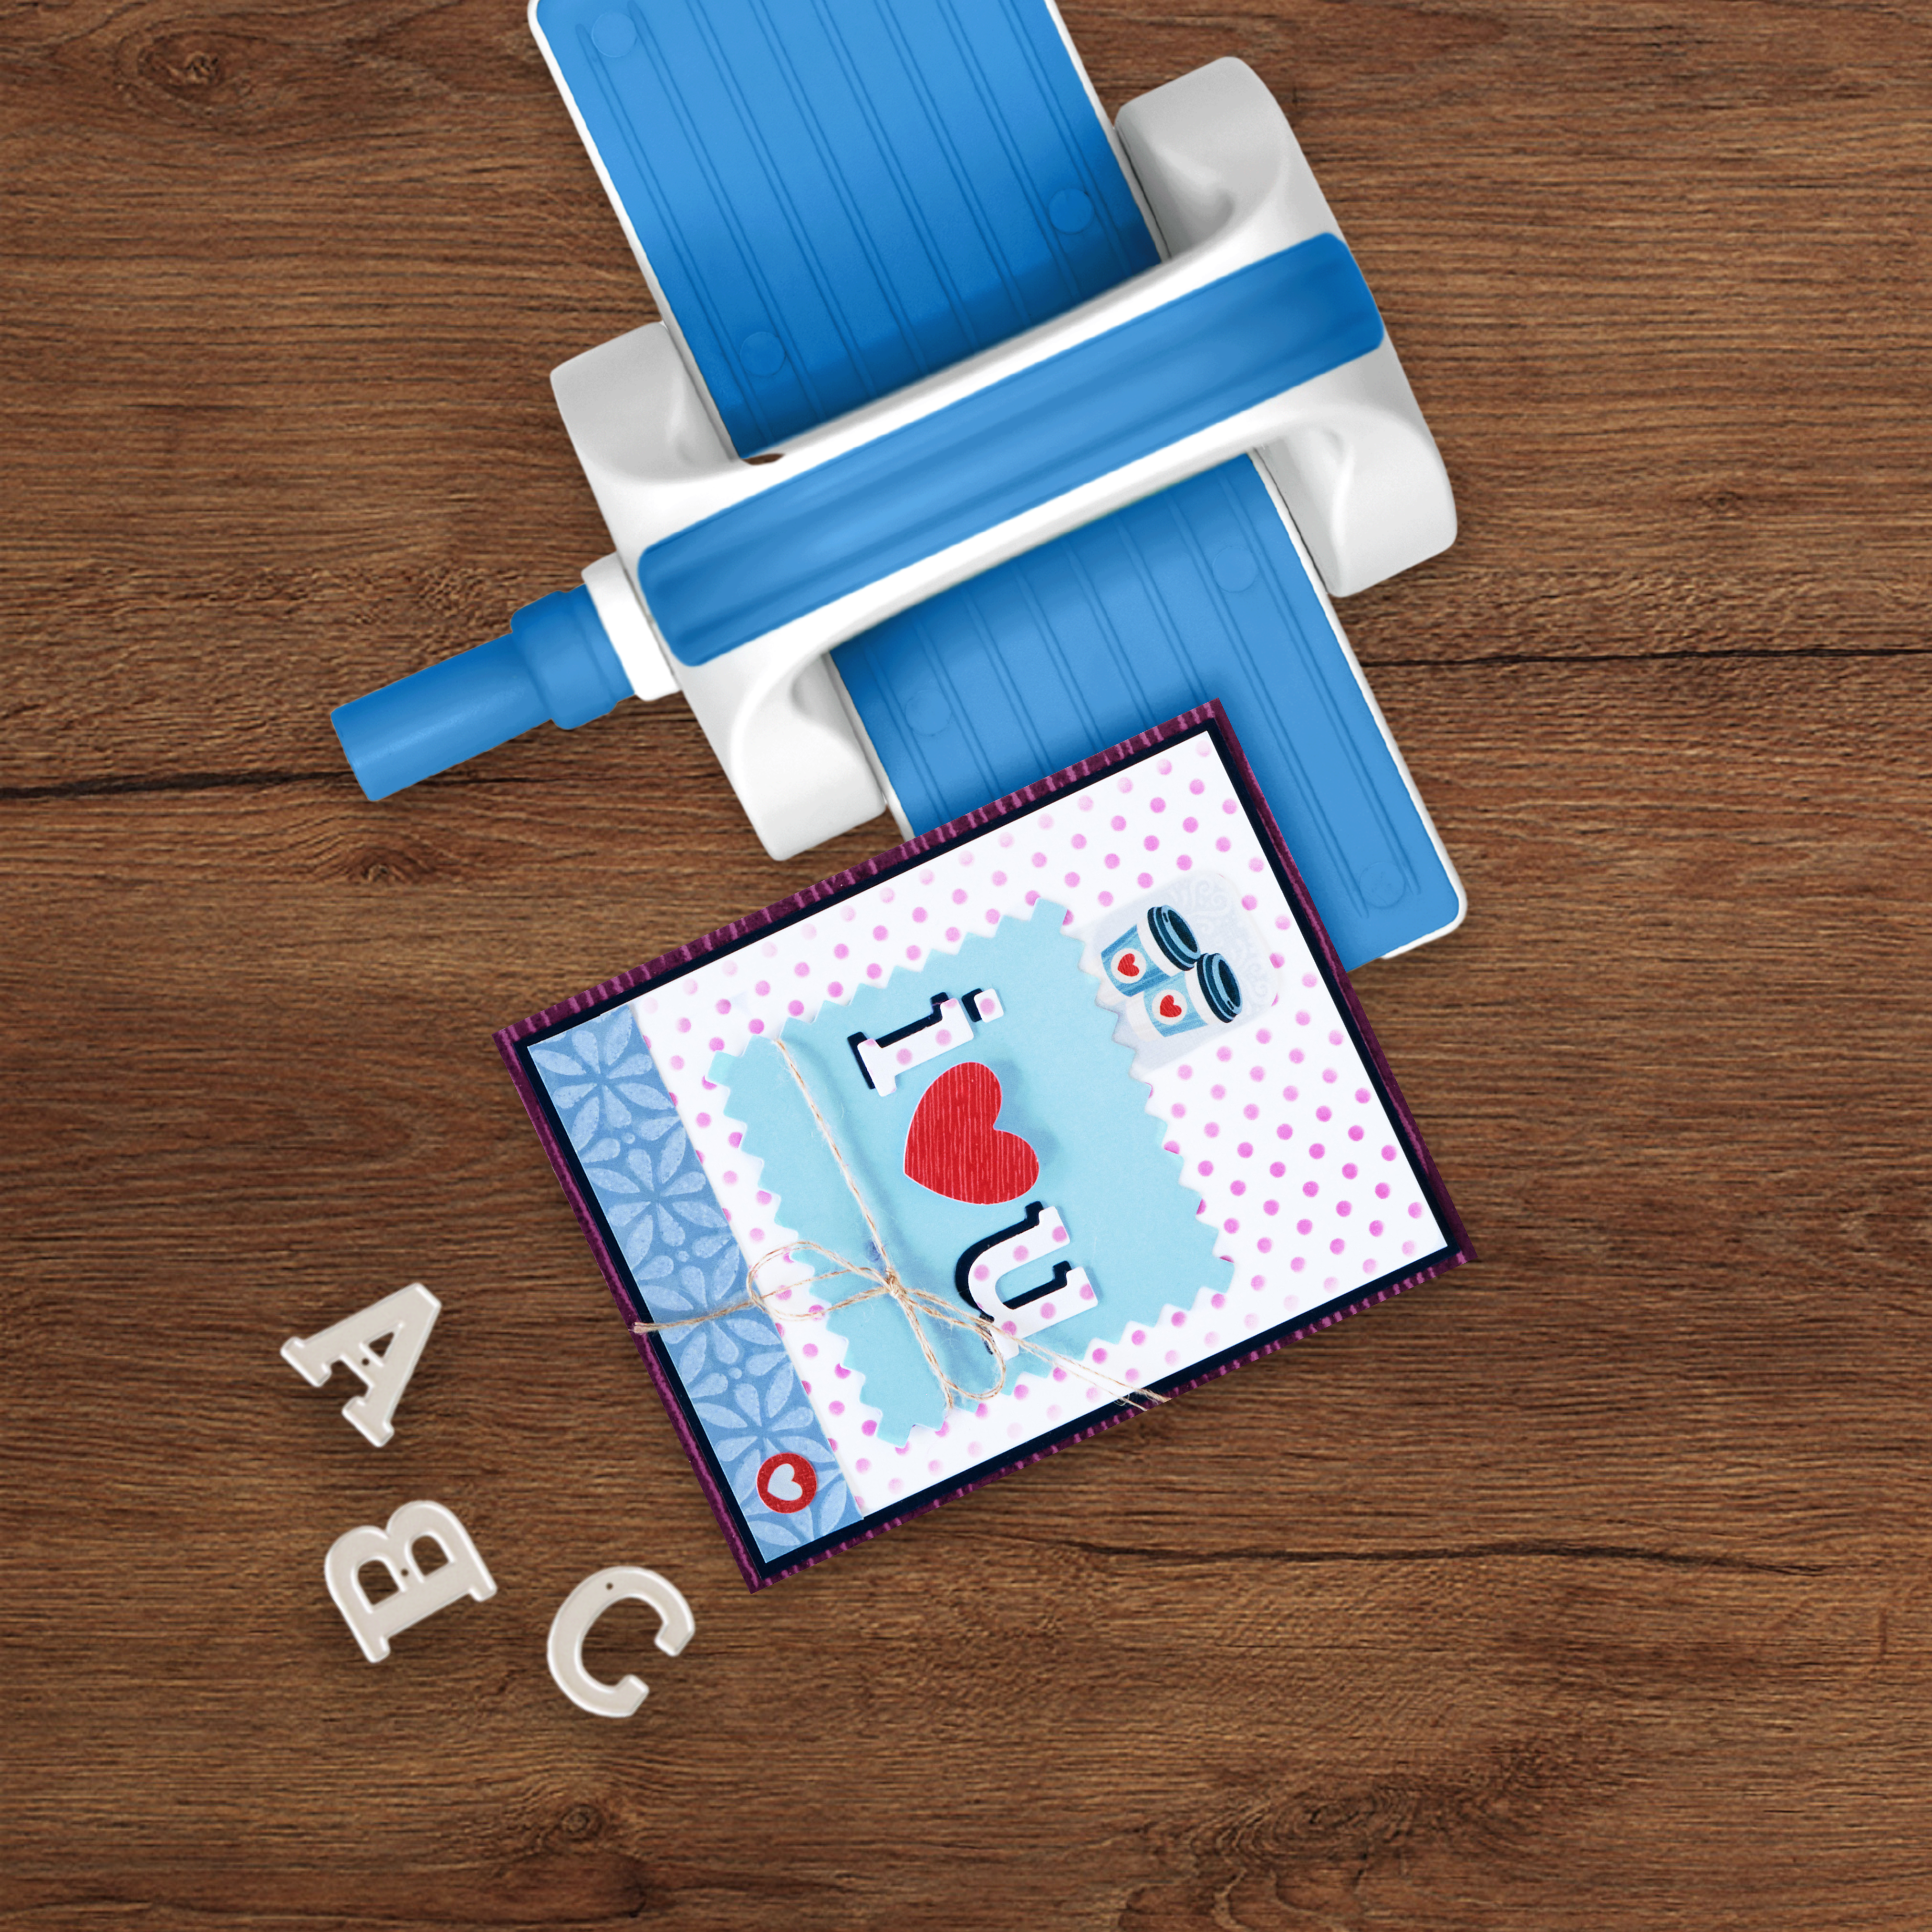
The fun doesn’t stop at scrapbooking! Your Die-Cutting & Embossing Machine can be just as useful for cardmaking, and this sweet card is a great example. The Your Own Way collection, a few versatile die-cuts and a simple stenciling technique come together for a card you can easily recreate with supplies you already have on hand. Try inking through a stencil to create your own designer paper, then add die-cut details for a little extra dimension.
New to the Die-Cutting & Embossing System? Start with our Die-Cutting & Embossing Official Guide and FAQ posts for helpful tips, how-to information and answers to common questions. Then grab your supplies and follow along as we put the system to work on this fun, dimensional project.
To create this card, you will need:
- Your Own Way Designer Paper
- Your Own Way Tone-on-Tone Paper
- Your Own Way Stickers
- Bright White Solid Cardstock
- Cornflower Solid Cardstock
- Navy Solid Cardstock
- Die-Cutting & Embossing Machine
- Die-Cutting Titles & Icons – Real Life
- Die-Cutting Alphabet Set Bundle – Block Serif
- Dual-Tip Die-Cutting Tool
- Ink Pad – Plum
- Craft Blending Brush – Plum
- 5×5 Stencil – Polka Dots
- 13×13 Non-Stick Craft Mat
- 12-inch Trimmer
- 12-inch Trimmer Scoring Blade
- Micro-Tip Scissors
- Place & Peel Tape
- Repositionable Tape Runner
- Foam Squares
- Twine


Love this layout?

Love this project?

Step 1: Create the card base by trimming a piece of Bright White Solid Cardstock to 8-1/2″ x 5-1/2″. Using the Scoring Blade and your 12-inch Trimmer, score the paper along the long edge at 4-1/4″ and fold it in half.
Step 2: Cut a piece of deep orchid designer paper to 4-1/4″ x 5-1/2″ and adhere it to the front of the card. Cut a 4″ x 5-1/4″ piece from Navy Solid Cardstock and adhere it on top of the designer paper.
Step 3: Cut a 3-3/4″ x 5″ piece from Bright White Solid Cardstock. Using the Blending Brush and Ink Pad in Plum and the 5×5 Polka Dots Stencil, lightly ink polka dots onto the cardstock. Adhere the inked piece to the card. Cut a 3-3/4″ x 3/4″ strip from songbird blue designer paper and adhere it to the bottom of the card as shown.
Step 4: Using the Die-Cutting & Embossing Machine, die-cut a zigzag box from a scrap of Cornflower Solid Cardstock. Adhere the piece to the card as shown.
Step 5: Using a spare piece of Bright White Solid Cardstock, ink more polka dots. Die-cut the letters “i” and “u” from the inked scrap, as well as from a Navy Solid Cardstock scrap. Layer and adhere the letters on the zigzag box as shown, placing a heart sticker between using Foam Squares.
Step 6: Tie a piece of twine around the box if desired. Add additional stickers.
Want to recreate this project?
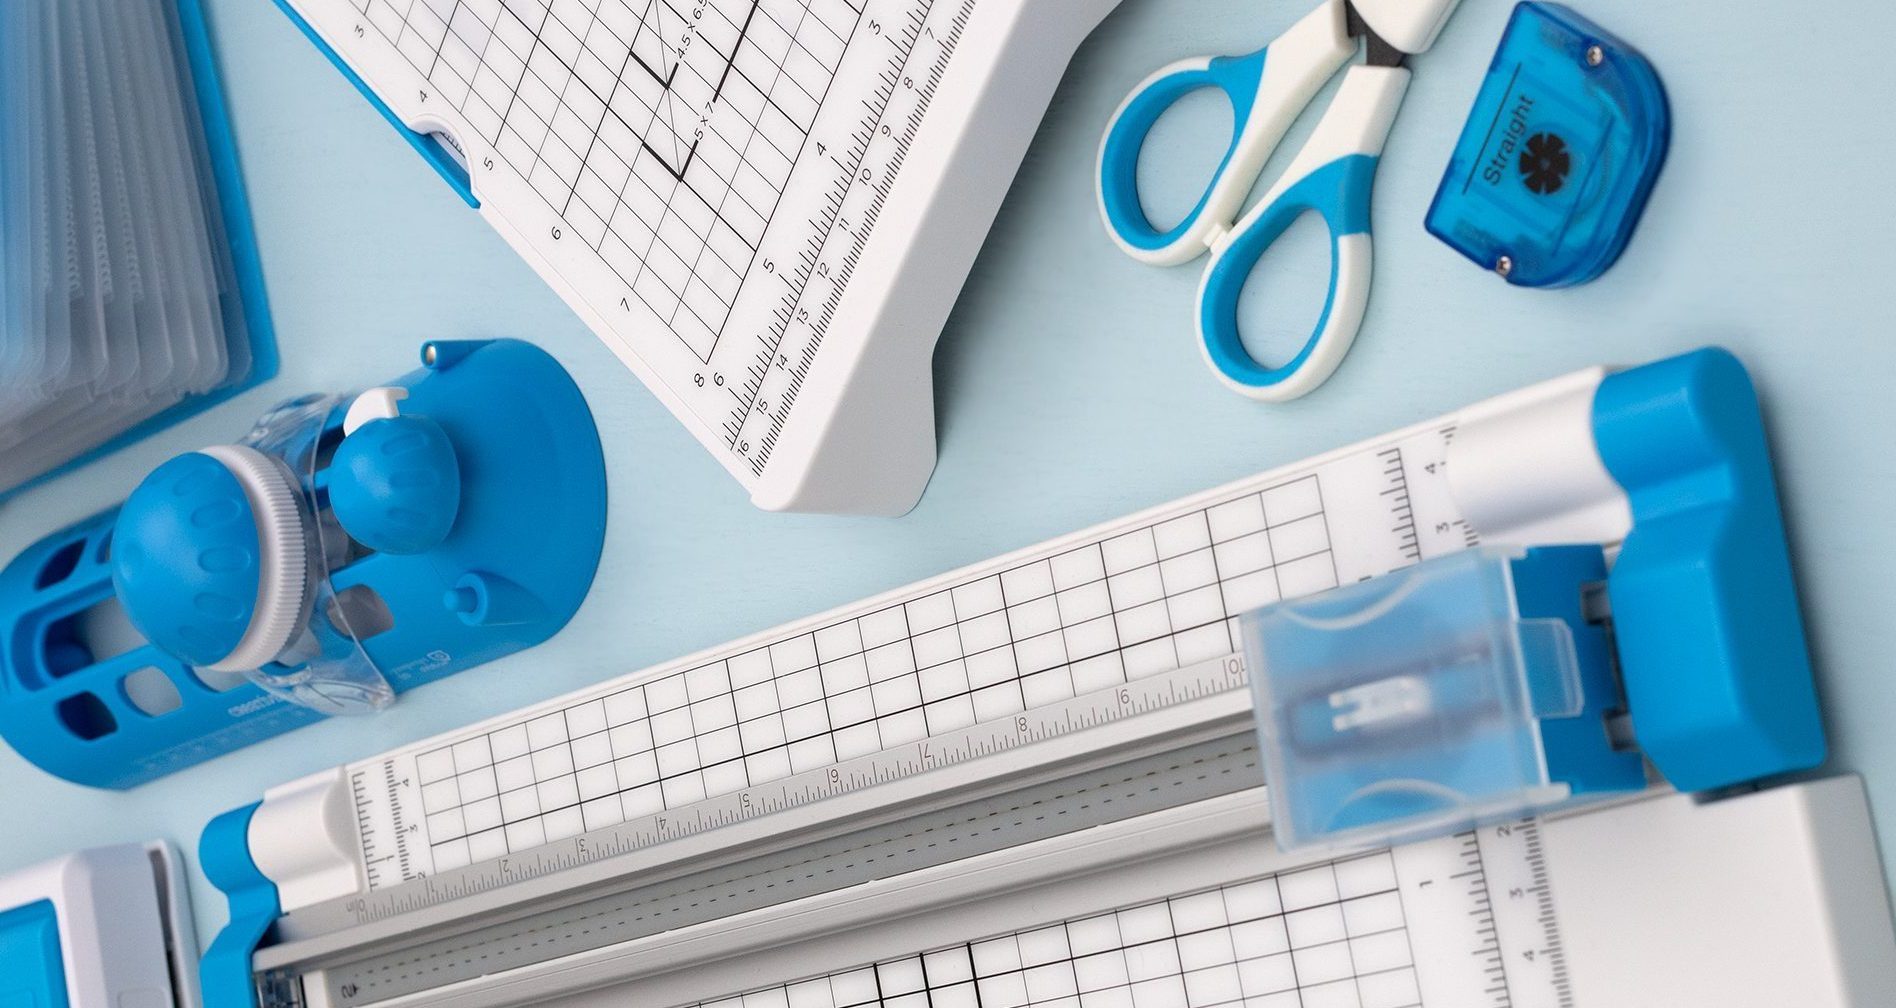
We’ve gathered all the products featured in this project in one place, making it easy to find the papers, embellishments, tools and more.
P.S. Are YOU a member of the Virtual Crop Group? It’s your go-to place for MONTHLY Virtual Crops, MONTHLY Completed Album Challenges, QUARTERLY Secret Box Openings with project tutorials and so much more! We hope you’ll join our community of more than 53,000 fellow memory-keeping enthusiasts — you’ll feel right at home!

