October 16, 2026
A Folded Chevron Layout with Hydrangea Haven
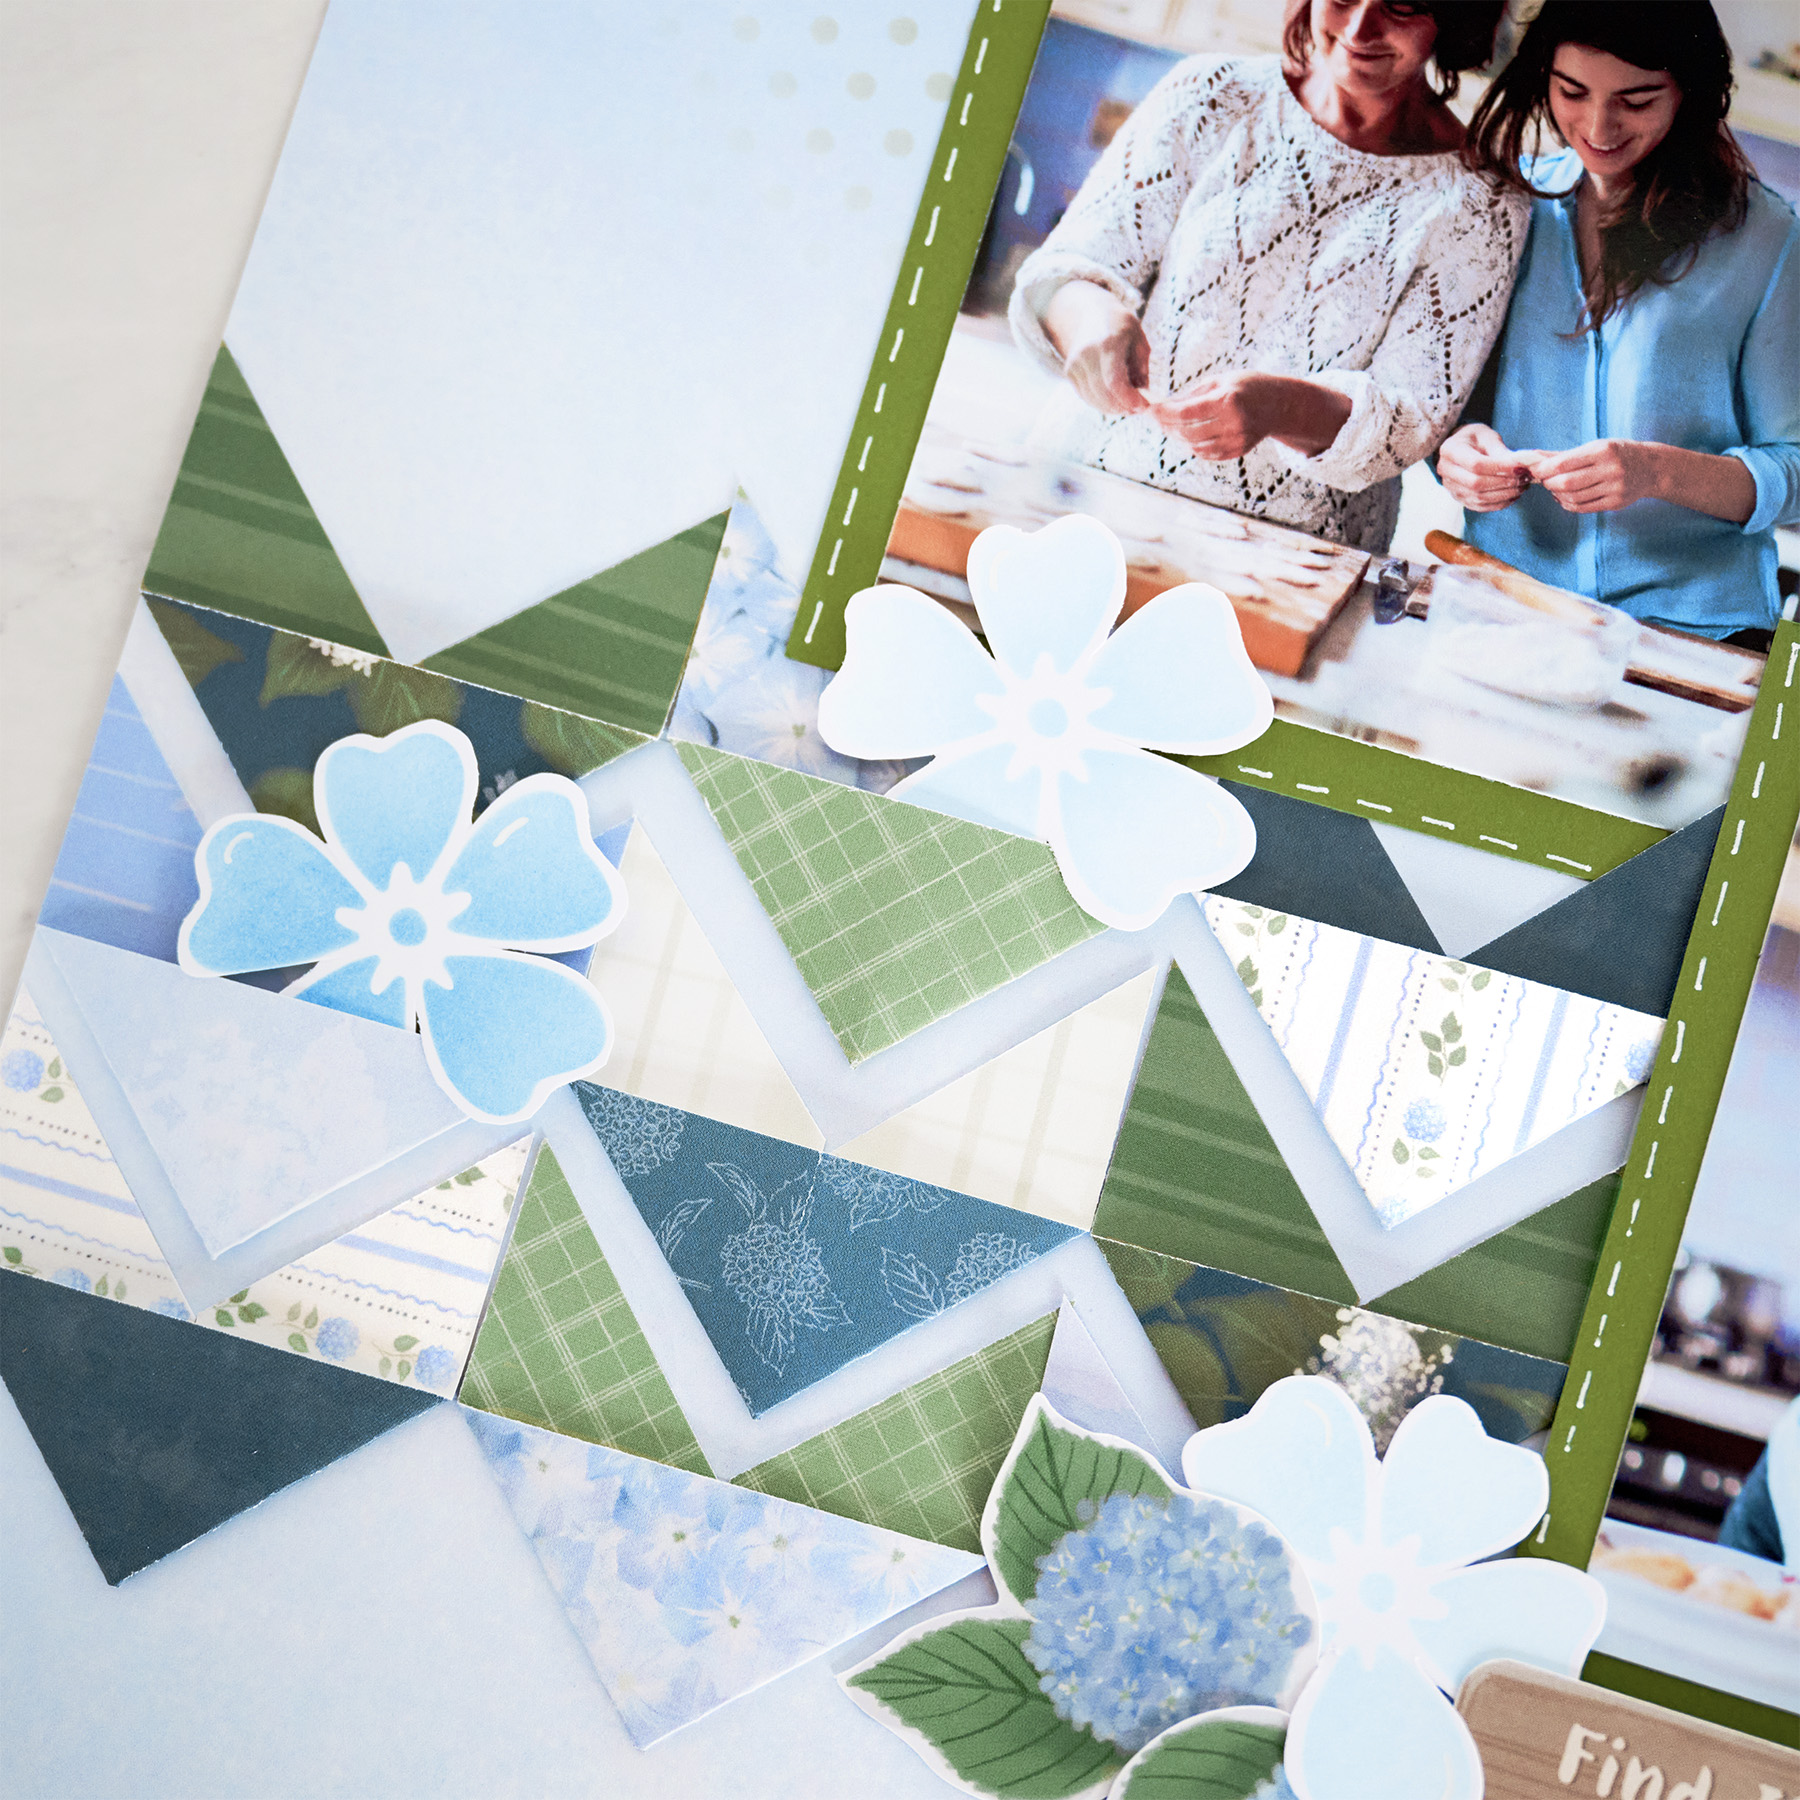
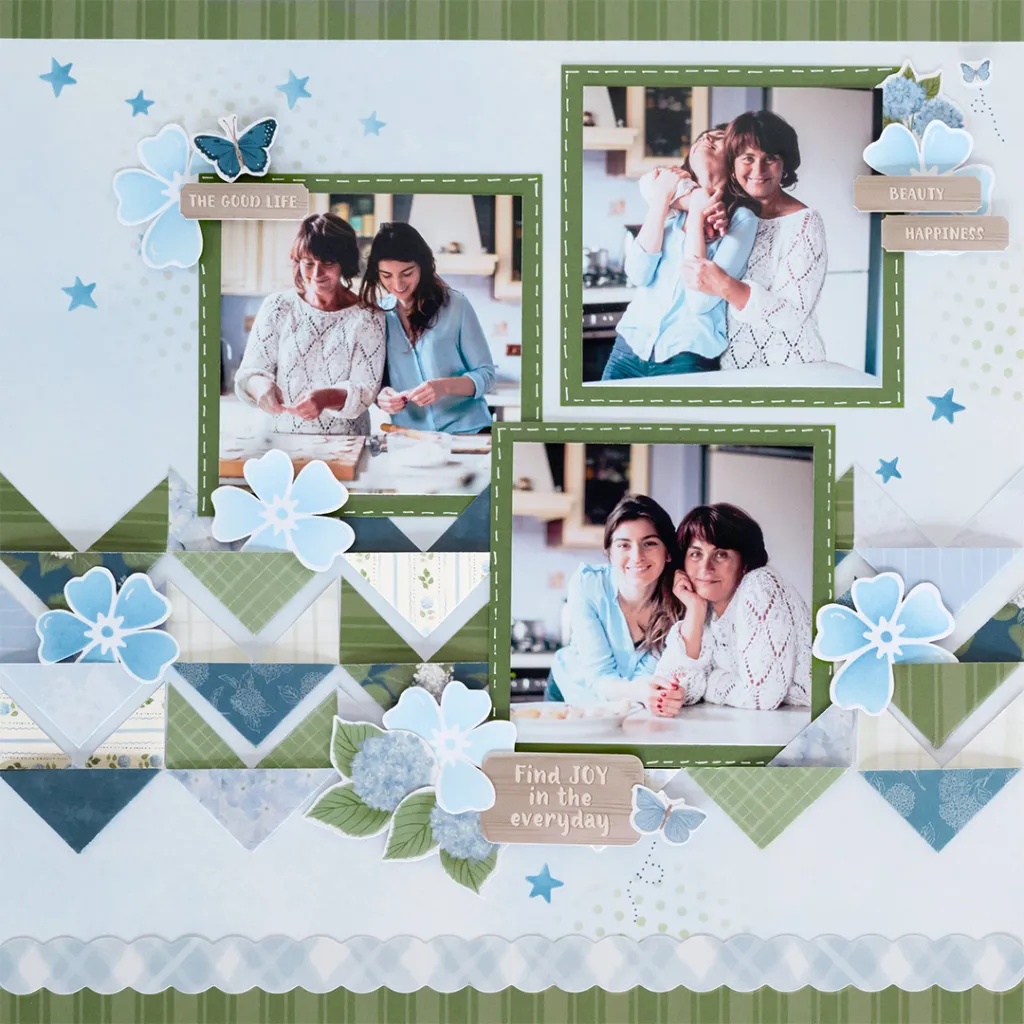
Some of the sweetest memories are made in the kitchen. Rolling dough, sharing a laugh and simply spending time together. This Hydrangea Haven layout frames those everyday moments with rows of folded paper chevrons, soft stenciled blooms and hand-drawn faux stitching for a page that feels as warm as the memories on it.
It’s a fun way to use a little bit of every pattern in the paper pack, and the triangle scraps you trim away become a coordinating bonus border so nothing goes to waste!
To create this layout, you will need:
- Hydrangea Haven Paper Pack
- Hydrangea Haven Tone-on-Tone Paper Pack
- Hydrangea Haven Stickers
- Avocado Solid Cardstock
- Baby Blue Solid Cardstock
- Bright White Solid Cardstock
- Ink Pad – Songbird Blue
- Craft Blending Brush – Songbird Blue
- Ink Pad – Cornflower
- Craft Blending Brush – Cornflower
- Ink Pad – Avocado
- Craft Blending Brush – Avocado
- 5×5 Stencil – Starry Blooms
- 5×5 Stencil – Polka Dots
- 12-inch Trimmer
- 12-inch Trimmer Scallop Blade
- Tape Runner
- Repositionable Tape Runner
- Foam Squares
- All-Purpose Scissors
- White Gelly Roll Pen
- Navy Dual-Tip Pen

Love this layout?

Love this layout?

Step 1: Use light blue tonal paper as the base for this layout.
Step 2: Cut two strips of green striped designer paper to measure 12″ x 1/2″. Adhere them along the top and bottom edges of the layout.
Step 3: Using the 5×5 Polka Dots Stencil with Avocado Ink and a Craft Blending Brush, ink polka dots along the upper left, middle right and lower right areas of the layout.
Step 4: Using a ruler and pencil, lightly draw horizontal lines 3″, 4-1/4″ and 5-1/2″ from the bottom edge of the layout. Use these lines as guides for placing the folded pieces.
Step 5: Cut 18 strips from a variety of designer papers to measure 4″ x 1″. Place one strip along the 45-degree angle on the 12-inch Trimmer with the point of the paper at the cutting line, then cut. Flip the strip over, place it along the 45-degree angle with the point at the cutting line and cut again. Fold the strip in half, then fold up the tails to create a “V.” Repeat with the remaining strips.
Tip: Save the small triangles you trim off each strip — you’ll use them to create the bonus border!
Step 6: Adhere the folded pieces along the pencil lines across the layout.
Step 7: Cut three photo mats from Avocado Solid Cardstock to measure 4″ x 4″. Adhere them to the layout as shown.
Step 8: Adhere three photos that measure 3-1/2″ x 3-1/2″ to the mats.
Step 9: Using a White Gelly Roll Pen, draw faux stitches around each photo.
Step 10: Using the 5×5 Starry Blooms Stencil with Cornflower and Songbird Blue Inks and Craft Blending Brushes, ink the floral blooms onto Bright White Solid Cardstock. Fussy cut the flowers with scissors, then tuck and adhere them into the folds of the paper pieces and behind the photo mats.
Step 11: Using the same stencil with Cornflower Ink and a Craft Blending Brush, add stars randomly across the layout.
Step 12: Finish the layout by adhering stickers, using Foam Squares on some for added dimension. Use a Navy Dual-Tip Pen to doodle dotted flight trails behind the butterfly stickers.
Bonus Border:
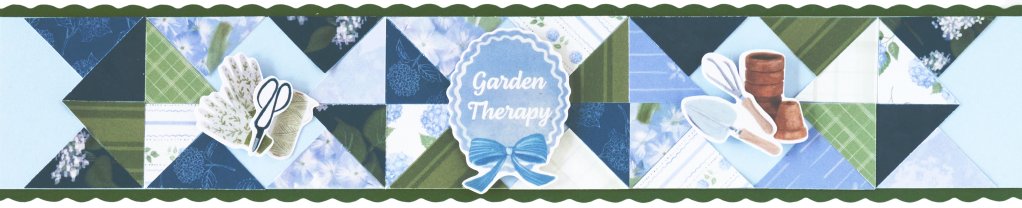
Step 1: Cut a piece of Baby Blue Solid Cardstock to measure 12″ x 2″.
Step 2: Using a ruler and pencil, draw a line across the cardstock at 6″ to mark the center. Use this line as the guide for placing the triangles.
Step 3: Starting at the pencil line, adhere the saved triangles along the top and bottom edges of the cardstock.
Step 4: Fill in every other “V” with triangles, leaving open spaces of cardstock in between. Adhere stickers in the open spaces using Foam Squares.
Step 5: Replace the Straight Blade in your 12-inch Trimmer with the Scallop Blade. Cut a piece of Avocado Solid Cardstock to measure 12″ x 2-1/4″. Adhere the Baby Blue Solid Cardstock piece to the top of the scalloped piece.
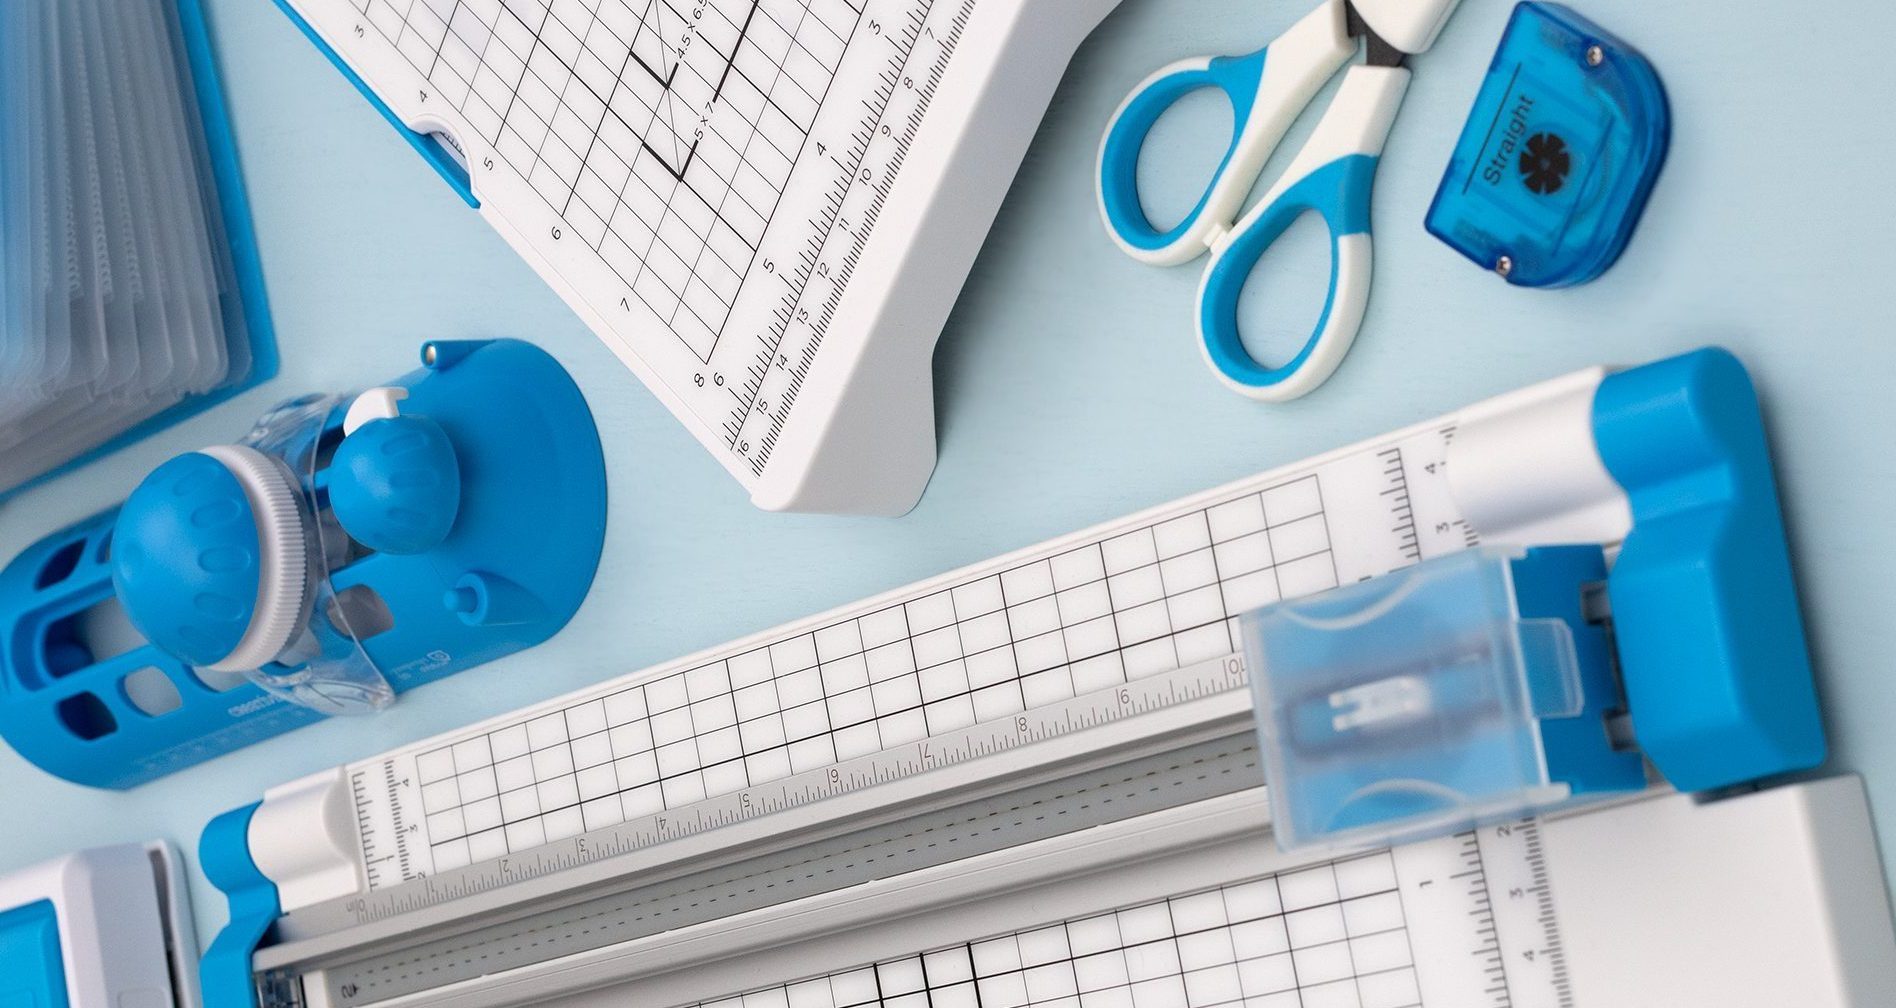
Want to recreate this layout?
We’ve gathered all the products featured in this project in one place, making it easy to find the papers, embellishments, tools and more.
P.S. Are YOU a member of the Virtual Crop Group? It’s your go-to place for MONTHLY Virtual Crops, MONTHLY Completed Album Challenges, QUARTERLY Secret Box Openings with project tutorials and so much more! We hope you’ll join our community of more than 53,000 fellow memory-keeping enthusiasts — you’ll feel right at home!

