October 19, 2026
An Eight Nights Hanukkah Layout with Jewish Holidays
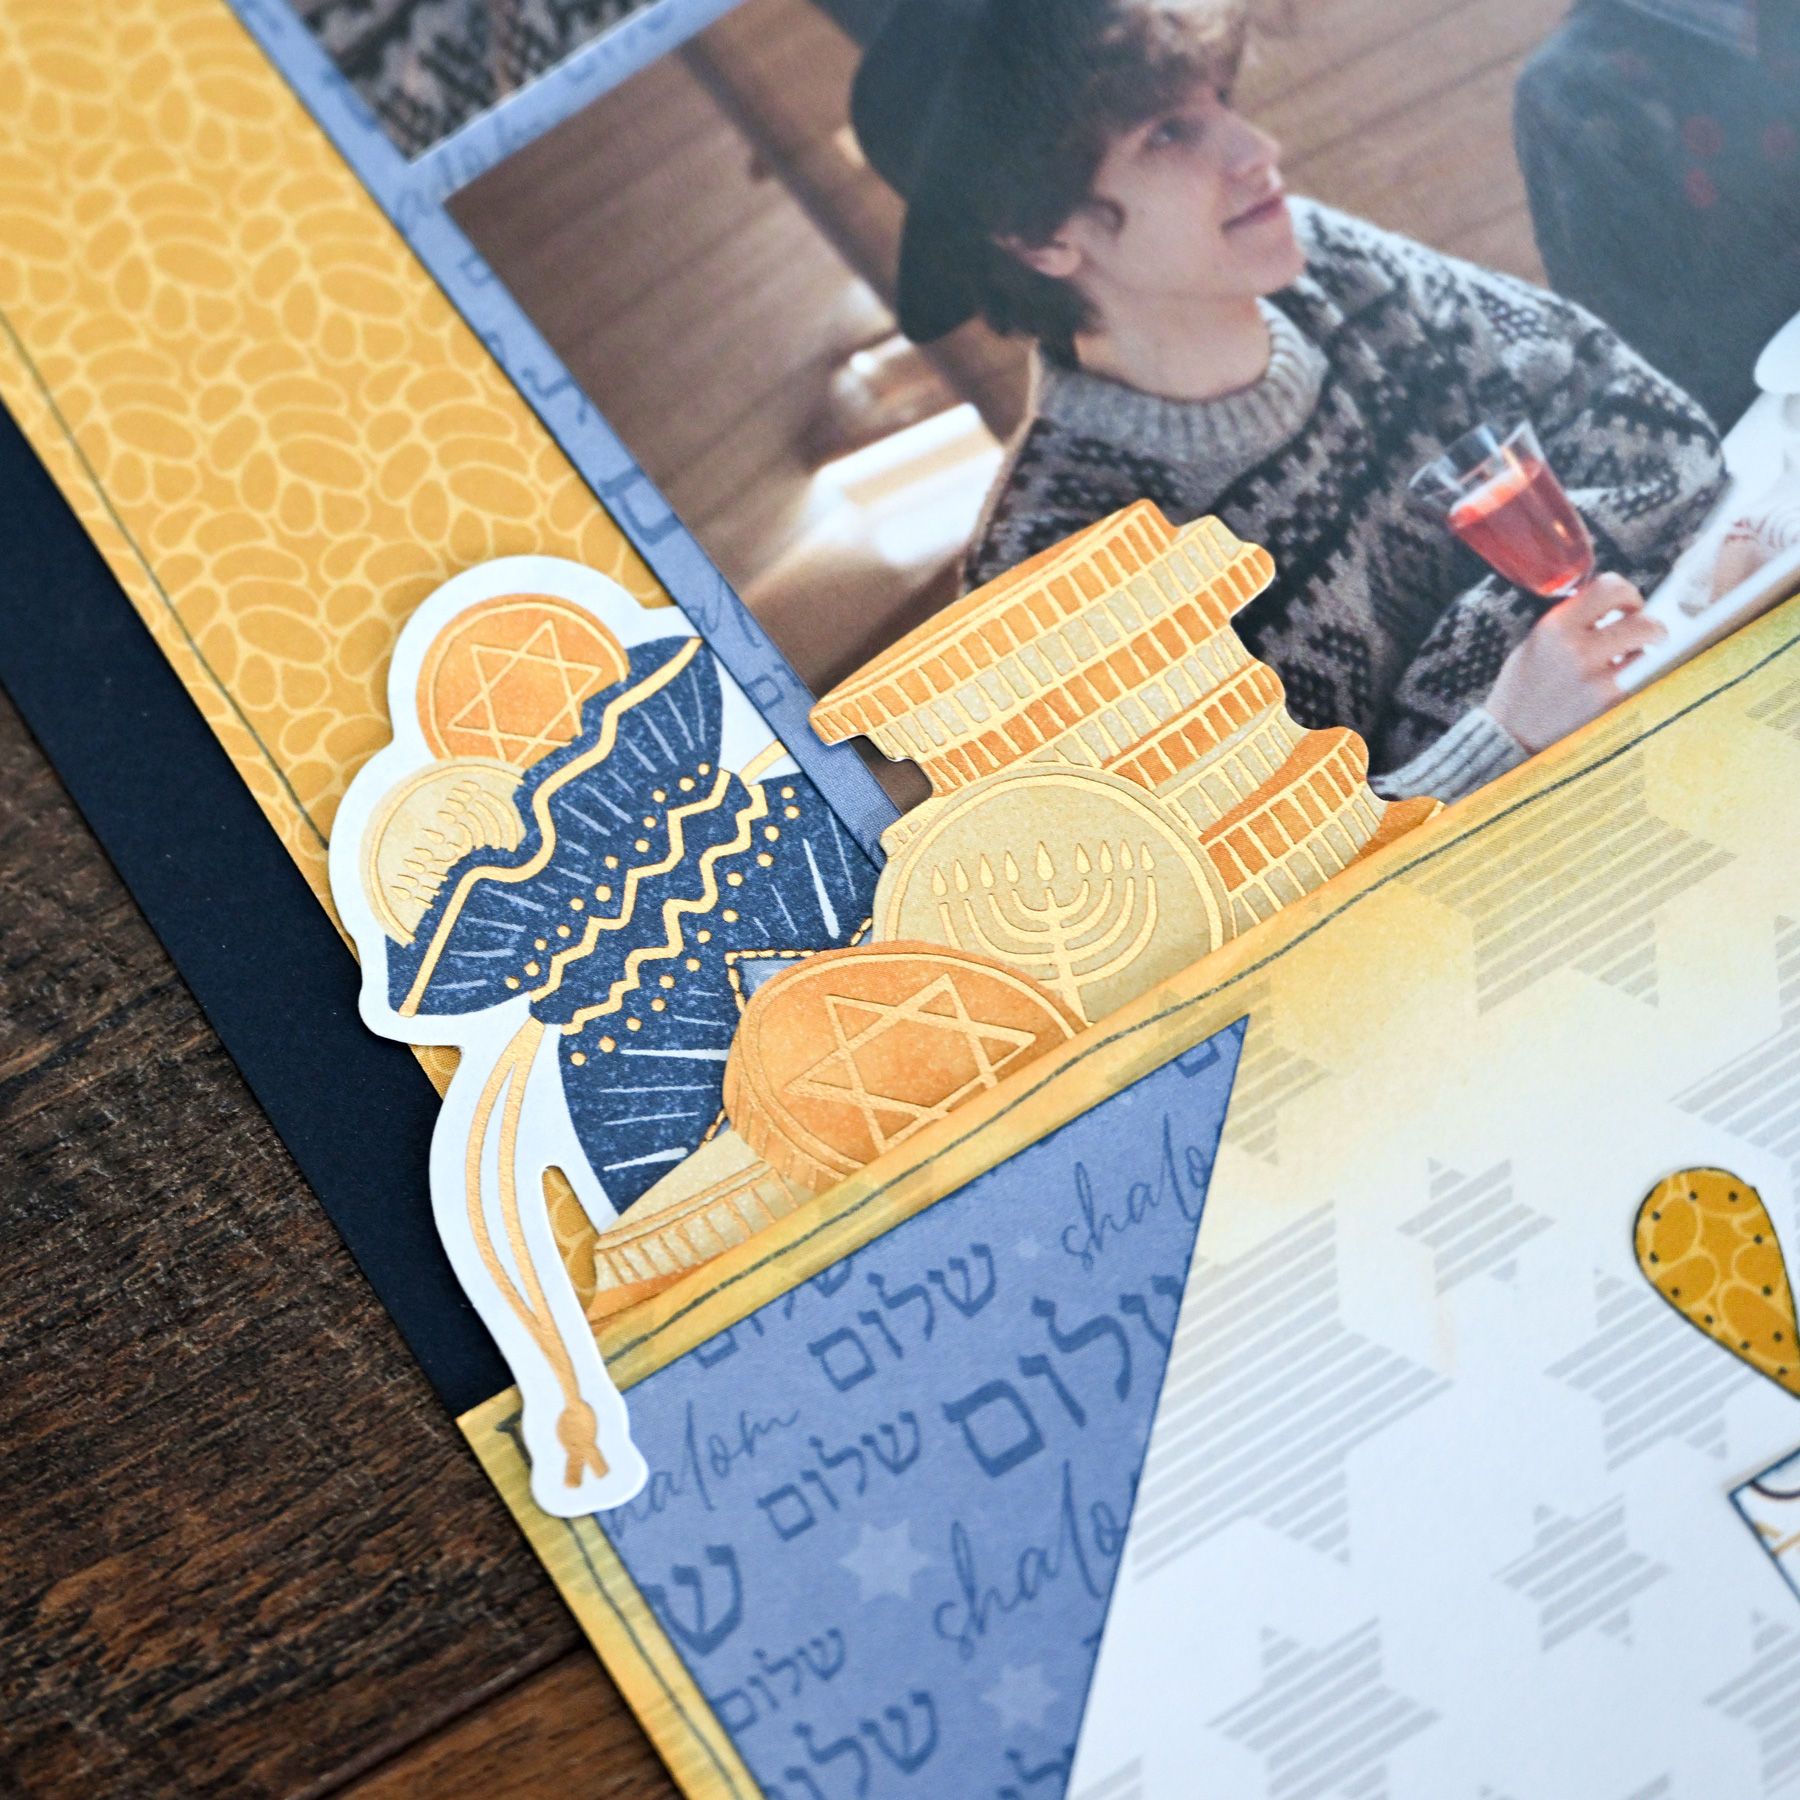
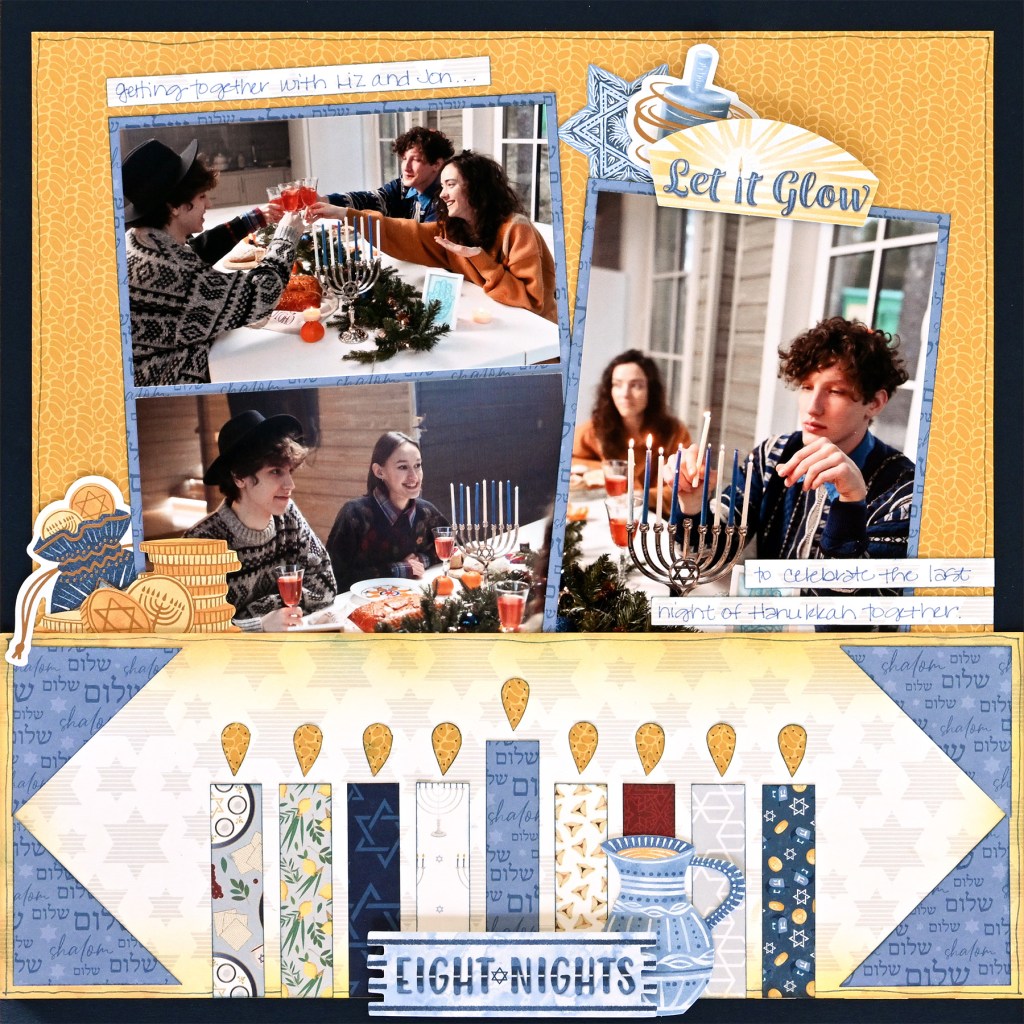
Let your Hanukkah memories glow! This one-page layout features a paper-pieced menorah made from strips of Jewish Holidays designer paper, topped with punched gold “flames” that shine against a softly inked background.
The heart punch from the Key to My Heart Mini Trio Punch Set creates the perfect candle flames, and the Love & Light Foiled Embellishments add a sparkling finishing touch. It’s a simple, meaningful way to celebrate eight nights with the people you love.
To create this layout, you will need:
- Jewish Holidays Paper Pack
- Love & Light Foiled Embellishments
- Navy Solid Cardstock
- Key to My Heart Mini Trio Punch Set
- Ink Pad – Tangerine
- Craft Blending Brush – Tangerine
- Ink Pad – Navy
- Craft Blending Brush – Navy
- 12-inch Trimmer
- All-Purpose Scissors
- Navy Micro-Tip Pen
- Tape Runner
- Repositionable Tape Runner
- Foam Squares

Love this layout?

Love this layout?

Step 1: Use a piece of Navy Solid Cardstock as the base of the layout.
Step 2: Cut a piece of gold designer paper to measure 11-1/4″ x 11-1/4″. Adhere it to the cardstock.
Step 3: Cut a piece of white patterned designer paper to measure 12″ x 4-1/4″. Ink the edges with the Tangerine Ink Pad and Craft Blending Brush, using a circular motion. Adhere this piece to the layout, lined up with the bottom edge of the gold paper.
Step 4: Cut two squares from blue designer paper to measure 2″ x 2″. Cut each square from corner to corner to create a total of four triangles. Ink the edges with the Navy Ink Pad. Adhere a triangle to each corner of the white paper, leaving about 1/8″ around the outer edges.
Step 5: To create the candles, cut eight pieces from a variety of designer papers to measure 1/2″ x 2-1/2″ and one piece to measure 1/2″ x 3″. Ink the edges with the Navy Ink Pad. Adhere the candles centered along the bottom edge of the white paper, with the 3″ piece in the middle.
Step 6: Using gold designer paper, punch nine hearts with the heart punch from the Key to My Heart Mini Trio Punch Set. Use scissors to cut the hearts in half to create the candle “flames.” Ink the edges and adhere one flame above each candle.
Step 7: Cut two photo mats from blue designer paper to measure 5-1/4″ x 6-3/8″ and 4-1/4″ x 5-3/4″. Ink the edges. Adhere two 5″ x 3″ photos to the larger mat and one 4″ x 5-1/2″ photo to the smaller mat. Tuck the mats under the top edge of the white paper and adhere.
Step 8: Cut strips from white designer paper, ink the edges, then adhere them to the layout for journaling. Journal as desired with the Navy Micro-Tip Pen.
Step 9: Adhere embellishments to the layout, using Foam Squares on some for added dimension.
Want to recreate this layout?
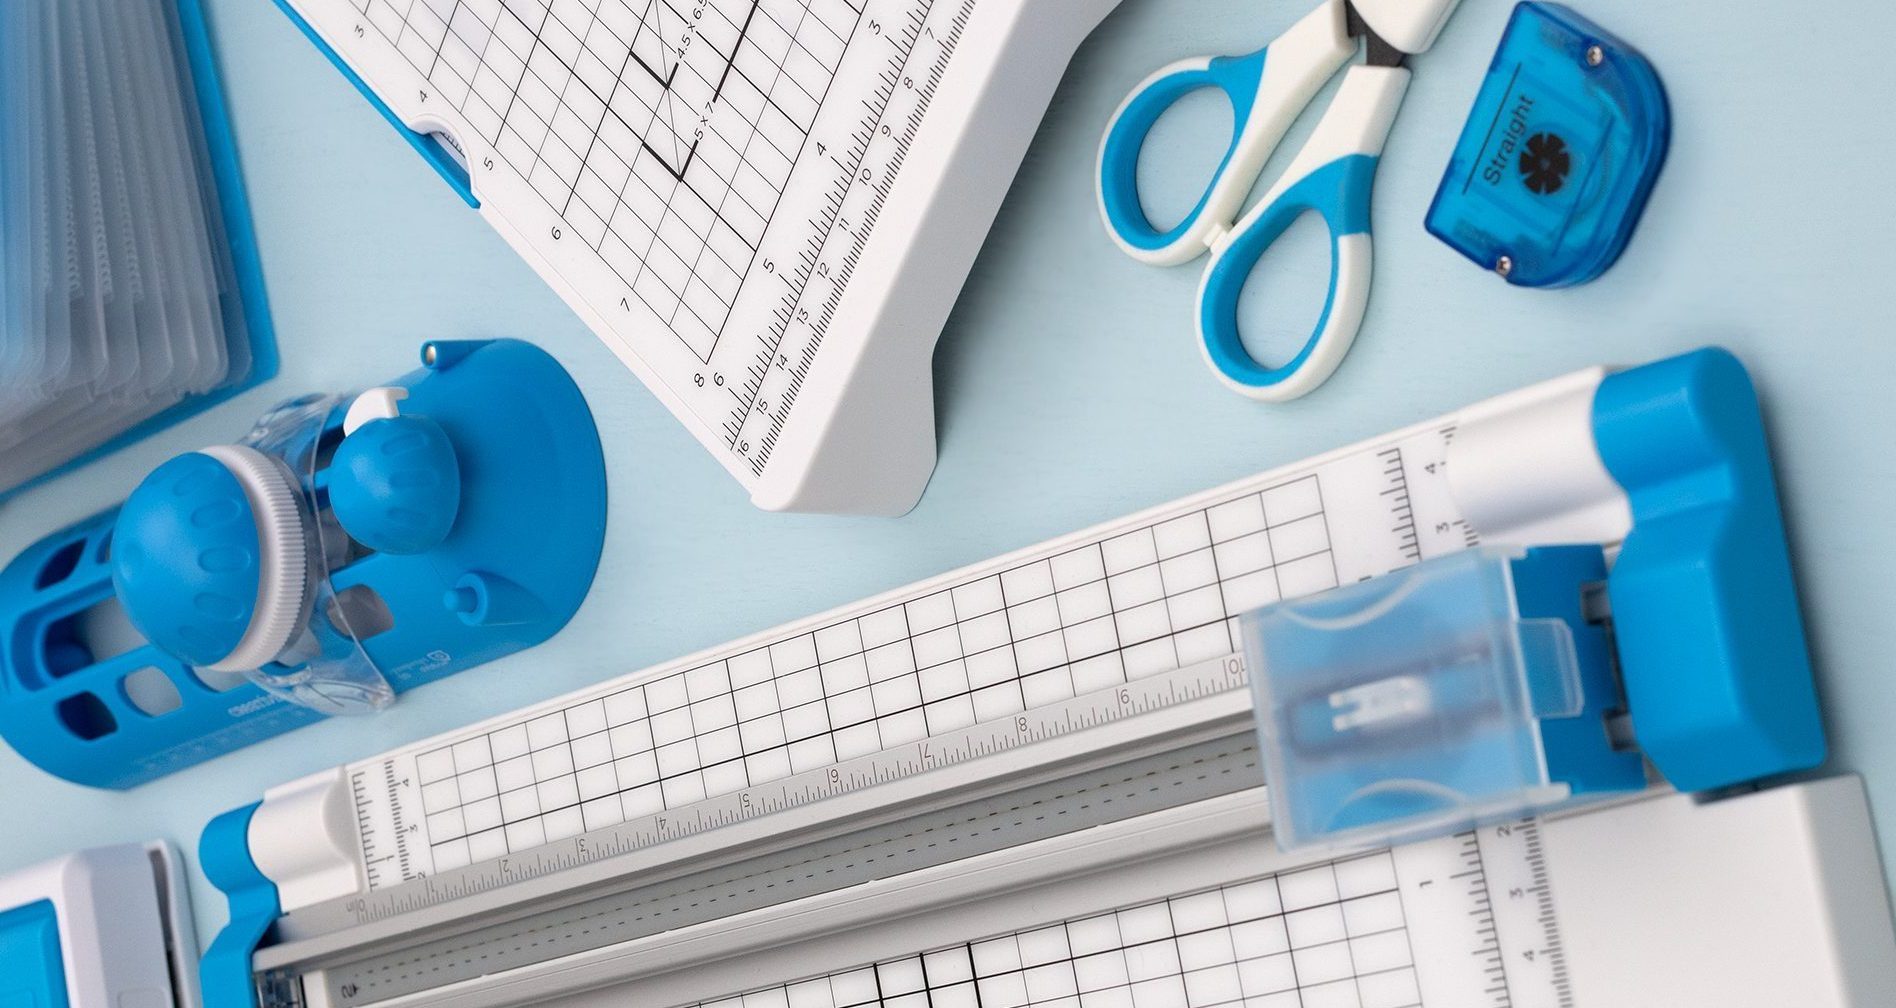
We’ve gathered all the products featured in this project in one place, making it easy to find the papers, embellishments, tools and more.
P.S. Are YOU a member of the Virtual Crop Group? It’s your go-to place for MONTHLY Virtual Crops, MONTHLY Completed Album Challenges, QUARTERLY Secret Box Openings with project tutorials and so much more! We hope you’ll join our community of more than 53,000 fellow memory-keeping enthusiasts — you’ll feel right at home!

