December 4, 2015
12 Days of Christmas Ideas: Day 4 – Christmas Easel Card
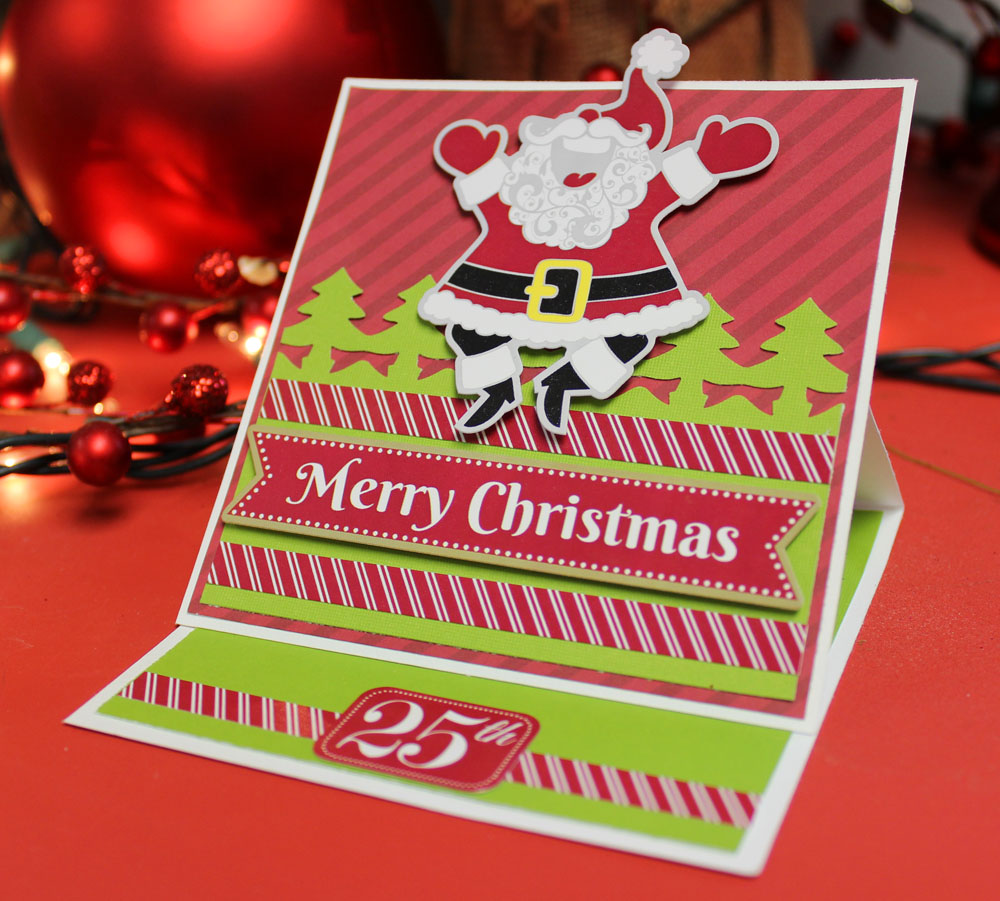
This totally fun card isn’t just cute – it’s functional, too! After the recipient opens it and reads it, they can prop it up in their favorite place to enjoy it every day. Yay!
Here’s what you’ll need to create it:
- White Cardstock
- Border Maker System with Evergreen Cartridge
- Christmas Joy Paper Pack
- Christmas Joy Stickers
- Foam Squares
- Multi-Purpose Tool
- Paper Trimmer
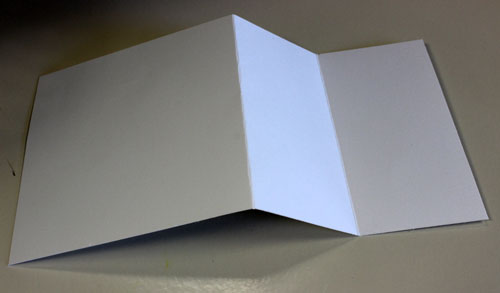
Step 1: Cut a piece of white cardstock to measure 4.25″ x 8.5″, and a second piece to measure 4.25″ square.
Step 2: Remove blade from paper trimmer, then insert long white cardstock strip into trimmer and close arm. Using Multi-Purpose Tool, score white strip at 4.25″ and 6.25″. Crease at each score line in opposite directions as shown here:
Step 3: Apply tape runner to backside of smallest flap as shown:
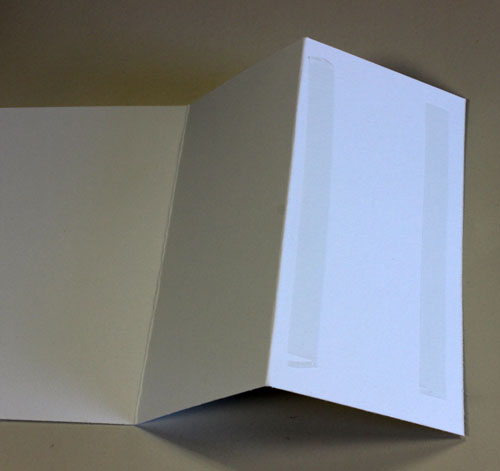
Step 4: Adhere square piece of cardstock to flap with adhesive to it as shown:

NOTE: line up end of square piece with end of flap. After square has been adhered, this is what it will look like:

Step 5: Pull adhered square piece forward so card sits like this:
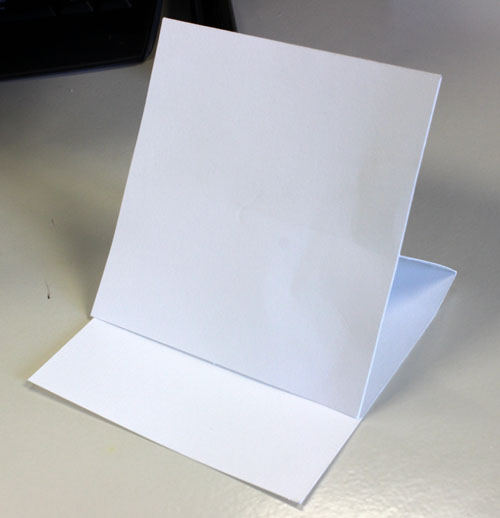
NOTE: you may need to work the fold on the backside of the card so it will stand like this.
Step 6: Decorate front and inside of card, leaving a space inside the card for journaling:
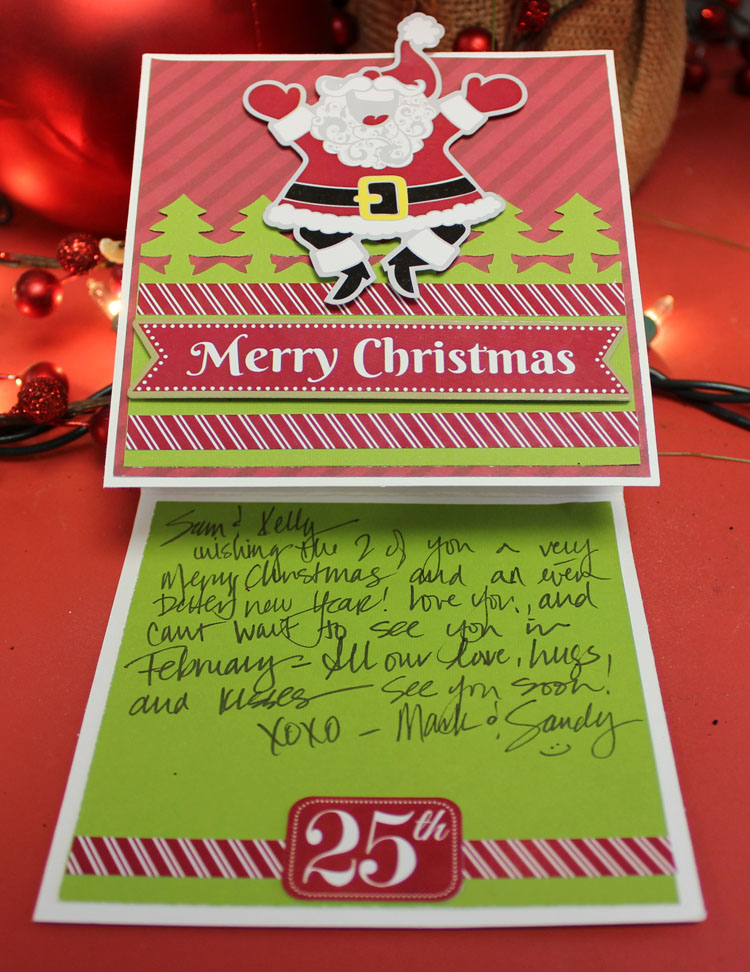
The green cardstock piece inside the card measures 4″ square. The red piece also measures 4-1/8″ square. The evergreen border strip was created by punching twice along the edge of green cardstock, then trimmed to measure 4″ wide x 2.5″ tall. Red & white striped stickers were chunks trimmed from border stickers. Adhere Santa and Merry Christmas stickers using Foam Squares for dimension. Adhere 25th sticker to finish.
Here’s what the card looks like when it’s closed flat:

We’re totally excited to hear what type of easel card you’re planning to create! :-)

So cute!
It’s great to have so many fresh ideas to share!