June 27, 2016
Lights, Camera, Action–and SCRAPBOOK!

Are you addicted to your camera like I am? I take my camera with me everywhere!
What’s better?
Being able to create fabulous borders to highlight your photos that you take!
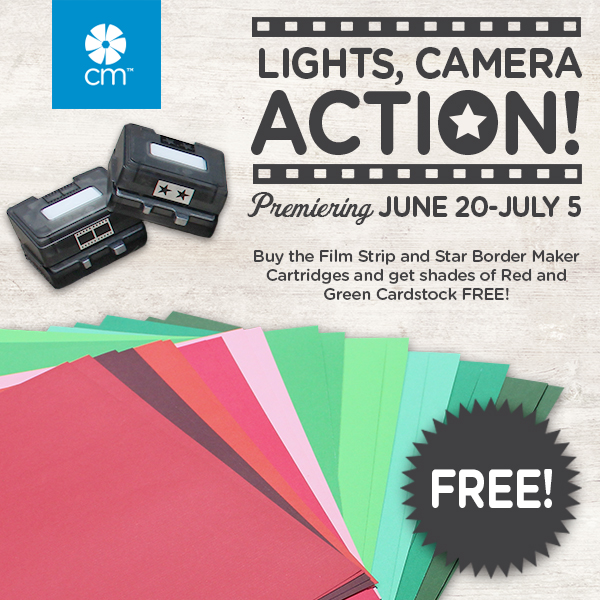
By layering the Star Border Maker Cartridge and the Film Strip Border Maker Cartridge, you can create a stunning border for any scrapbook layout! The stars perfectly line up with the openings of the film strip openings! So, perfection, it is!

To create this layout, you will need:
- Uncharted Paper Pack
- Uncharted Embellishment Pack
- Uncharted Stickers
- Travel Cardstock
- Black Cardstock
- Border Maker System-Star Border Maker Cartridge, Film Strip Border Maker Cartridge
- Black Pen
- Foam Squares
- Tape Runner & Mini Tape Runner
- 12″ Straight Trimmer
Step 1: Use the camera patterned paper as the base for this layout.
Step 2: Cut a piece of the Black Cardstock t0 12″ x 9″. Adhere to the layout.
Step 3: Cut a piece of the the cream and gray cardstock to 4″ x 12″.
Step 4: Using the Border Maker System, punch along both 12″ edges of the gray cardstock with the Film Strip Cartridge. Cut in half vertically to create two 2-inch borders.
Step 5: Using the Border Maker System, punch along both 12″ edges of the cream cardstock with the Star Cartridge. Cut in half vertically to create two 2-inch borders.
Step 6: Layer the gray border on top of the cream border. Adhere to the top of the black cardstock.
Step 7: Cut the “Life is an Adventure” border from the paper. Adhere to the top of the layout.
Step 8: Adhere two 4″ x 5″ photos.
Step 9: Cut a piece of the cream cardstock to measure 2-1/2″ x 5″. Adhere between the photos. Journal using a black pen.
Step 10: Adhere the embellishments and sticker strip to the layout.
Right now, we are offering this AMAZING DEAL! You only have a week left to get in on this action–so do not delay! Imagine how many layouts you will be able to enhance with not just the Border Maker Cartridges, but all that delicious cardstock you get for FREE!
Don’t procrastinate–Run to the nearest checkout line!
Melissa
