June 28, 2016
CM Tools For Your Travel and Vacation Layouts – Part 2

In the first part of this 2 part series, I shared CM’s basic tools for creating a scrapbook page. I also shared layouts created with CM’s Cool Serenity Collection and some of my favorite tools for enhancing my travel and vacation layouts. One of my all time favorite tools for enhancing my scrapbook layouts is the Border Maker System. Used alone or with border strips created with the 12-Inch Trimmer, the Border Maker System is great for creating quick and easy borders. In today’s post, I’ll share layouts created with CM’s Uncharted Collection and the Border Maker System.
For my first layout, I created flowers using the Two-Way Corner Rounder and the Custom Cutting System. Be sure to refer to the video instructions found in the “Stop, and smell the FLOWERS” blog post here for instructions.
Here’s what you’ll need to create this layout:
- Uncharted Paper Pack
- Uncharted Embellishment Pack
- Uncharted Slide-in Pack
- Travel cardstock
- 12-inch Straight Trimmer
- Personal Trimmer
- All-purpose Scissors
- Custom Cutting System and Circle Patterns
- Two-Way Corner Rounder
- Border Maker System and Film Strip Cartridge
- Black Dual-tip Pen
- Tape Runner, Mini Tape Runner & Foam Squares
Step 1: Using the 12-inch Trimmer, cut one 2 1/2″ x 12″ and one 9 1/2″ x 12″ piece from each sheet of Uncharted paper. Adhere to pages as shown.
Step 2: Using the Border Maker and Film Strip cartridge, punch two film strip borders pattern paper and one from sand cardstock. Adhere sand film strip and one pattern film strip to left side of left page as shown. Use scissors to trim flush with bottom edge of layout. Adhere one pattern film strip to right side of right page as shown. Trim flush with bottom edge.
Step 3: Using the 12-inch Trimmer or Personal Trimmer, cut six 4 1/2″ x 5 1/2″ photo mats from charcoal cardstock. Trim six photos to 4″ x 5″ and adhere to photo mats. Adhere to pages as shown.
Step 4: Using the Personal Trimmer, cut Collecting Moments slide-in card to 2 1/4″ x 2 1/2 inches. Using the Two-way Corner Rounder, round corners then mat with 2 1/2″ x 2 3/4″ charcoal cardstock. Adhere to right page as shown.
Step 5: Use black pen to journal on a post card slide-in card and adhere to page as shown. Adhere embellishments shown to page using tape runner and foam squares.
Step 6: To create flowers, use the inside track of the medium circle pattern to cut 3 circles with the red blade, 3 circles with the green blade and 3 circles with the blue blade from a variety of pattern paper. Follow the video instructions here to complete. Create centers with bling and adhere to page as shown.
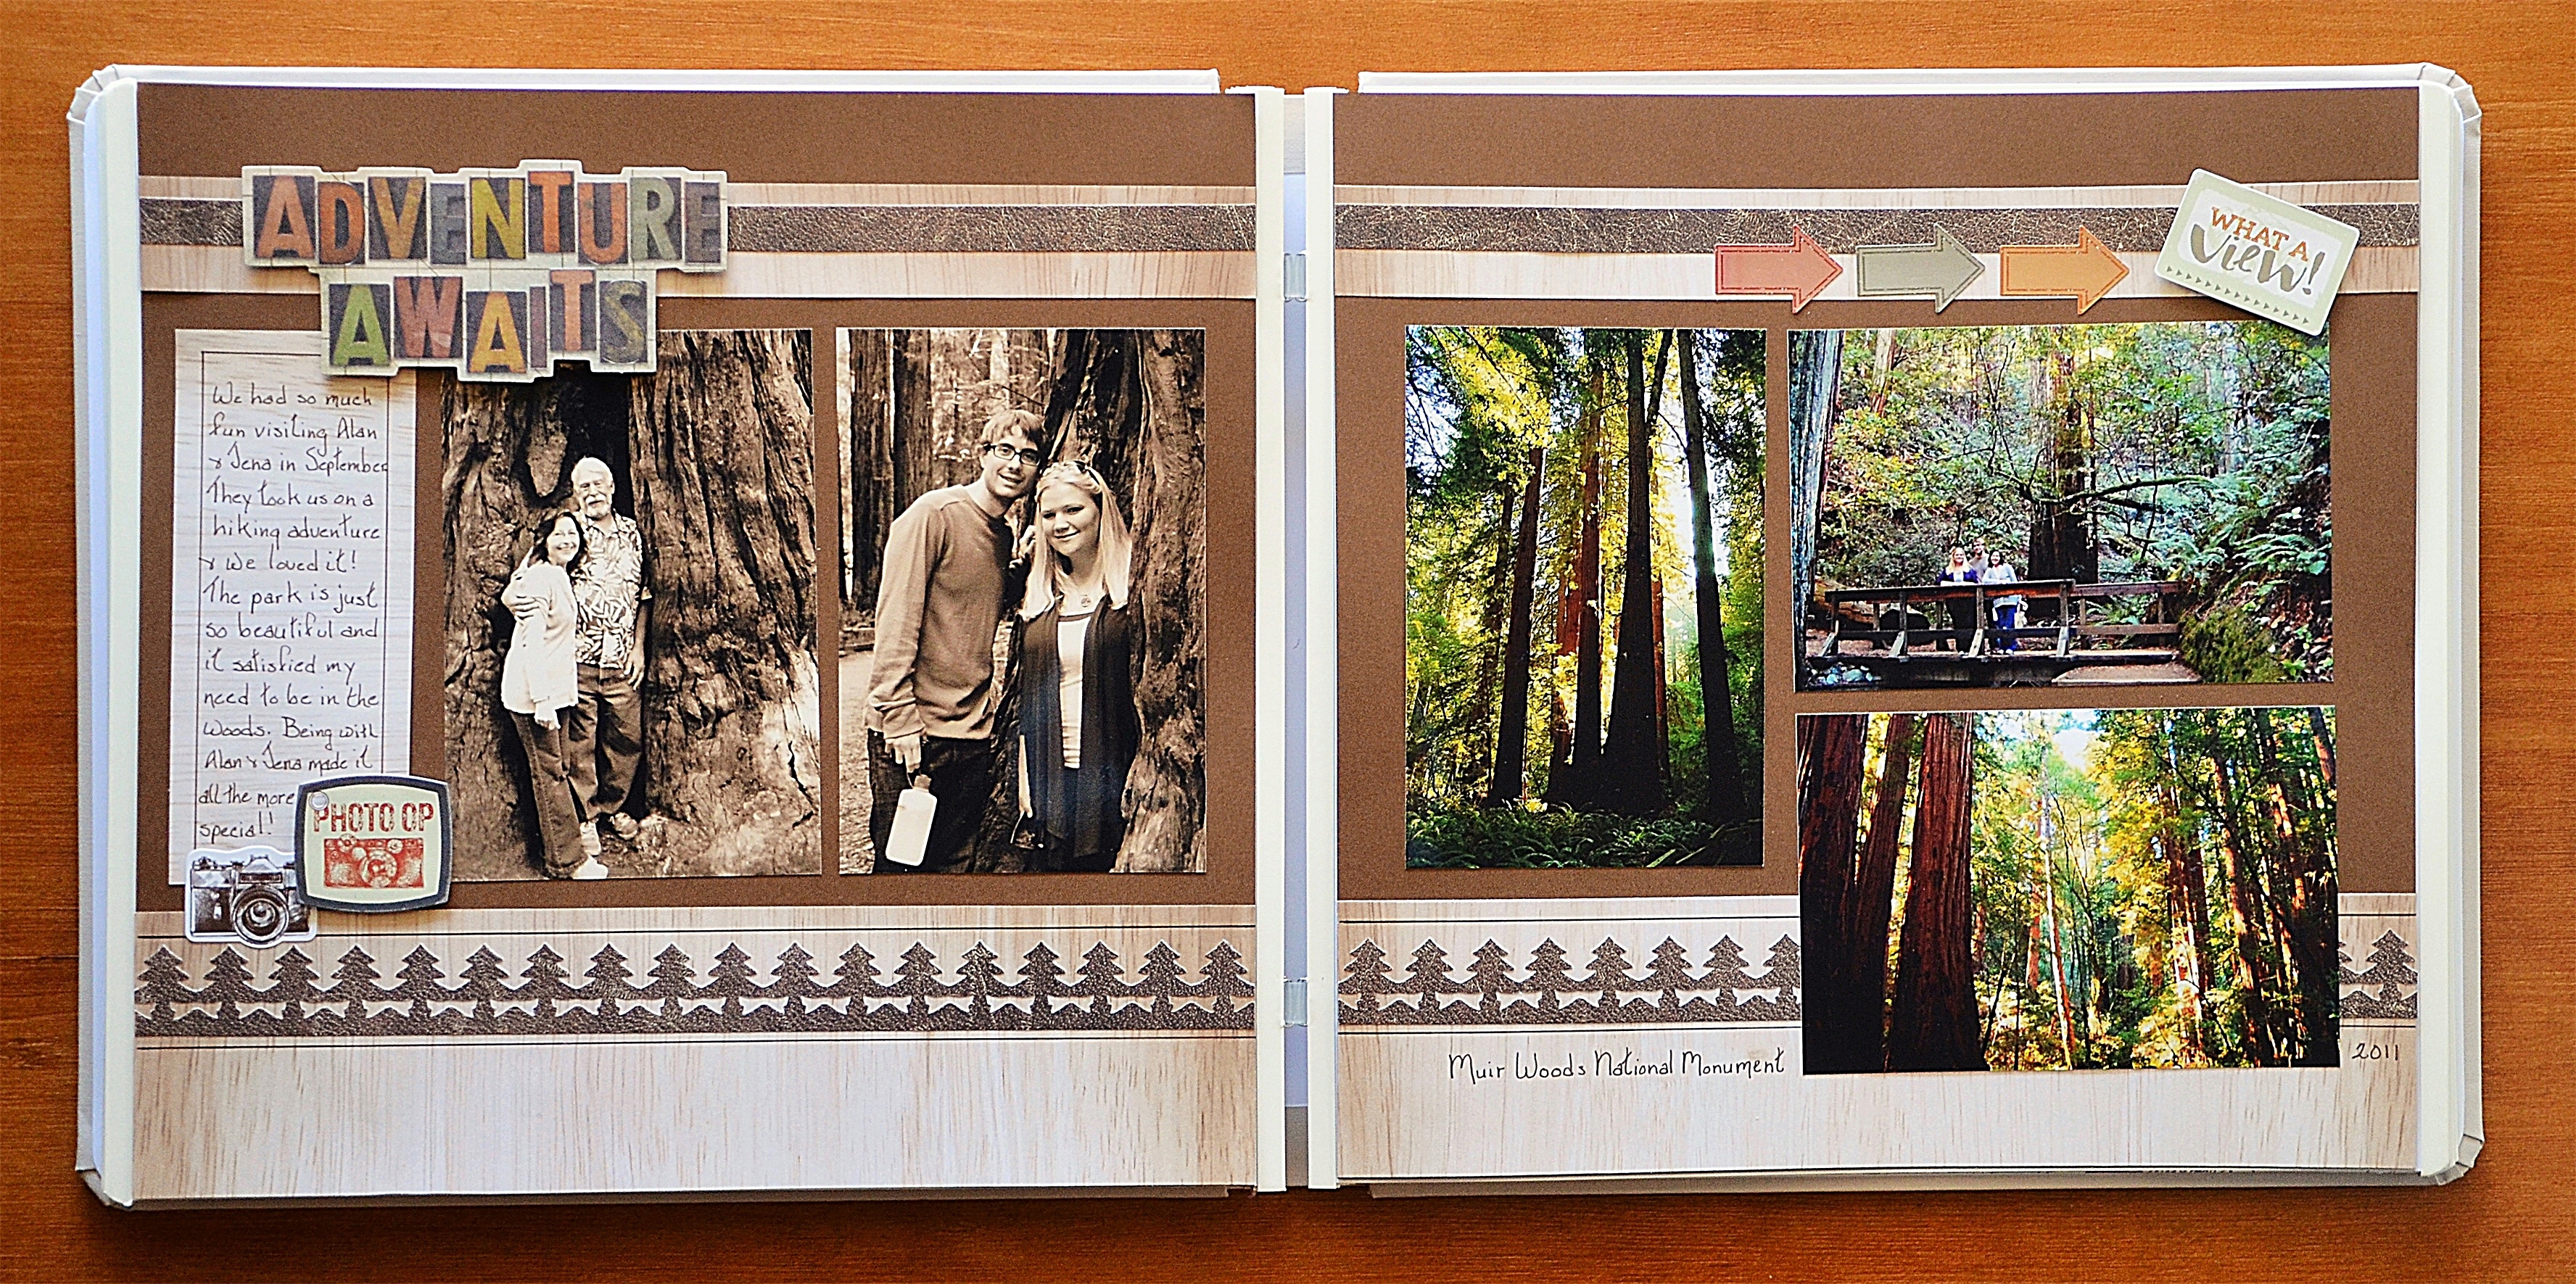
I love the Uncharted Collection for creating scrapbook layouts with pictures taken in Europe. But it also works for pictures taken closer to home, such as the pictures that were taken at Muir Woods National Monument near San Francisco.
Here’s what you’ll need to create this layout:
- Uncharted Paper Pack
- Uncharted Embellishment Pack
- Uncharted Stickers
- Brown Cardstock
- 12-Inch Straight Trimmer
- Border Maker System and Evergreen Cartridge
- a ruler
- Brown Dual-tip Pen
- Tape Runner, Mini Tape Runner and Foam Squares
Step 1: Use brown cardstock as your base.
Step 2: Use the 12-inch Straight Trimmer to cut two 3″ x 12″ and two 1 1/4″ x 12″ strips from wood pattern paper. Cut two 1/2″ x 12″ strips from leather pattern paper. Adhere strips to pages as shown.
Step 3: Using the Border Maker and Evergreen Cartridge, punch two evergreen borders. Use the Mini Tape Runner to adhere to pages as shown. Use the brown pen and a ruler to draw lines above and below the evergreen border as shown.
Step 4: Cut one 2 1/2″ x 6″ rectangle from wood pattern paper. Use a ruler and brown pen to draw another rectangle inside the box. Use the brown pen to journal your story and adhere to left side of left page as shown. Adhere photos as shown.
Step 5: Adhere stickers and embellishments as shown, using foam squares to adhere embellishments.
There you go! Have fun creating your own travel and vacation scrapbook layouts!
Diana

I love both looks with the Unchartered paper pack. I’ve used different “film strip” punches and stickers before but I’ve never thought to do them in anything but black. I absolutely love the lighter colored filmstrips in the top layout. Going to try something similar right away! Thanks for the inspiration.