July 28, 2016
Mini Album Using Creative Memories’ Soiree Collection

Have you seen the lovely new Soiree Collection yet?
I’m absolutely in love with the colors and patterns that make up this new collection.
I can’t wait to use it to create a few scrapbook layouts and borders! In the mean time, I’m going to share a mini album I created with the Soiree papers, stickers and embellishments.

Here’s what you’ll need to create this project:
- Soiree Paper Pack
- Soiree Stickers
- Soiree Embellishments
- 12-inch Trimmer
- All-Purpose Scissors
- Multi-Purpose Tool
- Decorative Arcs Border Punch-SOLD OUT (Possible substitutions: Ocean Waves Border Maker Cartridge or Crown Border Maker Cartridge)
- Border Maker System and Button Chain cartridge
- Black Dual-tip Pen
- Tape Runner and Mini Tape Runner
You’ll also need the cutting and folding guides I created for you to follow:


Step 1: Choose 2 sheets of 12 x 12 pattern paper. Using all-purpose scissors, cut the first sheet according to the Mini Album Cutting & Folding Guide 1. Use the pointed end of the multi-purpose tool to score at folding lines and the flat end to fold.
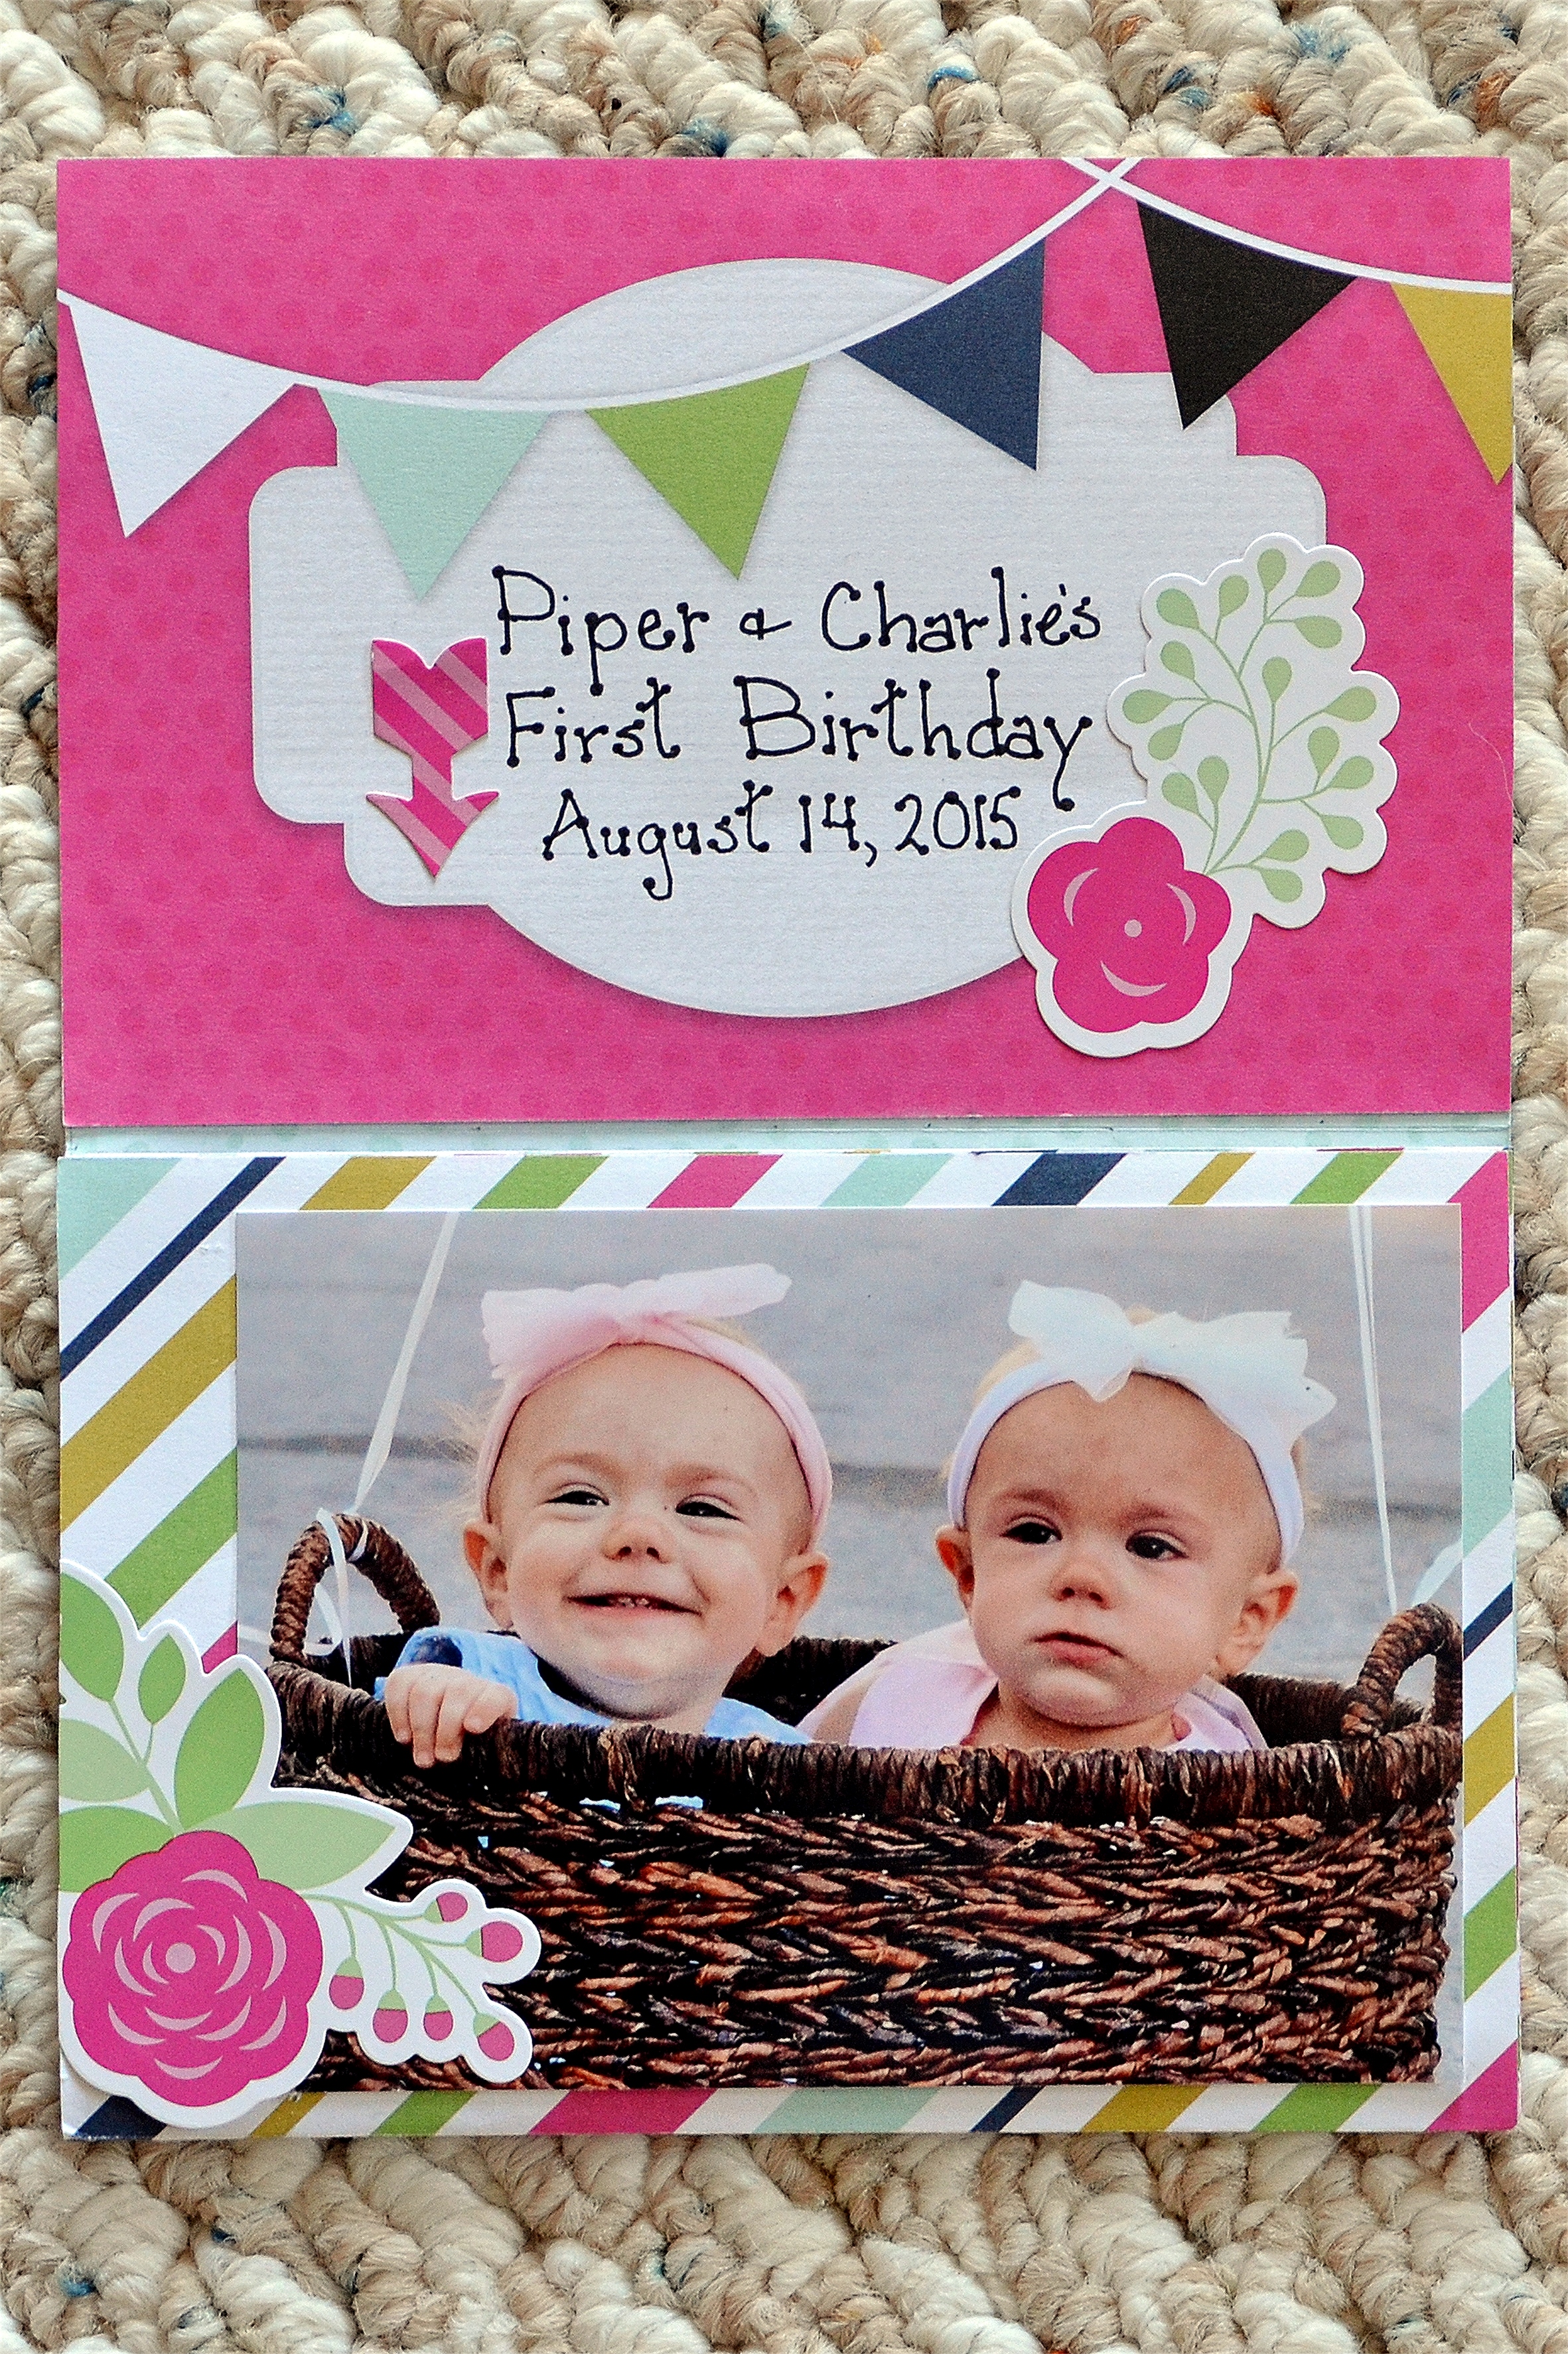
Step 2: Using the Decorative Arcs Border Punch, punch a border into the top cover. Using all-purpose scissors, cut Sweet Celebration motif from title box. Adhere to front cover as shown.
Step 3: Use the 12-inch trimmer to remove the banner title box shown. Adhere to inside cover so that the reverse (blue) side completes the front cover as shown. Use black pen create a sub-title. Enhance with Soiree stickers &/or embellishments.
Step 3: Using the 12-inch trimmer, cut three 4″ x 12″ strips from second sheet of 12 x 12 pattern paper as shown in Mini Album Cutting & Folding Guide 2. Reverse strip 1 and fold each strip in half as shown in the above guide.
Step 4: To create mini album, adhere base 1b (strip 1) to base 1a, flap 2b (strip 3) to flap 2a and flap 3b (strip 2) to flap 3a.
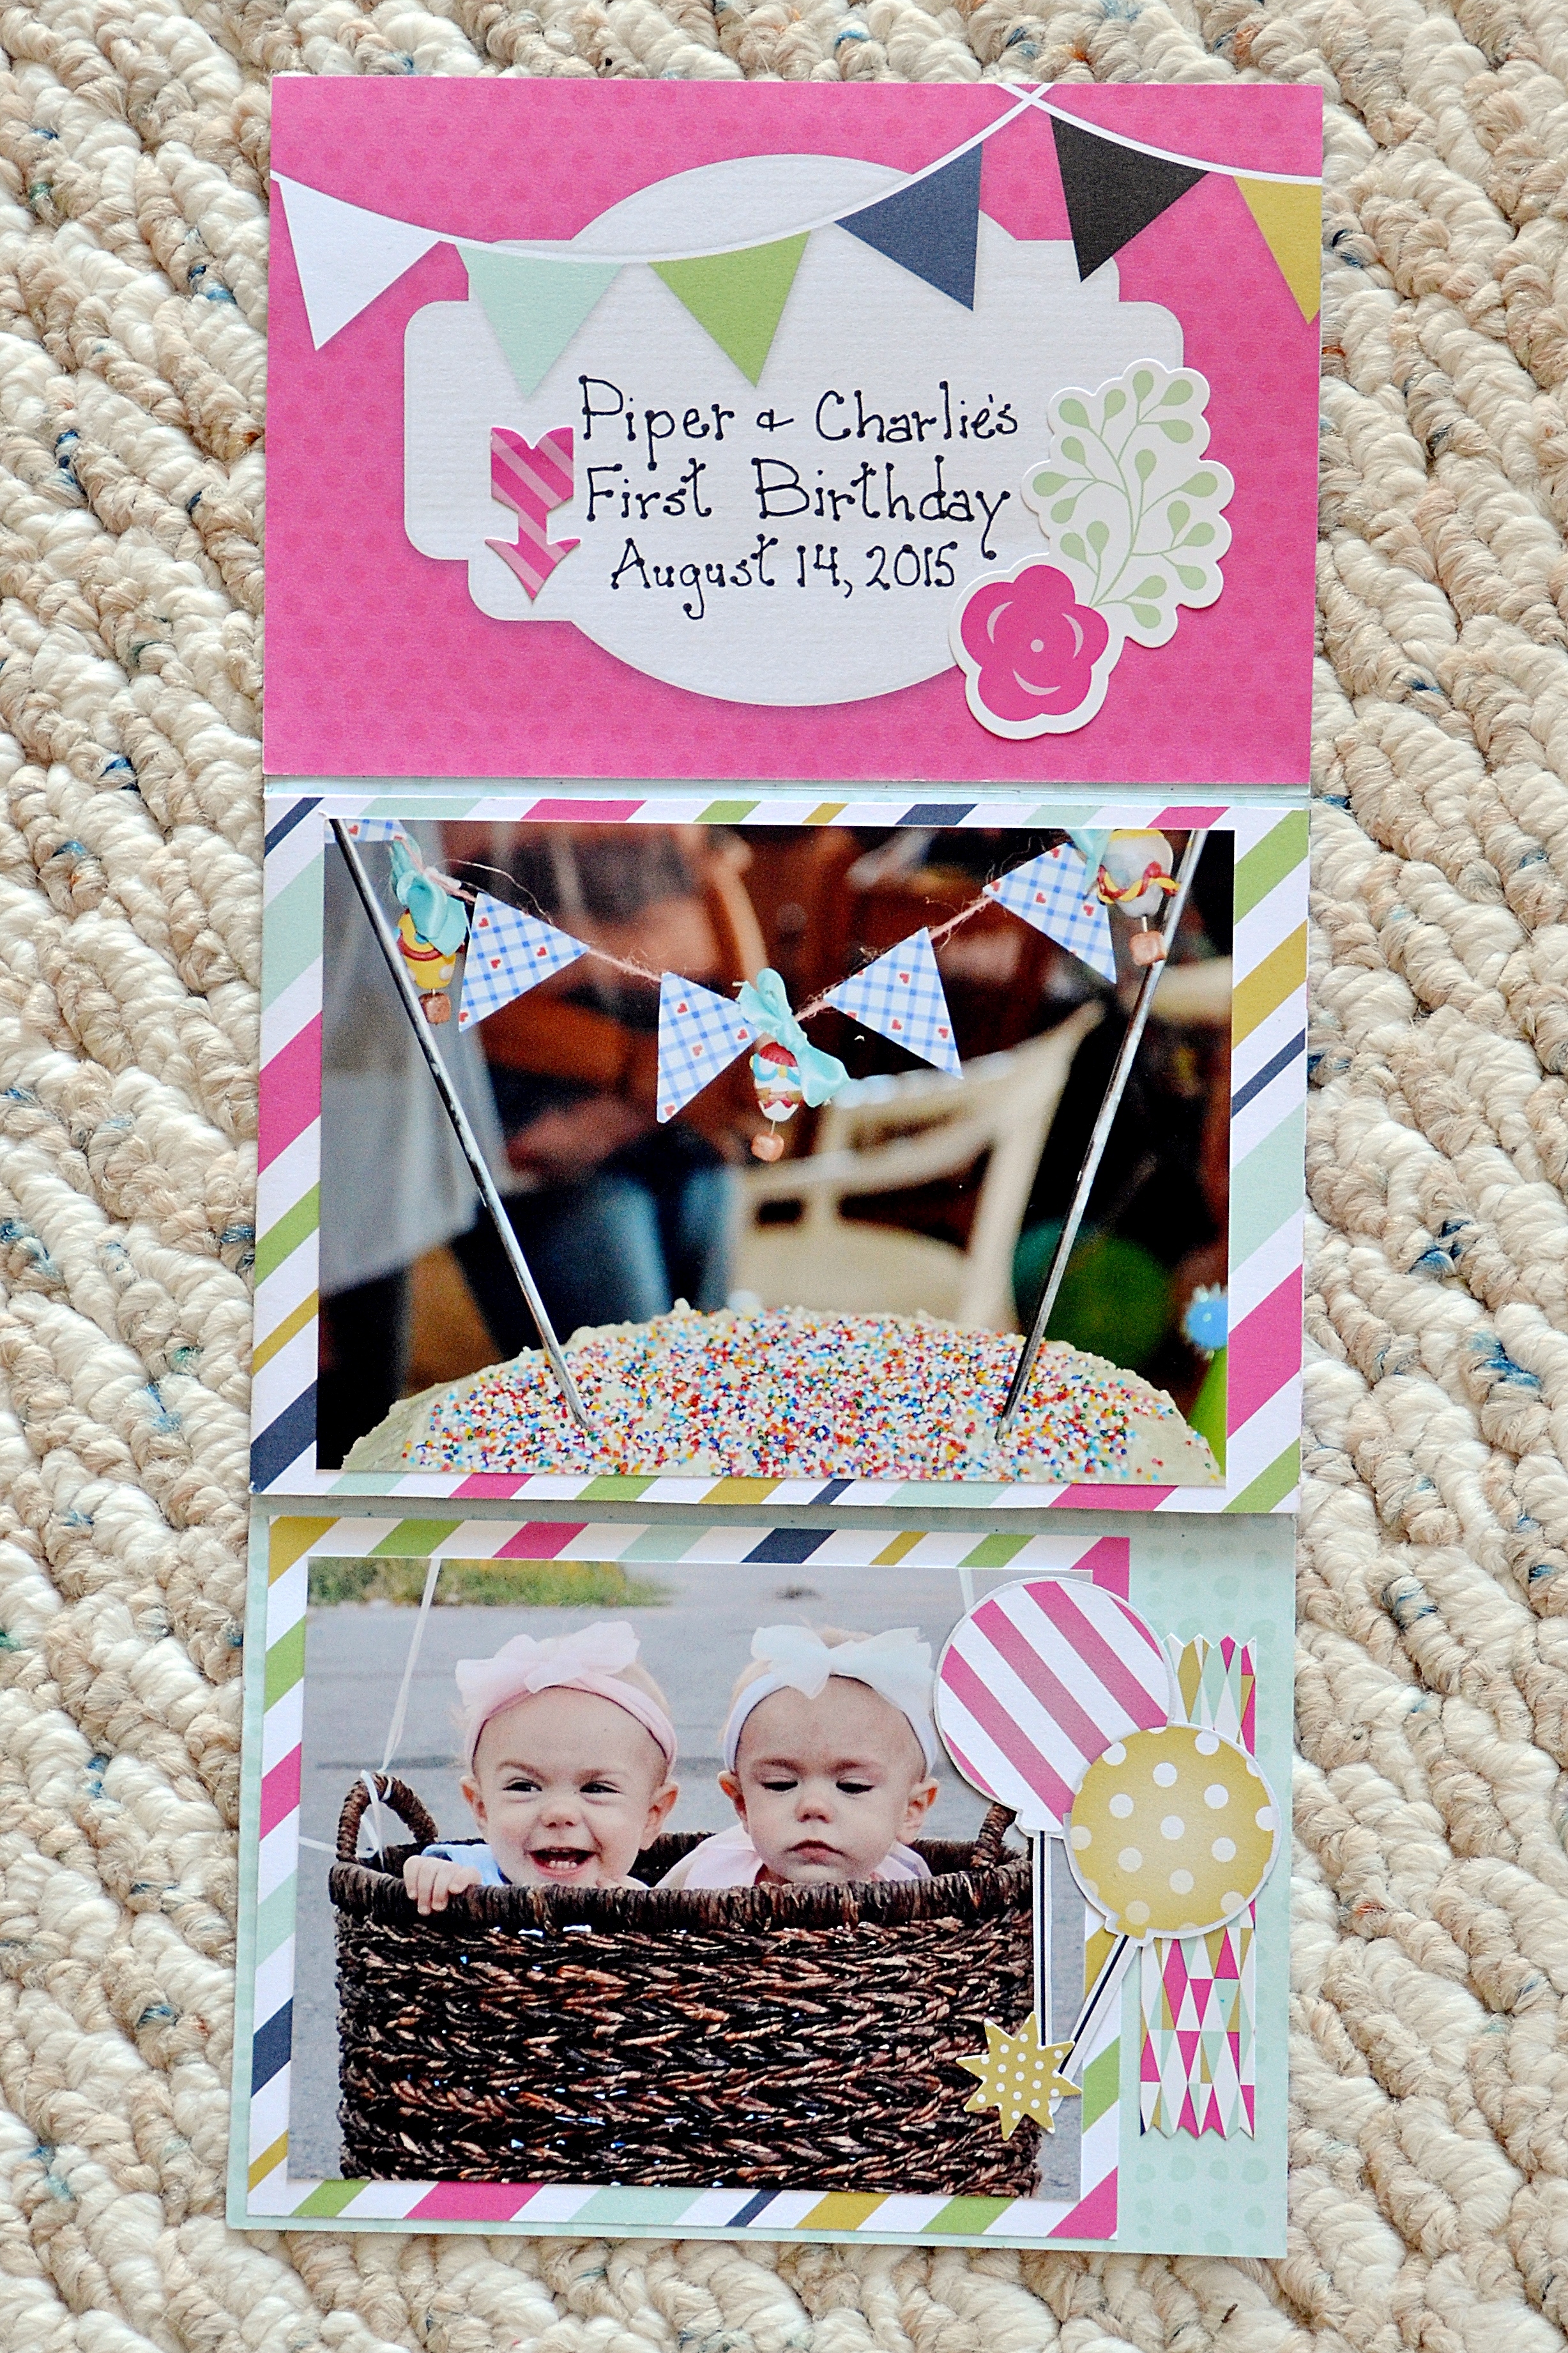
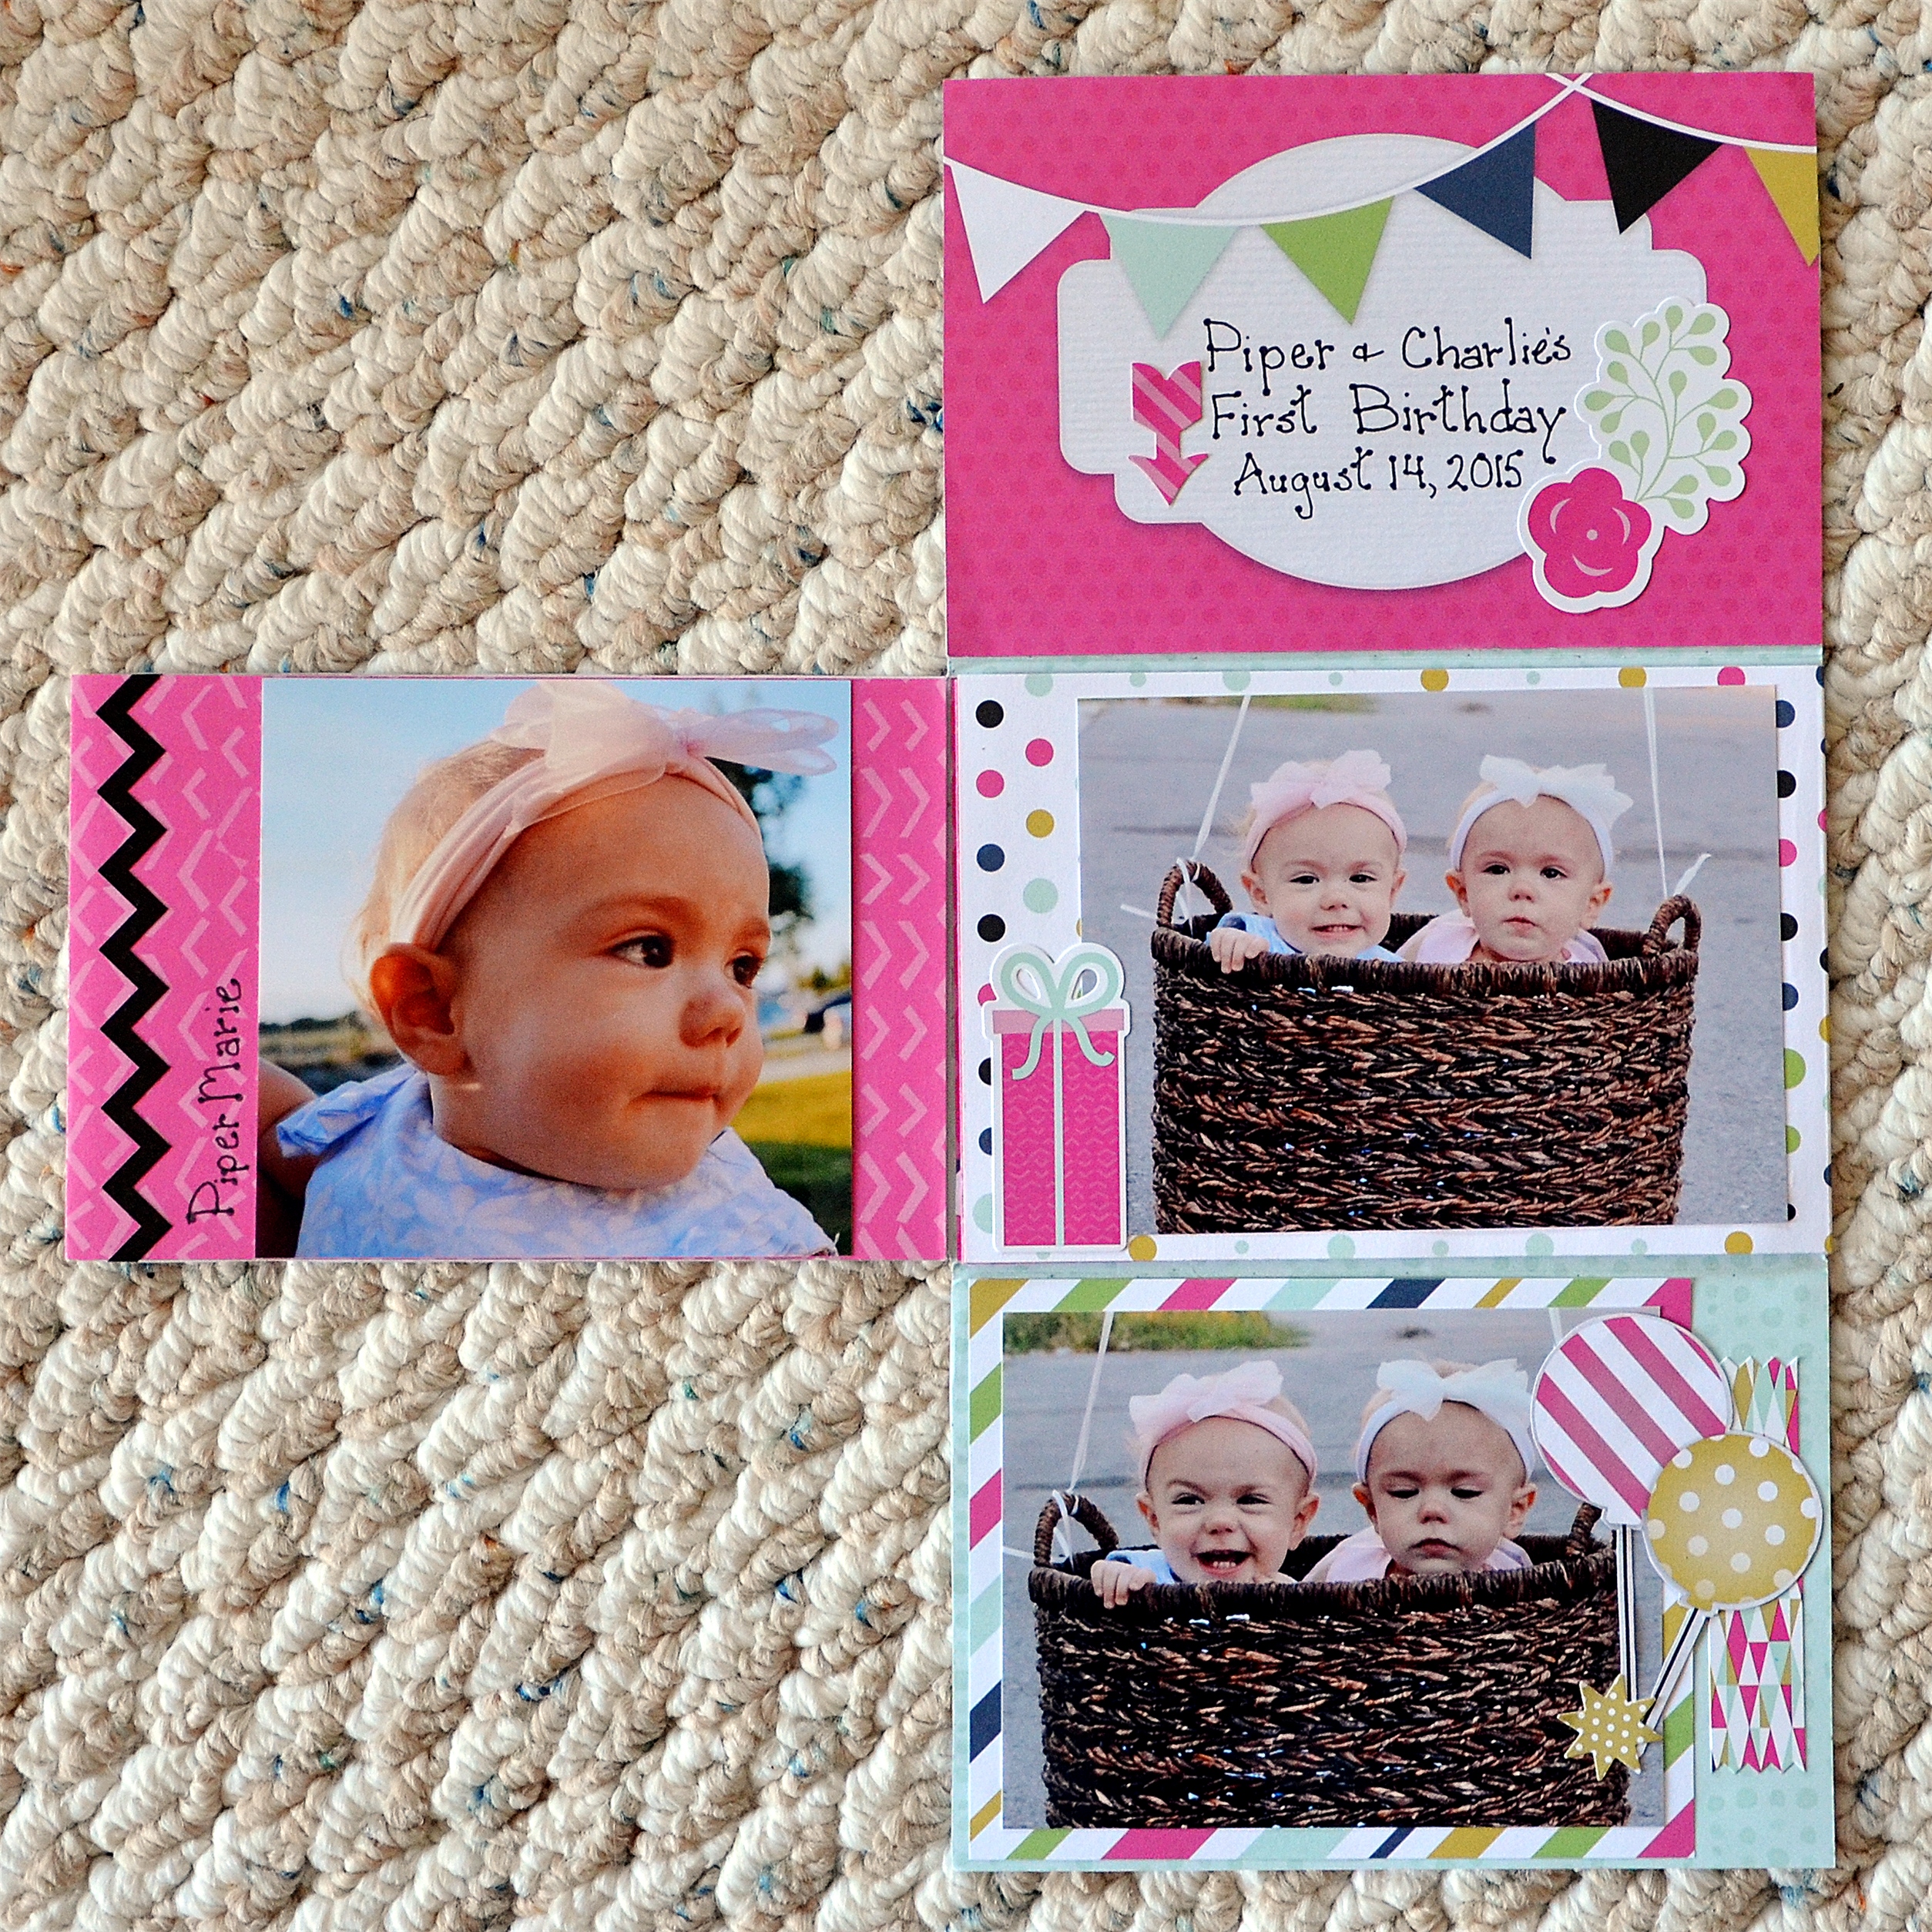
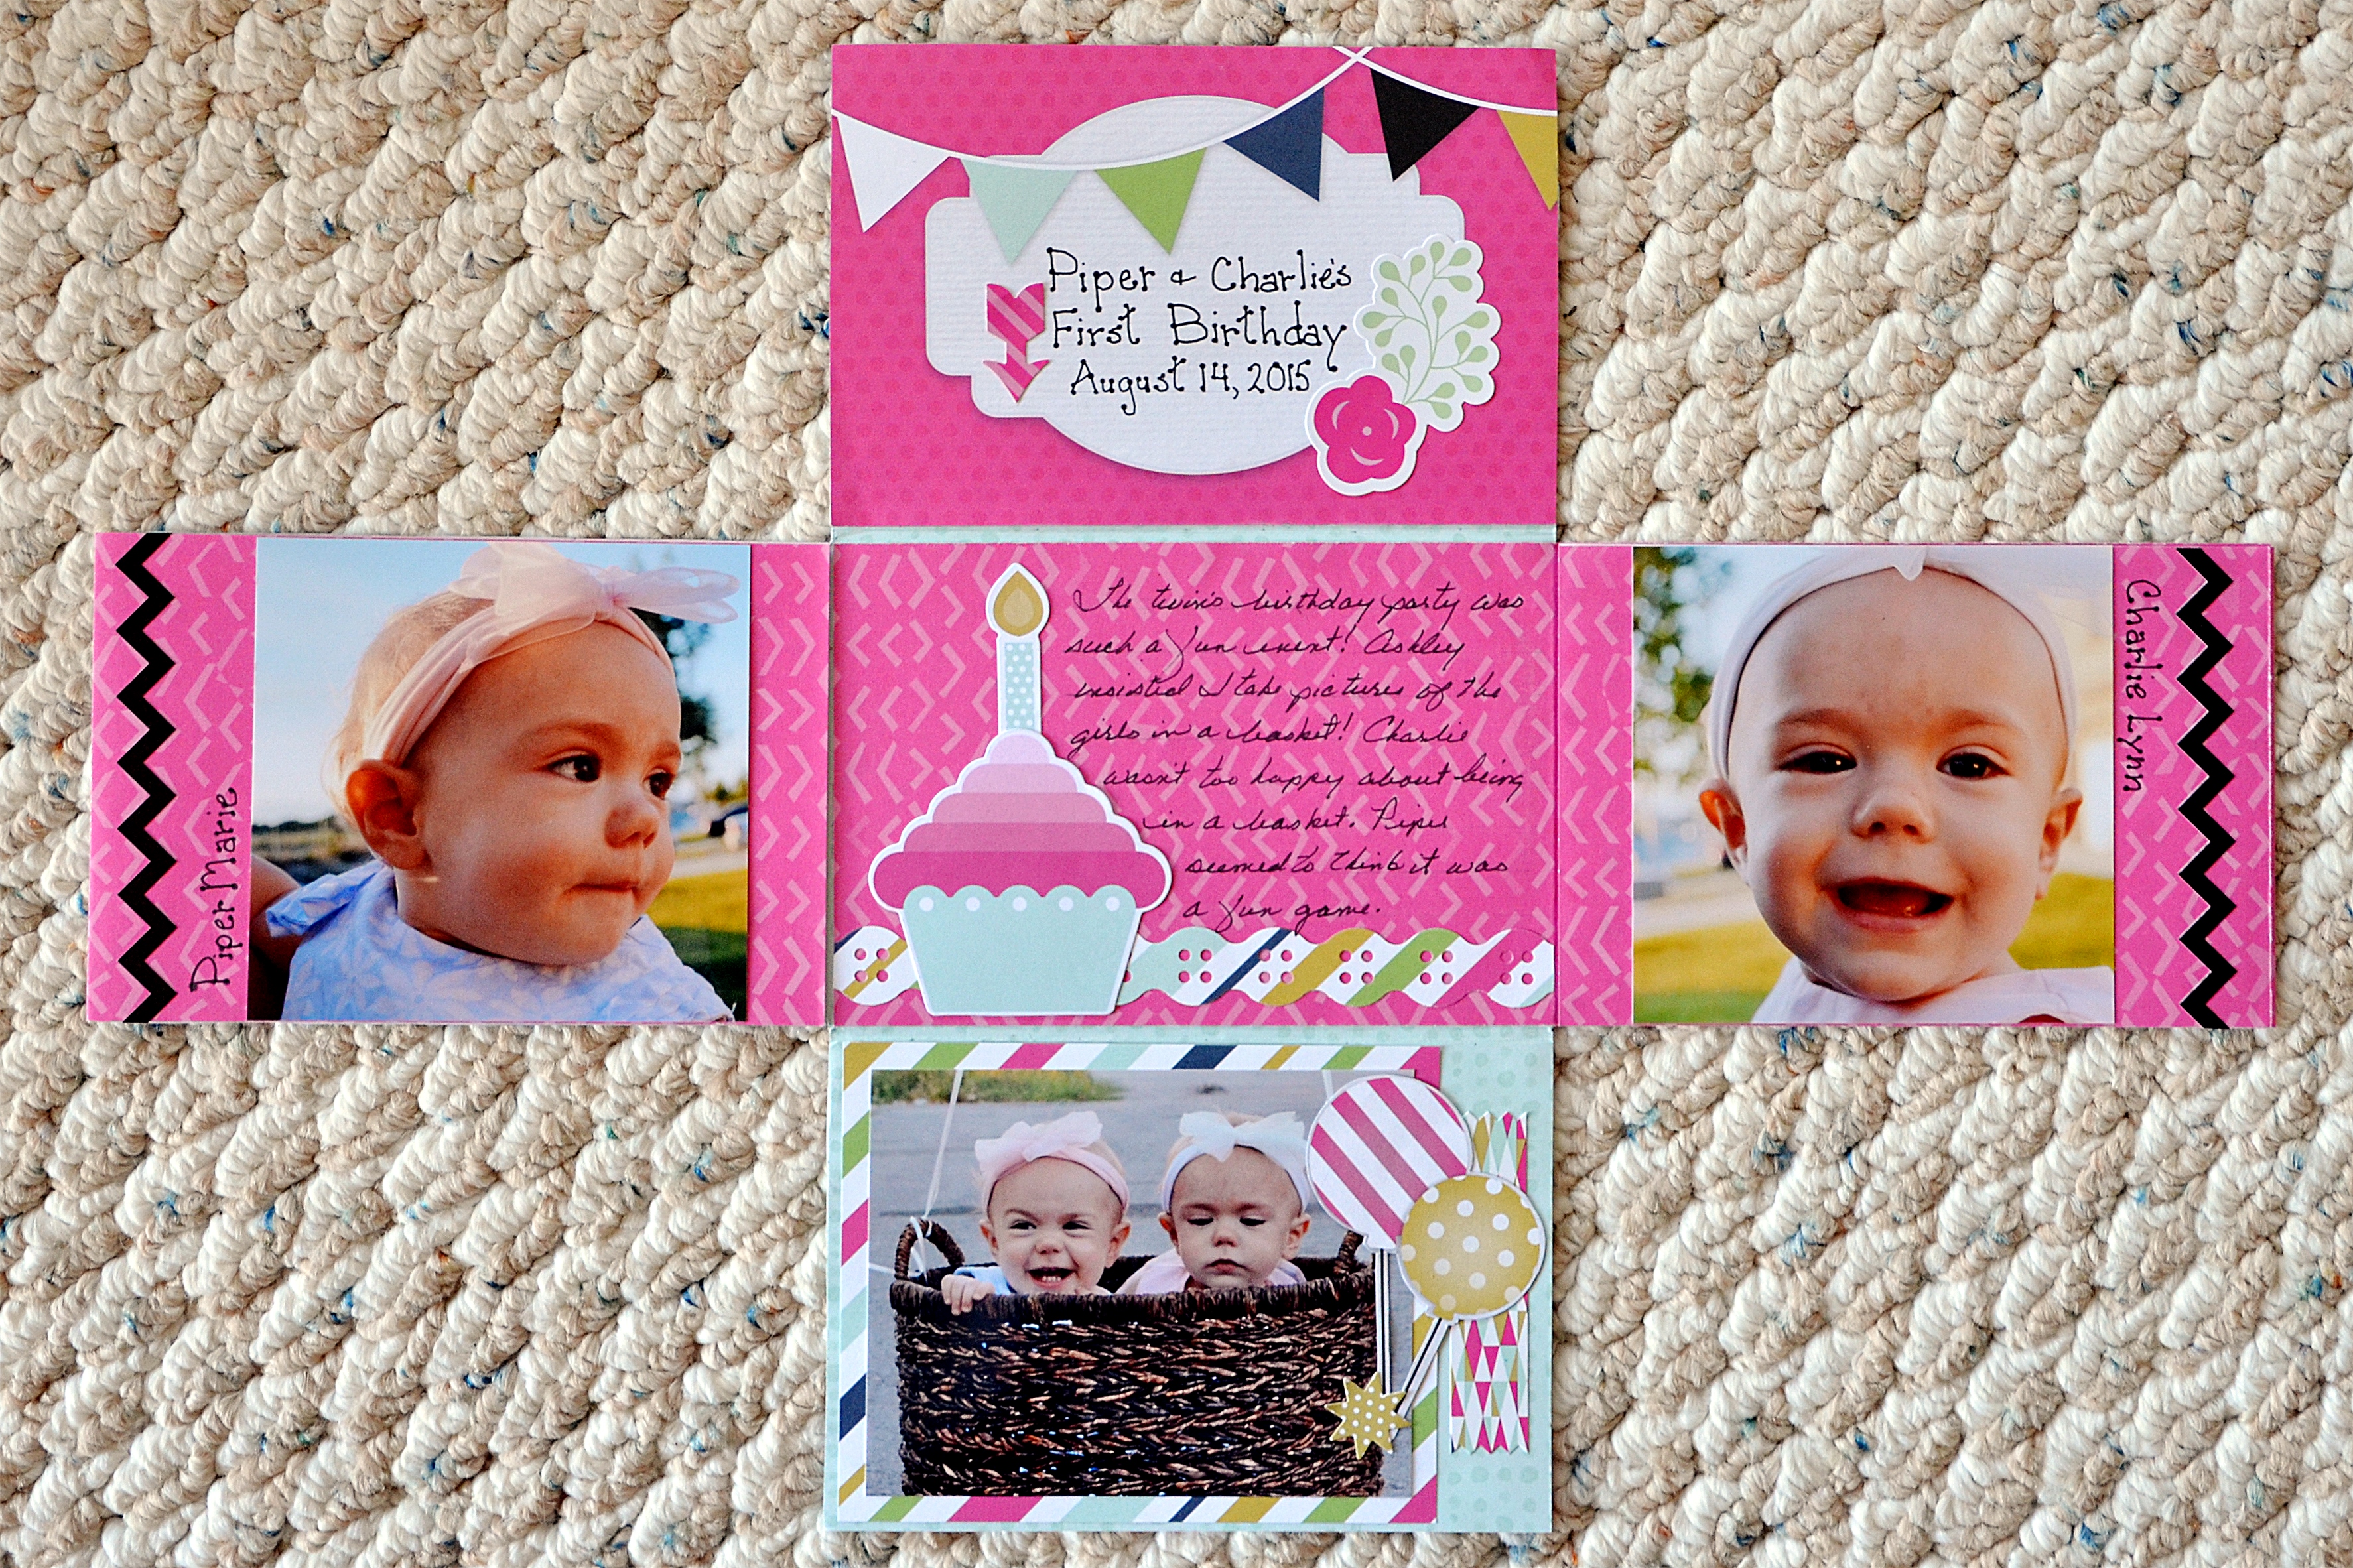
Step 5: To complete your mini album, crop 4″ x 6″ photos as desired and add to your mini album. Enhance with Soiree stickers and enhancements. Don’t forget to journal your story.
There you have it! Have fun creating your own mini scrapbook album!
Diana

This is ADORABLE