September 24, 2016
Virtual Crop: Challenge 5-Color Challenge
One of the things I love doing when I know what photos I am going to scrapbook is to look for a color combination that will best suit the photos.
Sometimes it means that I work within one collection, and other times it means that I pull pieces from several collections.
But, how do you know where to start?
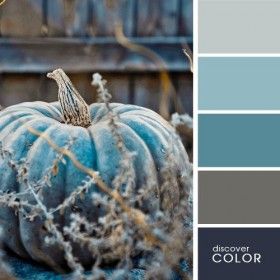
Creative Memories has a board on our Pinterest Page: Creative Memories Pinterest Color Inspiration Board. This is a great place to start for color inspiration.
With Fall in the air, this combination jumped out at me with the non-traditional blue pumpkin.
CHALLENGE 5: Create a layout using this combination as inspiration. Once you have completed this challenge, please post an image of your layout to our Facebook Event Page so you are eligible for the door prizes!

Layout created by Diana Brinsley-US
To create this layout, you will need:
- Denim Blues Paper Pack US CAN
- Denim Blues Embellishments US CAN
- Denim Blues ABC/123 Stickers US CAN
- Beige Cardstock US CAN
- Circle Weave Border Maker Cartridge US CAN
- 12″ Straight Trimmer US CAN
Mat two 6″ x 4″ photos and one 4″ x 6″ vertical photo with Beige Cardstock.
Cut one 2-1/2″ x 4″ journal box and one 1-1/4″ x 3-1/4″ title box from Beige Cardstock.
Using Border Maker and Circle Weave Cartridge, punch a border from Beige Cardstock.
Weave a 1/2″ x 12″ strip thru Circle Weave border as shown. Assemble and adhere layout as shown.
Adhere embellishments.

Layouts created by Karyn McDermaid-Rolfe US
To create these layouts, you will need:
- Spargo 12×12 Scrapbook Pages US CAN
- Denim Blues Paper Pack US CAN
- Denim Blues Embellishments US CAN
- Denim Blues ABC/123 Stickers US CAN
- Foam Squares US CAN
- Tape Runner US CAN
- 12-Inch Straight Trimmer US CAN
- All-Purpose Scissors US CAN
- Silver Metallic Pen US CAN
- Black Dual-Tip Pen US CAN
Cut fifteen 2″x 2” squares from plaid patterned paper. Cut fifteen 2″ x 2″ squares from denim patterned paper.
Use silver metallic pen to make pen stitch marks around the edges of all of the squares.
Use scissors to make small vertical snips around the edges of the denim squares to look like fringe.
Adhere squares to pages as shown and then use your figures to “ruffle up” the snipped edges.
Cut two 6-1/2” x 4-1/2” photo mats from light denim paper. Make snips marks and ruffle edges. Adhere two 6” x 4” photos and add to page.
Crop two photos to 4” x 4” and make two 4-1/2” x 4-1/2” photos mats as in step 5 and add to page.
Double mat a 5” x 7” photo and add to page. I used foam squares to adhere this photo.
Add title and journaling.
Add button embellishments using foam squares.
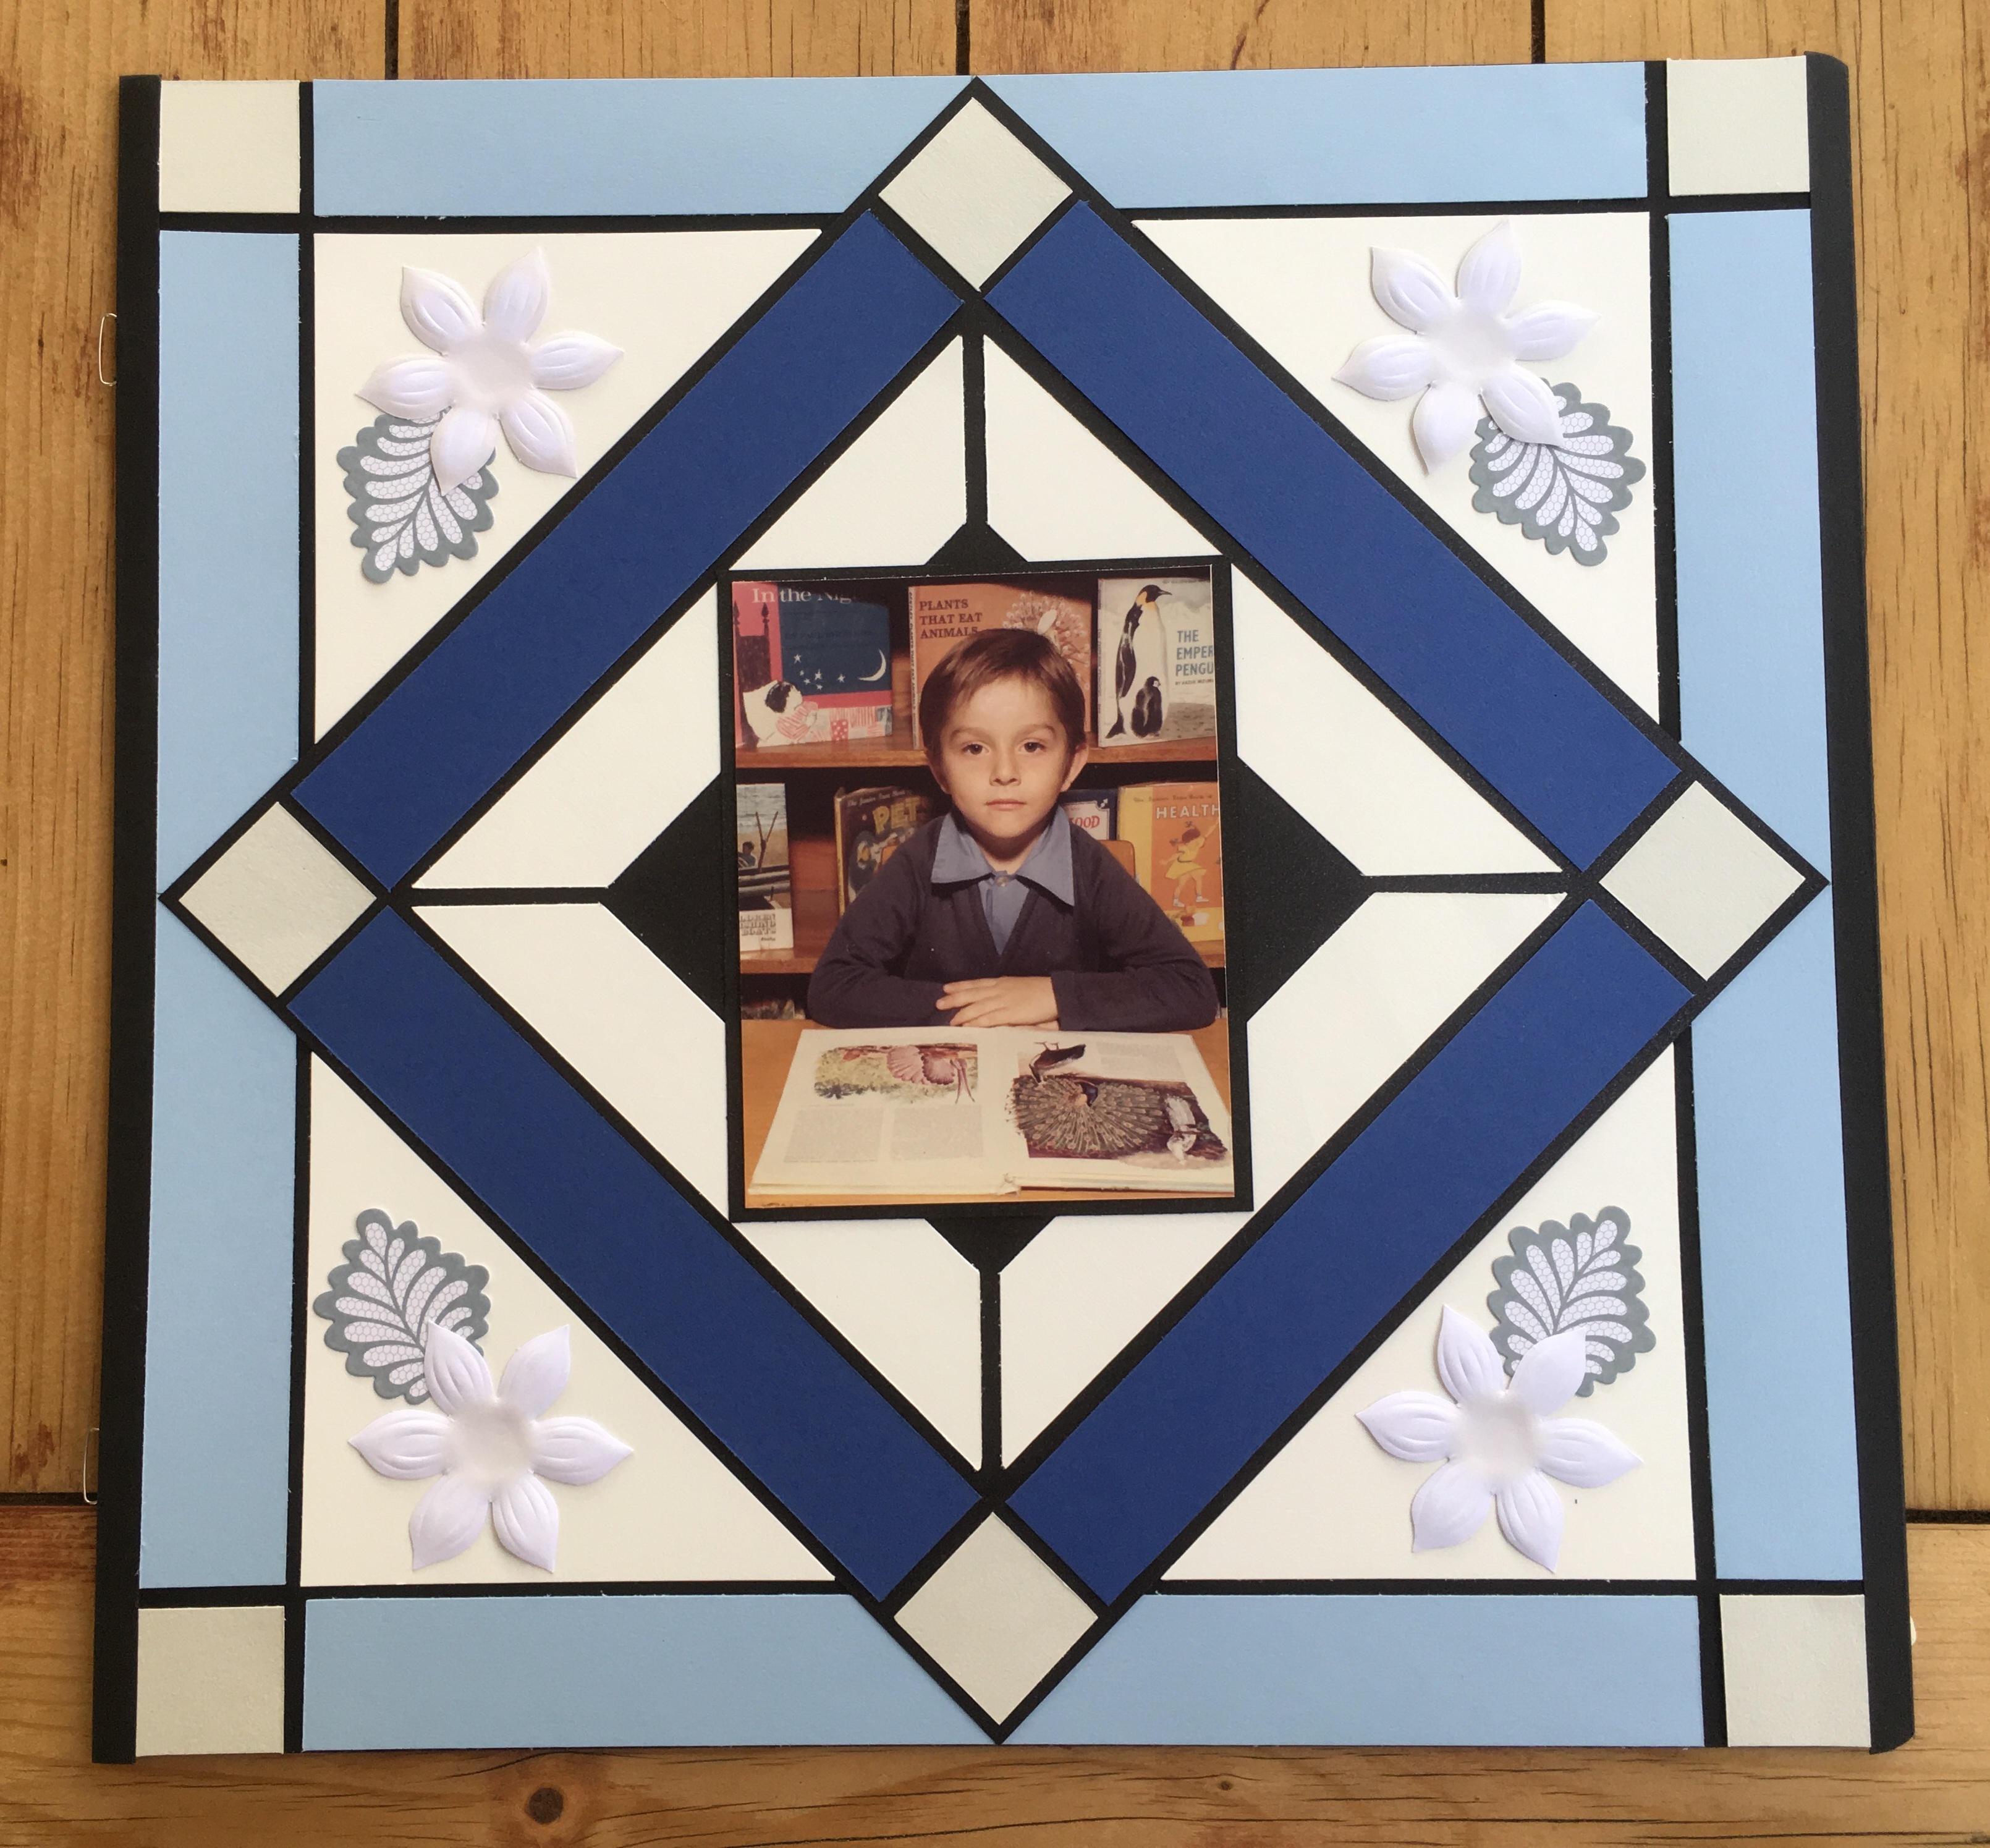
Layout created by Susan Dorrington-AUS
To create this layout, you will need:
- Black 12”x 12” Scrapbook Page US CAN
- 1 sheet Cloud Cardstock US CAN
- 1 sheet Royal Blue Cardstock US CAN
- 1 sheet White Cardstock US CAN
- 1 sheet Beige Cardstock US CAN
- 1 sheet Black Cardstock (or 2 sheets if working on a white page) US CAN
- Natural Elegance Embellishment Pack US CAN
- 12”-Straight Trimmer US CAN
- Tape Runner US CAN
Cutting Guide:
Cut 8 Beige squares 1” x 1”
Cut 4 Cloud strips 1” x 9-3/4”
Cut 1 Black square 8-1/2” x 8-1/2”
Cut 2 white squares 3-3/4” x 3-3/4” then cut each square into 2 triangles
Cut 4 Royal Blue strips 1” x 6”
Cut 4 White strips 1” x 5-3/4” and then cut the corners at a 45 degree angle using the marks on the 12” Trimmer.
Trim photo to 3-1/2” x 4-1/2”
Cut Black photo mat to 3-3/4” x 4-3/4”
Choose 4 identical flowers and 4 leaves from the Natural Elegance Embellishments
Step 1: If you are using a White 12”x12” page, attach a sheet of black cardstock to your page. If you are using a Black 12”x12” page then continue to step 2.
Step 2: Using tape runner, attach 4 Beige squares to the 4 corners of your page. Then attach the 4 Cloud strips along the four sides of your page.
Step 4: Using a pencil and ruler, mark at the 6” point along each 4 sides of your page so you know where to position the large black square. Using tape runner attach this to your page. Attach the 4 white triangles in the black spaces left in the corners, leaving a small margin from the other colours.
Step 5: Attach the remaining 4 Beige squares to the corners of the large black square. Then attach the Royal Blue strips along the edges.
Step 6: Stick the white strips with angled edges along the inside of the Royal Blue strips. This should leave a smaller black square in the centre of your page.
Step 7: Attach your Photo to the black photo matt and then attach in the very centre of the page.
Step 8: Add Flower and leaf embellishments make them look the same in each corner.
Don’t Forget: If you place a $25 order today during the Virtual Crop (9am-6pm CST), you will get $10 off your purchase! So, if you have had a few things on your wish list, today is the day to fill the cart! Who doesn’t love a FREE $10? Happy Shopping! Make sure you use the code: SEPTCROP10
You will also want to mark your calendars for the next Virtual Crop which will take place on Saturday November 5th! Here is the Facebook event page that you can RSVP to! That crop will be focusing on the Holiday Season—Cards, Layouts, Gifts, etc.
Thank you all SO very much for spending the day with us!
Happy Creating!


I don’t know where else to post this. I entered the code on an order I placed and it was not deducted on my order. Is there anyone that can contact me about that?
You can contact our Customer Service at customerservice@creativememories.com, or reach them by calling 1-320-281-1424.
I love the color choices— of course, I’m partial to blue with anything :-) The layout examples are fabulous. I’m getting such great tips and ideas! Thank you!
Love the look of denim on layouts! Great layouts!
[…] I also used the Denim Paper Pack, Embellishments and ABC/123 Stickers and Spargo 12 x 12 Plain Pages for this double page layout. With my scissors, I snipped around the denim paper squares to make frayed edges that remind me of my favorite pair of worn blue jeans. For complete instructions on how to make this layout, please visit the CM Blog using this link. […]
Fabulous layout ideas and I love the Denim Paper Pack.