


Natural Elegance is such a beautiful scrapbooking product collection. The colours are incredible and the variety of papers in the paper pack are fantastic! It is definitely the perfect collection to use for a wedding project. What happens when you don’t have a wedding project to work on but you’re dying to play with it anyway? Not to worry – let me share with you how you can make the perfect little brag book to showcase your Instagram photos, along with a few of your scrapbooking tools!

So, to create this project you’re going to need:
- Natural Elegance Paper Pack
- Grey 12X12 Solid Cardstock
- Natural Elegance Embellishments
- Natural Elegance Stickers
- The Tape Runner
- 12-inch Trimmer
- Multi-Pupose Tool
- 2-way Corner Rounder
- the cardboard that comes in each package of 12X12 paper and cardstock
To begin you’ll cut your cardboard into three pieces. You’ll need two that measure 4-1/2″ X 8-1/2″ (this will become your front and back covers)and one that will measure 3/4″ X 8-1/2″ (this will become your spine).
Next you’ll need to choose two pieces of the Natural Elegance Paper Pack. The piece that you want to be the outside cover should be cut to 10-1/2″ X 12″. You’ll need to put that in your 12-inch Trimmer and use your Multi-Purpose Tool to score each of the 4 sides at 1″.
You’ll next adhere the cardboard pieces along your score lines as shown below in the diagram. You’ll also want to cut your corners off just outside the intersection of your score lines as shown as well.

Fold on all the score lines and adhere the patterned paper down along all four sides. Once you’ve completed this step, your project should look like this:

Now you’ll grab the second piece of Natural Elegance Patterned Paper and this one will become the inside of your book! You’ll need to cut it down to 9-5/8″ X 8-1/8″. Once you’ve adhered this down (centred with a small border around all four sides) you’ll want to use your Multi-Purpose Tool and add a score line down between the gaps between the cardboard pieces.

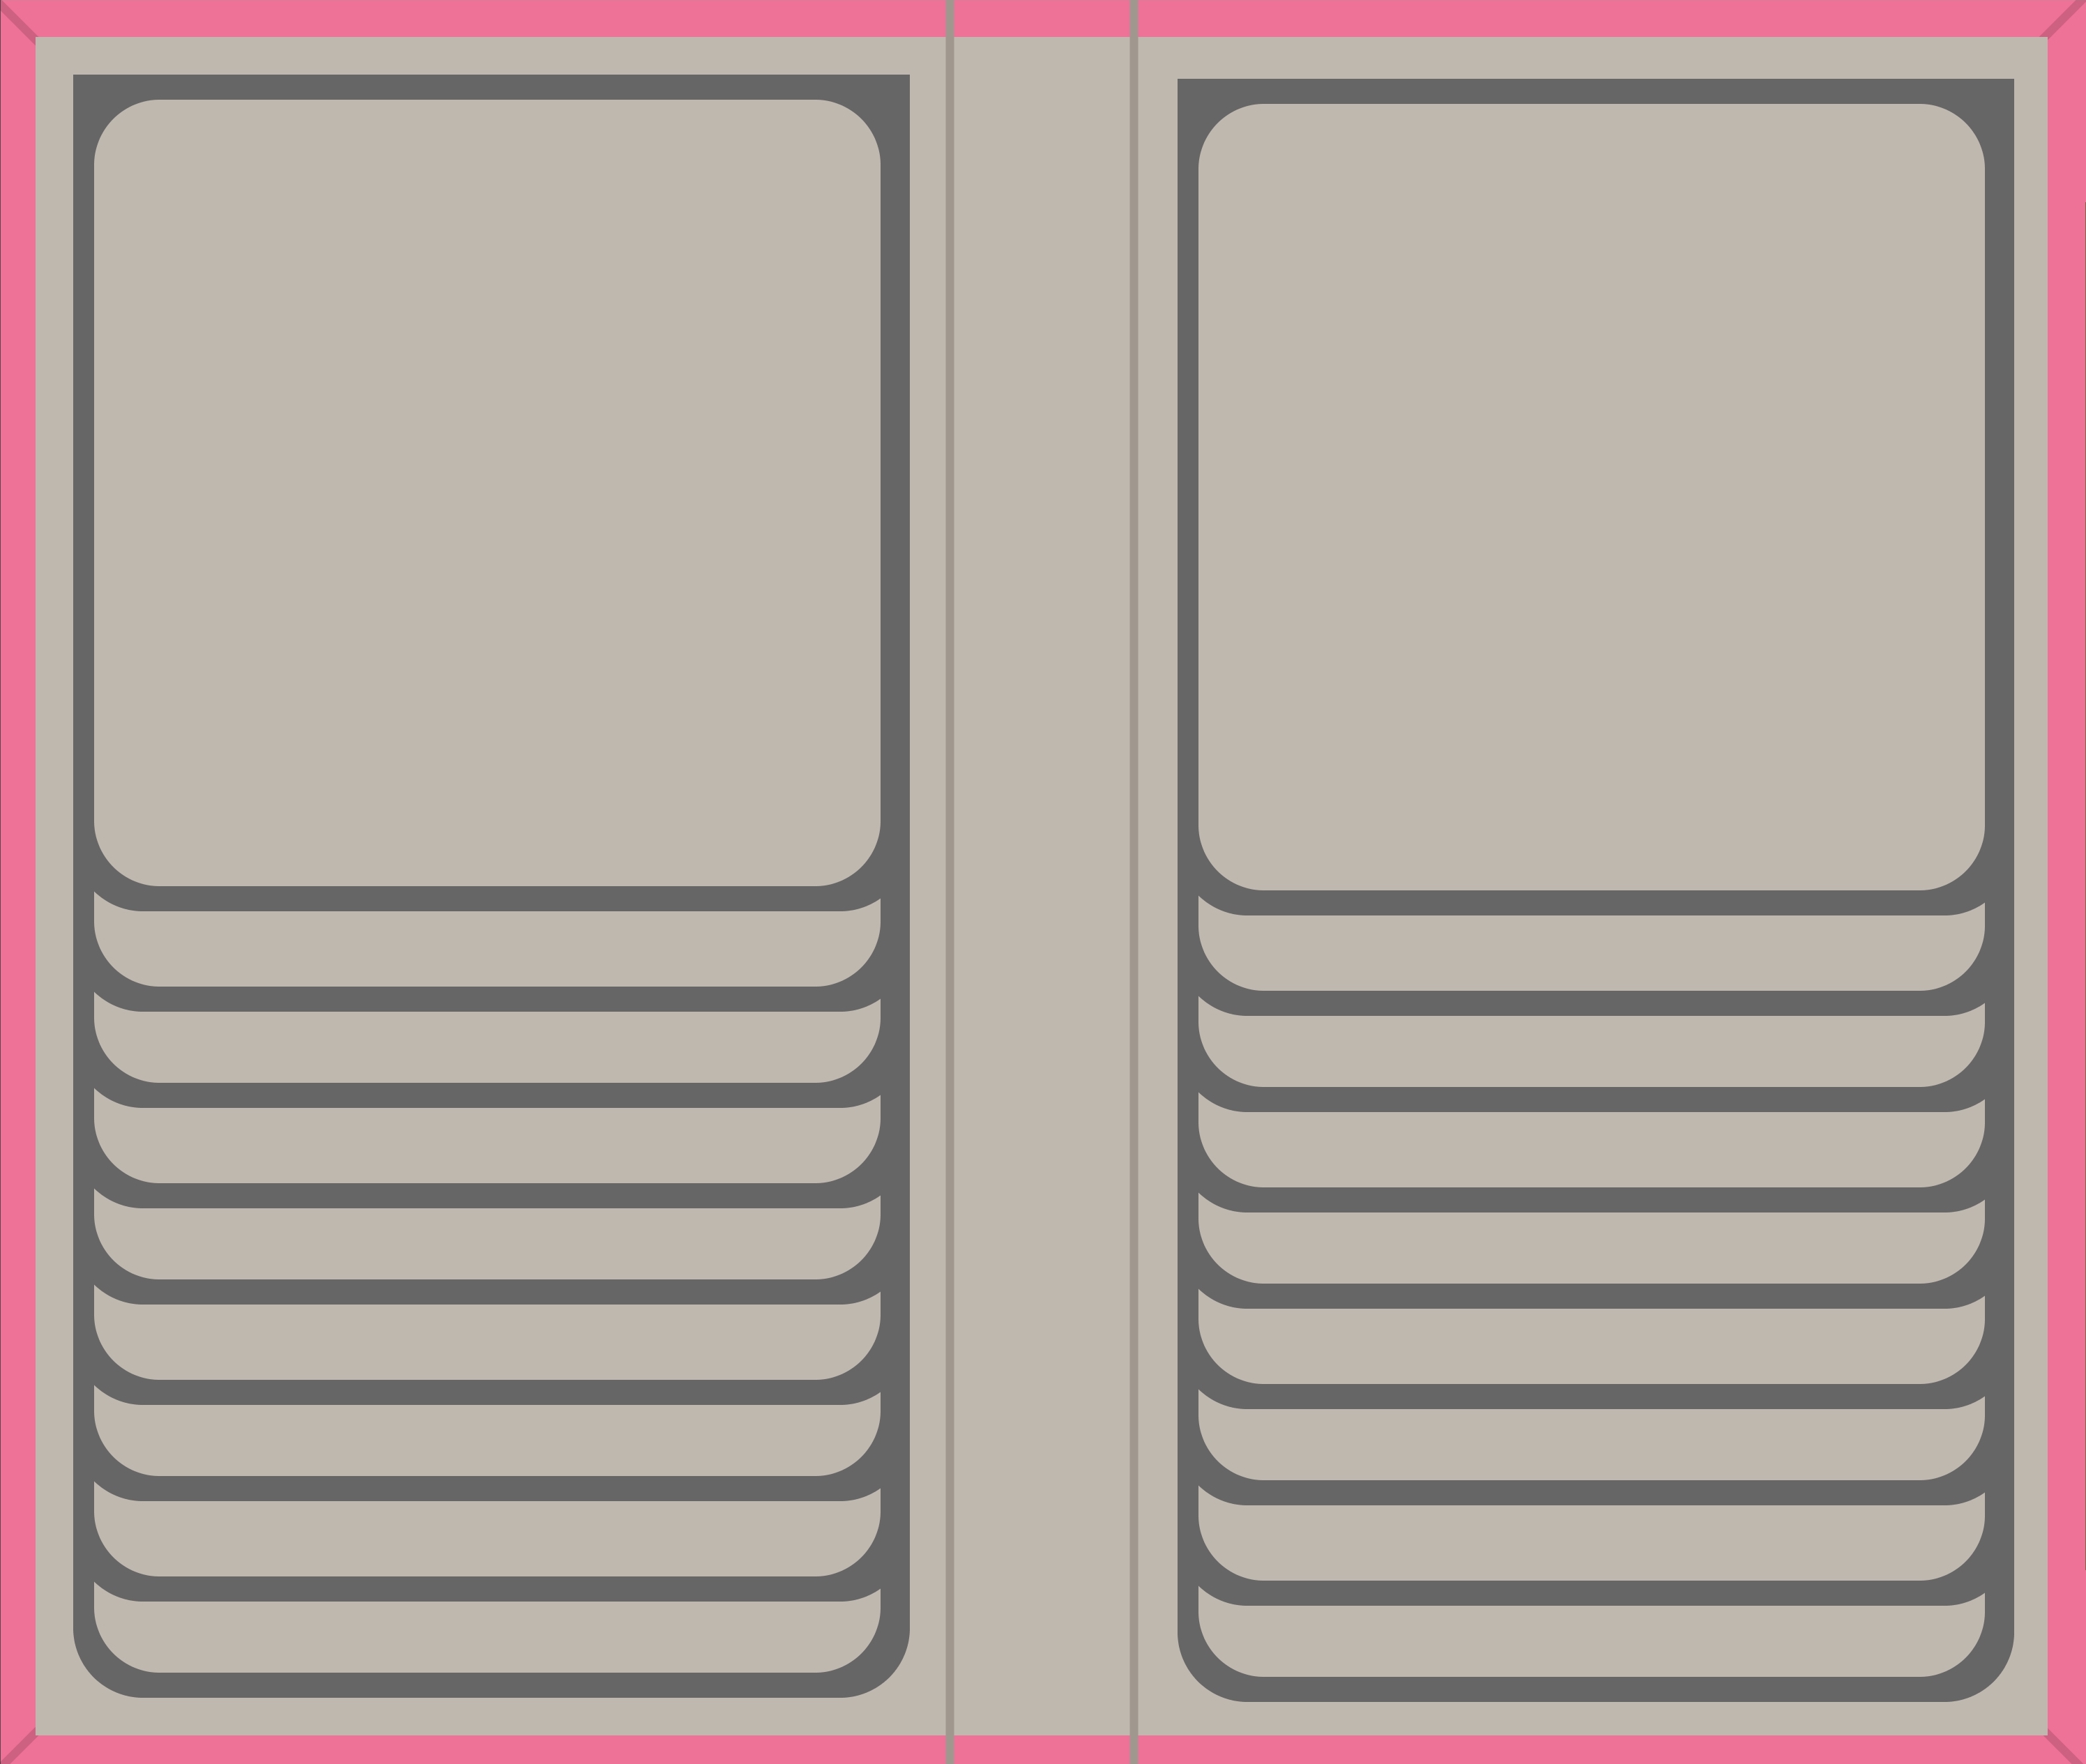
Next you’ll need to make the “pages”. You can fit up to nine “pages” on each side but if you want to embellish them more you’ll want to consider putting one or two less per side and leaving a little bit of extra space between. To create them you’ll cut Grey Solid 12″X12″ Cardstock measuring 4″ X 4-1/2″, scored at 4″. You’ll also use your 2-way Corner Rounder on the bottom two corners.
You’ll also want to adhere a photo mat to each page. These will measure 3-3/4″ square. You will want to round all four corners. (* If you want to double the number of photos that fit into your brag book you can also cut mats for the back sides of your pages as well!)

You’ll also need a base for each side – so you’ll cut two additional pieces of Grey Solid 12″ X 12″ Cardstock to 7-3/4″ X 4″. Just as you did with the “pages” above you’ll want to round the two bottom corners of each piece. You’ll adhere both pieces to the inside covers of your book as shown below.

You’ll fold the score line on each of your “pages” and adhere them down spacing them evenly vertically. To adhere them all you need is The Tape Runner along the 1/2″ tab made when you scored each piece.
With any luck – your project should look something like this…
Or in real life… something like this!


As I mentioned earlier, you could put photo mats on the back and front of each “page” giving you space for up to 36 of your favourite Instagram photos! If you opt to leave the backs blank it gives you the perfect space to journal about those little moments in time. Either way, you can embellish as much or as little as you like!
I hope you give this mini album a try – until next time, take care!


Just darling! It is a great idea for those papers. I was so excited that I have it all cut out and ready to assemble!
:) I’m so glad you’re giving it a try, Pam! Hope you enjoy your mini album!
This is precious……love the concept and what a great gift. I plan on doing our 60th reunion like this….keep up the great ideas
That’s a great idea!
Oh, I do love this. Perfect mini-album!
It really is – and it comes together very quickly, too!
This is GORGEOUS Marja!
Thanks, Leslie! You’re too sweet :)
I love this idea! These would make really nice gifts for any occasion. So glad you fully explained how to make it along with illustrations!
I’m so glad you liked it, Sandy! Thanks for taking a peek at the blog today :)
Awesome, awesome, awesome!! Thank you, Marja!!
You’re welcome, Sylvia! Glad you like it!
What size are the photos? 3-inch square? When I have instagram photos printed, they always print 4-inch squared.