June 26, 2017
Create Cards with a Japanese Art Flair
This Japonism Bundle of products is absolutely stunning. It was inspired by Japanese Art. It has a soft pastel hue to it, and can be used to create projects for baby, family, a picnic at the park, flowers, outdoors, etc.
Let’s create a couple of cards using these Limited Edition products from our friends in Japan.
To create these cards, you will need:
- Japonism Bundle- Limited Edition
- Corner Maker
- Cloud Cardstock
- Scissors
- Swirly Brown ABC Stickers- Limited Edition
- Foam Squares
- Tape Runner
- Forever Yours Flower Embellishments
- Gallivant Embellishments

Instructions:
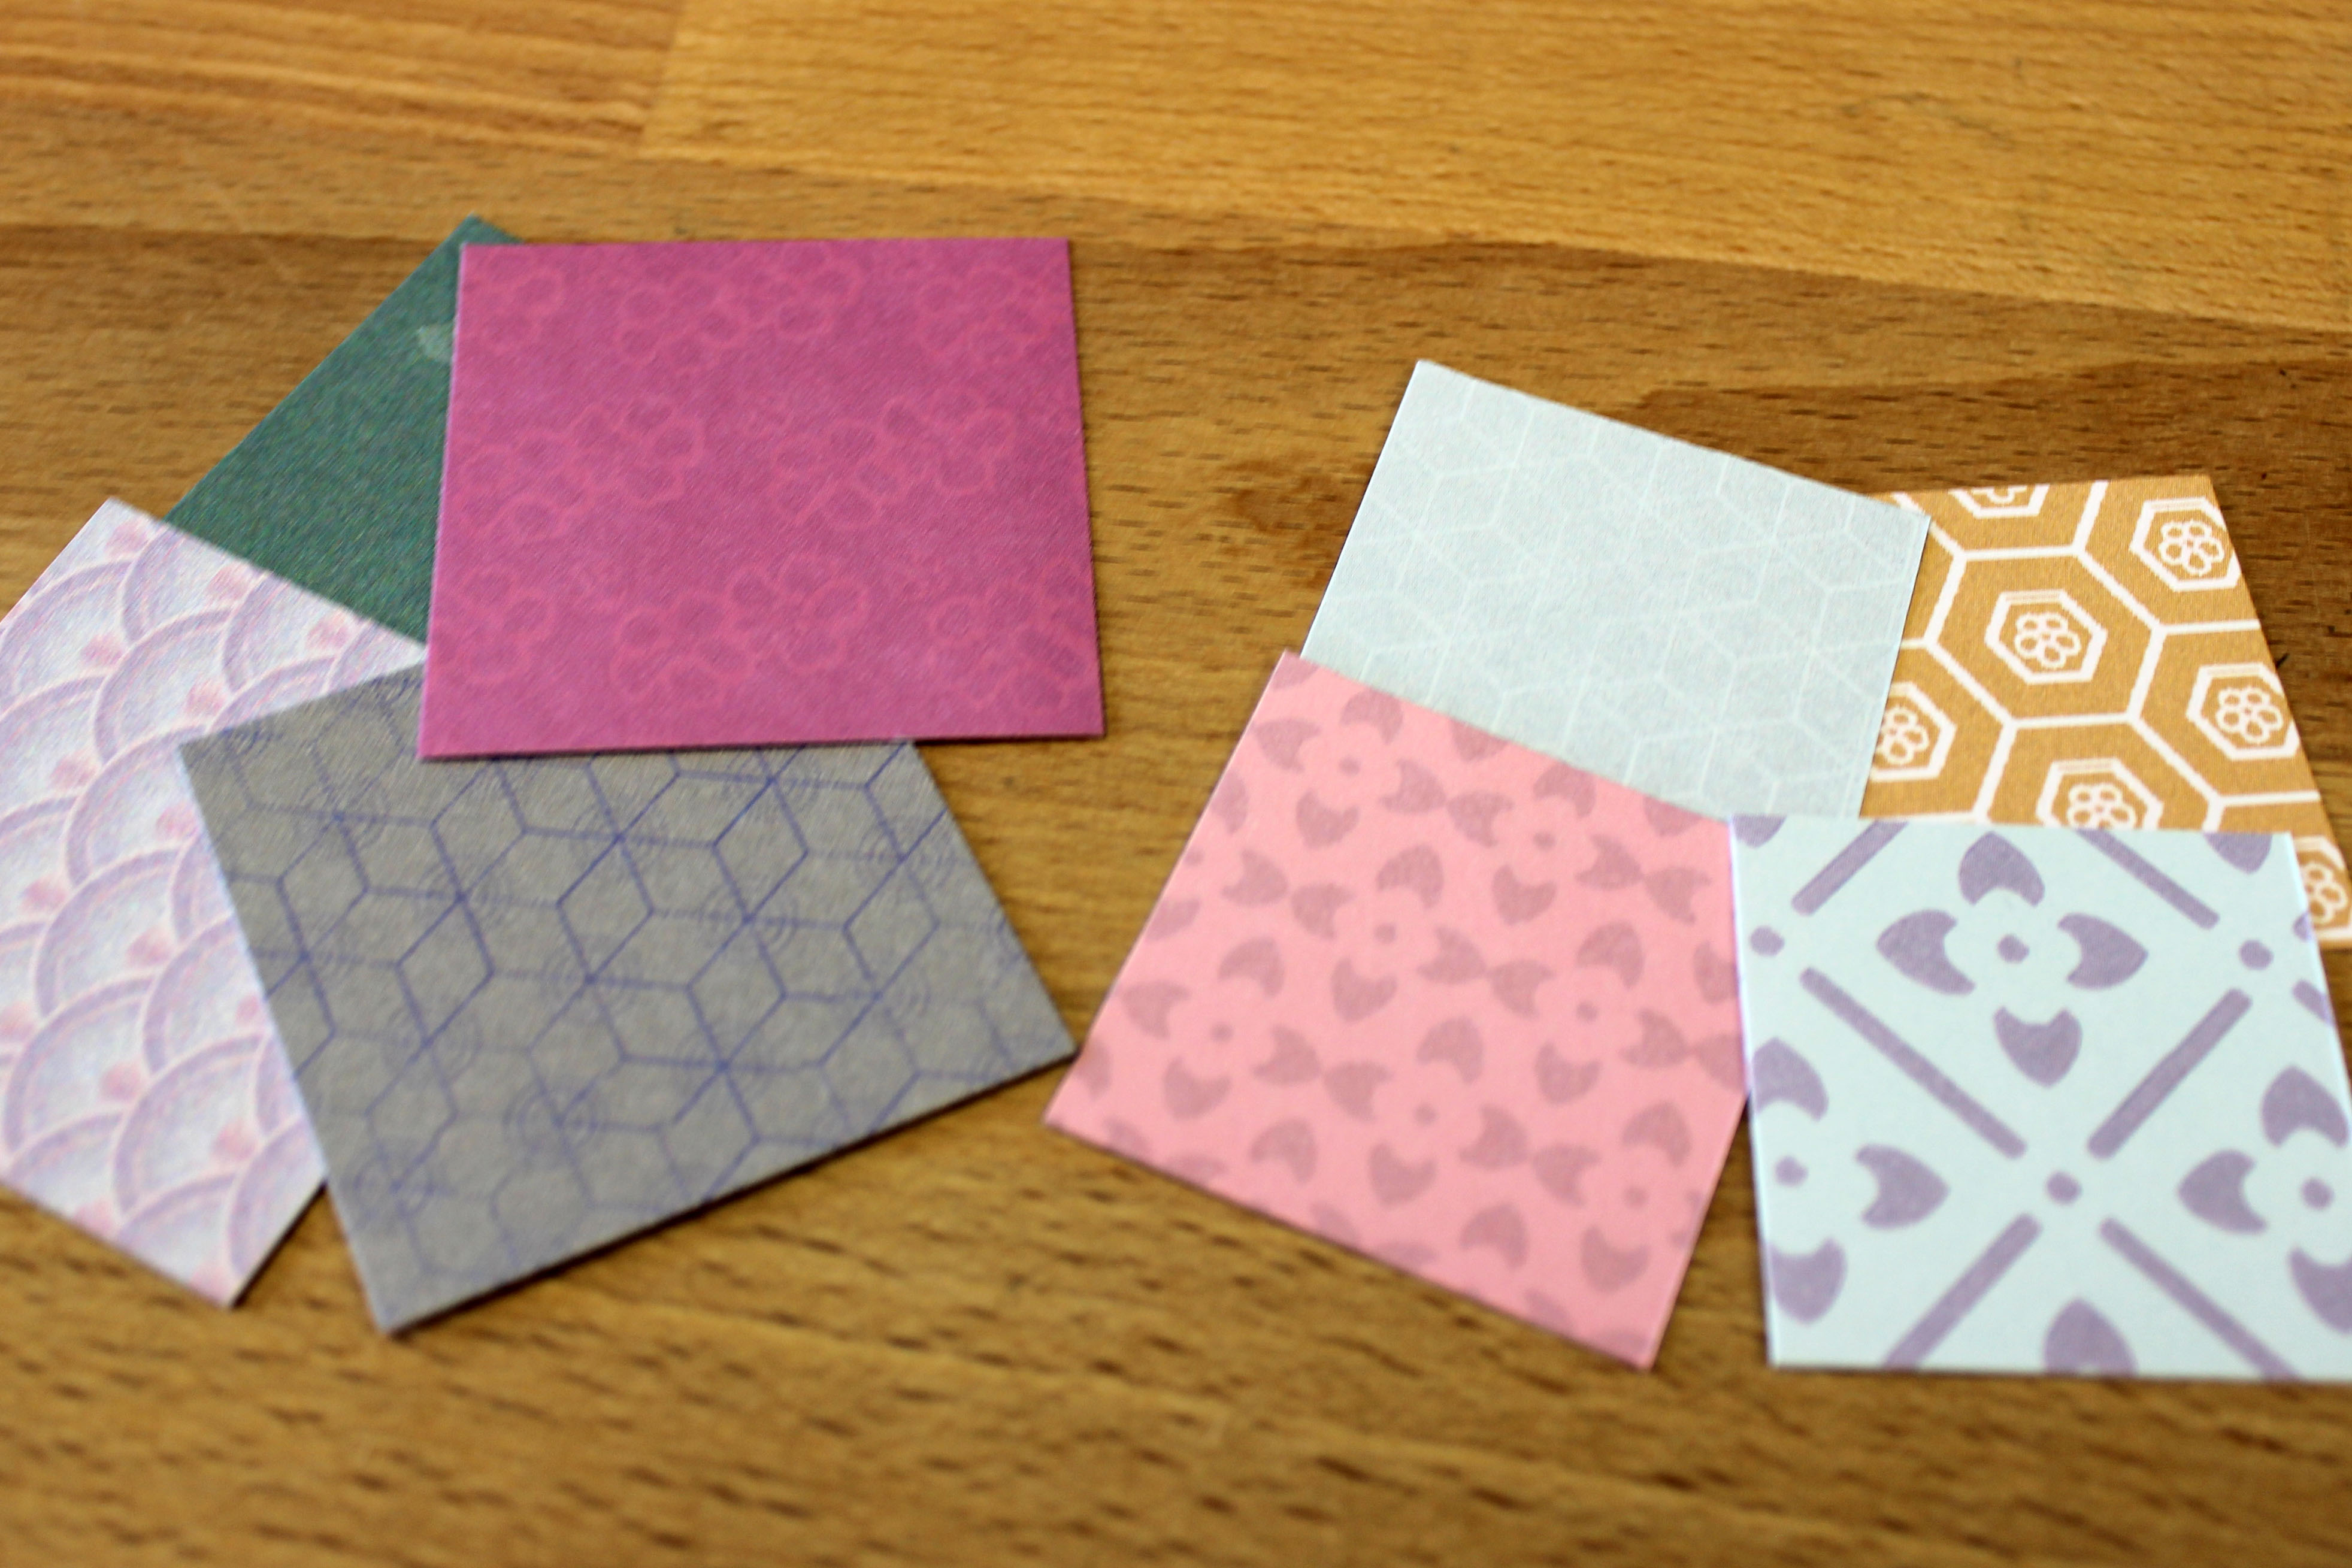
Step 1: Cut four pieces from different patterned papers to measure 1-3/4″ x 1-3/4″.
Step 2: Cut four pieces from different patterned papers to measure 1-1/4″ x 1-1/4″.
Step 3: Using the Corner Rounder, punch 3 of the four corners from all of the squares.
Step 4: Adhere the larger squares to the front of the card so that the square points all match up in the center.
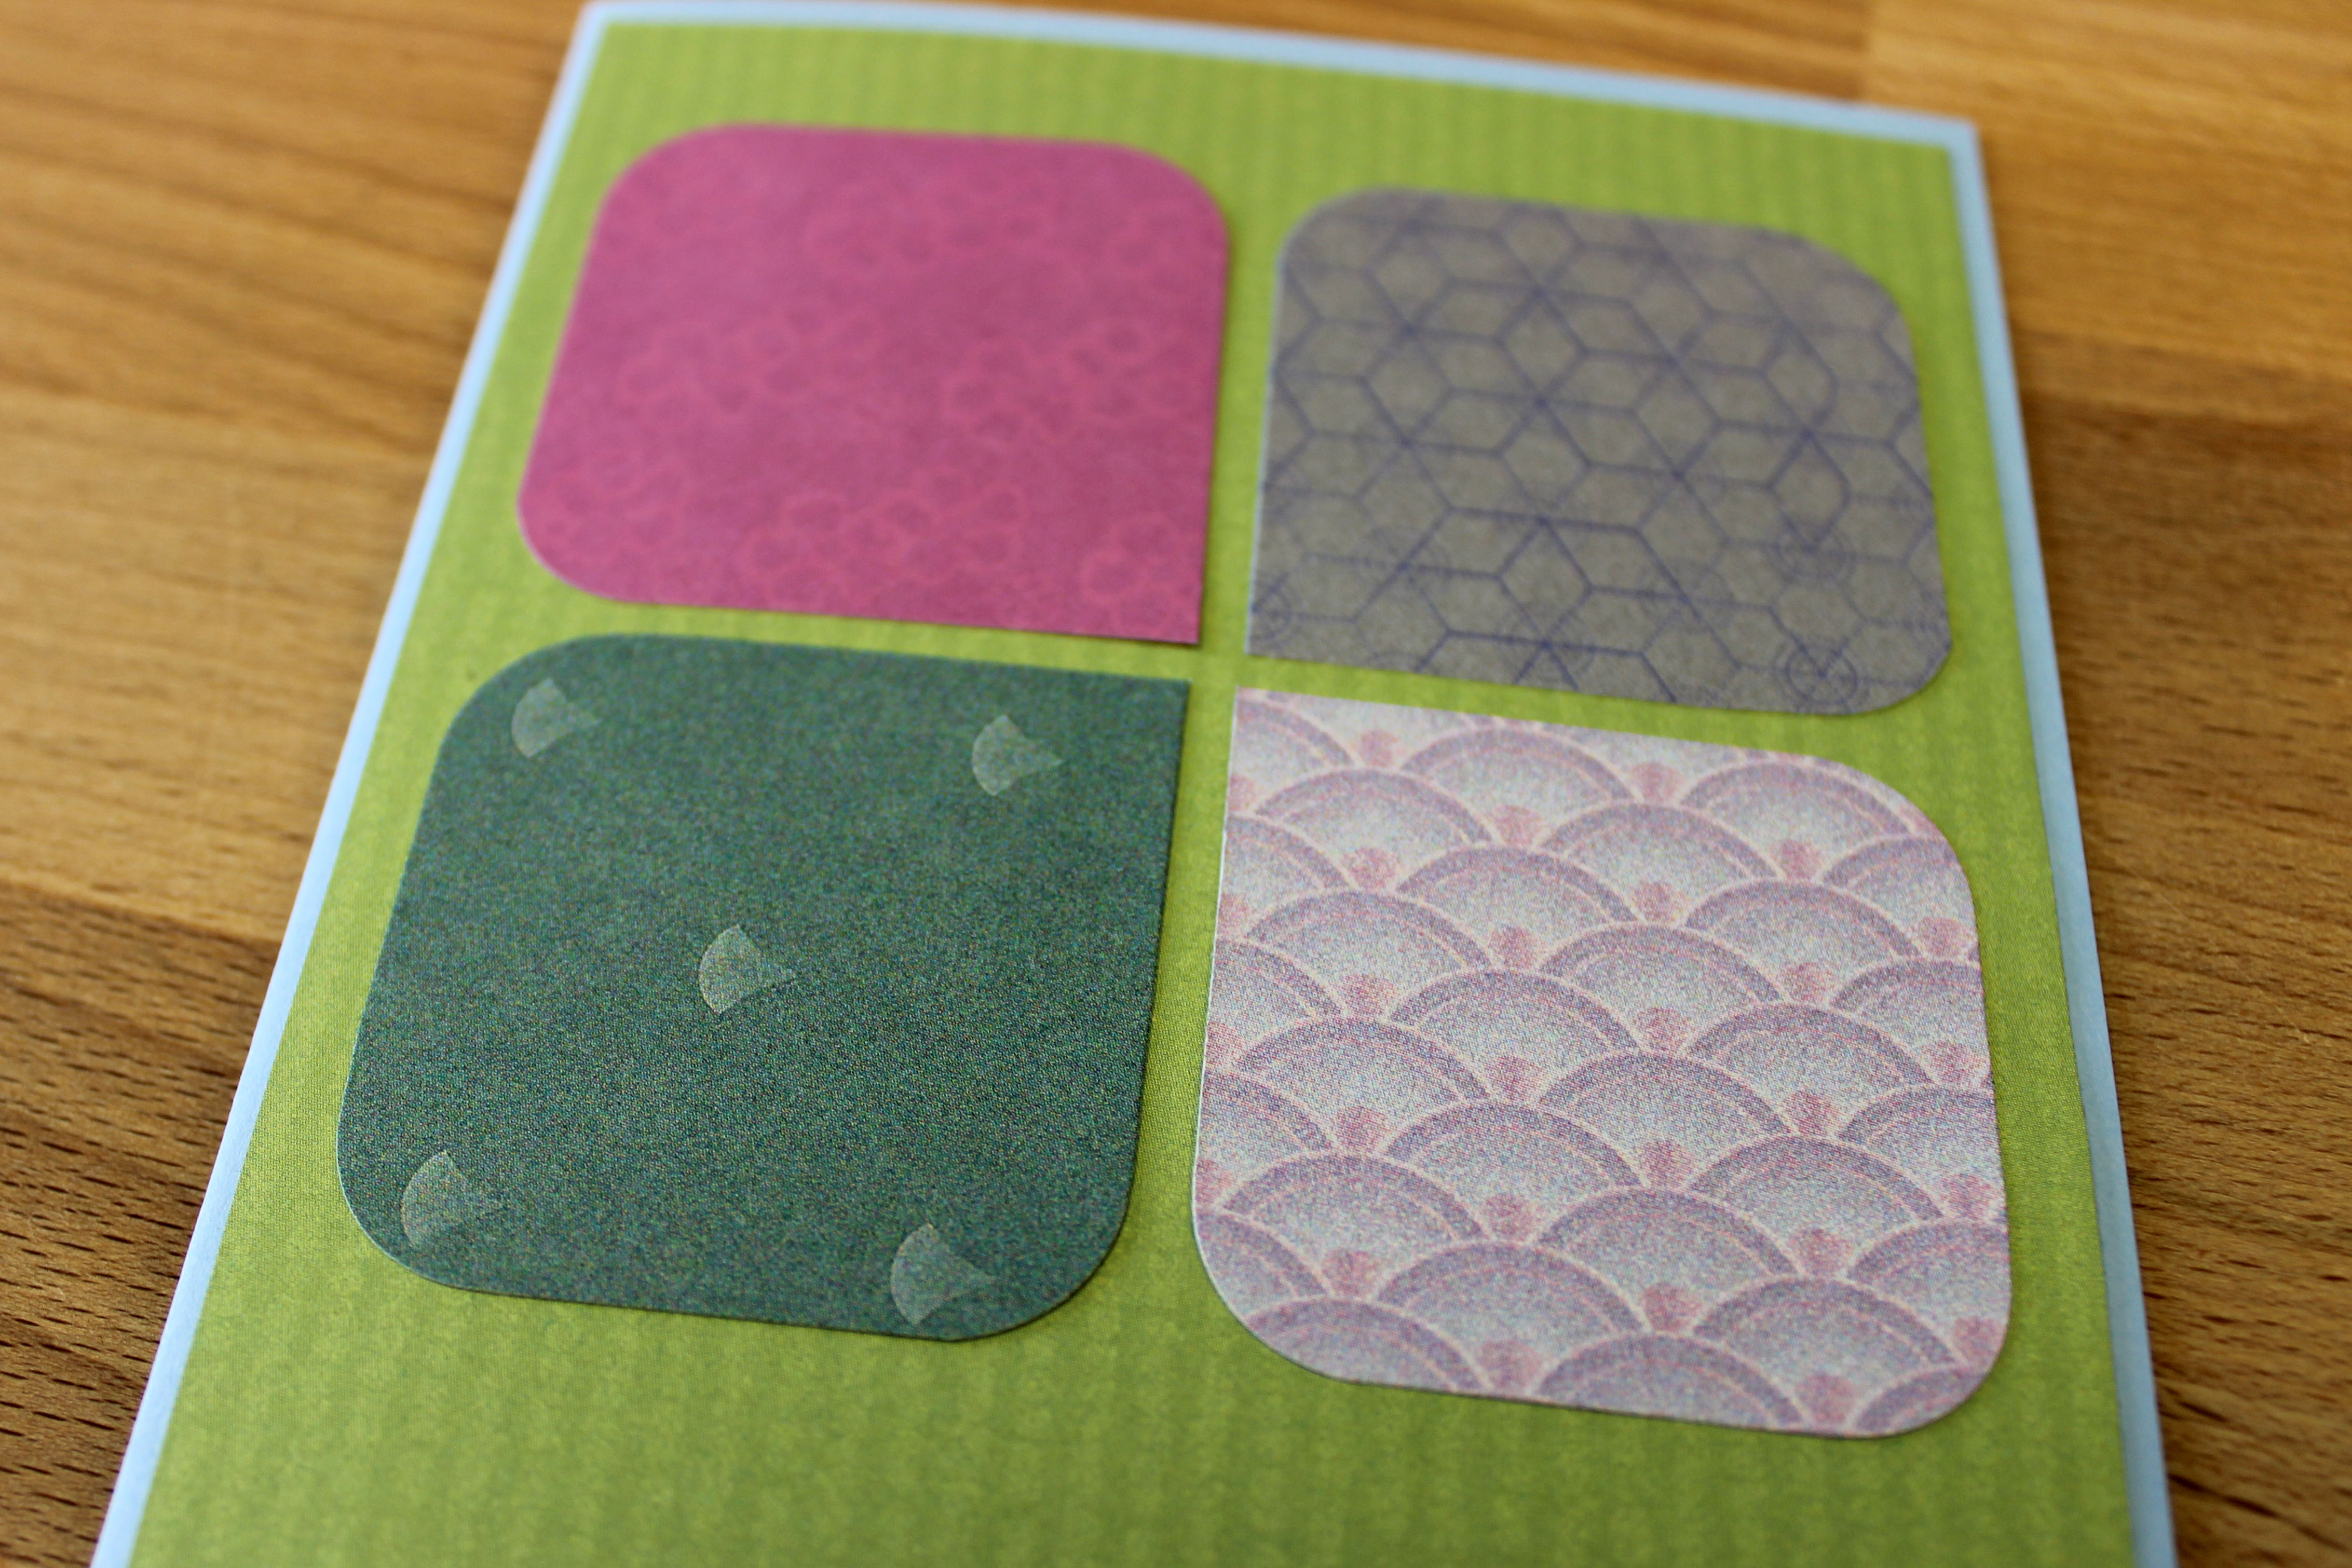
Step 5: Adhere the smaller squares on top of the larger squares so that the square points all match up in the center.

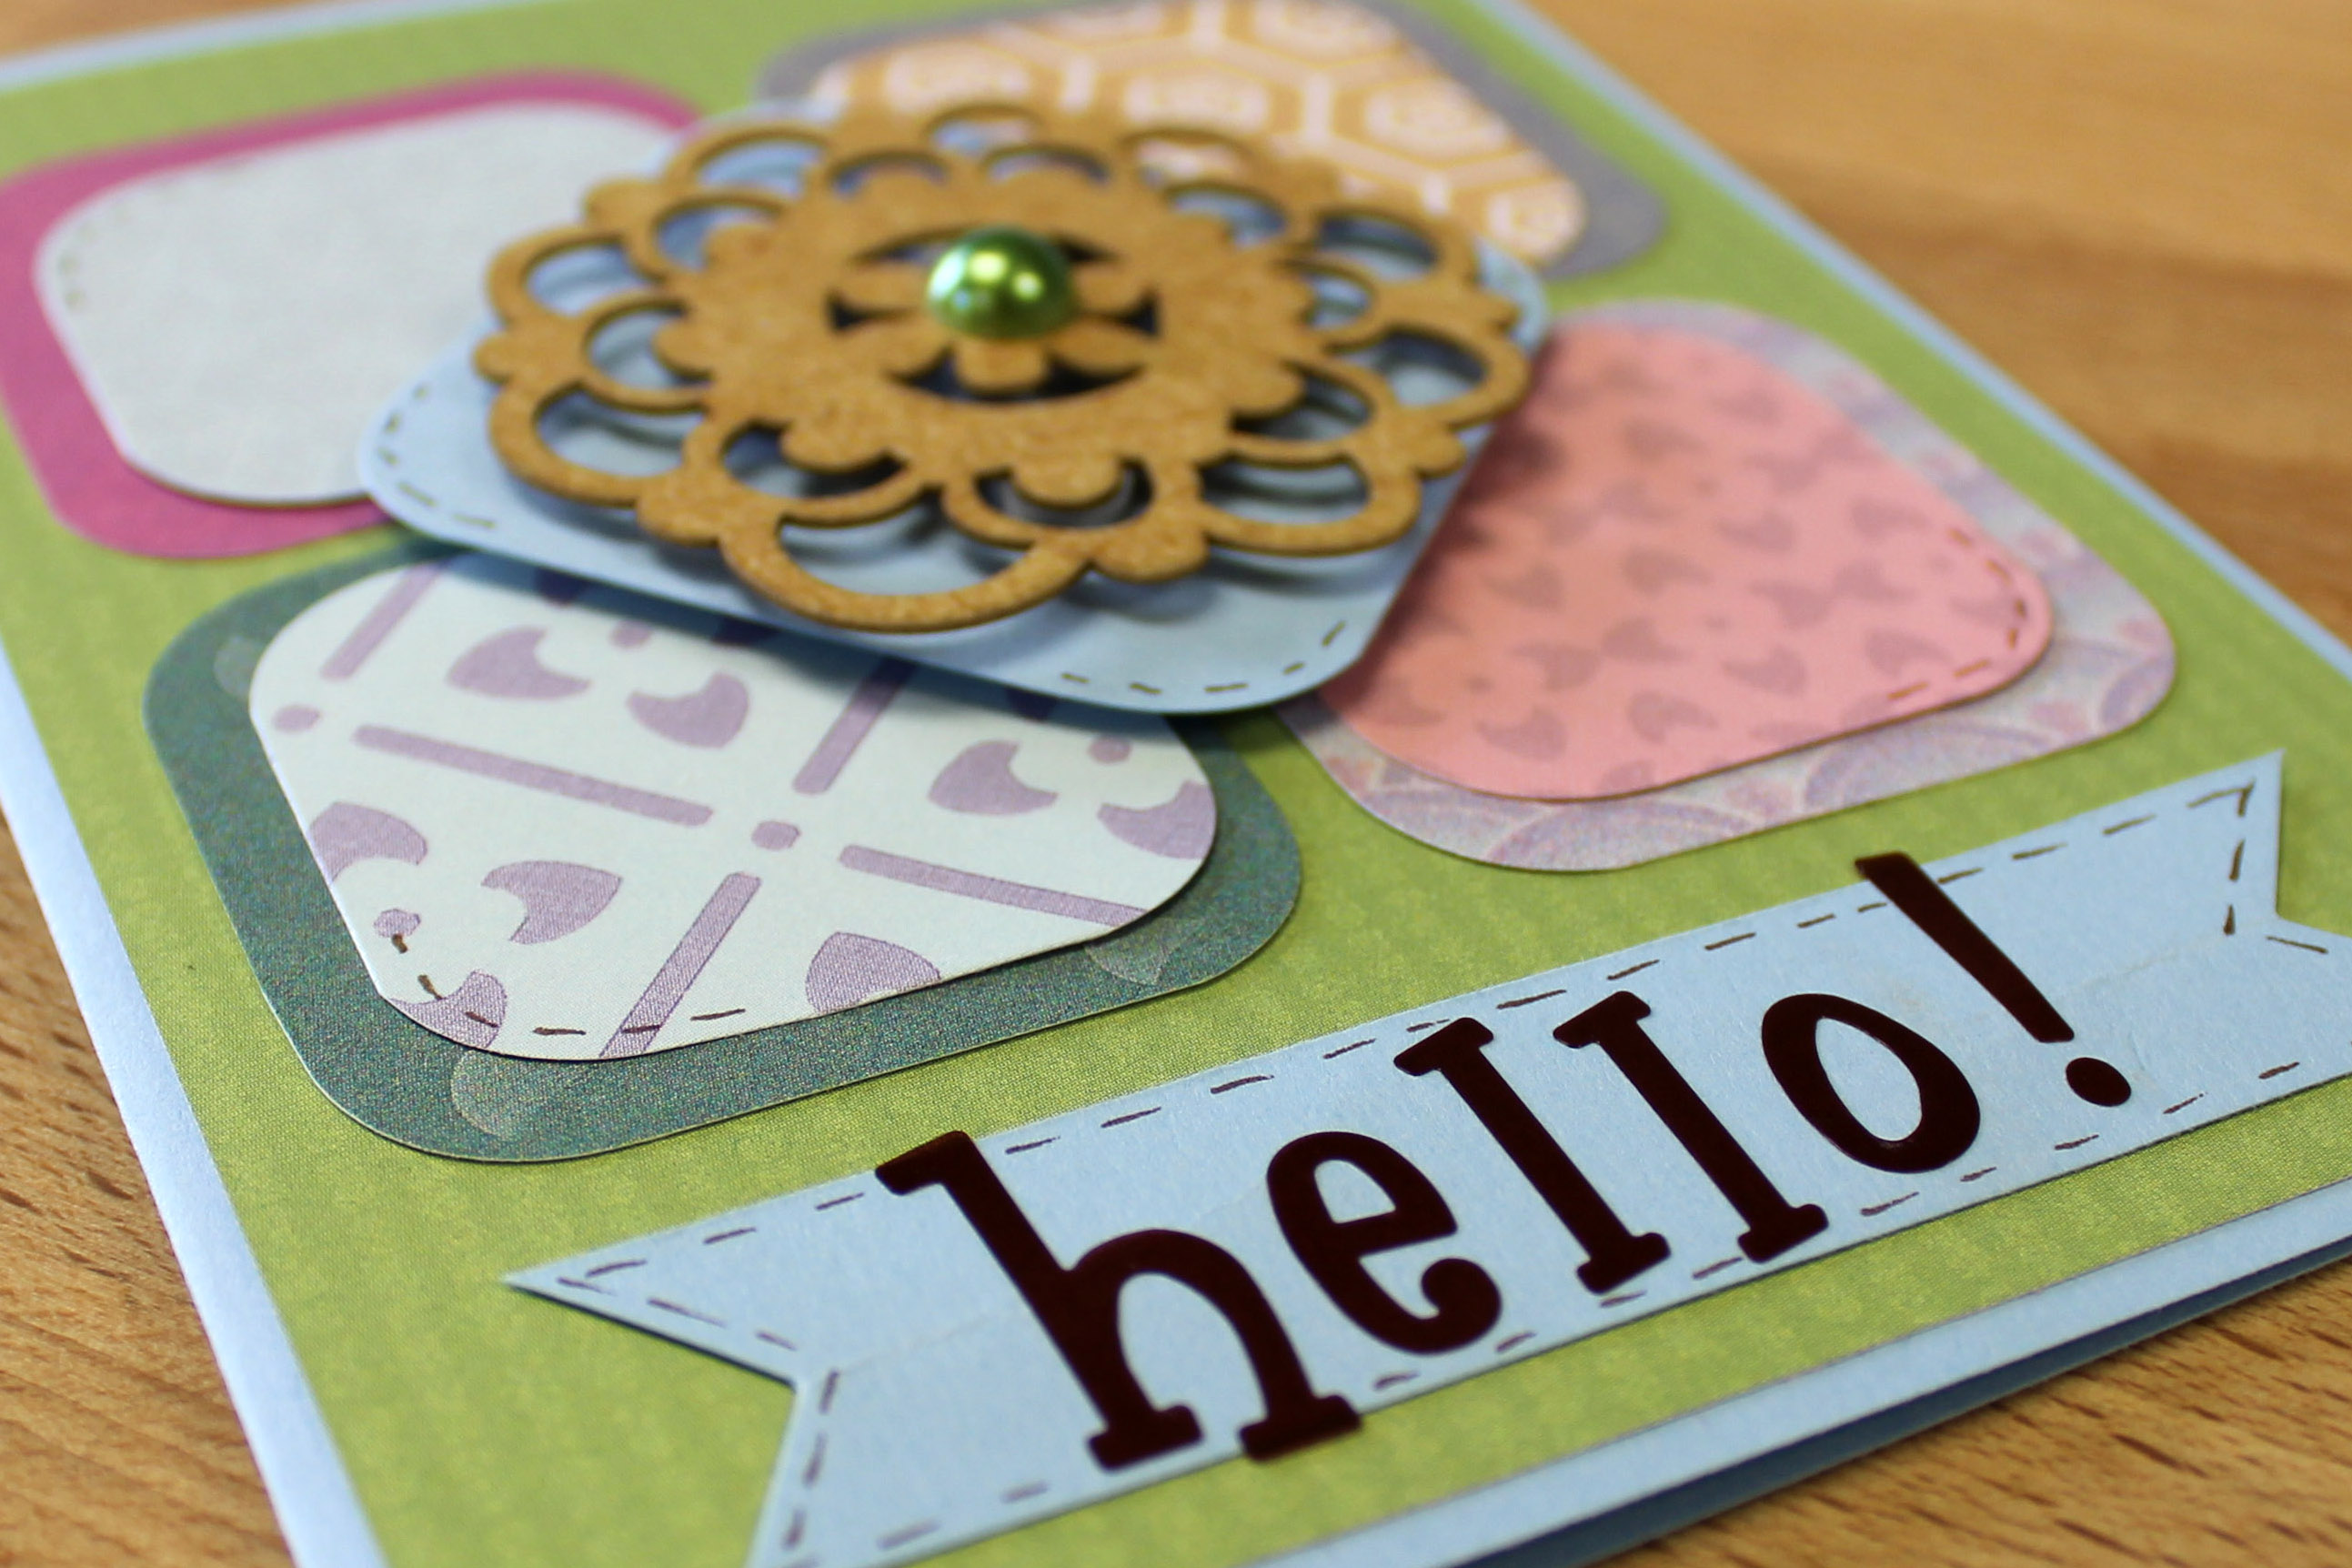
Step 6: Cut a piece of Cloud Cardstock to measure 2″ x 2″. Round the corners with the Corner Rounder. Adhere to the center of the previous squares using Foam Squares.
Step 7: Adhere the natural laser-cut die-cut to the center of the cardstock using Foam Squares.

Step 8: Cut a strip to measure 3-3/4″ x 1″ from Cloud Cardstock. Using a scissors, cut a “v” into the ends of the cardstock.
Step 9: Adhere the Swirly ABC Stickers for the sentiment to the top of the Cloud Cardstock strip.

Who do you need to send a card off to?
This would be a great card to send homemade smiles to anyone on your list.
Instructions:
Step 1: Cut a piece of Cloud Cardstock to measure 5-1/2″ x 8-1/2″. Fold in half to create card.
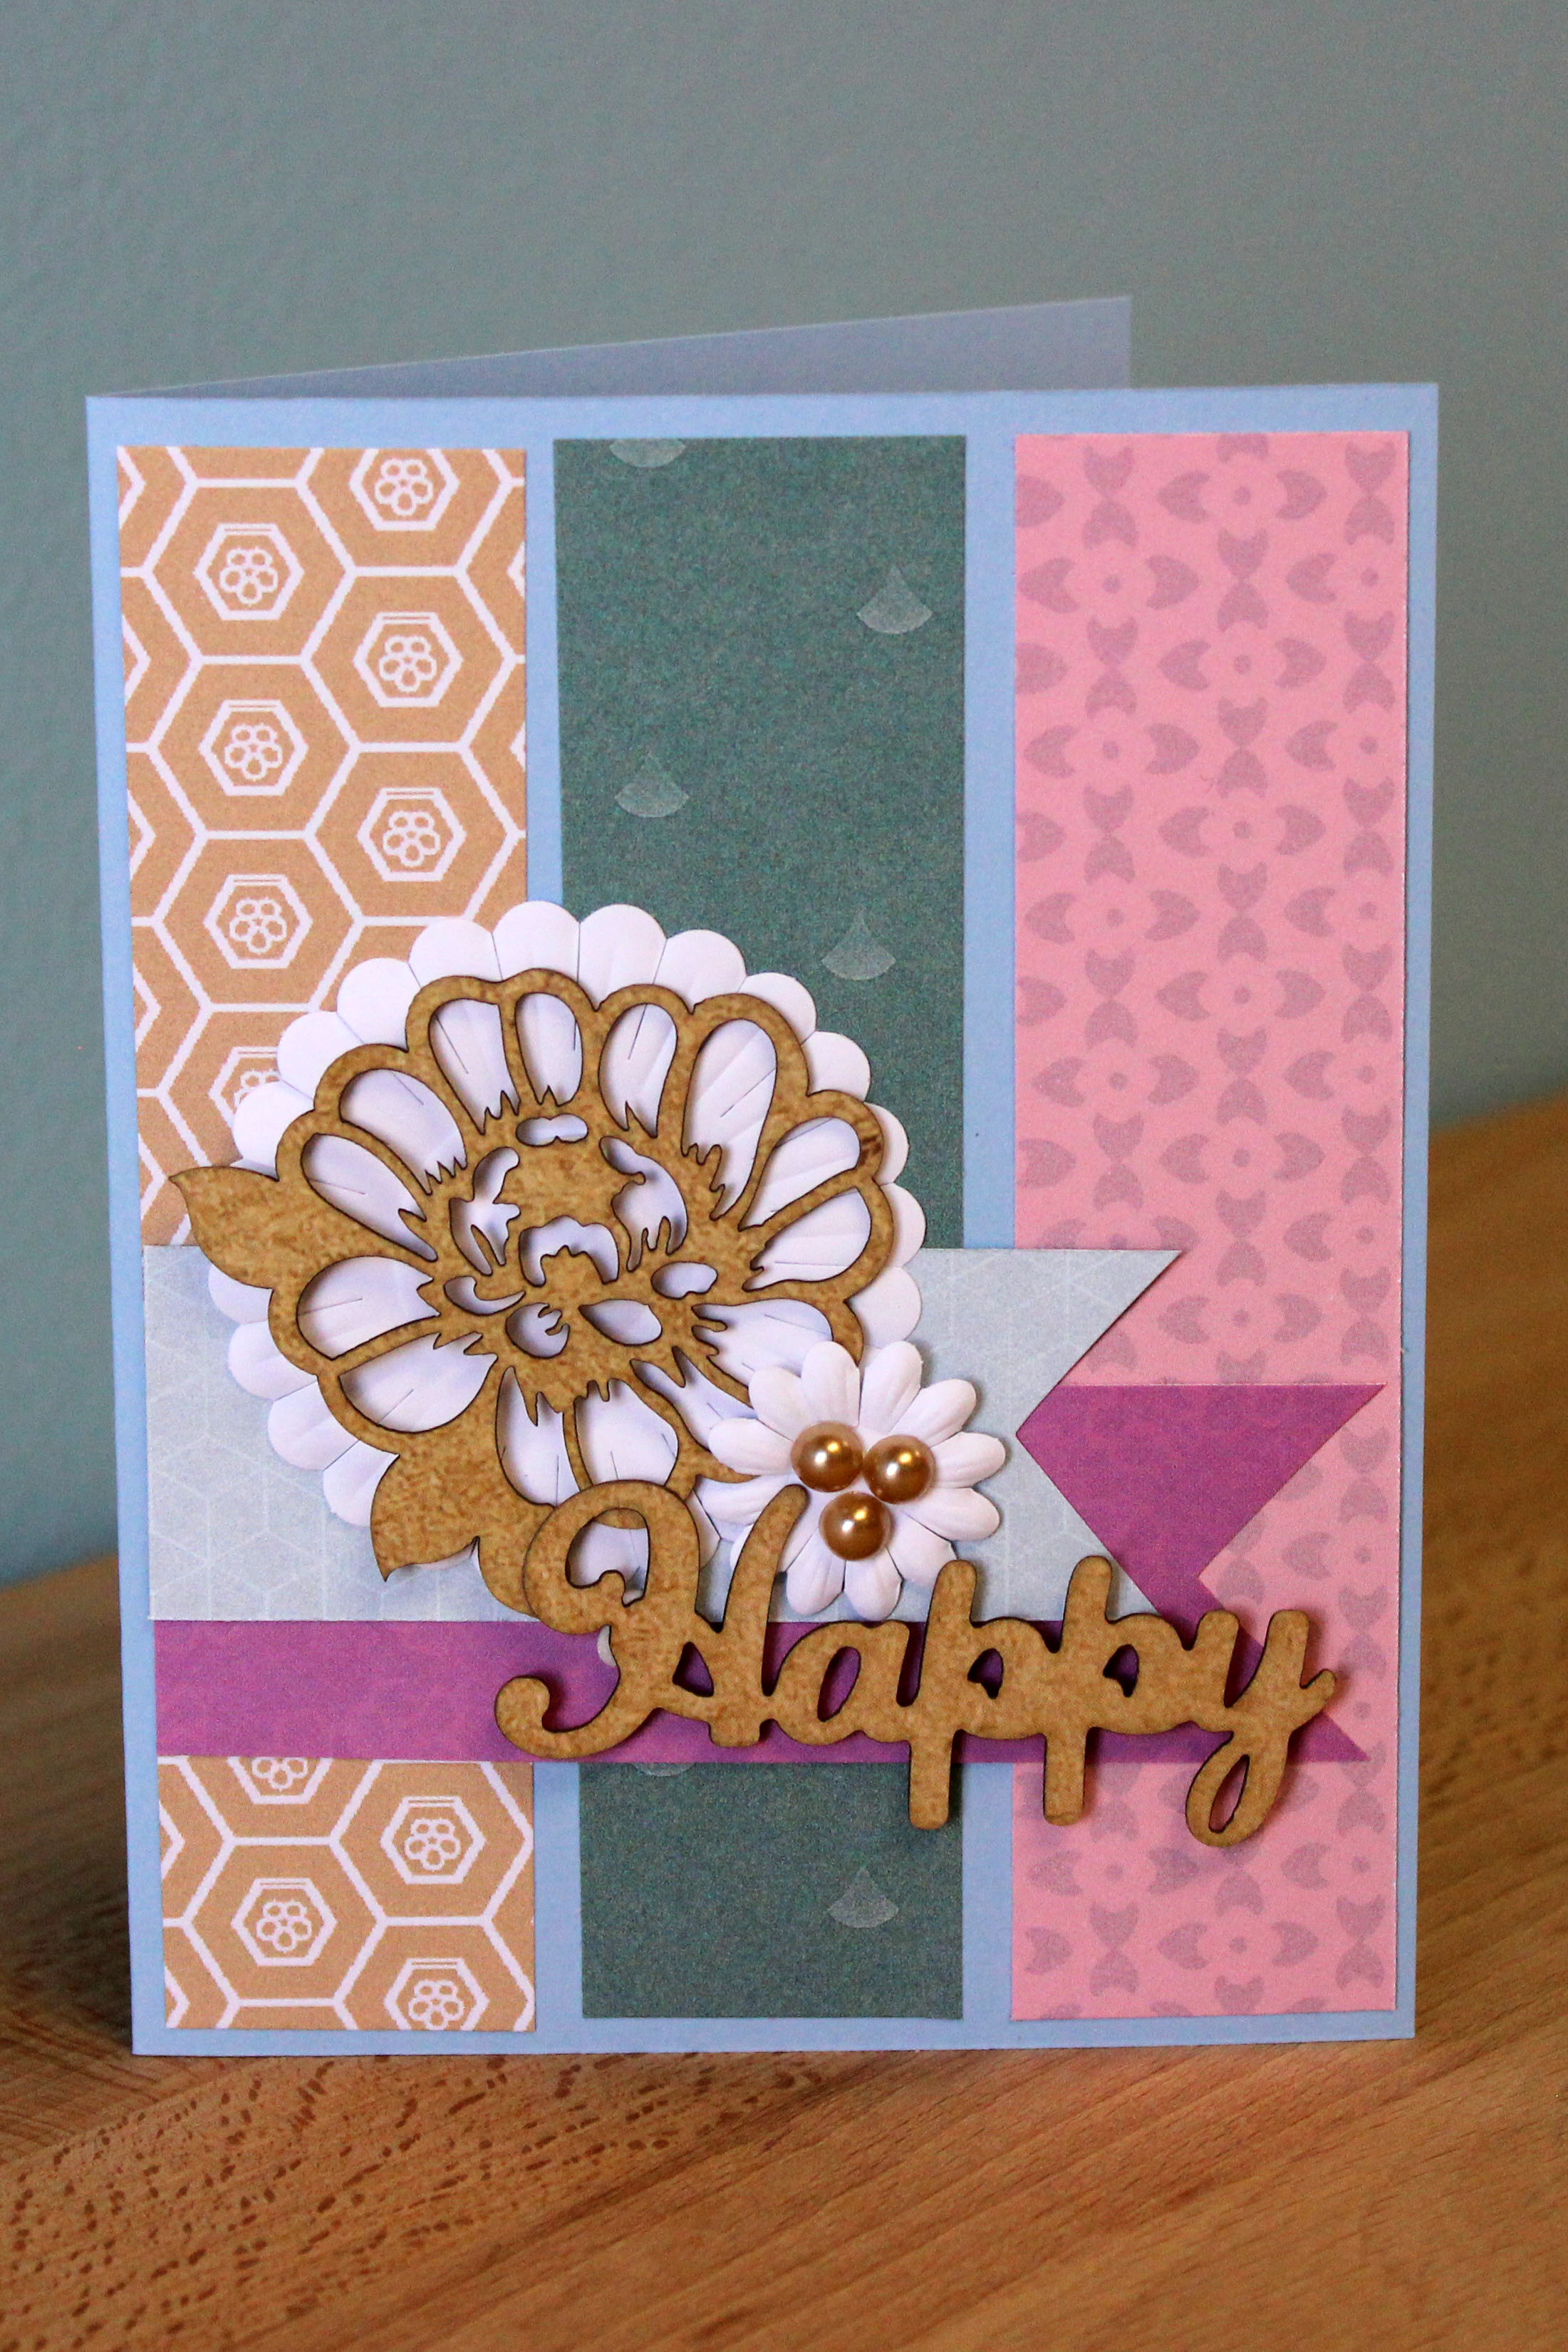
Step 2: Cut five pieces of different patterns of paper to measure 1-1/4″ x 5-1/4″. Adhere three of the strips to the front of the card vertically.
Step 3: Gently fold the ends of two of the pieces, cutting at an angle with your scissors to create the “v” in the end. Adhere to the front of the card horizontally towards the bottom of the card.
Step 4: Adhere the white paper flowers to the card using Foam Squares.
Step 5: Adhere the natural laser-cut die-cuts to the front of the card using Foam Squares.

Step 6: Add the gems from the Gallivant Embellishments to the center of the paper flower.
This overall card layout, is my favorite way to create cards. Using a different paper pack will leave the look changing for each and every card.
We would LOVE to see the cards you create! Post your projects on social media using #creativememories .
Happy Creating!


Great way to use our CM suppkies to make cards. Both cards are nice, but the 2nd one is beautiful.
Thank you Lucinda! -Melissa