August 9, 2017
Back To The Books Bookworm Borders
Liven up the pages of your favorite student’s album with the new Bookworm Collection! Here, I’ve made a few border pairs. You can use them to decorate both the top and bottom of your page or to spread the design across a two-page layout.
To make these borders you will need:
- Bookworm Paper Pack, Variety Mat Pack, Stickers and Embellishments
- Royal and Red Cardstock
- Original Border Maker System with Film Strip, Circle Weave, Stars, Scallop Dot and Bubbles Cartridges
- Shooting Star Punch
- 12-inch Straight Trimmer
- 12-inch Decorative Trimmer
- Hole Punch
- Tape Runner with Repositionable Tape Runner Refill
- Foam Squares
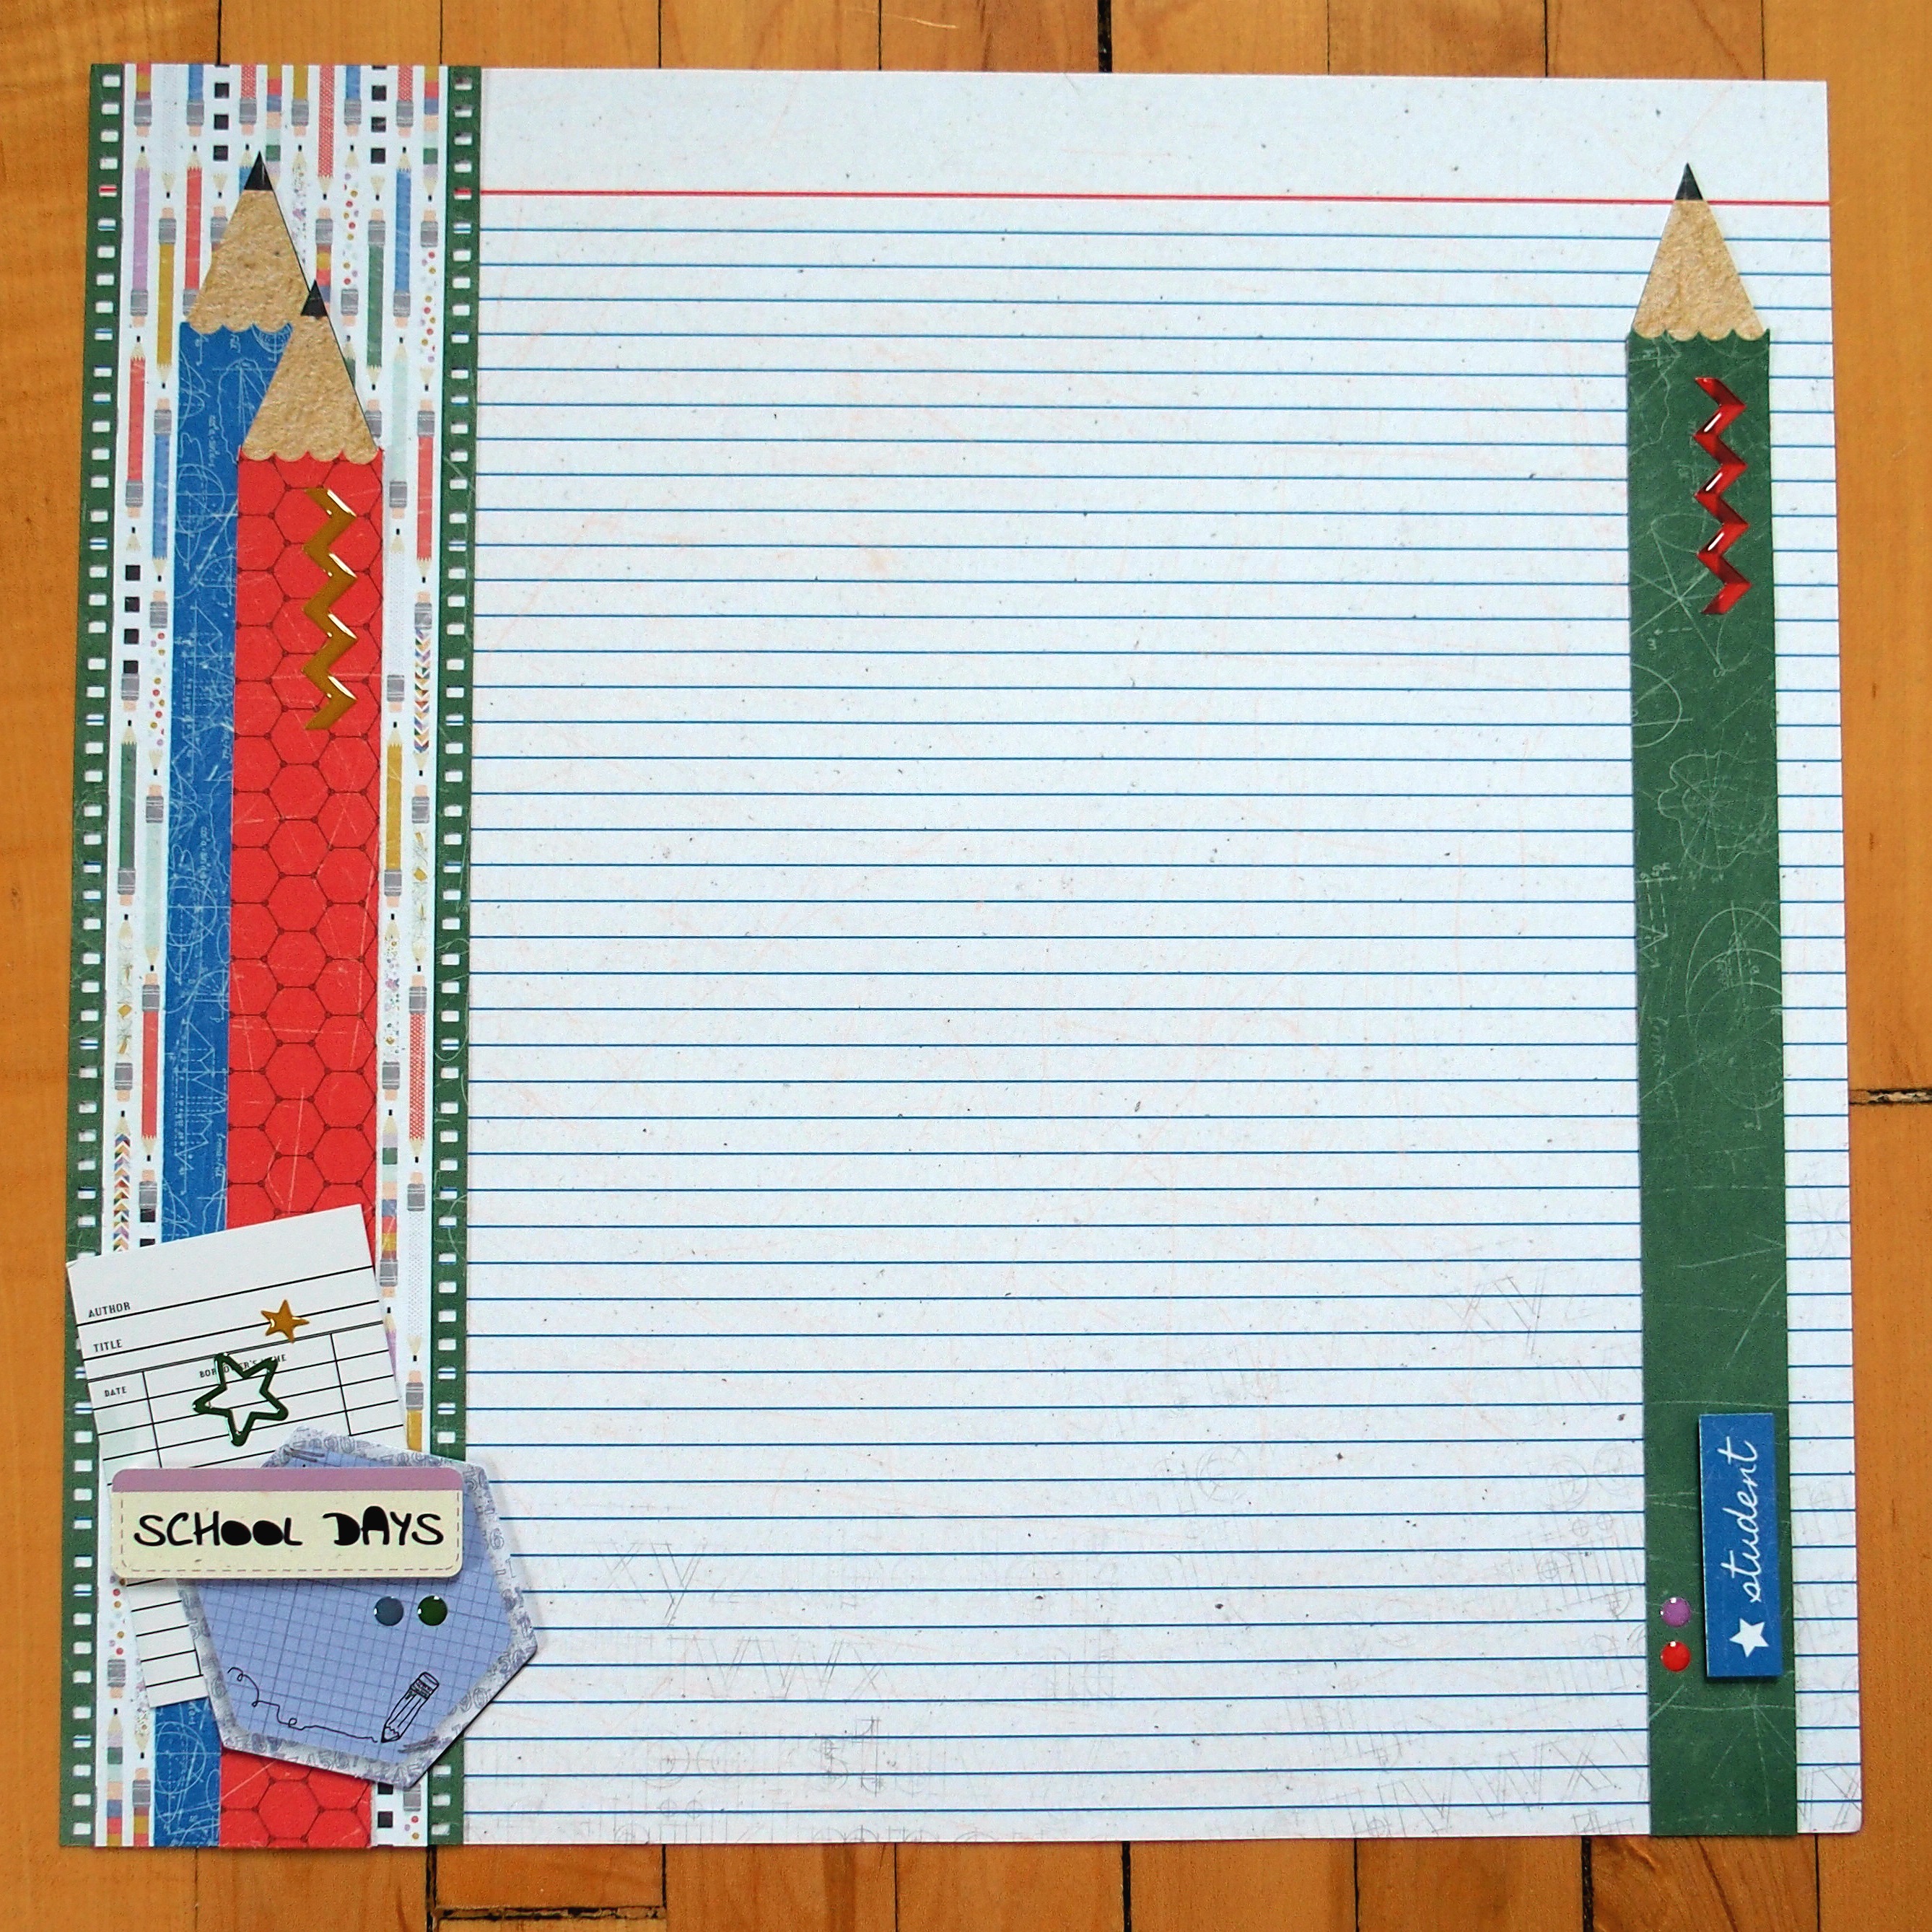

Pencils Border
- Using the film strip cartridge, punch a border with green paper. Trim to 2-3/4″ x 12″ and punch the other side. Cut a 2-1/4″ x 12″ strip of pencils paper and adhere to the base.
- To make the pencils, cut a 1″ x 10″ strip of blue paper, a 1″ x 9″ strip of red paper and a 1″ x 10″ strip of green paper. Using a hole punch, punch four half circles from one end of each pencil. To make the pencil points, cut three 1″ x 1-1/4″ pieces of both charcoal and natural mat papers. Trim each into triangles. Cut the tips off the natural pieces, adhere to the charcoal pieces and tuck behind the scalloped ends of the pencils.
- Add stickers and embellishments as shown.

The Arts Border
- Cut a 2″ x 12″ strip of zig zag lockers paper for the base. Using the circle weave cartridge, punch a border with gold paper. Tuck behind the right side of the border as shown.
- Cut two 1″ x 12″ strips of lavender paper. Punch two blue circle weave borders. Apply a ruler sticker down the length of each circle weave border, weaving through the shapes at each end as shown. Adhere to lavender strips. Apply one strip to the border.
- Add stickers and embellishments as desired.

Stars & Ribbons Border
- Cut a 2″ x 12″ strip of red paper for the base. Cut a 1-5/8″ x 12″ strip of royal paper and add to the base.
- Using the stars cartridge, punch a border with the kids paper. Trim to 1-1/2″ x 12″ and apply on top of royal strip.
- Cut two red cardstock and two gold paper ribbons using the decorative trimmer. Trim as desired and adhere two to the border as shown.
- Punch a shooting star with royal cardstock and add to the loose ribbons with foam squares. Add children leaping stickers and embellishments as desired.
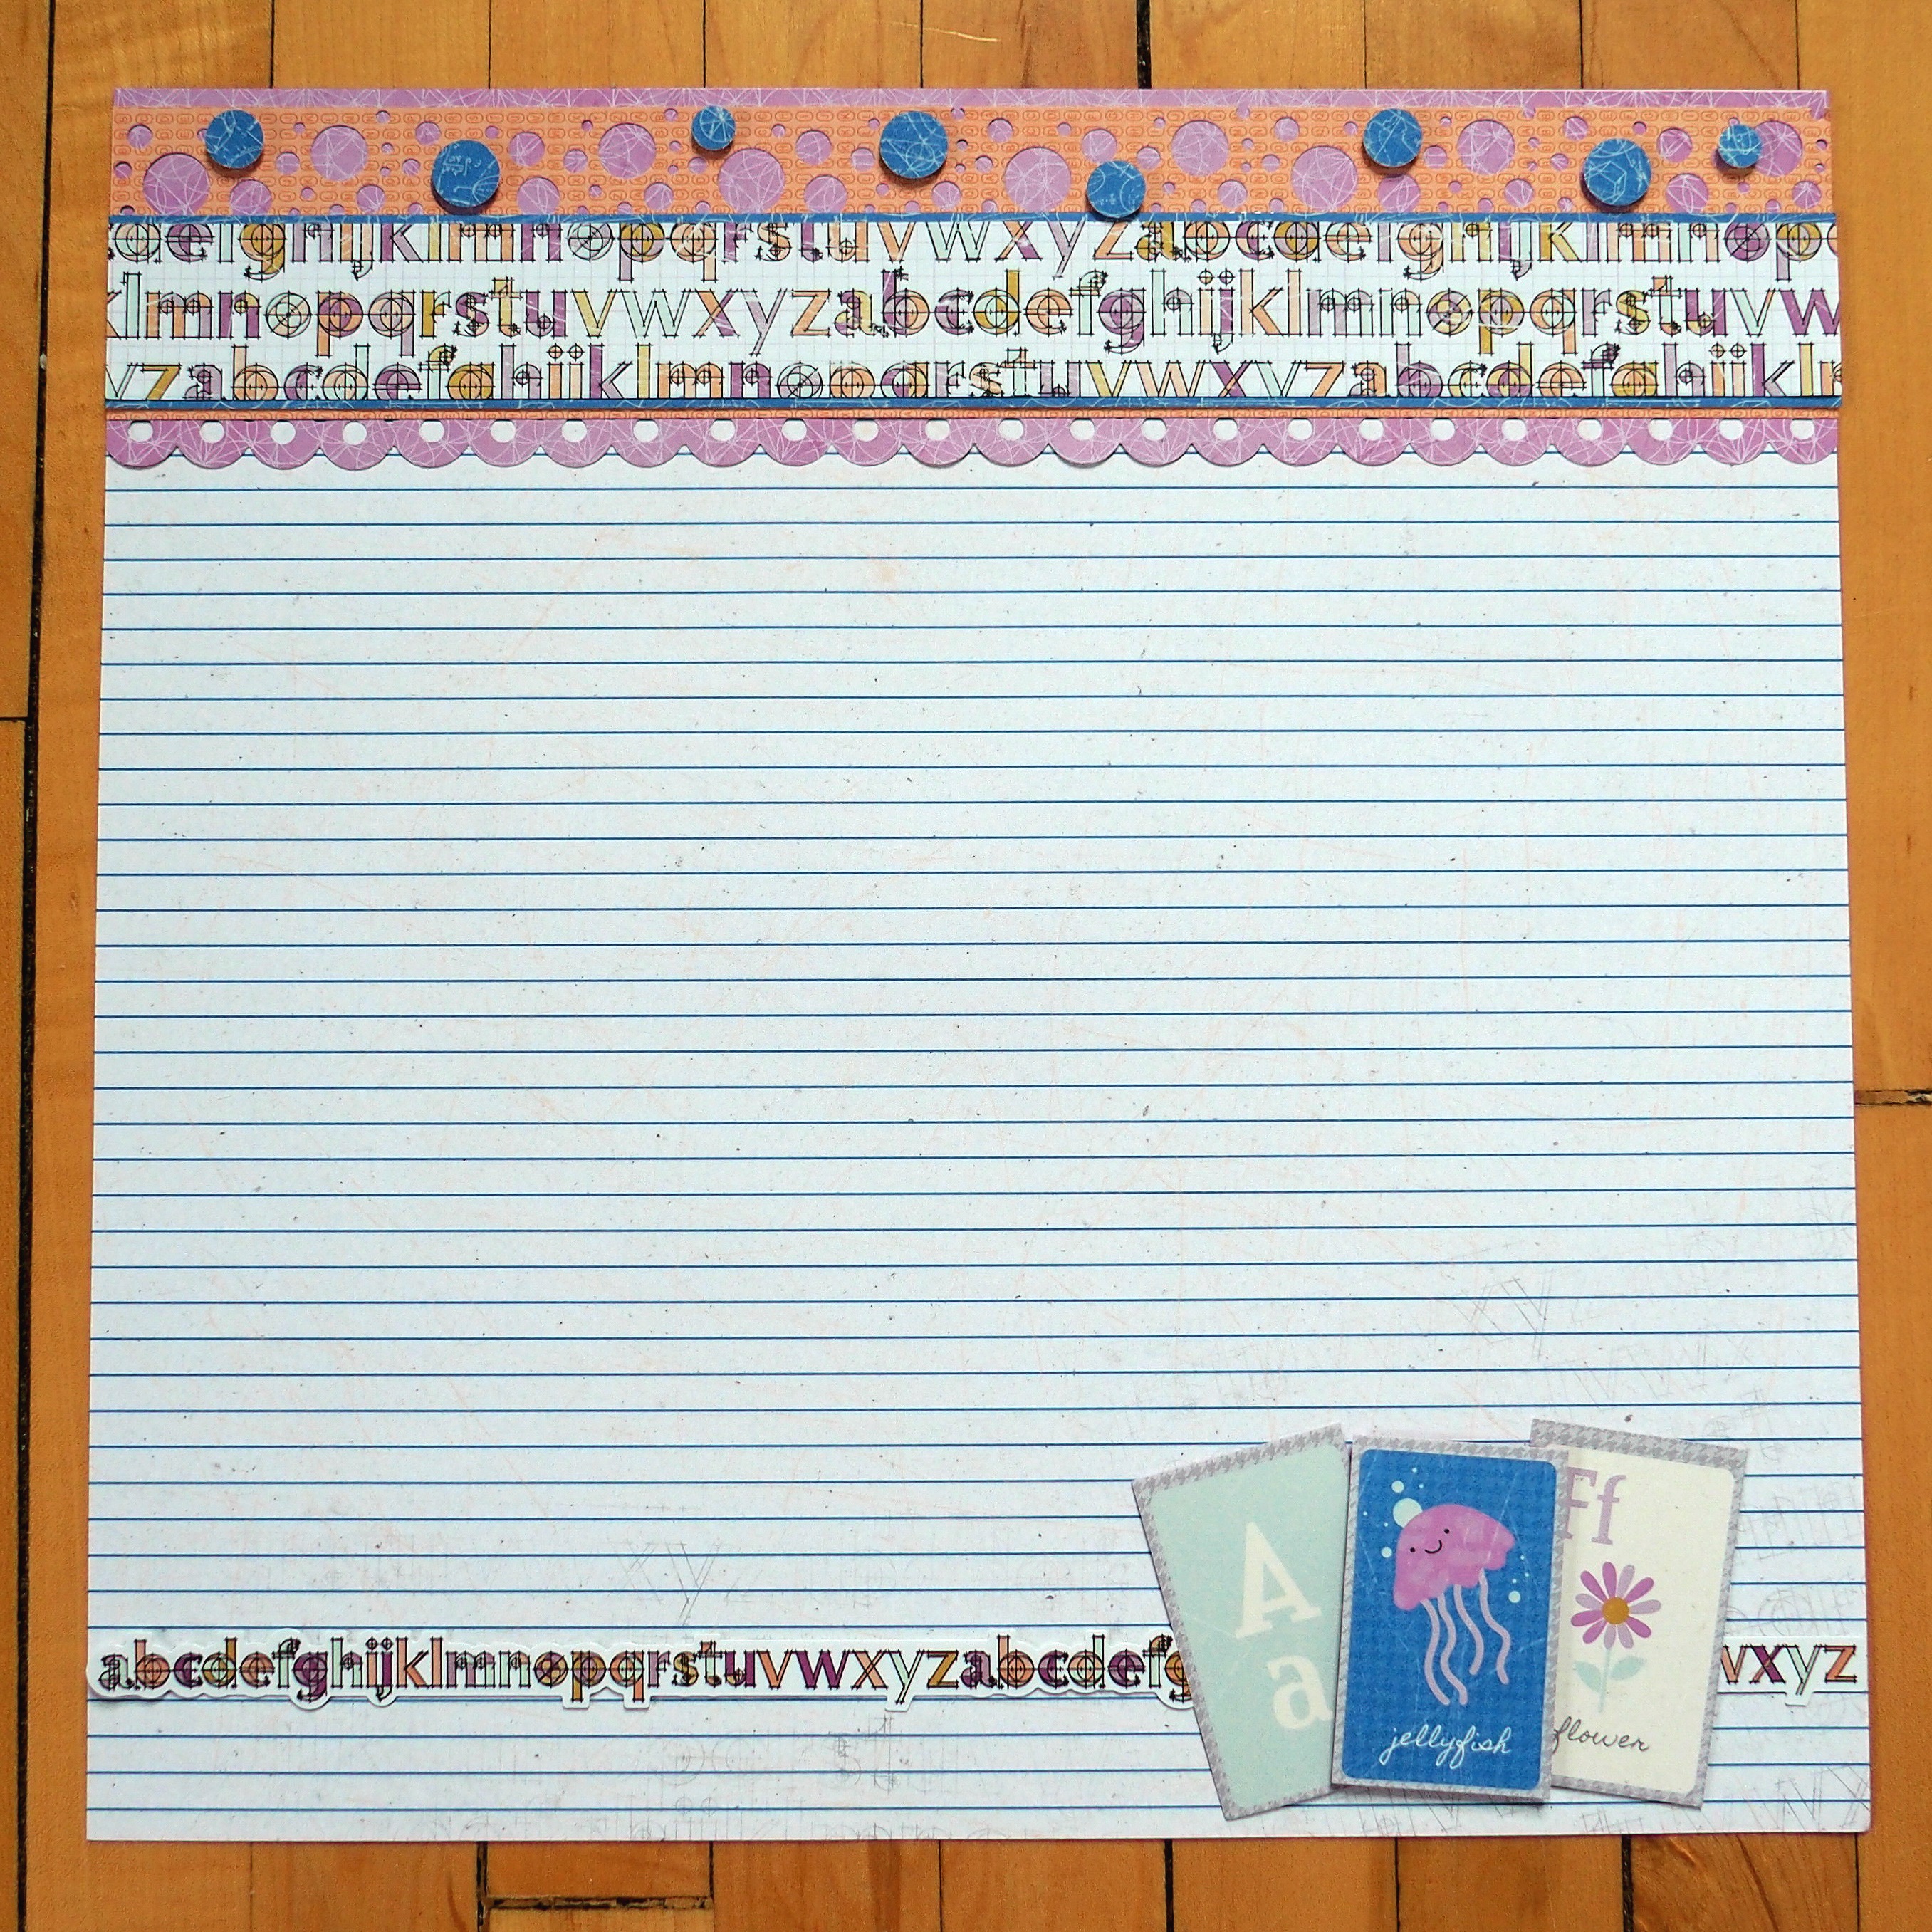
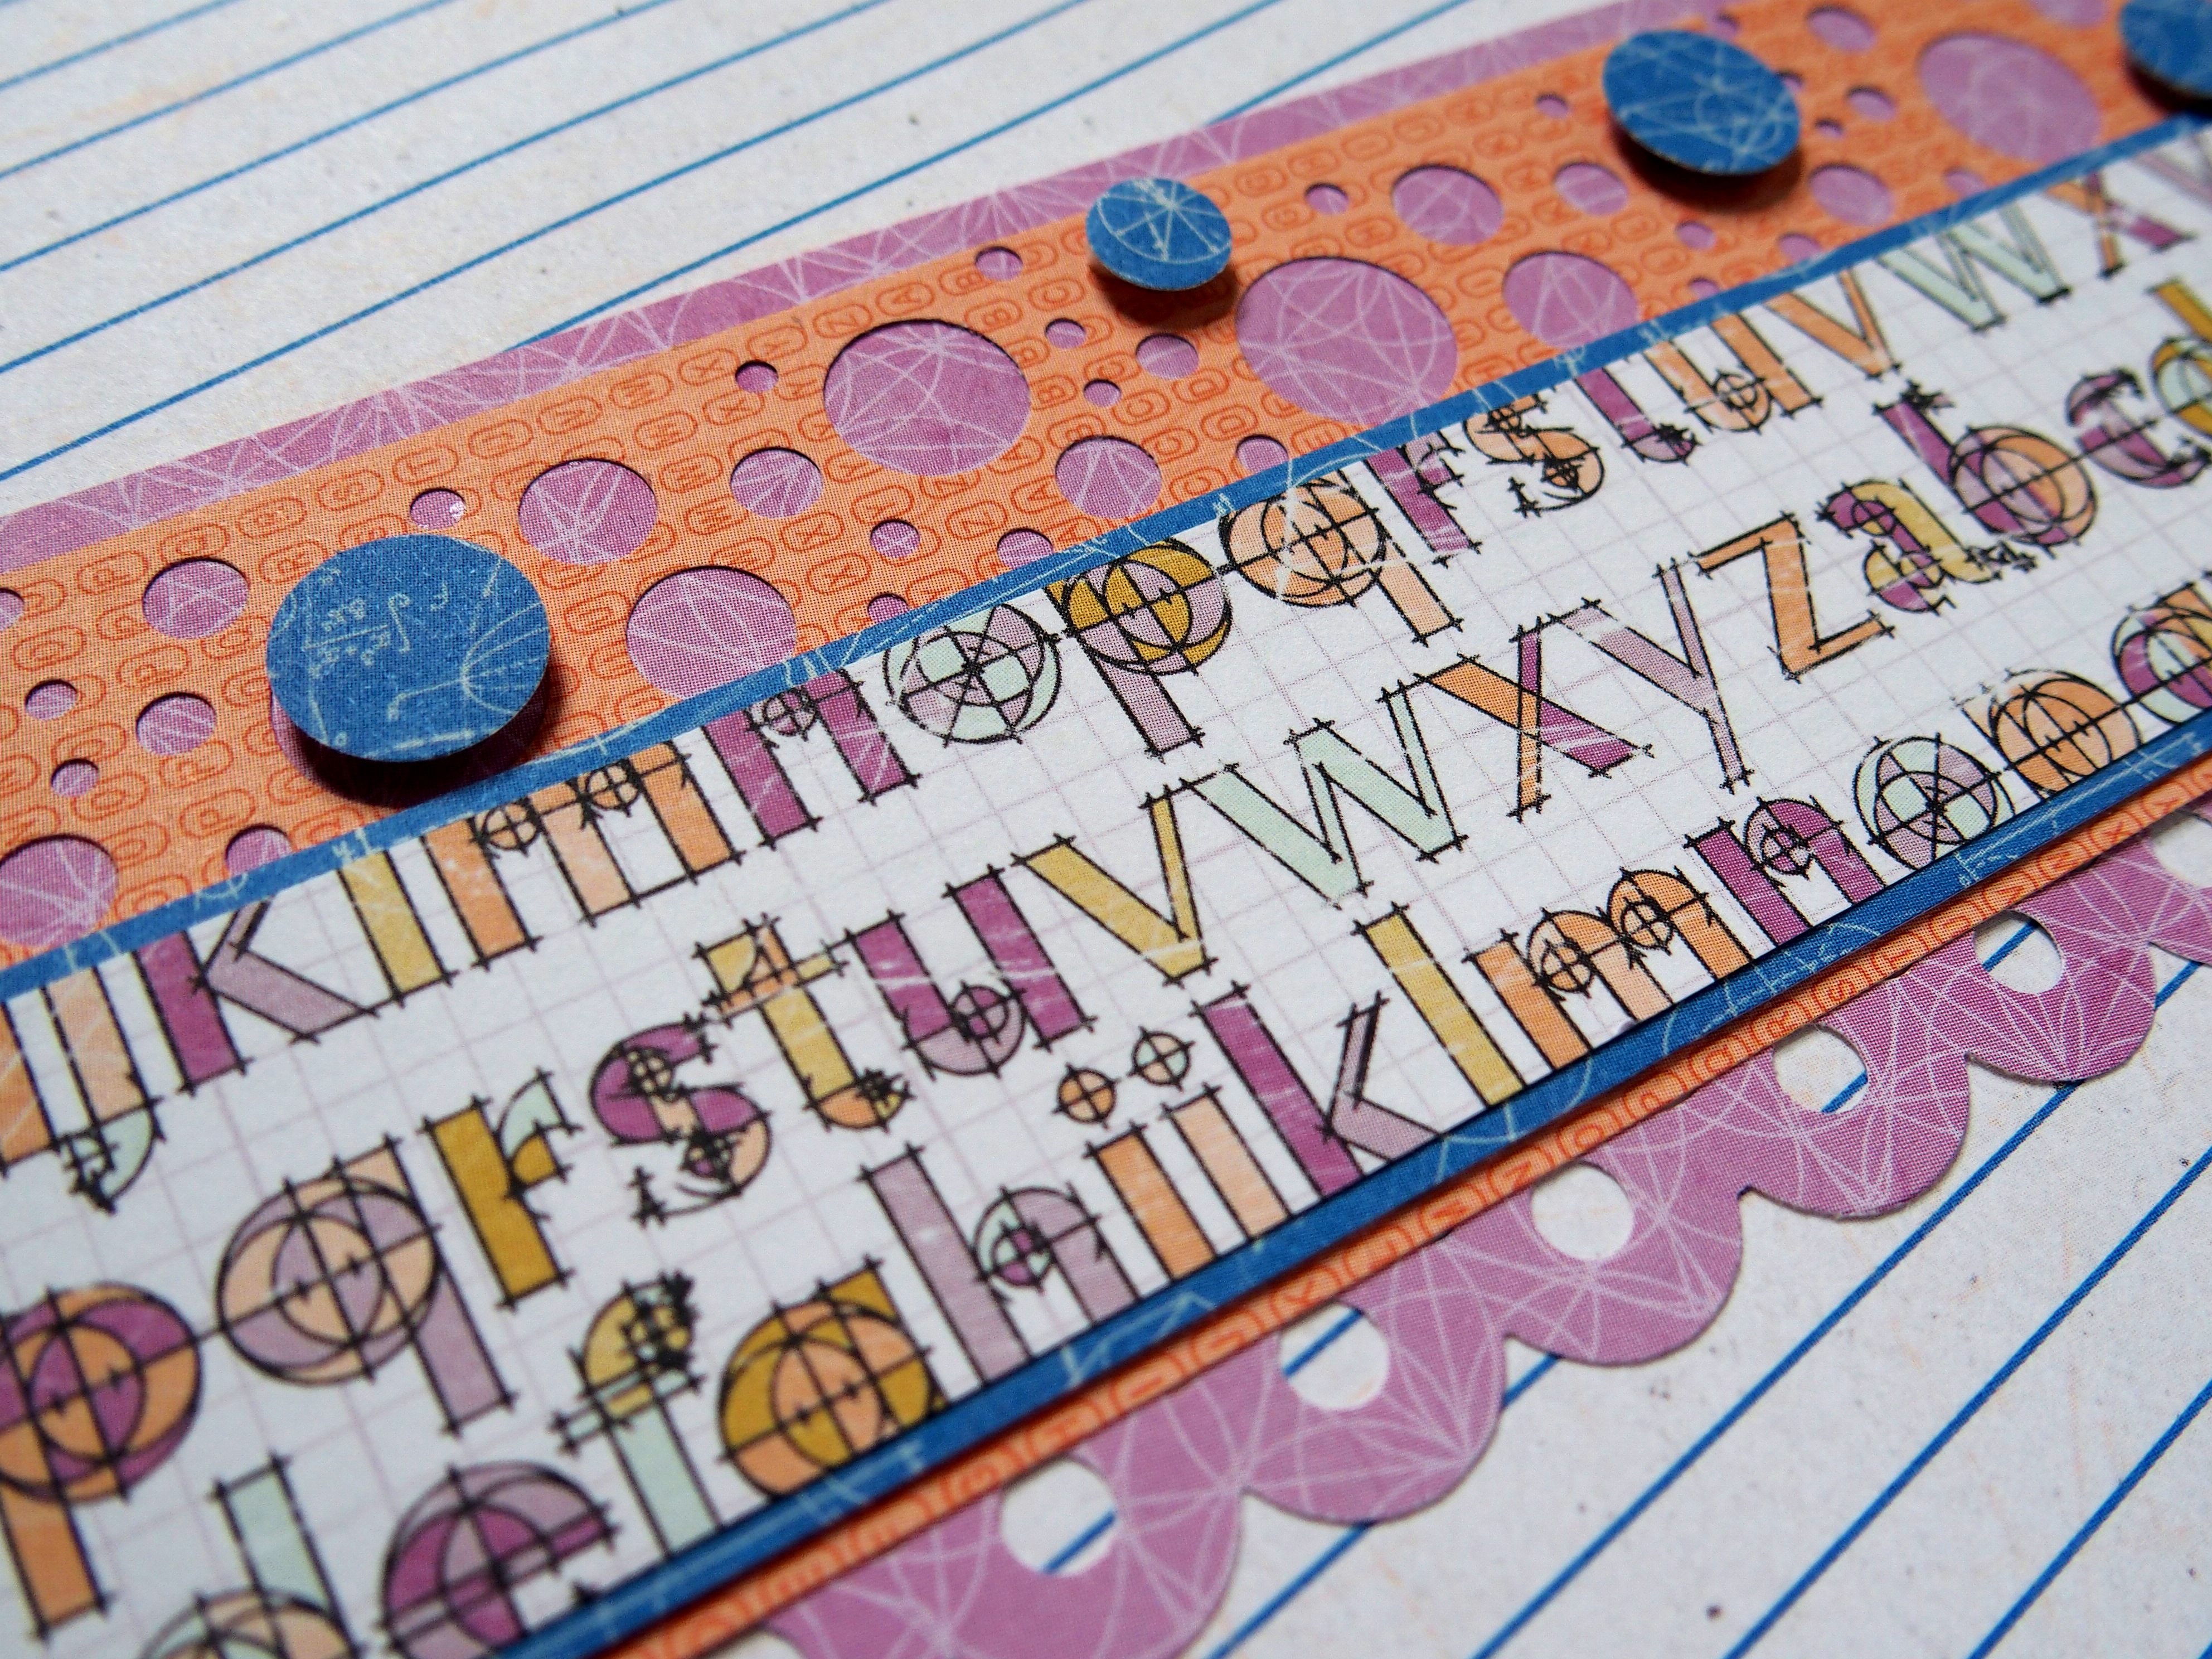
ABC Border
- Using the scallop dot cartridge, punch a border with lavender paper for the base. Trim to 2-5/8″ x 12″. Using the bubbles cartridge, punch a border with orange paper. Trim to 2-1/4″ x 12″ and add to the base, leaving a row of dots exposed.
- Cut a 1-3/8″ x 12″ strip of blue paper and a 1-1/4″ x 12″ strip of alphabet paper. Layer them on top of the orange strip, leaving the bubbles exposed.
- Punch a few extra bubbles with blue paper and apply to the orange bubbles with foam squares.
- Apply an alphabet sticker strip to your page. Trim out three alphabet squares and add as shown.


Crazy-cute borders!!
Love your pretty pages, room for lots of pictures!
Those pencils are adorable, and so easy to create! Thank you for the great ideas.
Love these, Krislyn!! Thank you for your inspiration and sharing your talents.
Thank you for sharing your awesome border ideas!
beautiful pages