August 24, 2017
A Whimsical Start to School

As we prepare to kick-off another school year I came to the realization that I still need to scrapbook my daughter’s first day of school photos from last year! Once I pulled out the photos that I wanted to include I went through my papers to see which collection would coordinate best. To my surprise, Woodland Whimsy was the winner! With a mix of pinks, oranges, and greens it worked perfectly with the photos I had taken.
This was one of those layouts that came together magically. Once I pulled out the papers I wanted to use I took a peek at the embellishment pack and decided that it would be super cute to use the embellishment with a four on it (which was intended for monthly baby photos — but also works beautifully to highlight my daughter’s age in the photos!). There is also an embellishment that says, “Shine like the Stars” which I thought worked perfectly as a title for my layout.

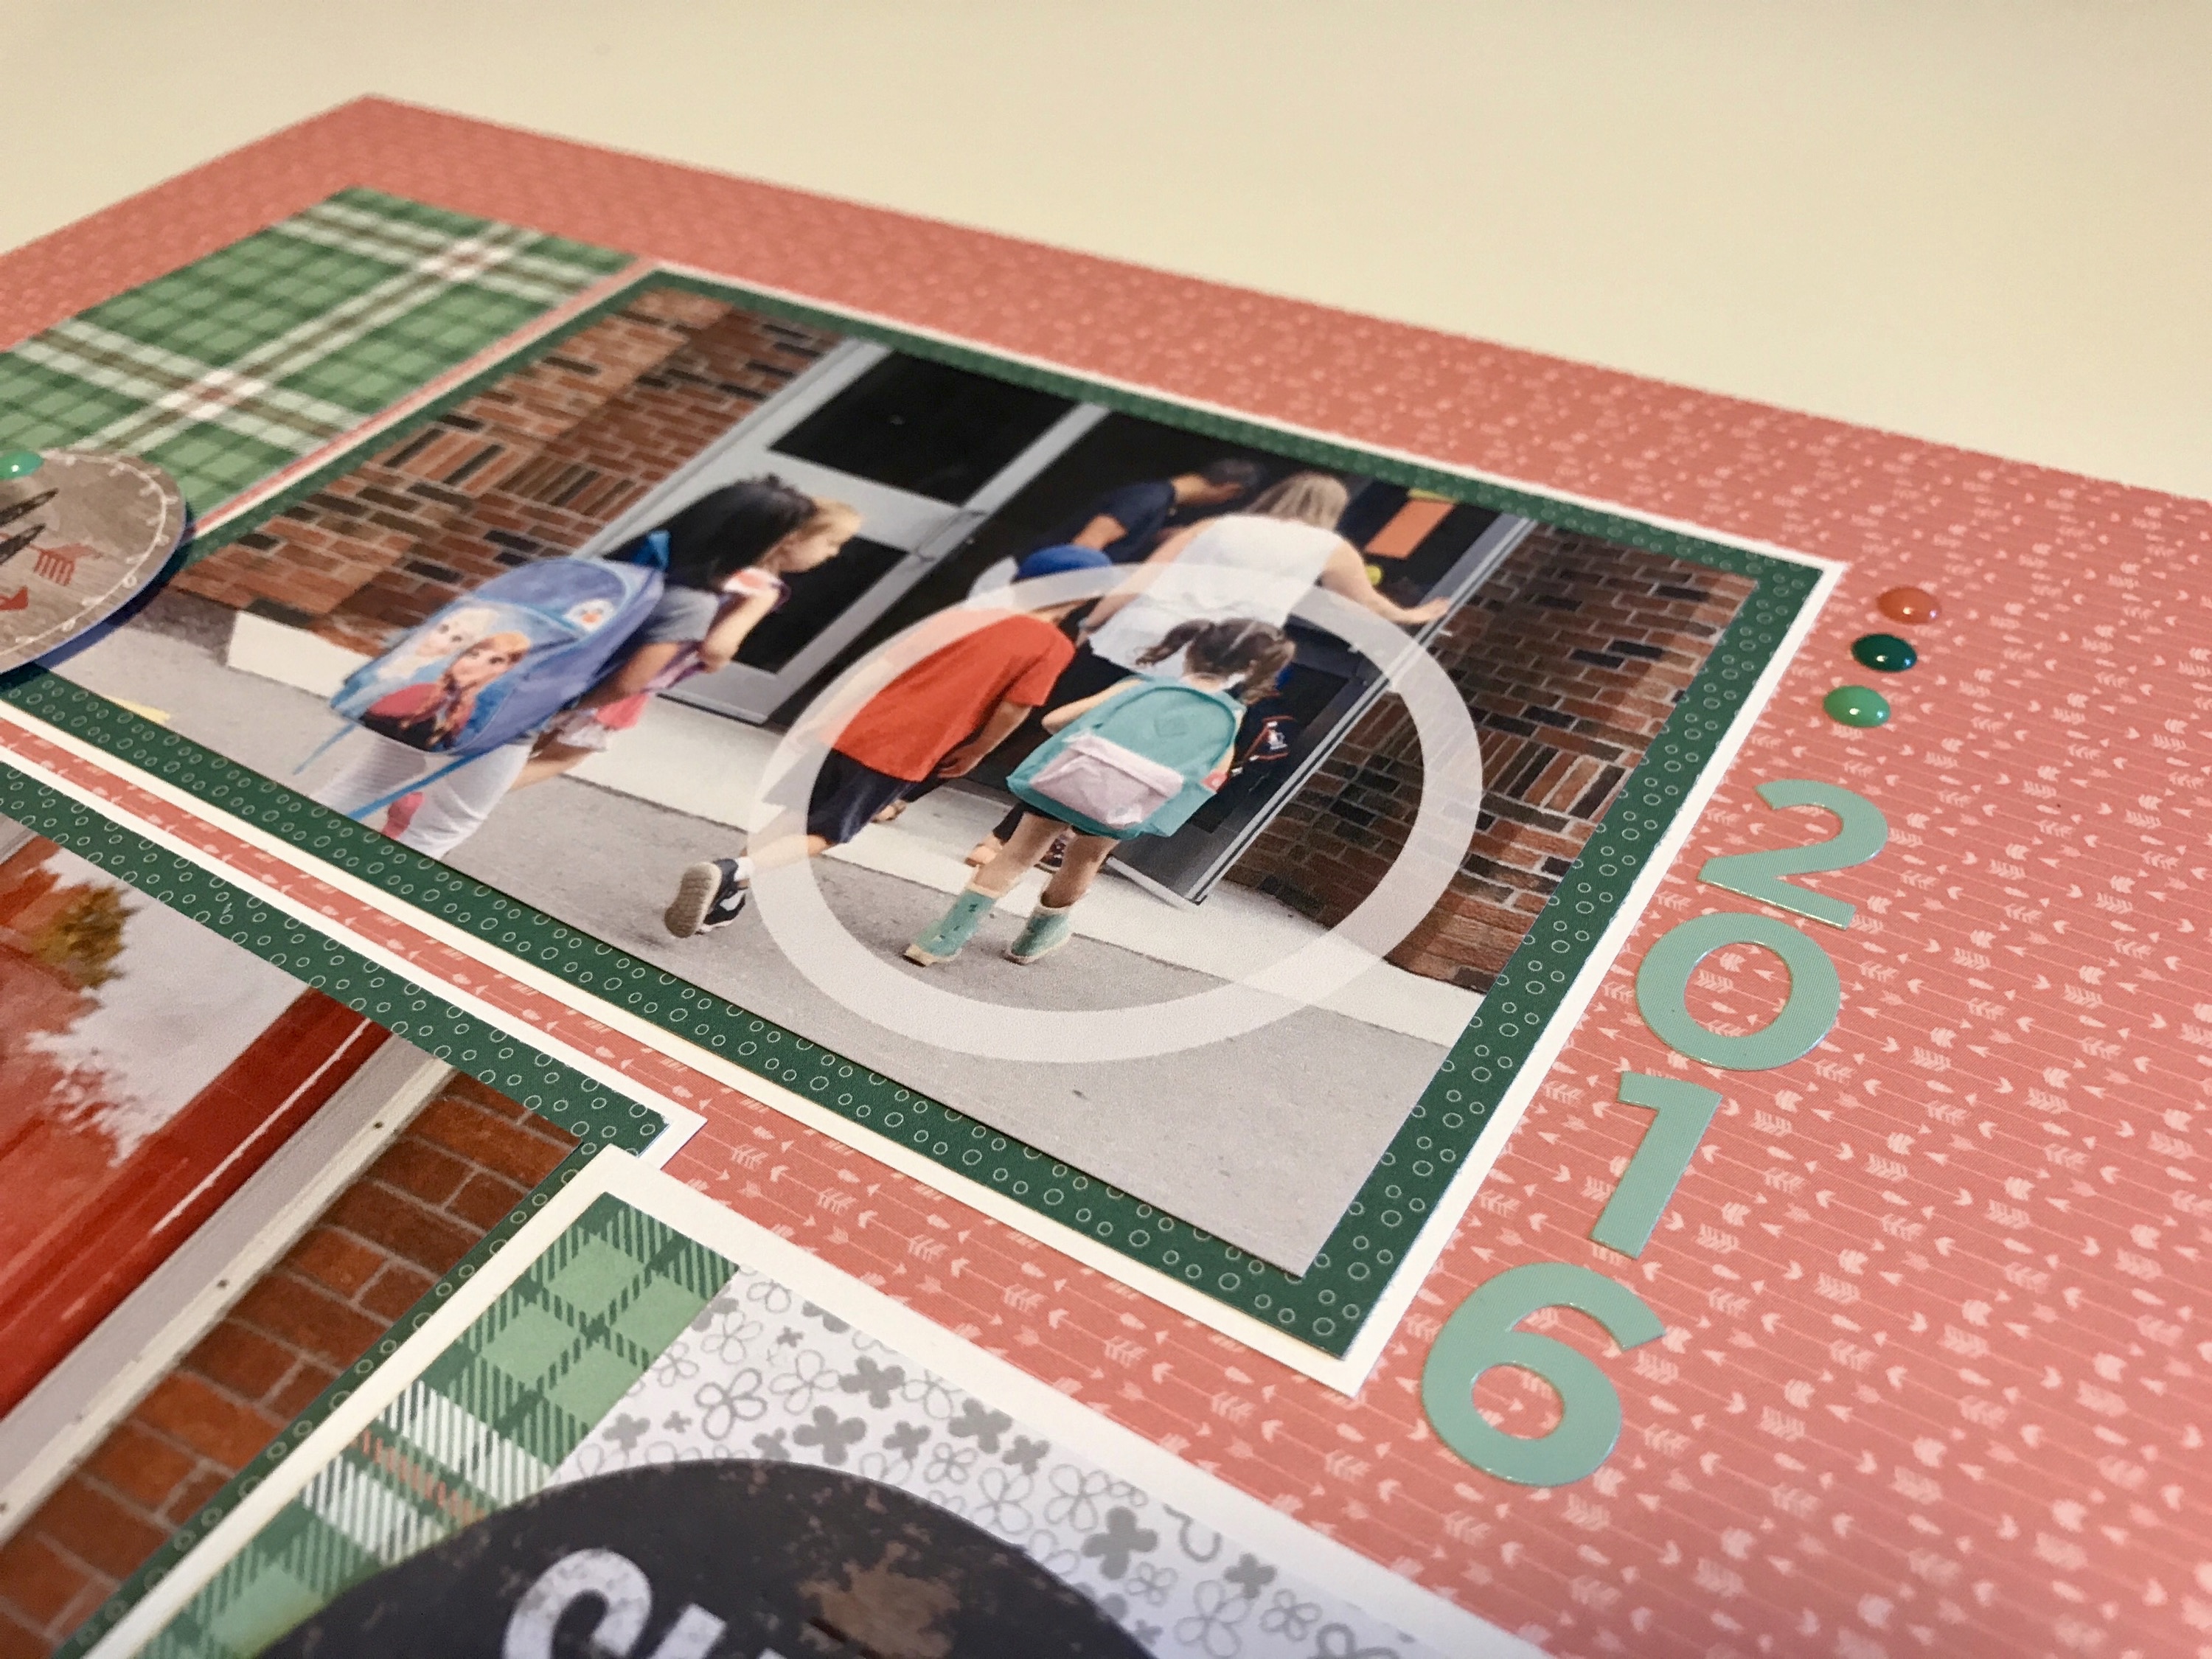
Depending on the project I’m working on I sometimes start with a sketch or an idea of what I’d like to overall page to look like, but other times I just start with the photos and build out from there. That is the approach I took with this layout. Since I was only using two photos I began by cutting them down to 3-1/2″ X 5-1/2″ and then matting them on the dark green patterned paper from Woodland Whimsey Girl Paper Pack which measured 3-7/8″ X 5-7/8″. I then matted them again on White Cardstock measuring 4″ X 6″.

I love the embellishment that says, “Shine like the Stars” but I was having a hard time placing it with the speech bubble shape that it comes in so I decided to cut off the little jut-out bit along the bottom – problem solved! I then layered it on a patterned piece of paper that I had cut into a flagged end and then layered the whole thing onto a rectangle piece of the plaid patterned paper.
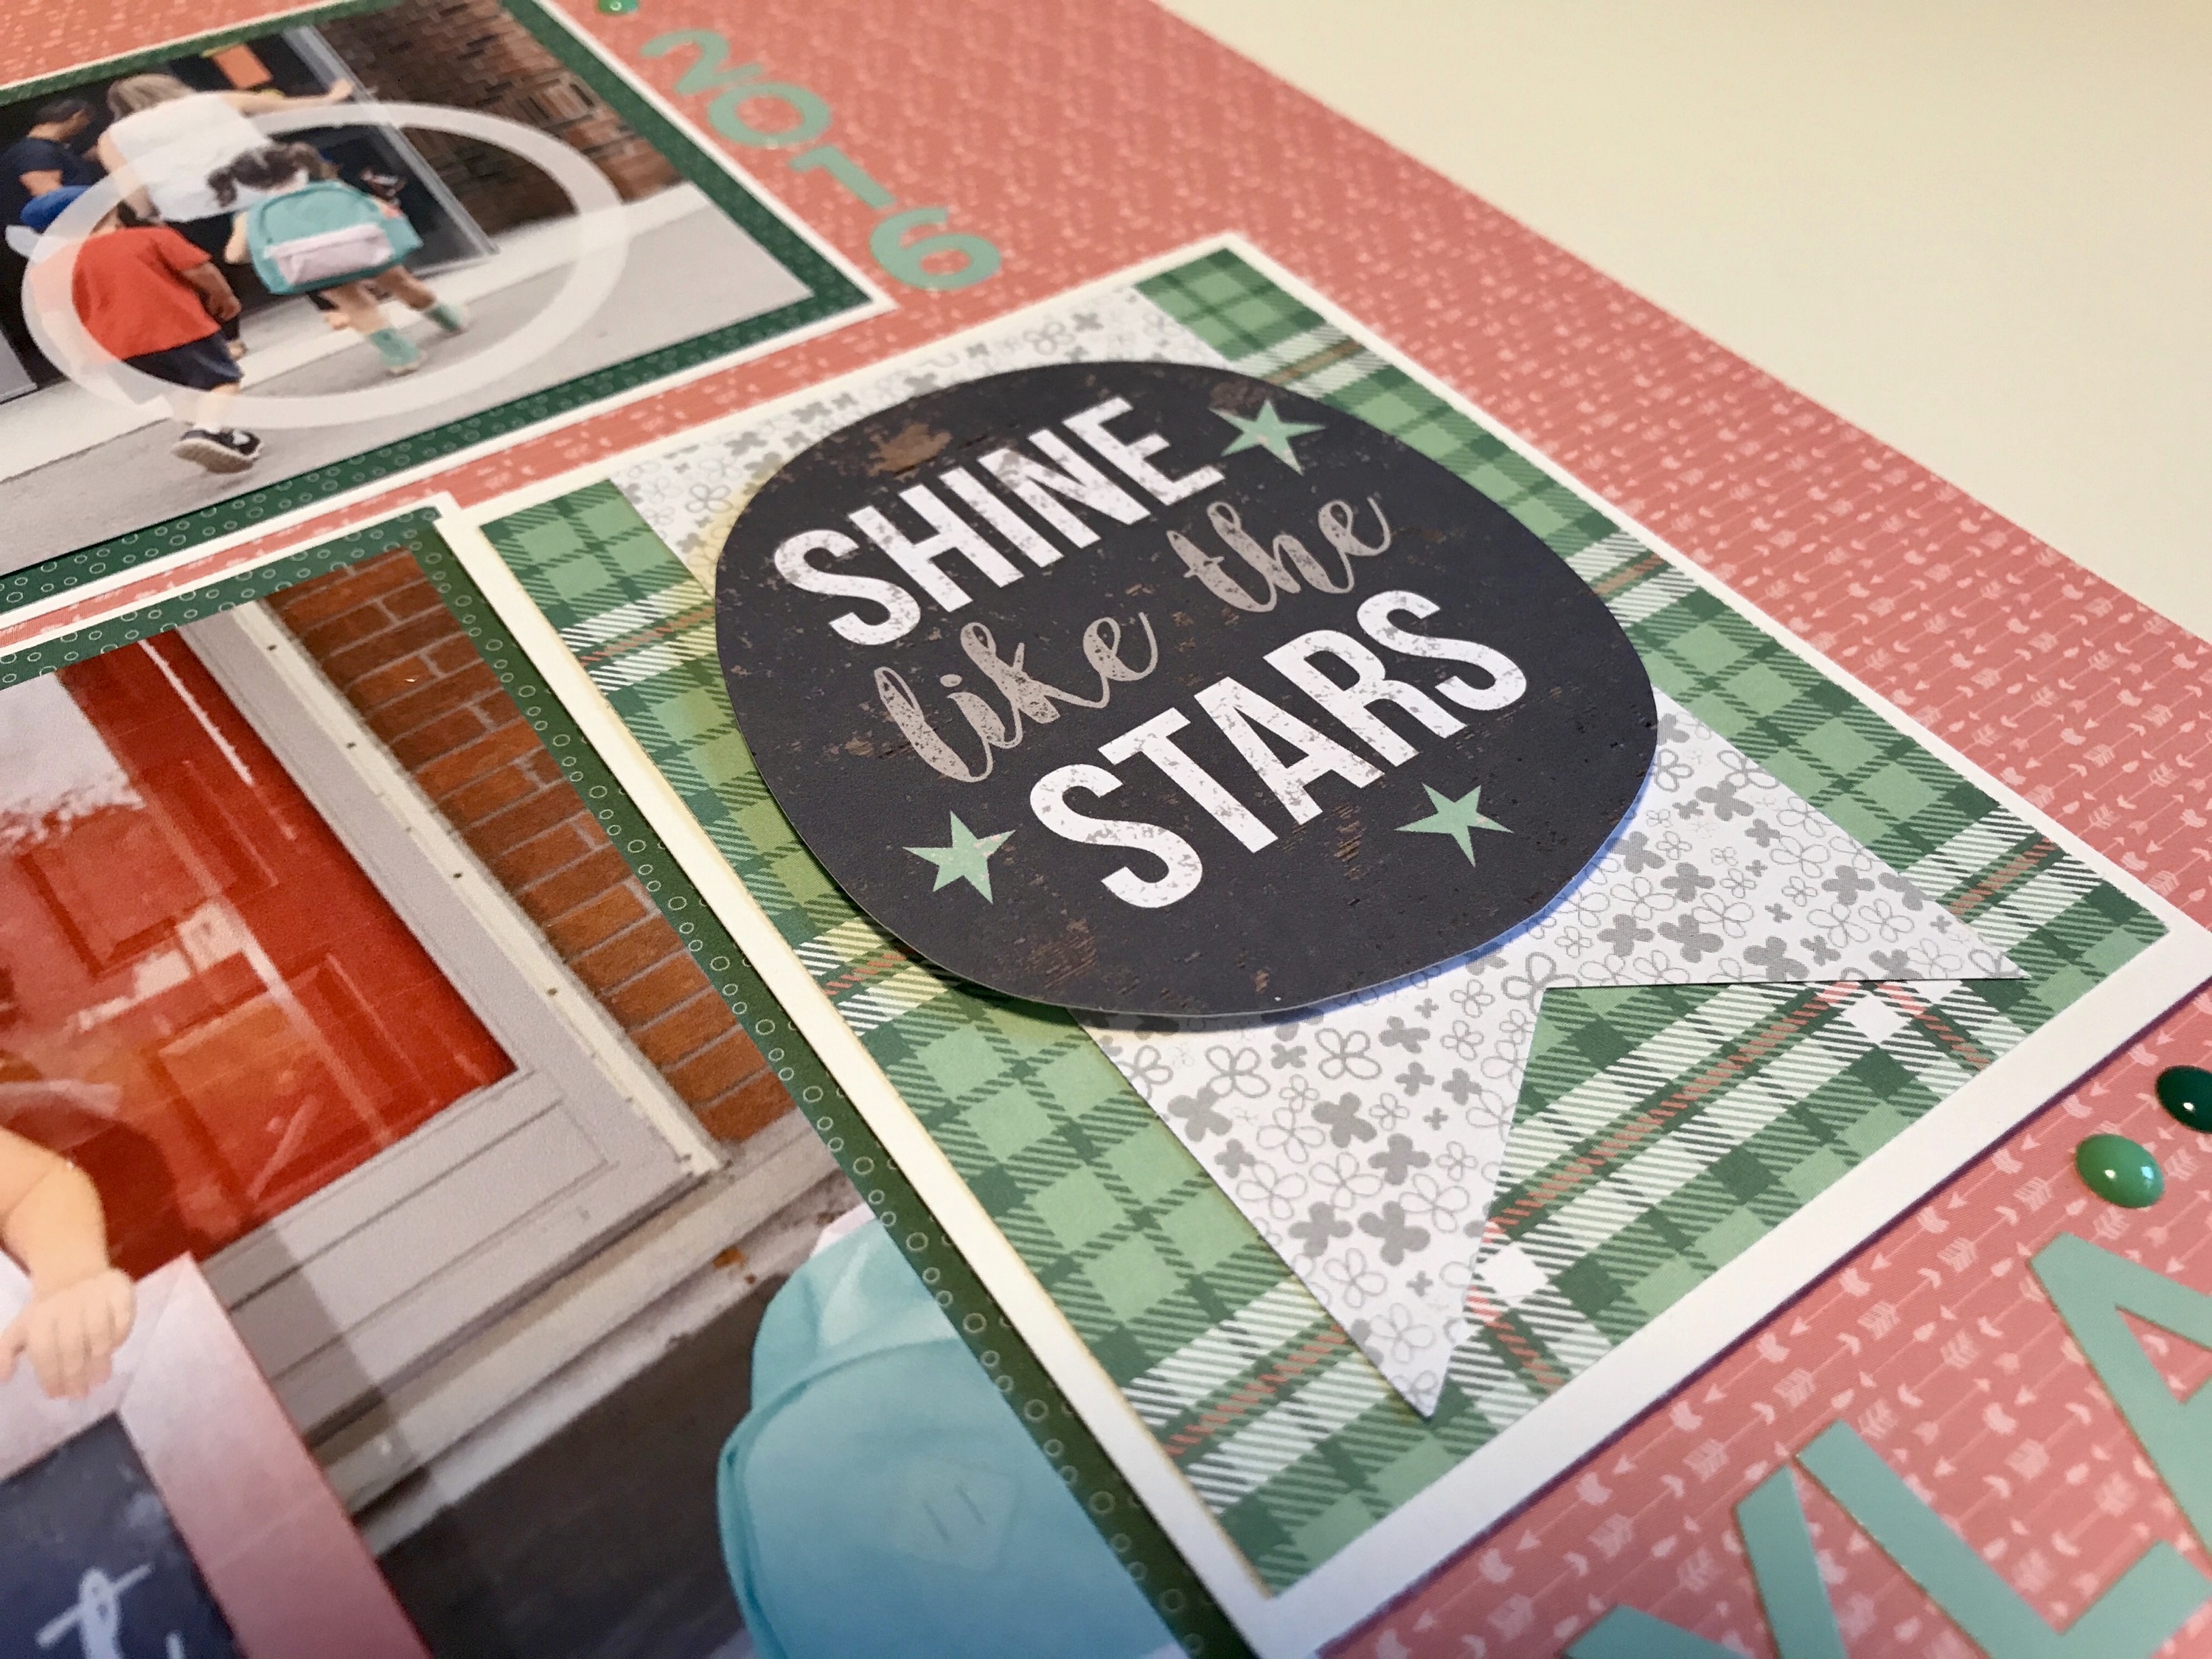
Once I was playing with the placement of the photos and the embellishment I had picked out I knew I wanted to balance out the green plaid by putting some along the top left side so I simply cut a strip and flagged the bottom end, keeping in mind that I would want to add a small journalling box below it.
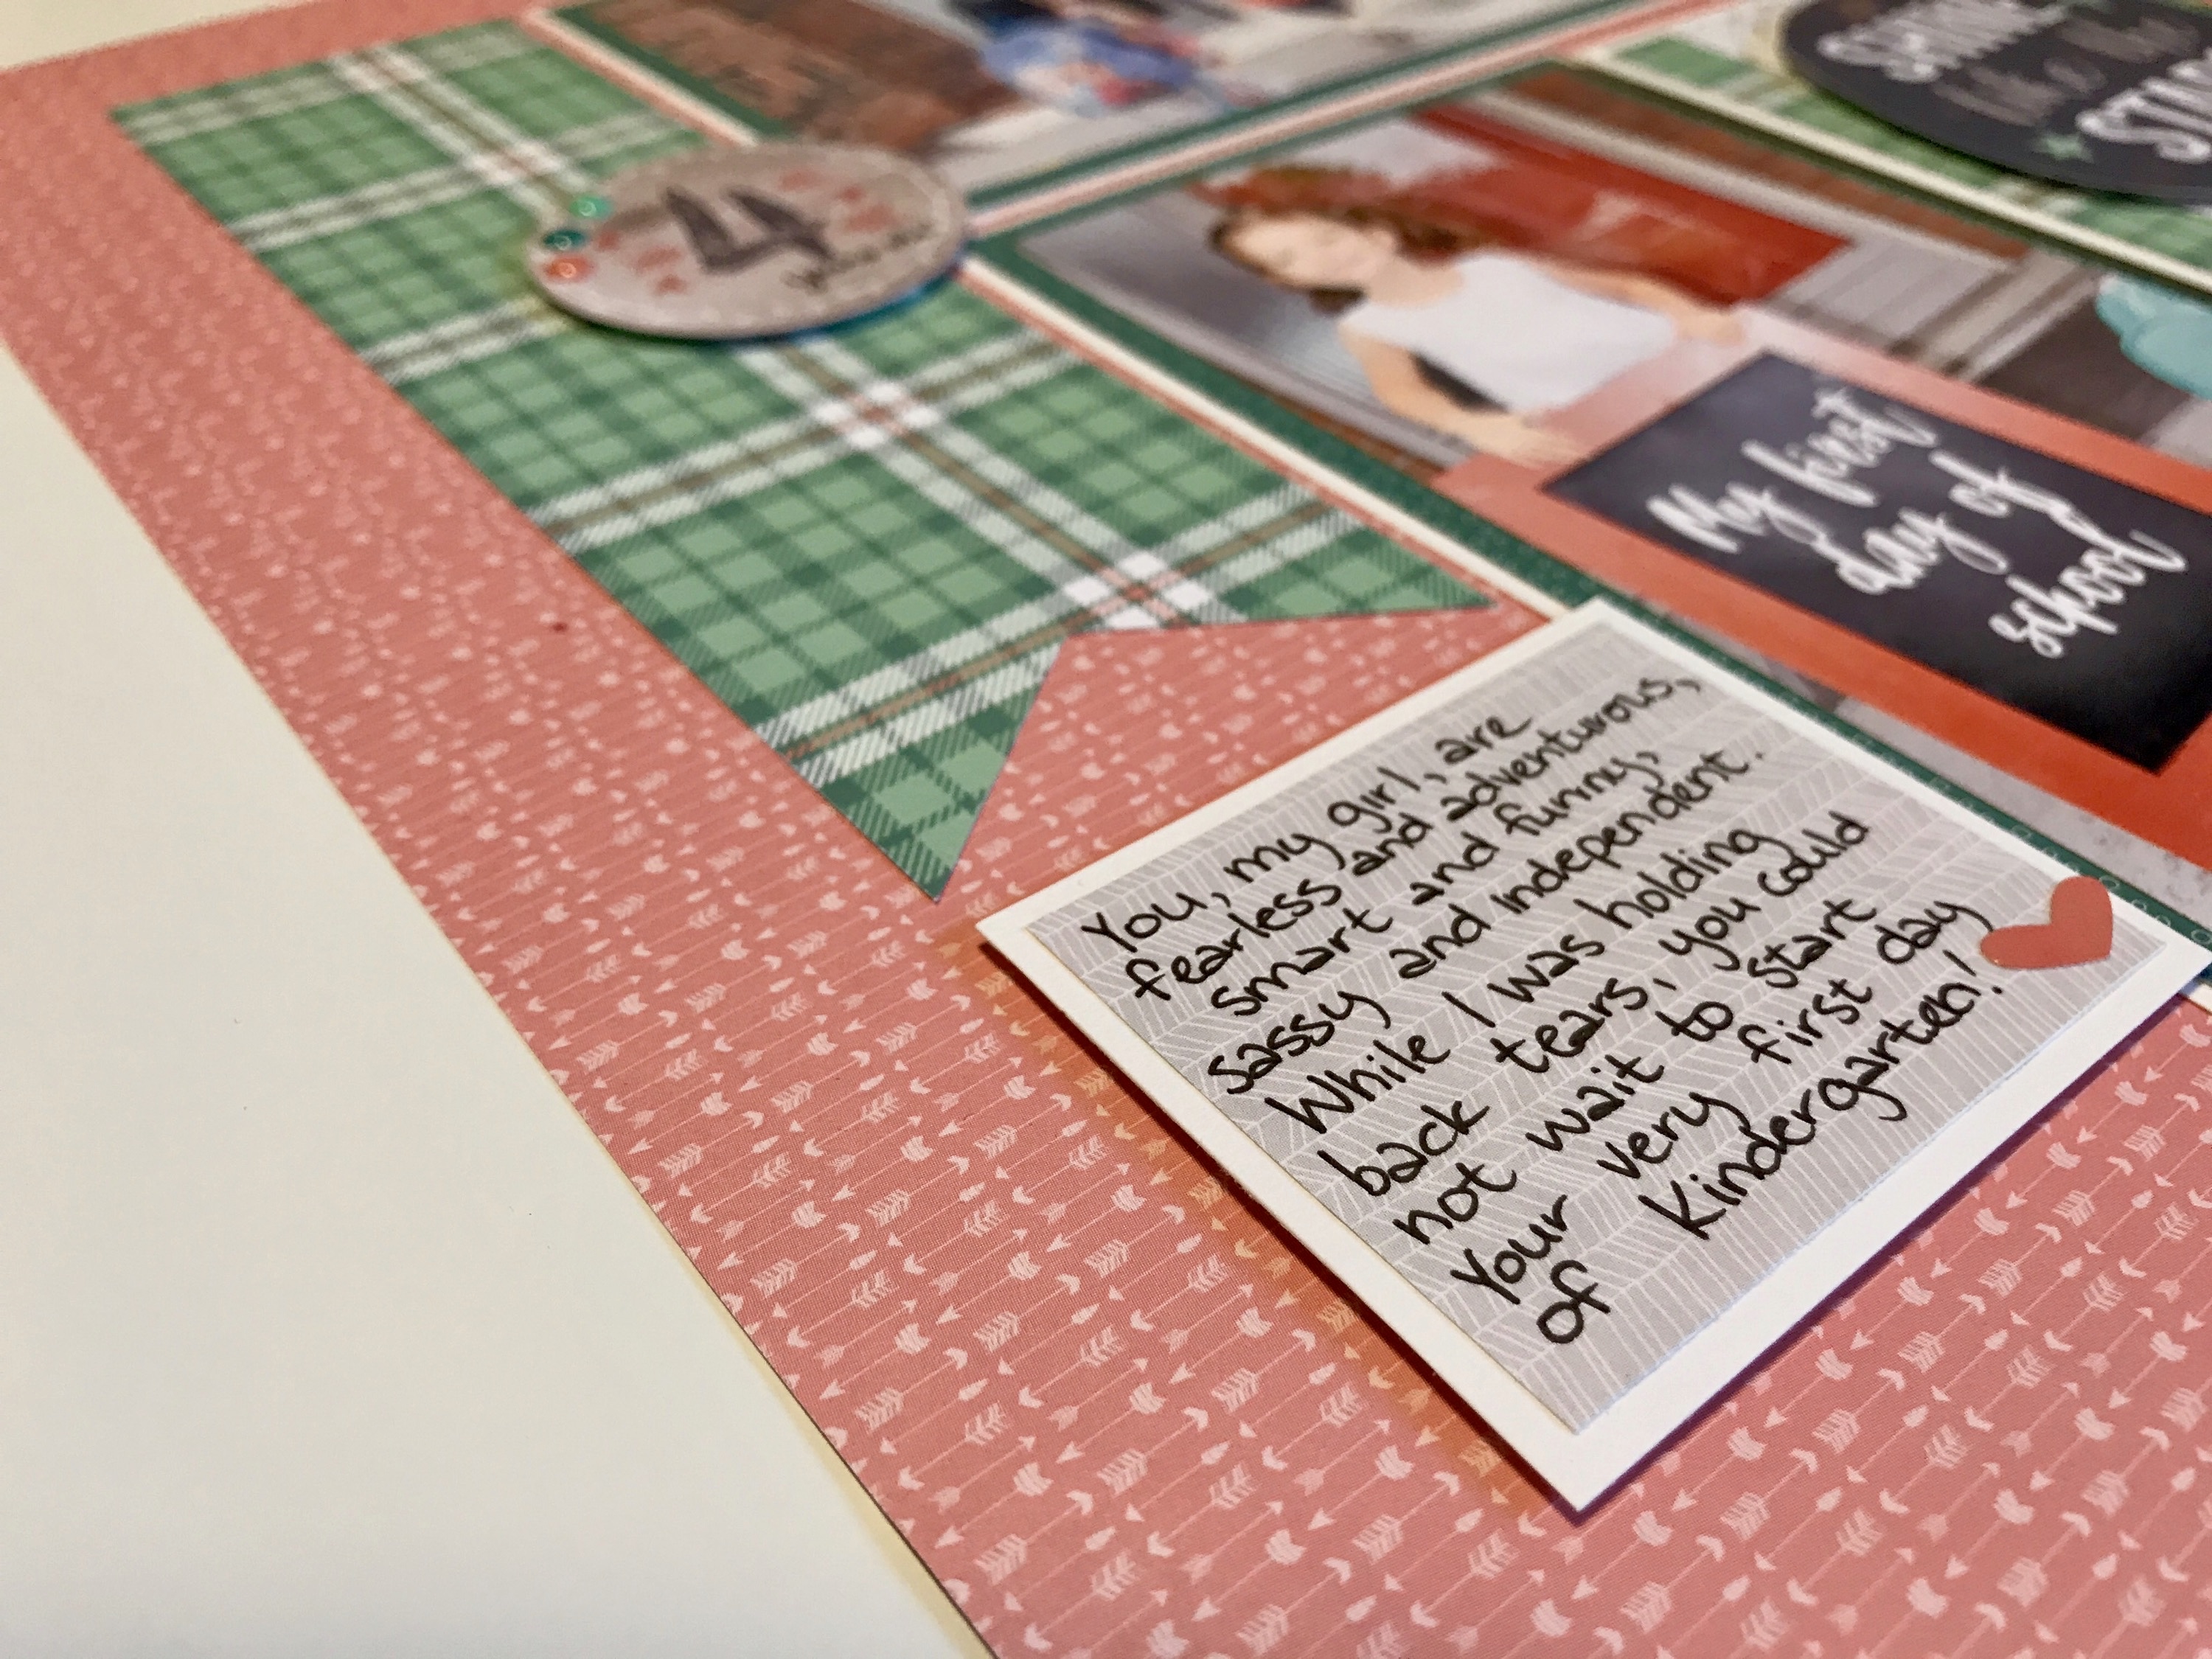
When it came time to journal I initially just wrote with my black duel-tip pen straight onto some White Cardstock (which is sort of my go-to with layouts) — but once I went to adhere it to the page it didn’t seem to fit in well. After some playing around I decided to use a subtle chevron patterned paper as a base for my journaling in a light grey that fit in a lot nicer with the colours I had laid out on the page. I then just added a little heart sticker from the Whimsical Whimsey Girl Stickers to tie in the coral pink.
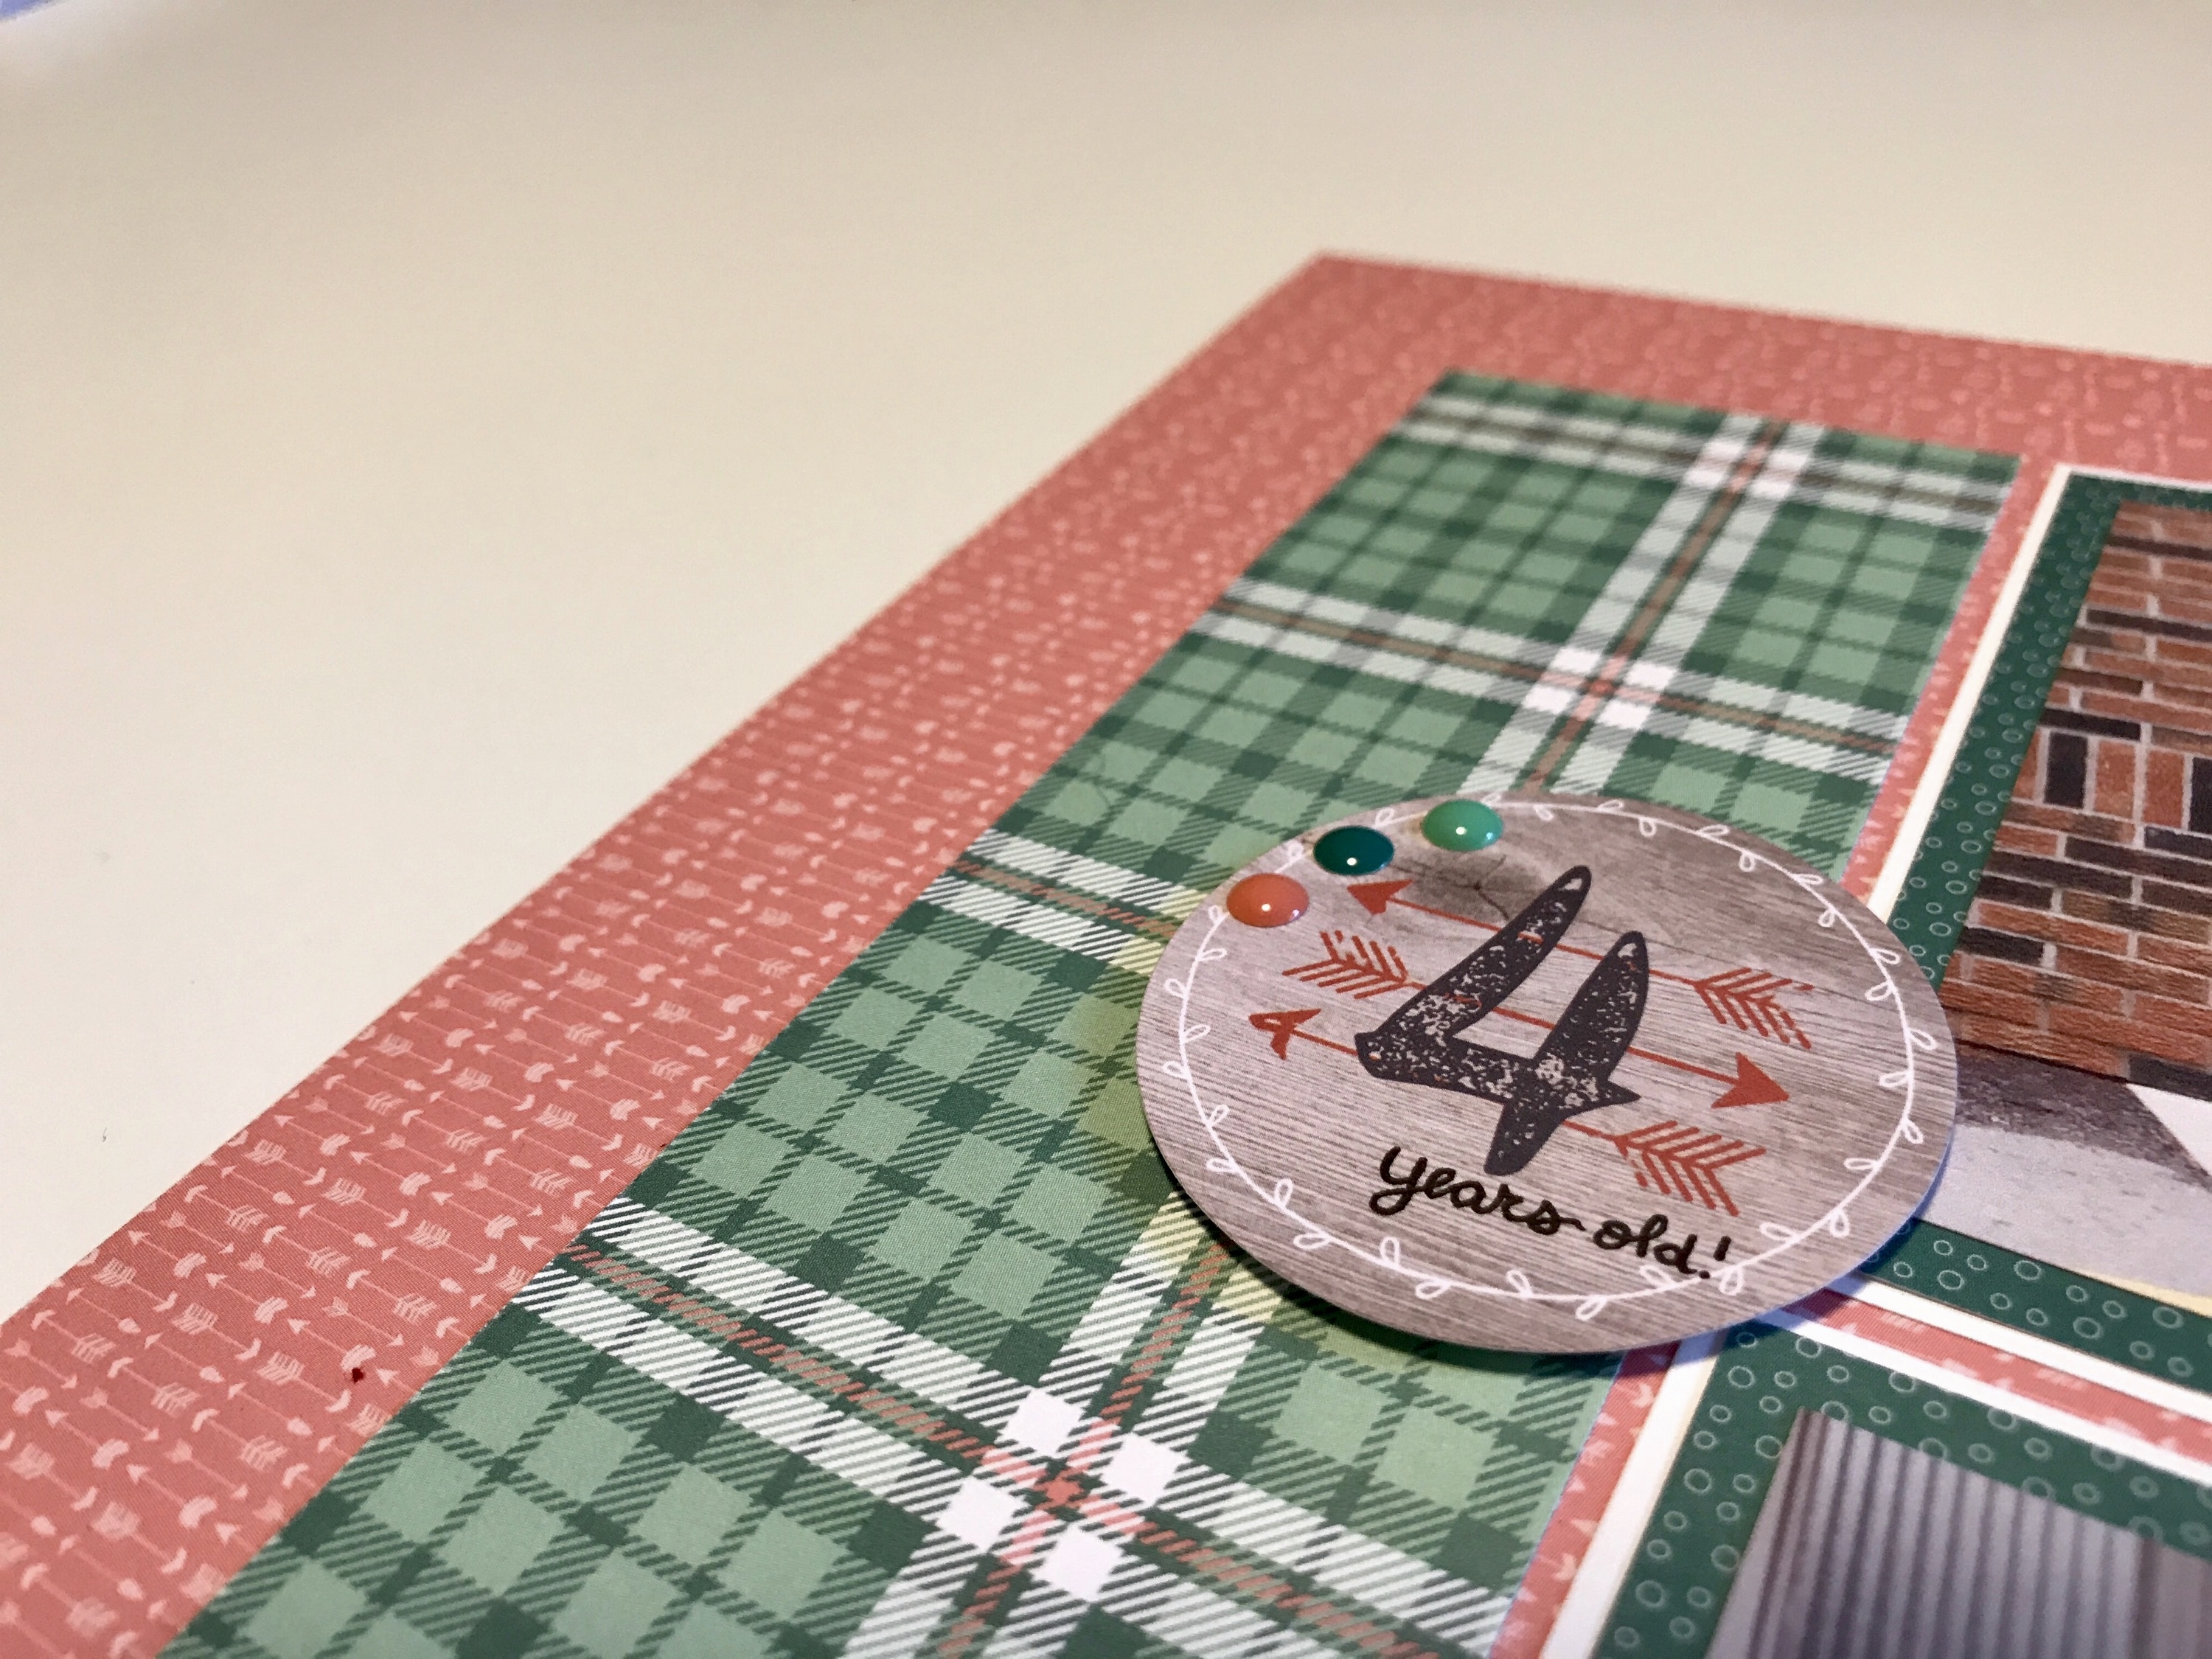
To finish things off I just added the embellishment with a number four on it and wrote “years old” underneath in black pen. I also used some Mint ABC/123 Stickers to add the year and my daughter’s name to layout and then used the enamel dots from the embellishment pack to finish out the layout!
I hope you enjoyed hearing my journey through creating this layout! It was fun to use the Whimsical Whimsy Collection and see just how versatile this collection really is!


A great way to feature the day! Love the paper combo!
I like the way you intermingled different palette elements. How did you circle her going into school–vellum using the cutting system?
Vellum would actually work BEAUTIFULLY here — I’m going to give that a go on a future layout — so keep your eyes peeled!
For this layout the circle was just added before I printed the photo :)
Beautiful layouts! Your daughter is a cutie!
I love seeing “themed” papers used in a different way. Thanks for sharing it. I am not an “out of the box” scrapper, but your ideas for a school layout worked beautifully! <3
I like the layout… Thanks for sharing…
So cute!!! Thank you…
Marja, loved your school Pages using the Woodland Whimsy! Very cute!
Sent from my iPhone
>