September 29, 2017
Toil & Trouble: BOO!

Growing up I have to admit Halloween was not my favourite time of year, but after having children that has changed! I love helping them figure out their costumes, carving pumpkins and decorating for Halloween. We usually try to be creative and make our costumes ourselves. Who knew I would actually be sad that I have only one Trick or Treater left in the house now!
The fall is my favourite time of year for photos as I love the oranges, reds and yellows of the season. So creating Halloween pages is fun for me because I have lots of photos to choose from and Toil & Trouble to play design with!

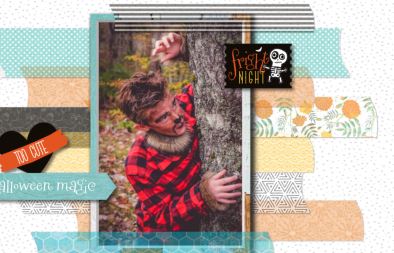
Grant is great at playing out his role when he gets in costume! I, of course take advantage of that and have my camera ready. I love the one of him peaking out from behind the shrubs, so I have made this a feature photo on my page by making it larger and adding layers of paper and embellishments to accent it.
I made my own vellum paper on this page in a couple of places. Let me point those out to you – the first place is the black and white striped paper and I changed the opacity to 50% and the second place is the white vellum under my text box. I like to do this when there is a busy background behind my text. I don’t want my story to get lost on the page so I made a rectangle shape, filled it with white, added a rough edge and changed the opacity to 75% so as to not block out the background completely. My text now shows up nicely on the page.

This is an example of what the text would look like without the vellum paper behind it. It is difficult to read.
After the vellum was added behind the text it is much clearer to read and doesn’t get lost on the page.
Oranges and pumpkins are my favourite things about fall! As you can see I have lots of orange and lots of pumpkins on this layout! There is no shortage of either in the Toil & Trouble kit, but there are lots of other beautiful accent colours as well. Turquoise and orange are fantastic together!
A couple of tips from this layout are my border at the bottom of the page is made from the pumpkin embellishment. I copied and pasted to make it long enough and layered to fit across my page. They are not the same size, I enlarged the embellishment on the right and added shadows to both on the top so it would give depth to my page.
I blended the top edge of my pumpkin photo into my background paper. I cut a piece of paper to place behind the three photos at the top instead of matting each photo.
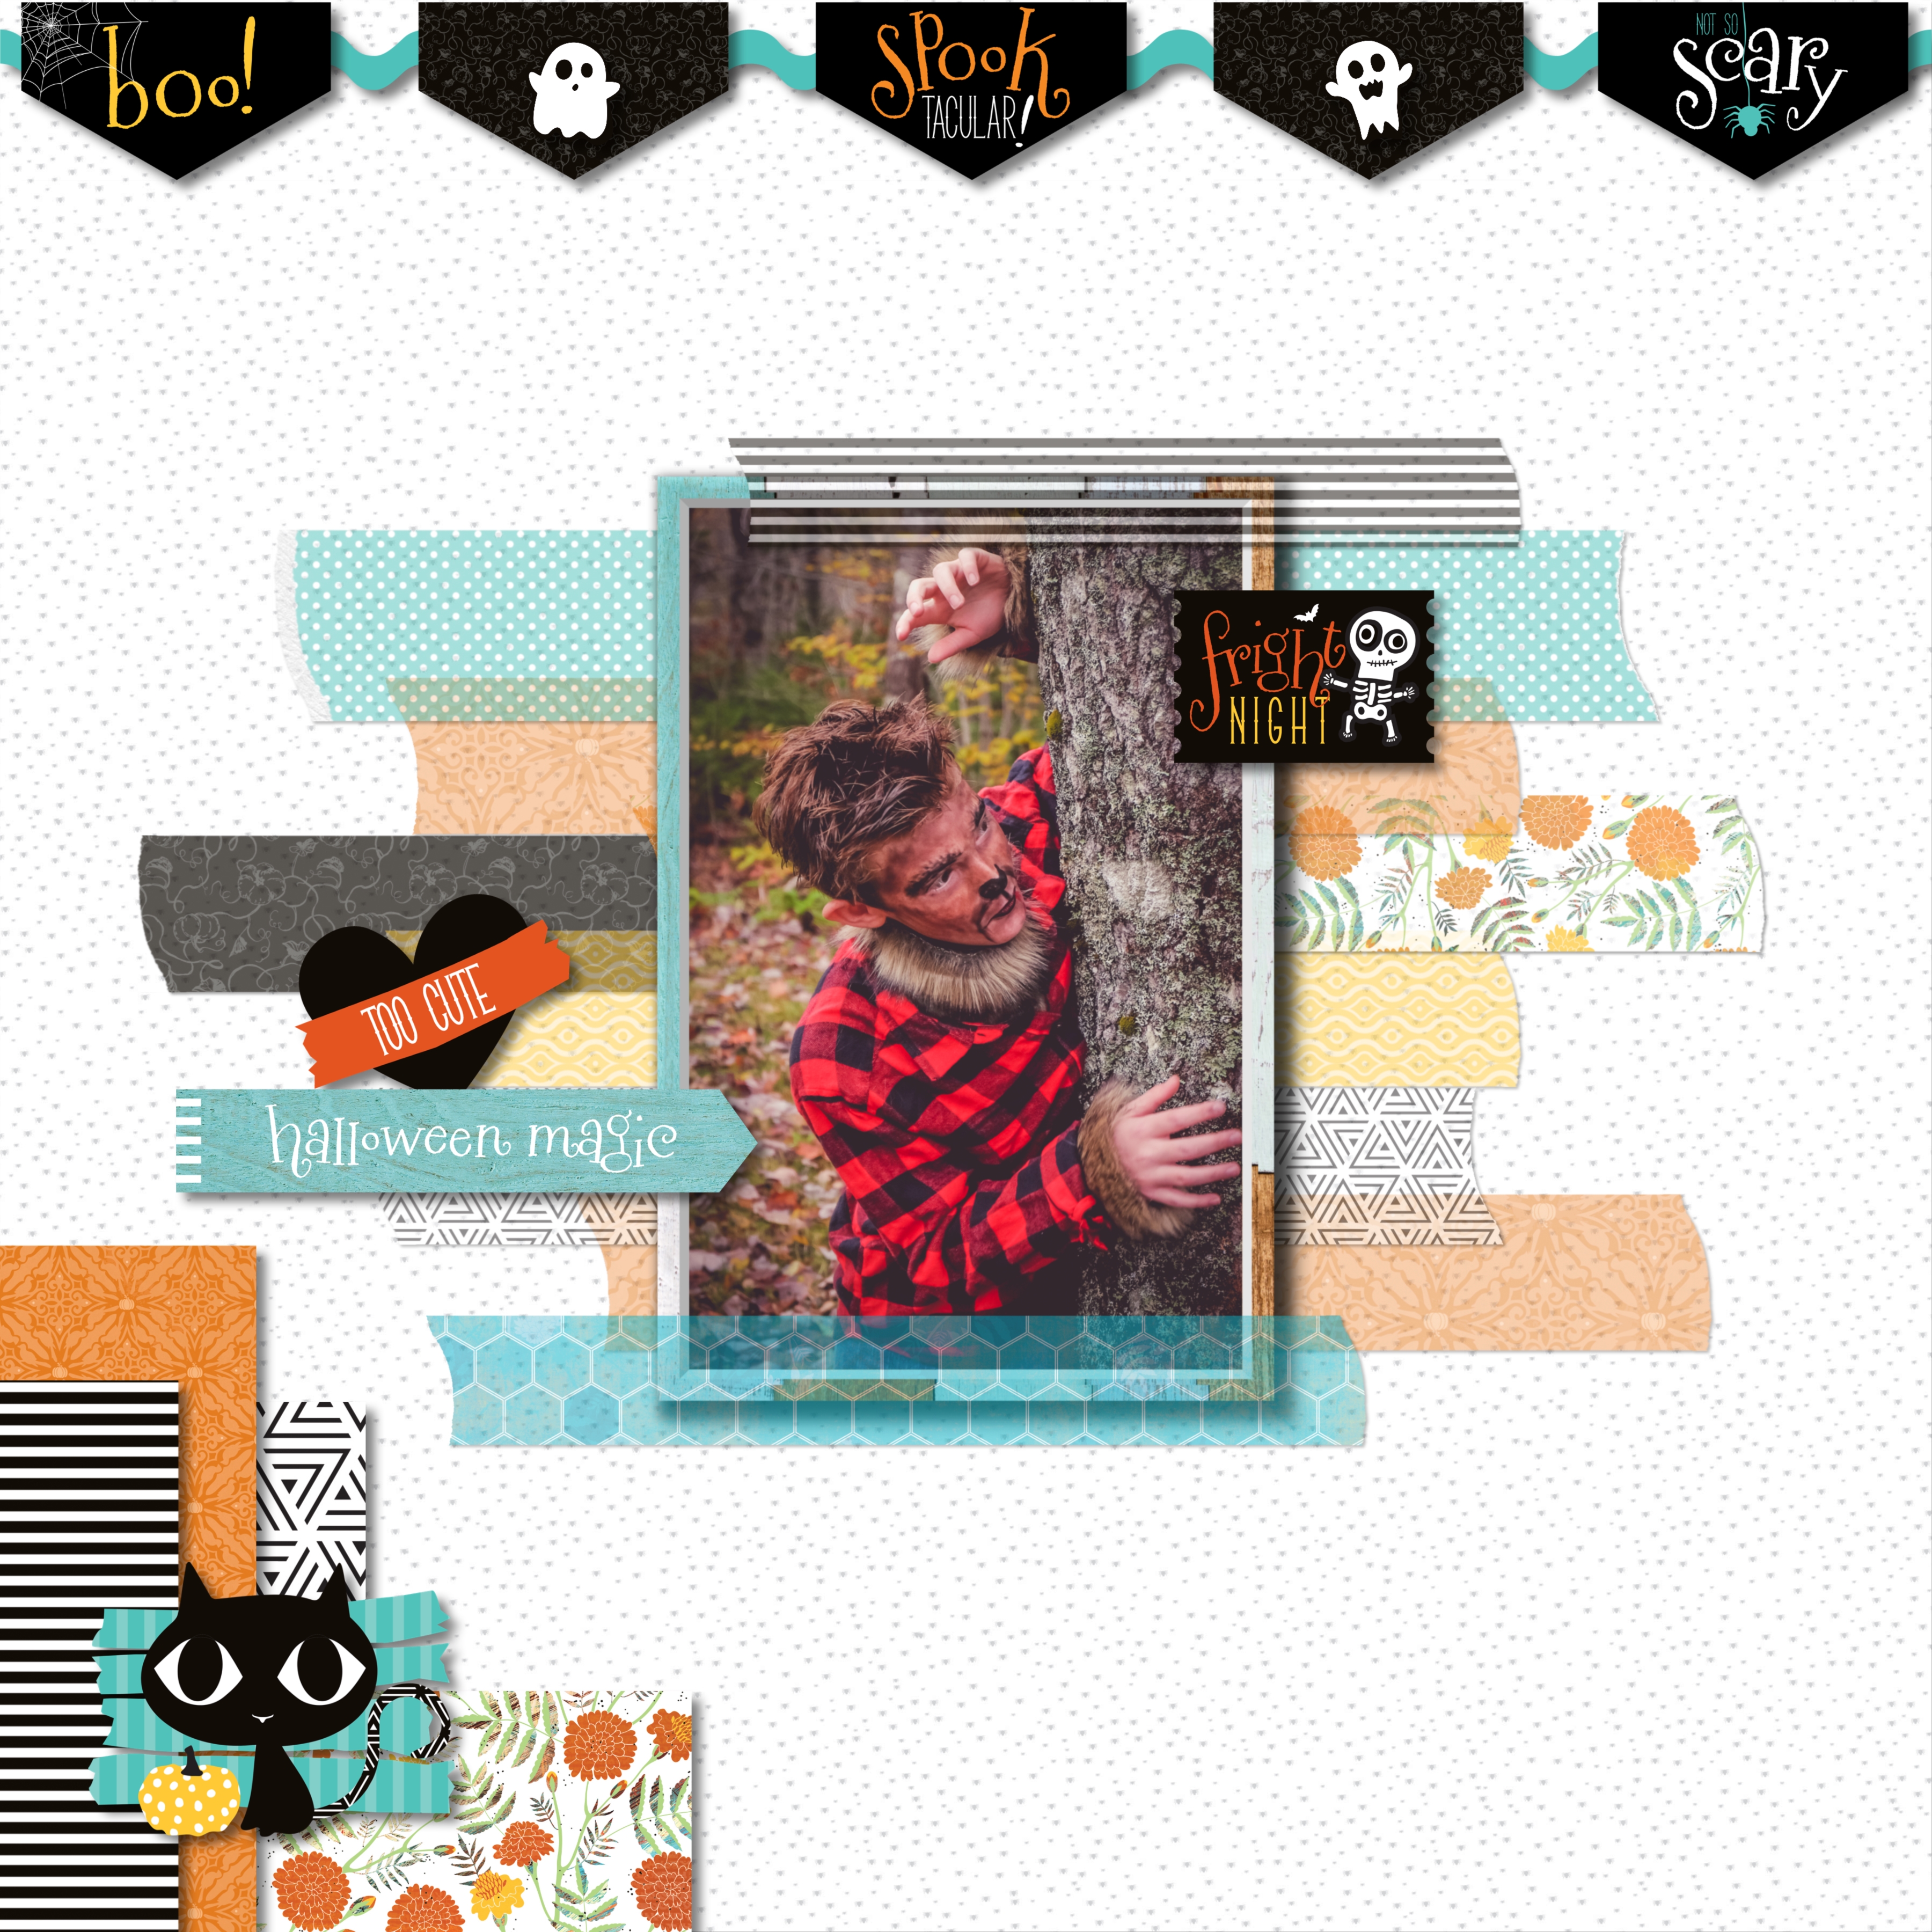
Washi Tape!!! I made digital washi tape and it is so easy!
Let me explain how to make washi tape digitally:
Add a piece of paper to your layout, cut a strip of the width you like. Cut both ends of the strip with a ripped edge function. Change the opacity to 50 – 75%. Copy, paste and fill with a variety of papers. I changed the size of some of the tapes, rotated and played with the opacity. I added a light shadow and layered the tapes to get the look I desired.
Have fun playing!


You have captured the excitement of the holiday in your layouts! Just great!
Okay, Beth, you got me. I was merely scanning your post (coming back to read it more carefully when I had more time), and I got to the part about making your own vellum. Making your own vellum? What the hey? So I slowed down a bit and started reading more carefully. Change the opacity… Digital!! Your layouts always seem to fool me. They always look every bit a touchy-feely page. So very cool! I appreciate the tips on making washi tape, too. It’s a product I’ve never been able to get into, but digitally, I could have a lot of fun with it. :-) Thanks again for sharing your amazing ideas!
love your digital washi tape!.. going to try.. thanks Beth!
[…] Get Directions! […]