March 25, 2018
How to Create the Stone Scrapbooking Layout
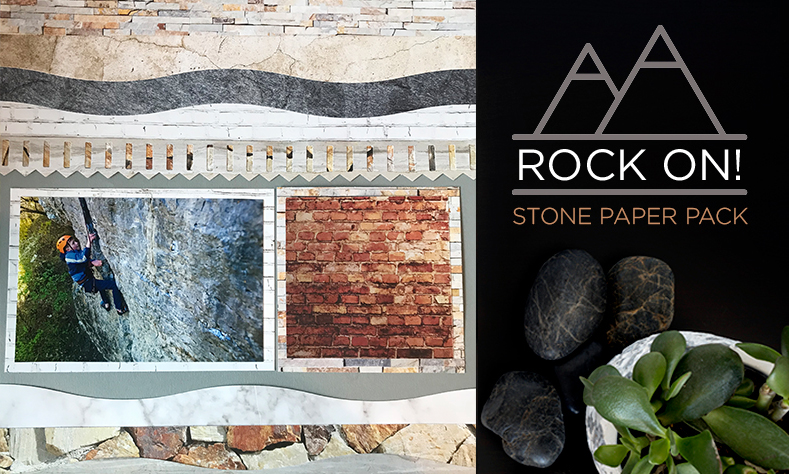
Don’t be shy… be a little boulder and make the Stone scrapbooking layout! With the Stone papers, you can bring an assortment of tempting-to-touch textures to life. These scrapbook papers are ideal for themes such as nature, outdoors, animals, cabin getaways, new homes and renovations, trade jobs, masculine themes and more. So, ready to get started?
Looking for more ideas for other collections that match the Textile Paper Packs? Check out 5 other collections that will pair nicely!
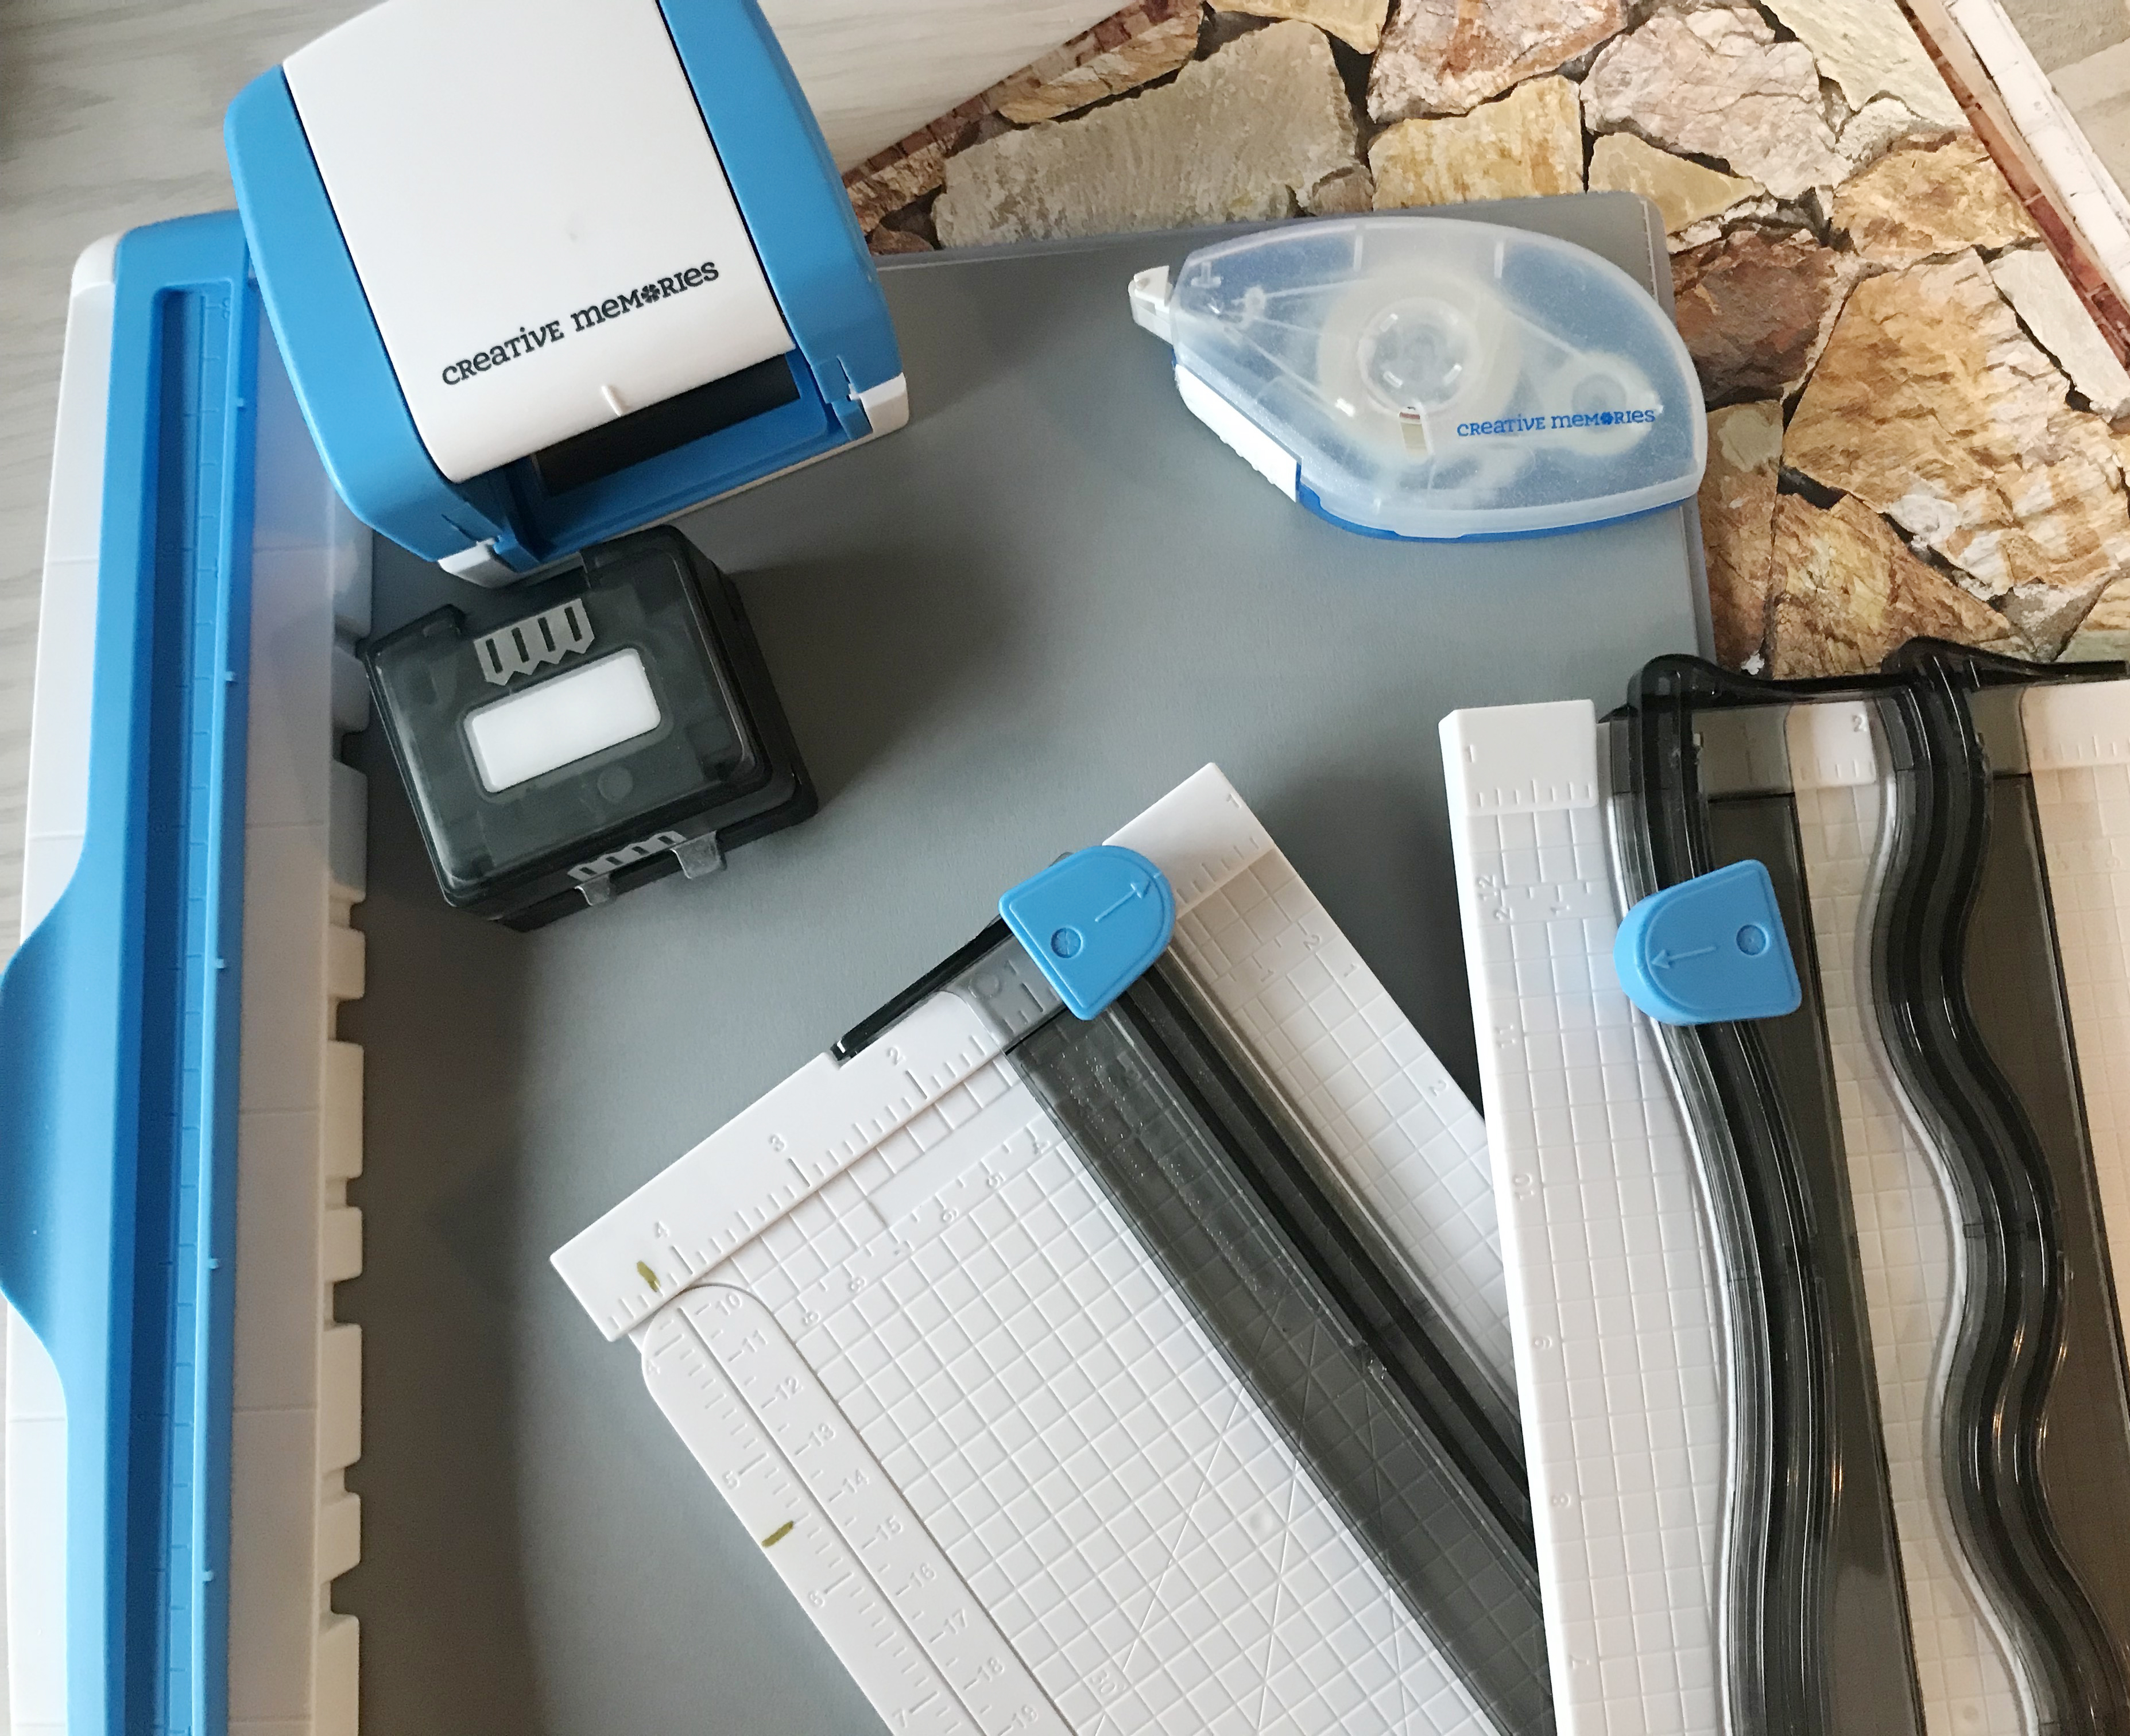
Supplies You’ll Need to Make This Layout:
- Stone Paper Pack
- Gray Cardstock
- Original Border Maker System with Picket Fence Border Maker Cartridge
- 12-inch Decorative Trimmer
- 12-inch Trimmer
- Tape Runner
- Repositionable Tape Runner Refill
- Black Dual-Tip Pen
Step 1: Use a piece of Gray Cardstock as the base for this layout. You’ll need 5 sheets of Designer Paper and ensure that you have different sheets of each of the papers.
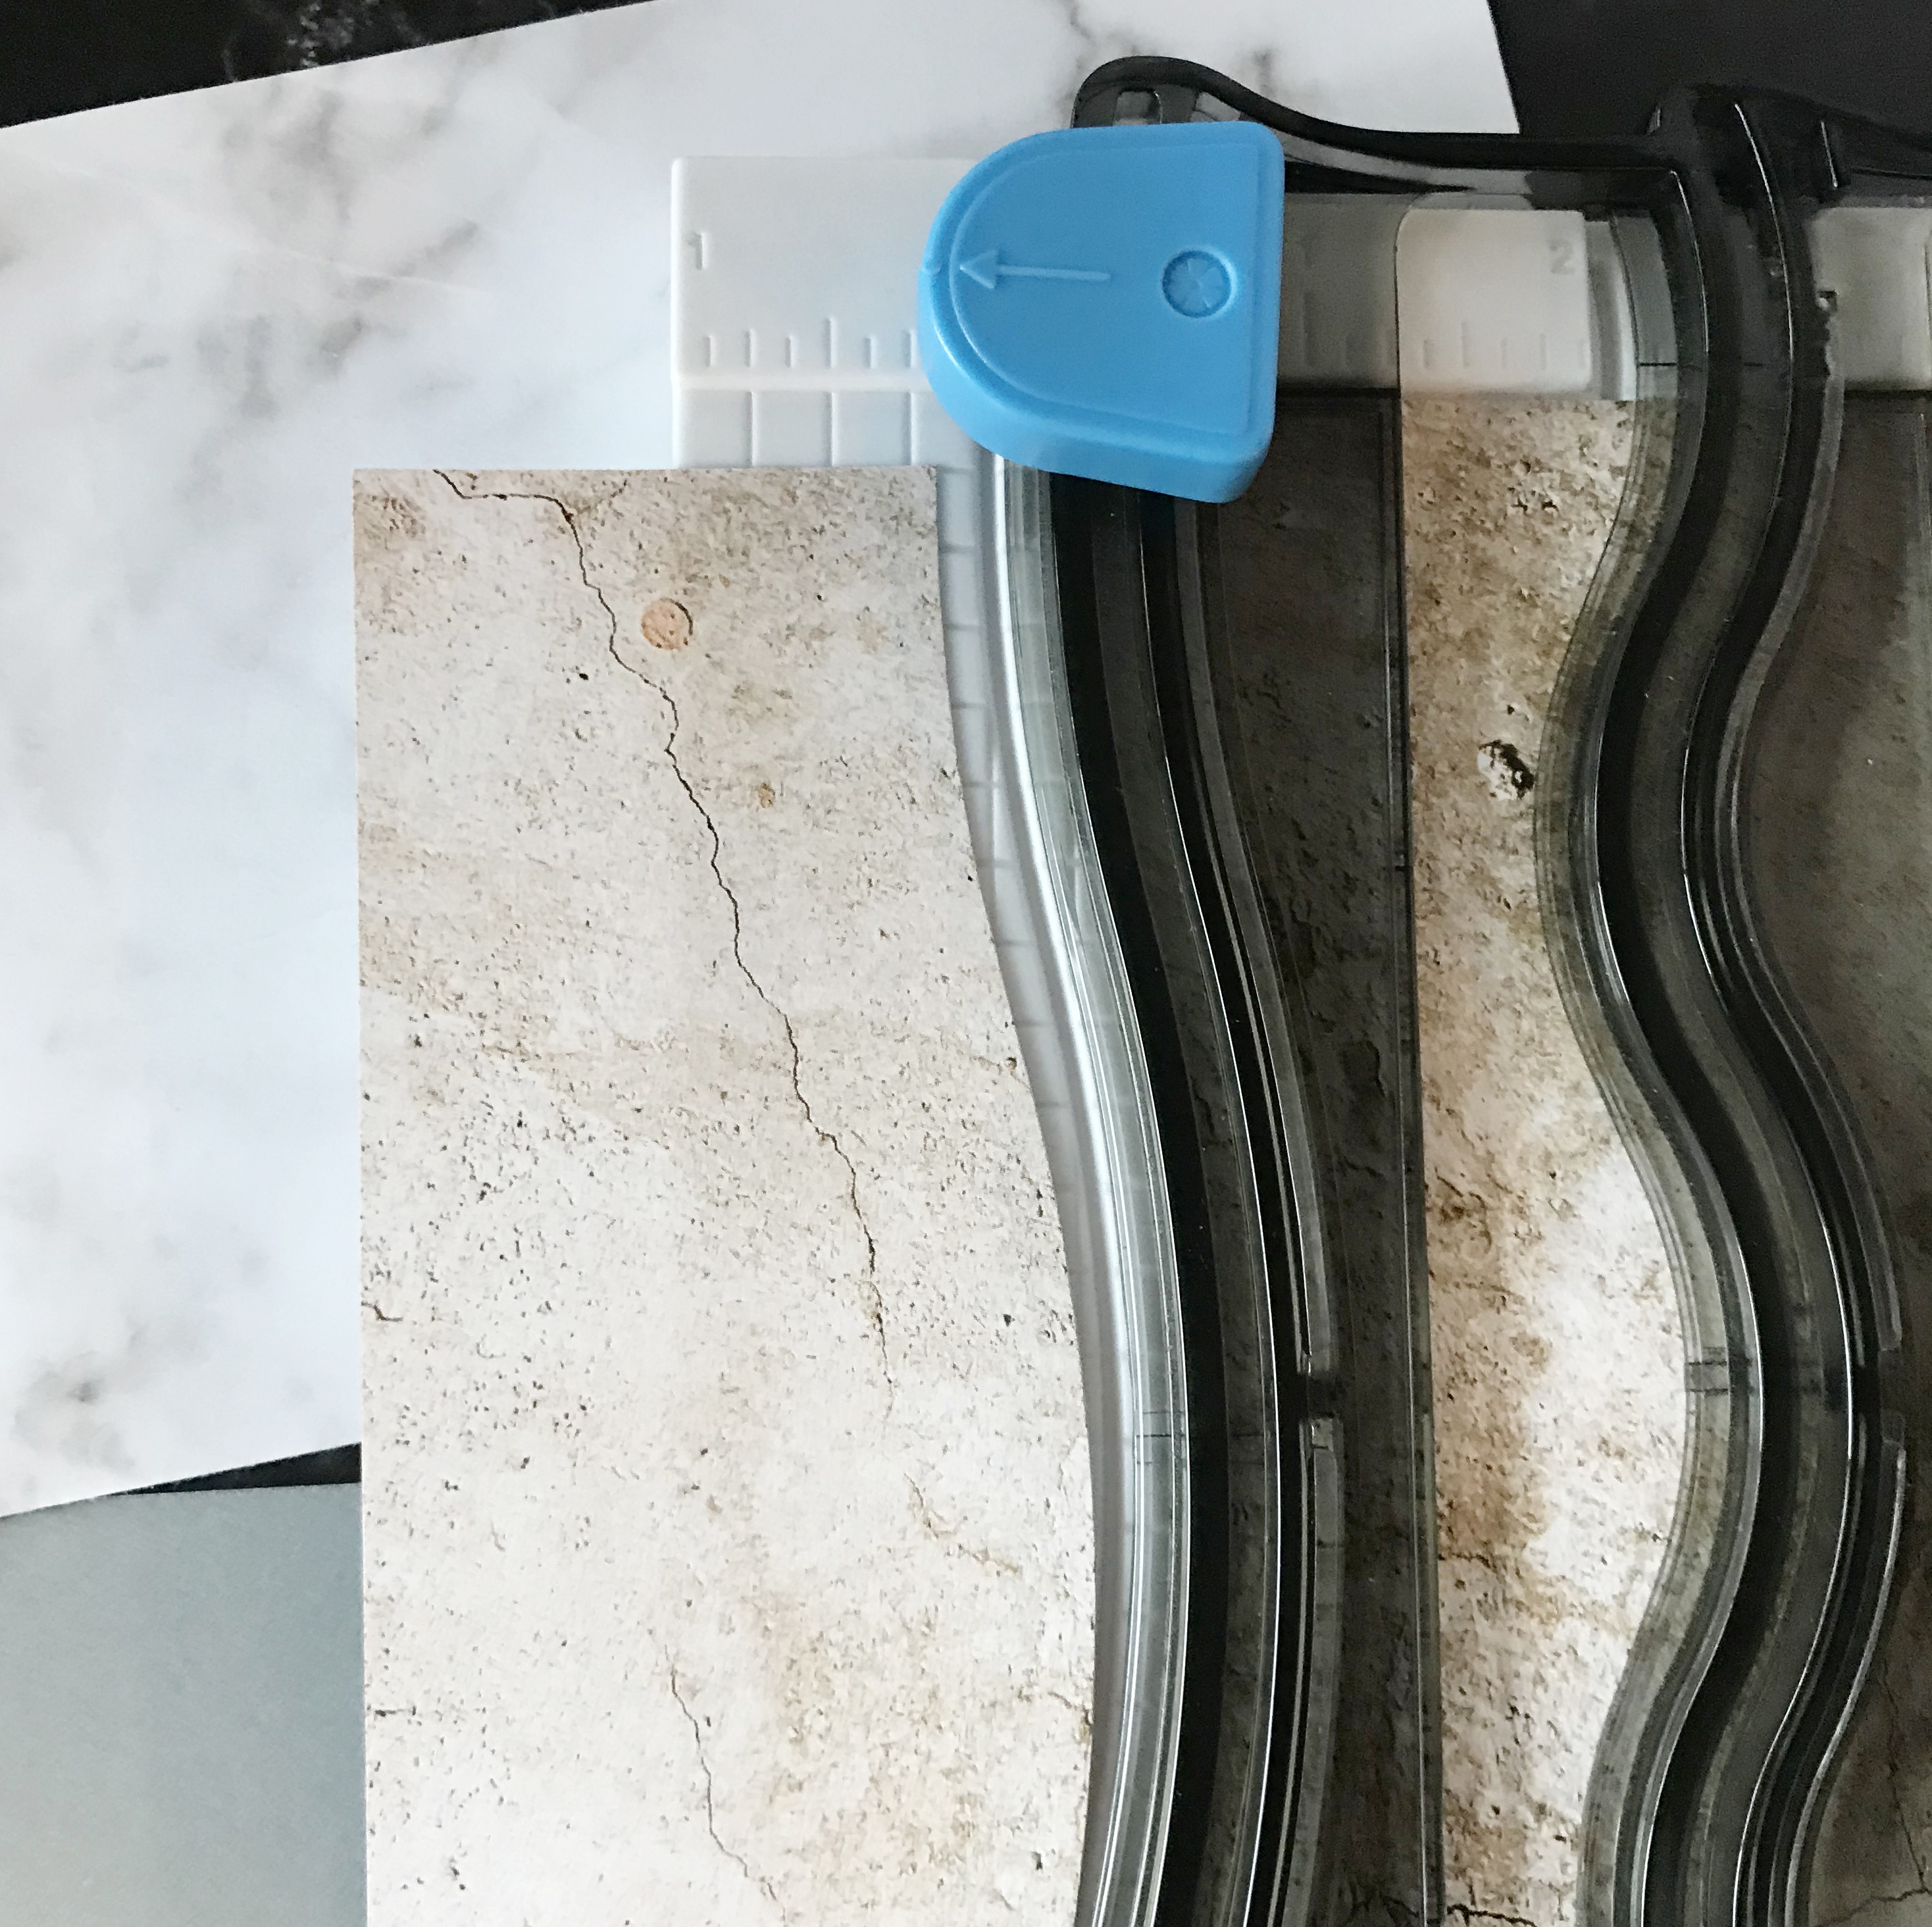
Step 2: To start this layout, you will want to cut out all of your shapes. First, choose 4 Designer Papers and trim them using the larger wave with the 12-inch Decorative Trimmer. Make sure each of these papers are a different color and/or texture. Then, using the 12-inch Straight Trimmer, cut each of the waves to measure:
- 1/2″ x 12″
- 1-1/2″ x 12″
- 2-1/2″ x 12″
- 2-1/2″ x 12″
Step 3: Using the white brick patterned paper and the 12-inch Straight Trimmer, cut 2 pieces to measure:
- 3-1/2″ x 12″
- 4-1/2″ x 6-1/2″
Step 4: Take the red stone patterned paper and trim down 4 pieces to measure:
- 3/4″ x 12″
- 1″ x 12″
- 1-1/2″ x 12″
- 4-1/2″ x 4-1/2″


Step 5: Choose a medium to light paper; then, using the Original Border Maker System and the Picket Fence Cartridge, punch out a border. You will then trim this piece down to roughly 1″.
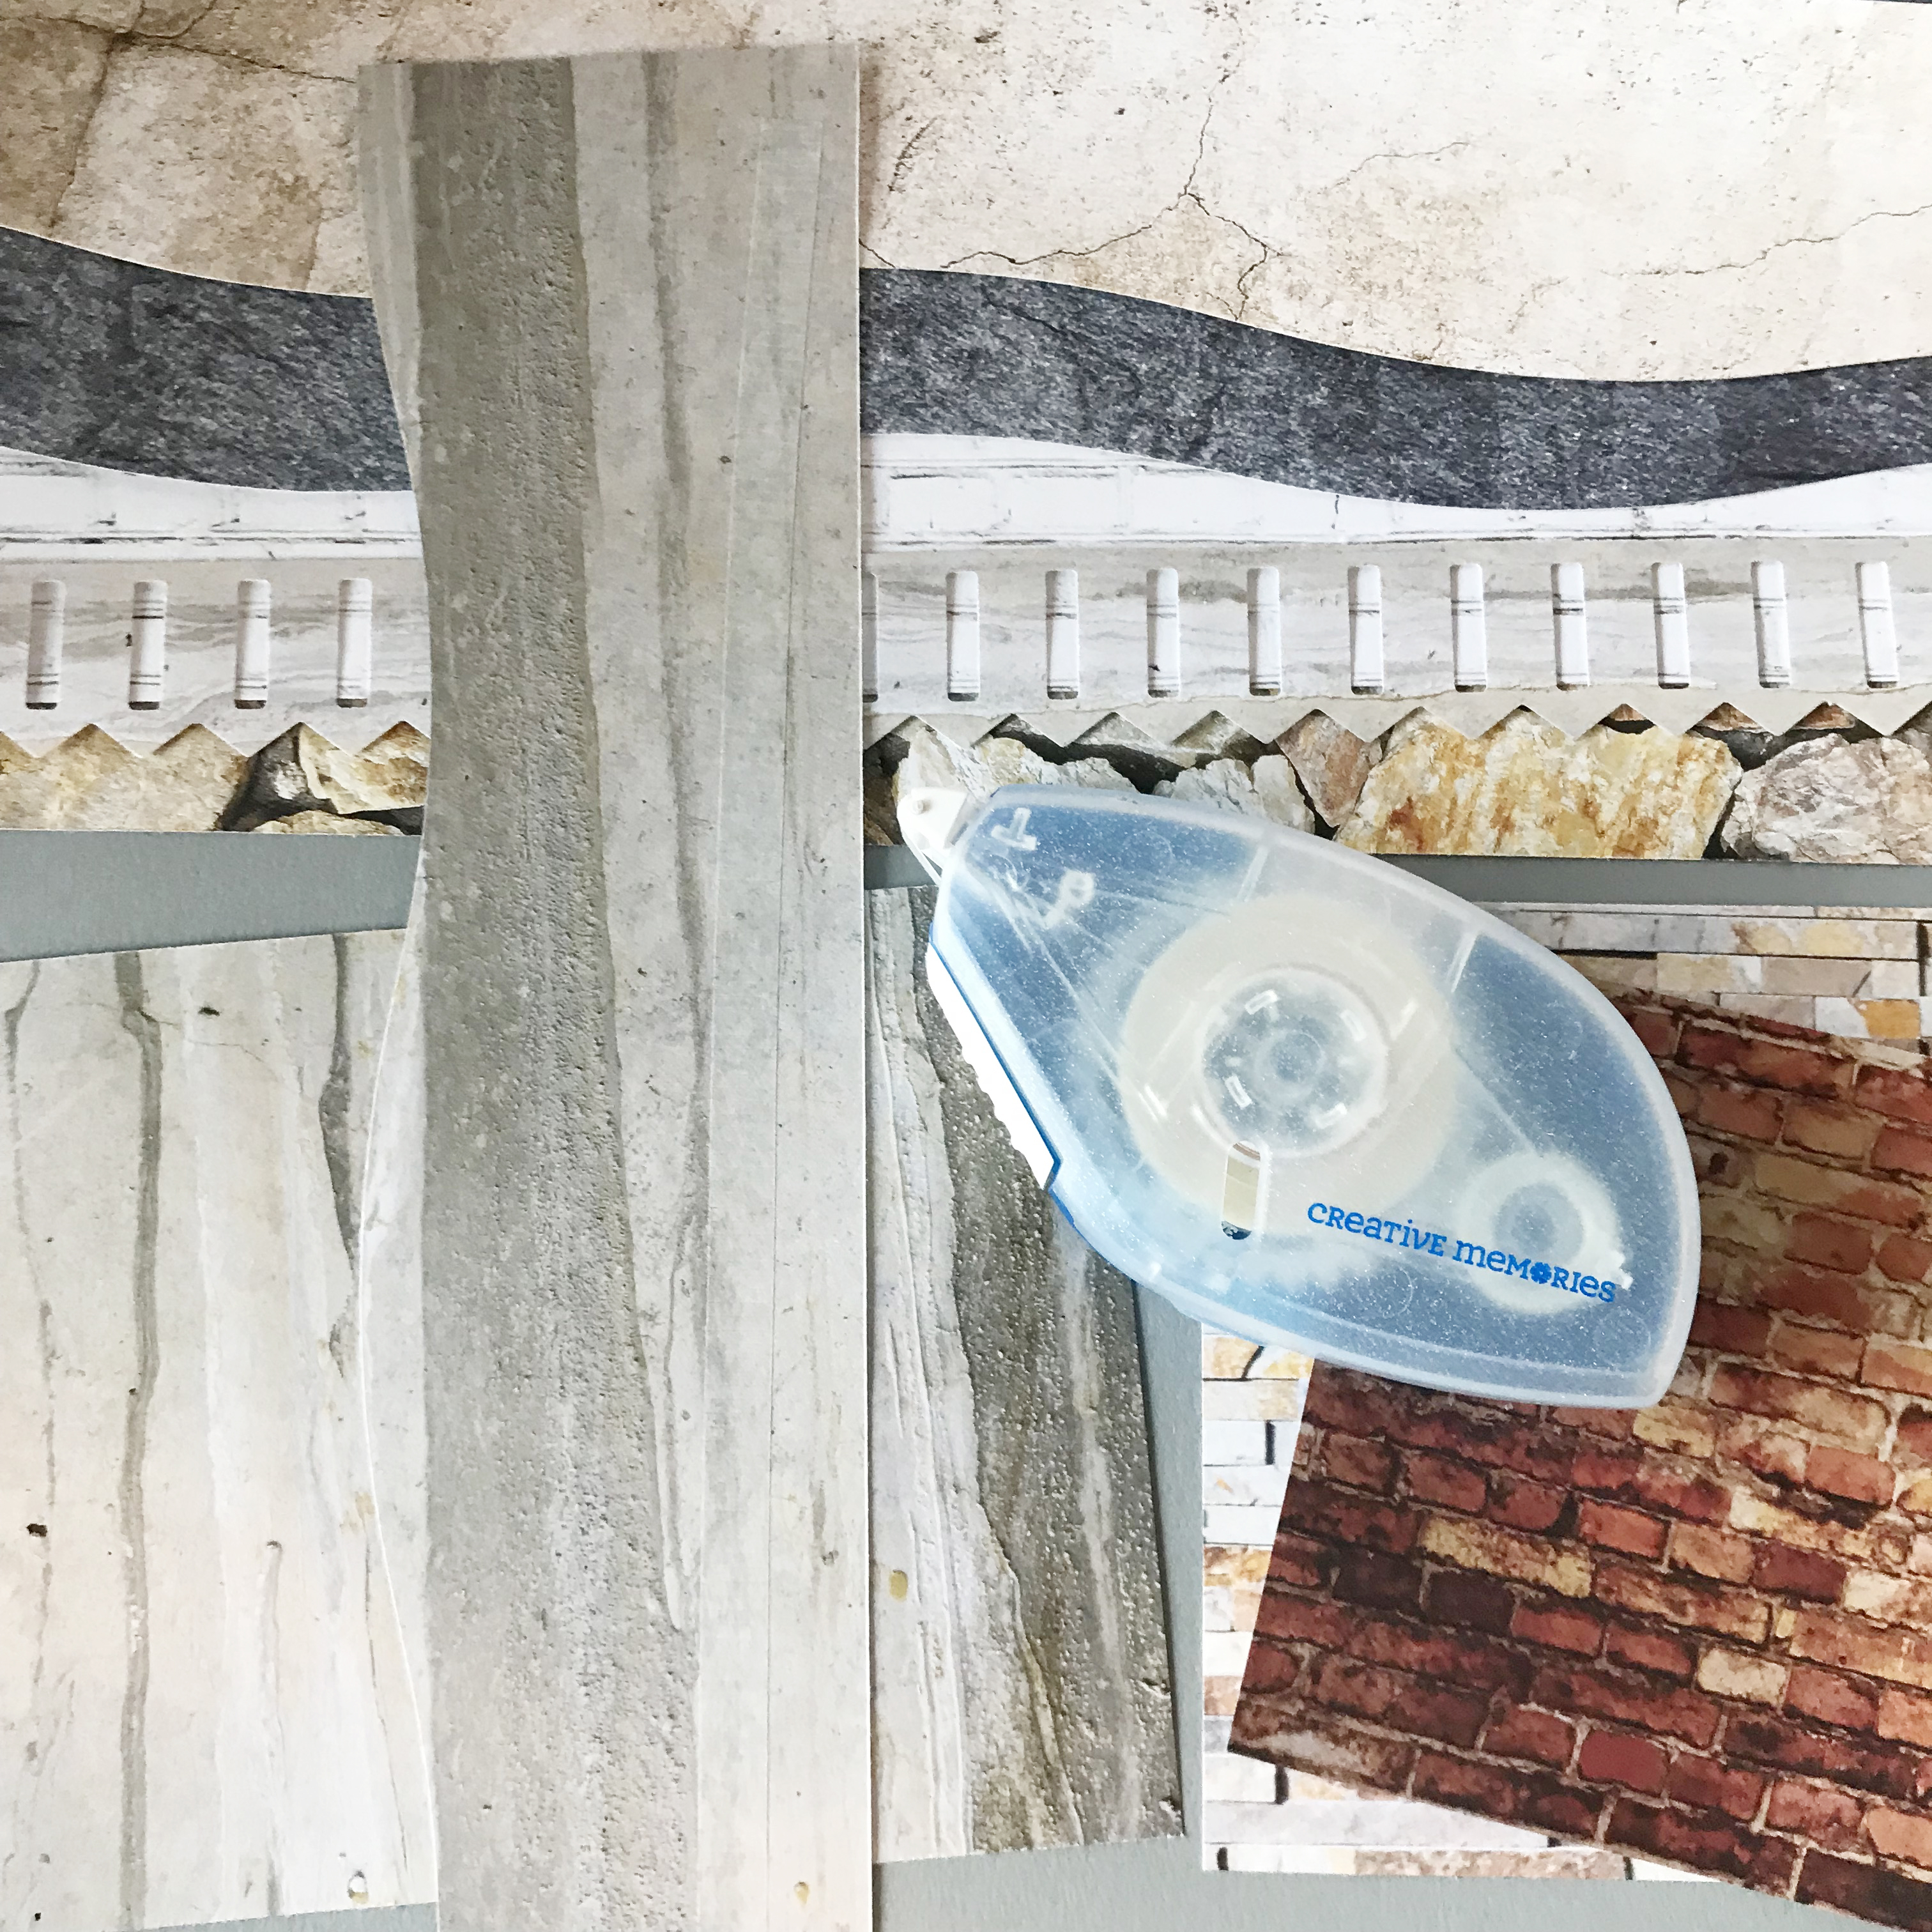
Step 6: At the top of the spread (starting with the white brick at the bottom), adhere the 3-1/2″ x 12″ rectangle. On top of the white brick, adhere one of the 2-1/2″ x 12″ wave shapes, and on top of that adhere the 1-1/2″ x 12″ wave shape. Above that, you will adhere the reverse side of 12″ x 1″ red stone Designer Paper rectangle. Tip: Use Repositionable Adhesive so you can move the pieces around, if needed.


Step 7: Use the Repositionable Tape Runner to adhere the 12″ x 3/4″ of the red stone Paper to the Picket Fence shape. Place this piece at the bottom of the white brick paper at the top of your spread.
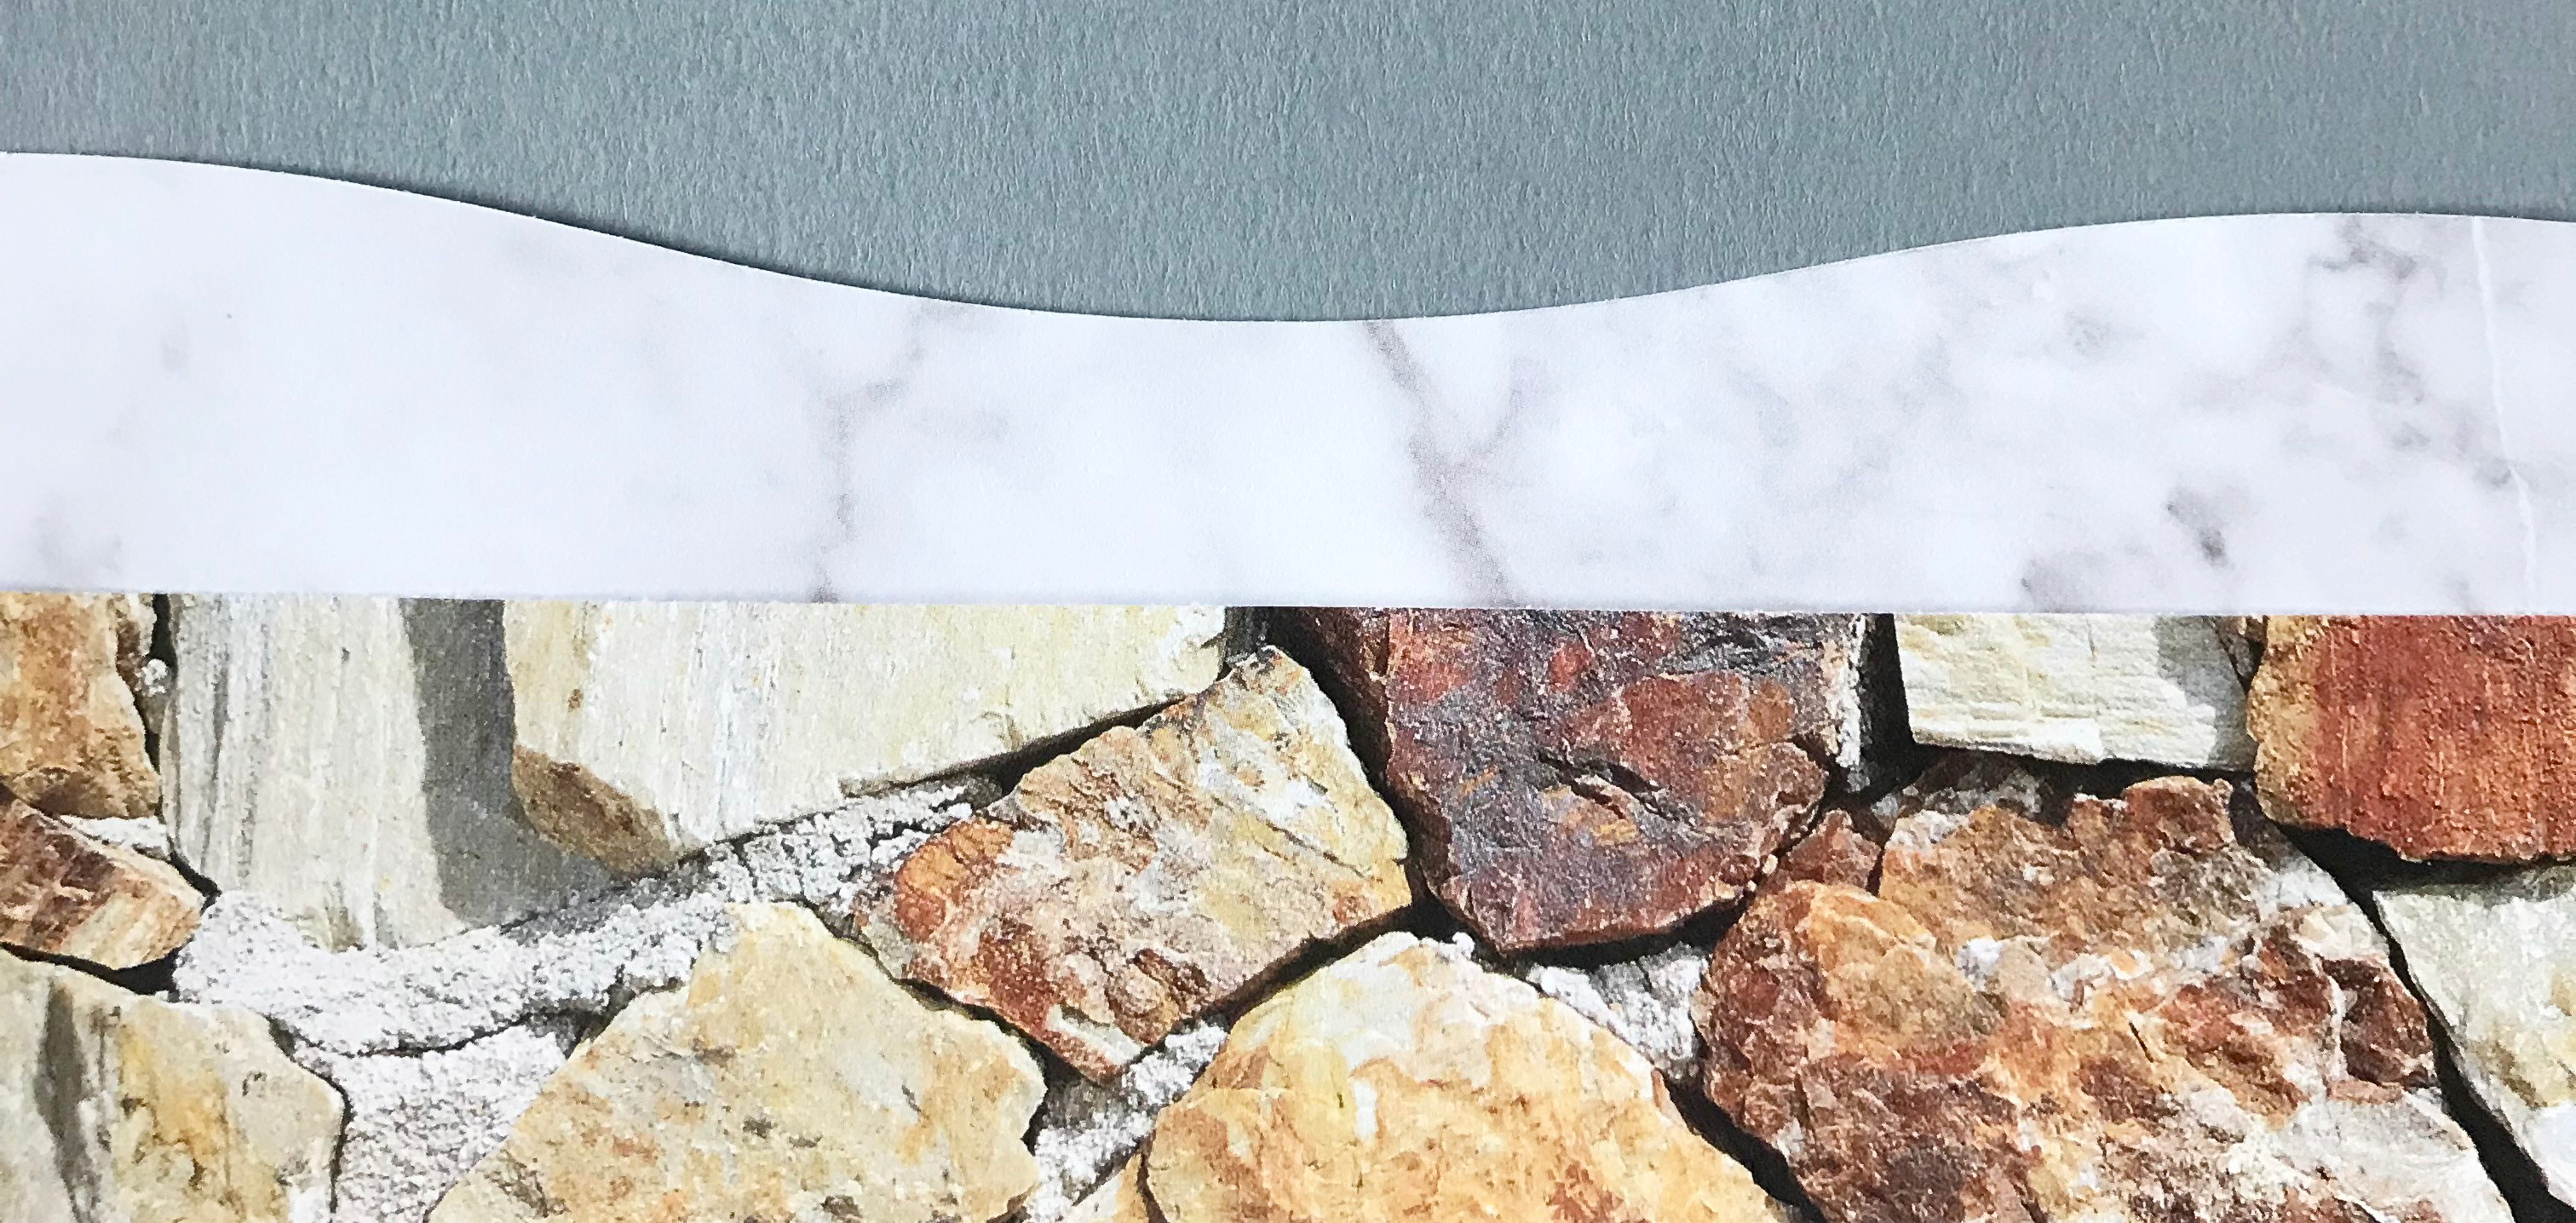
Step 8: At the bottom of your spread (starting with the top marble piece), you will adhere the 2-1/2″ x 12″ wave shape. On top of that, you will adhere the 1-1/2″ x 12″ red stone Designer Paper. Lastly, adhere the 1/2″ x 12″ wave shape on top of that.


Step 9: In the center of your spread will be your mats. This is will include the 4-1/2″ x 6-1/2″ white brick photo mat and the 4-1/2″ x 4-1/2″ reverse side of the red stone paper square. You can either mat two photos here, (6×4 and 4×4) or you can use the 4×4 mat to add journaling to an extra style like I did in my final project.
Now you have a rockin’ layout! What do you think? Comment below and tell us!

me encanta, gracias por la idea