July 5, 2018
7 Simple Steps to Create a Locally Grown Foodie Scrapbook Layout

Fresh from the local farmers market and just in time for all your delicious seasonal memories – Locally Grown! You’ll want this veggie and fruit scrapbook collection for photos from time with the girls, picnics, trips to the farmers market, canning, birthdays, summer and more. In today’s post, you’ll learn how to create a foodie scrapbook layout that features many of the beautiful papers in the Locally Grown Paper Pack. Let’s get started!

To create this scrapbook layout, you will need:
- Locally Grown Paper Pack
- Locally Grown Stickers
- 12-inch Straight Trimmer
- Tape Runner
- Foam Squares
- Black Dual-Tip Pen

Step 1: Use a piece of green patterned paper for the base of this layout.
Step 2: Cut a piece of orange patterned paper to measure 11? x 11?. Adhere this piece to the center of the base.
Step 3: Select the piece of designer paper that has the flower pots on it and cut out a strip of flowers to measure approximately 10″ x 2″. Adhere this piece to the upper part of the layout.
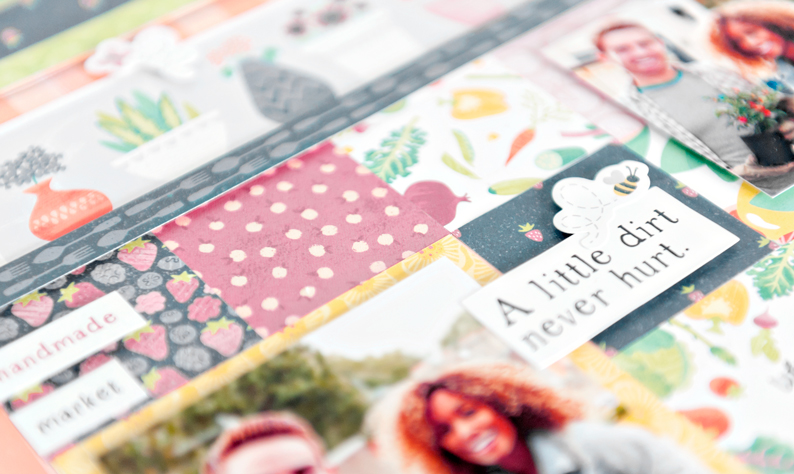
Step 4: Take various pieces of designer paper and cut out eight squares that measure 2″ x 2″. Adhere these squares directly under the flower pots in 2 rows as shown.
Step 5: Take the piece of designer paper that has pre-designed cards on it and cut out the lined card with the vegetables on it. It will measure approximately 6″ x 4″. Adhere to the layout on the lower right-hand side.
Step 6: Cut a piece of yellow designer paper to measure 4? x 6?. Adhere this piece to the lower left-hand side of the layout.
Step 5: Add your photos to the layout with Foam Squares to desired sections. This layout shows one 3-1/2? x 5-1/2? photo and one 3? x 3? photo.

Step 6: Embellish with stickers, using Foam Squares on some for added dimension.
Step 7: Journal as desired on the lined mat. Then, draw faux stitches along the outer edge of the orange patterned paper.
Comment below and tell us what you think of this delicious and nutritious collection!

Can’t wait to get this paper pack….so colorful!
[…] Want to create the Locally Grown layout shown above? Get instructions now! […]