August 15, 2018
Create a Breathtaking Back-To-School Scrapbook Layout with Essentials

Summer will soon be winding down, which means that it’s almost time for school to start! The Essentials collection has everything you need to make a beautiful back-to-school layout that captures the essence of that first day of school like never before. In today’s post, check out blog contributor Mati’s back-to-school scrapbook ideas!
Blog Contributor Mati’s Inspiration:
The first day of school is so exciting for children and parents! The supplies have been purchased, backpacks loaded and with eager anticipation, the children are ready to start a new year! I chose these photos because I loved seeing the big smiles on my kids’ faces as they looked forward to seeing their friends, meeting their teachers and finding out what the year has in store for them.
I loved the bright colors of the Essentials collection. The bold primary colors capture the excitement and the metallic foiled papers add fun to the design!

This sketch presented a great way to use the foiled and star papers as part of the border, and the Button Chain Border Maker Cartridge makes for a clever scalloped border edge. The bright stickers and paper create such a cheery backdrop for those first-day pictures!
To create this layout, you will need:
- Essentials Accent Paper Pack
- Essentials Tone-on-Tone Paper Pack
- Back to School Essentials Stickers
- Red Cardstock
- White Cardstock
- Original Border Maker System with the Button Chain Border Maker Cartridge
- Shooting Star Punch
- 4-Way Hearts and Stars Corner and Hole Punch
- Custom Cutting System with Circle Patterns
- 12-inch Straight Trimmer
- Scissors
- Tape Runner
- Foam Squares

Step 1: Start with the blue triangle patterned paper as the base for your layout.
Step 2: Cut two 2″ x 12″ strips of the black star paper using the Straight Trimmer.
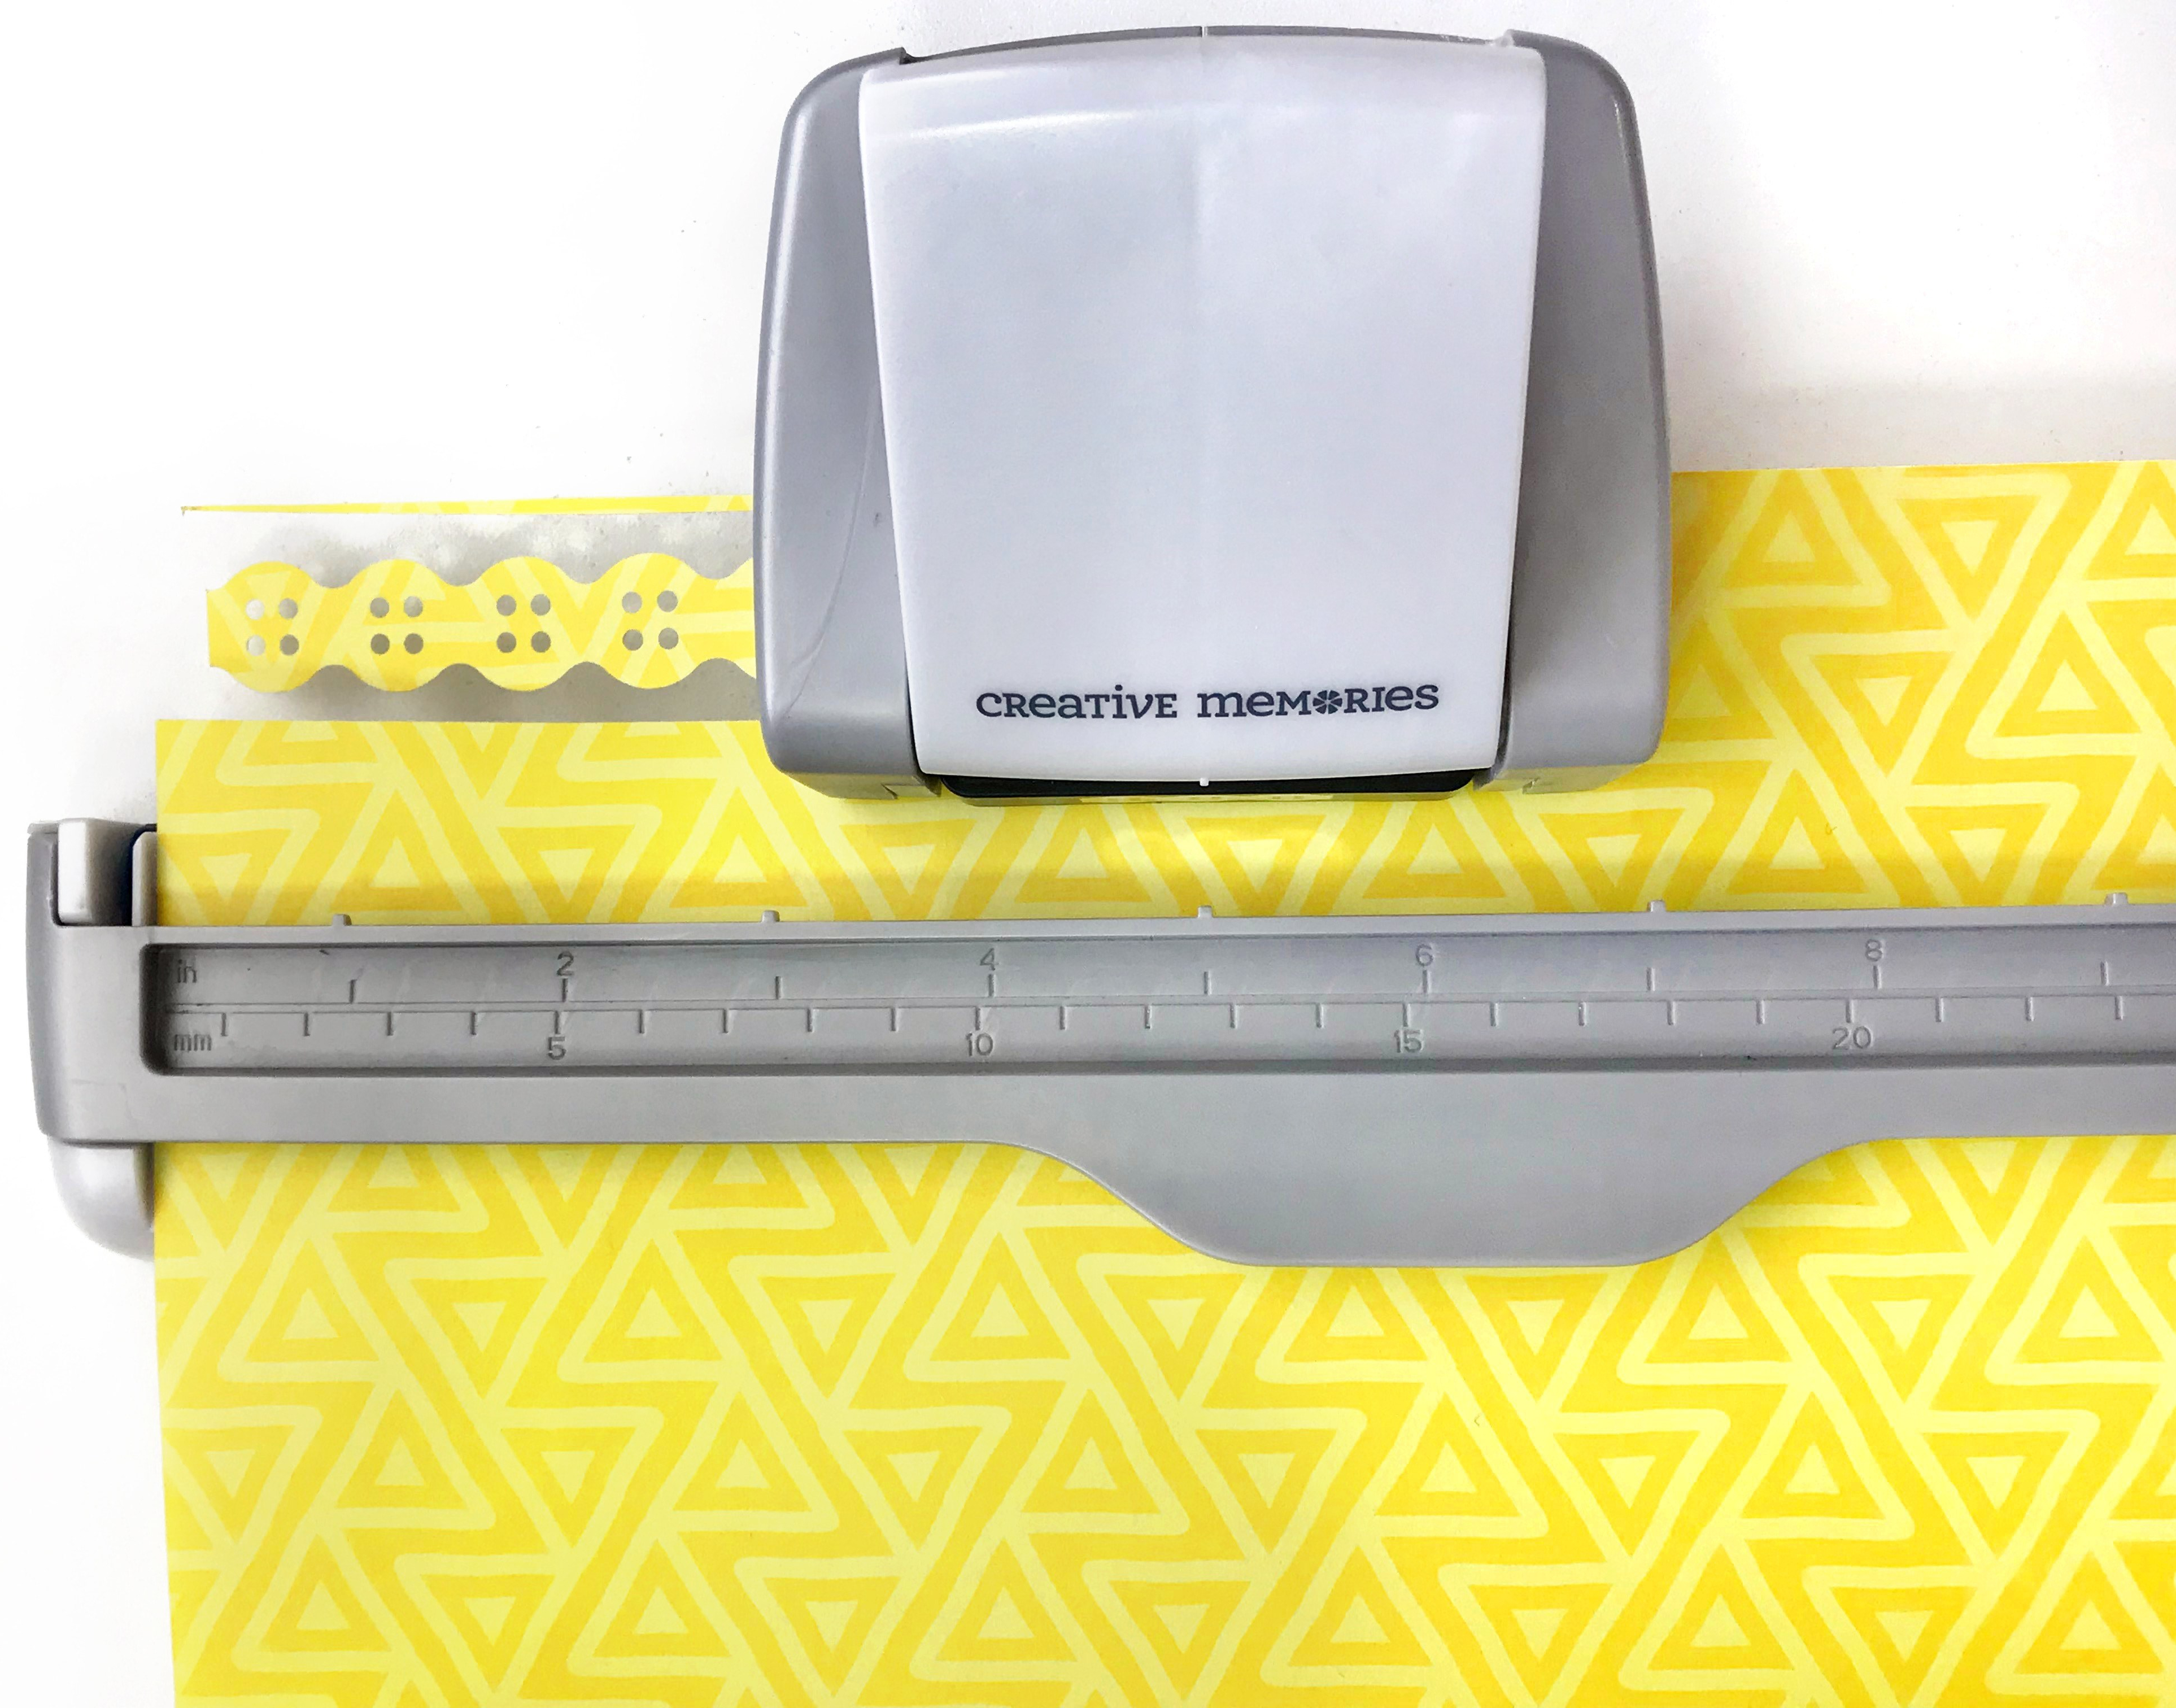
Step 3: Using the Border Maker System and a piece of yellow patterned paper, punch two borders with the Button Chain Border Maker Cartridge.
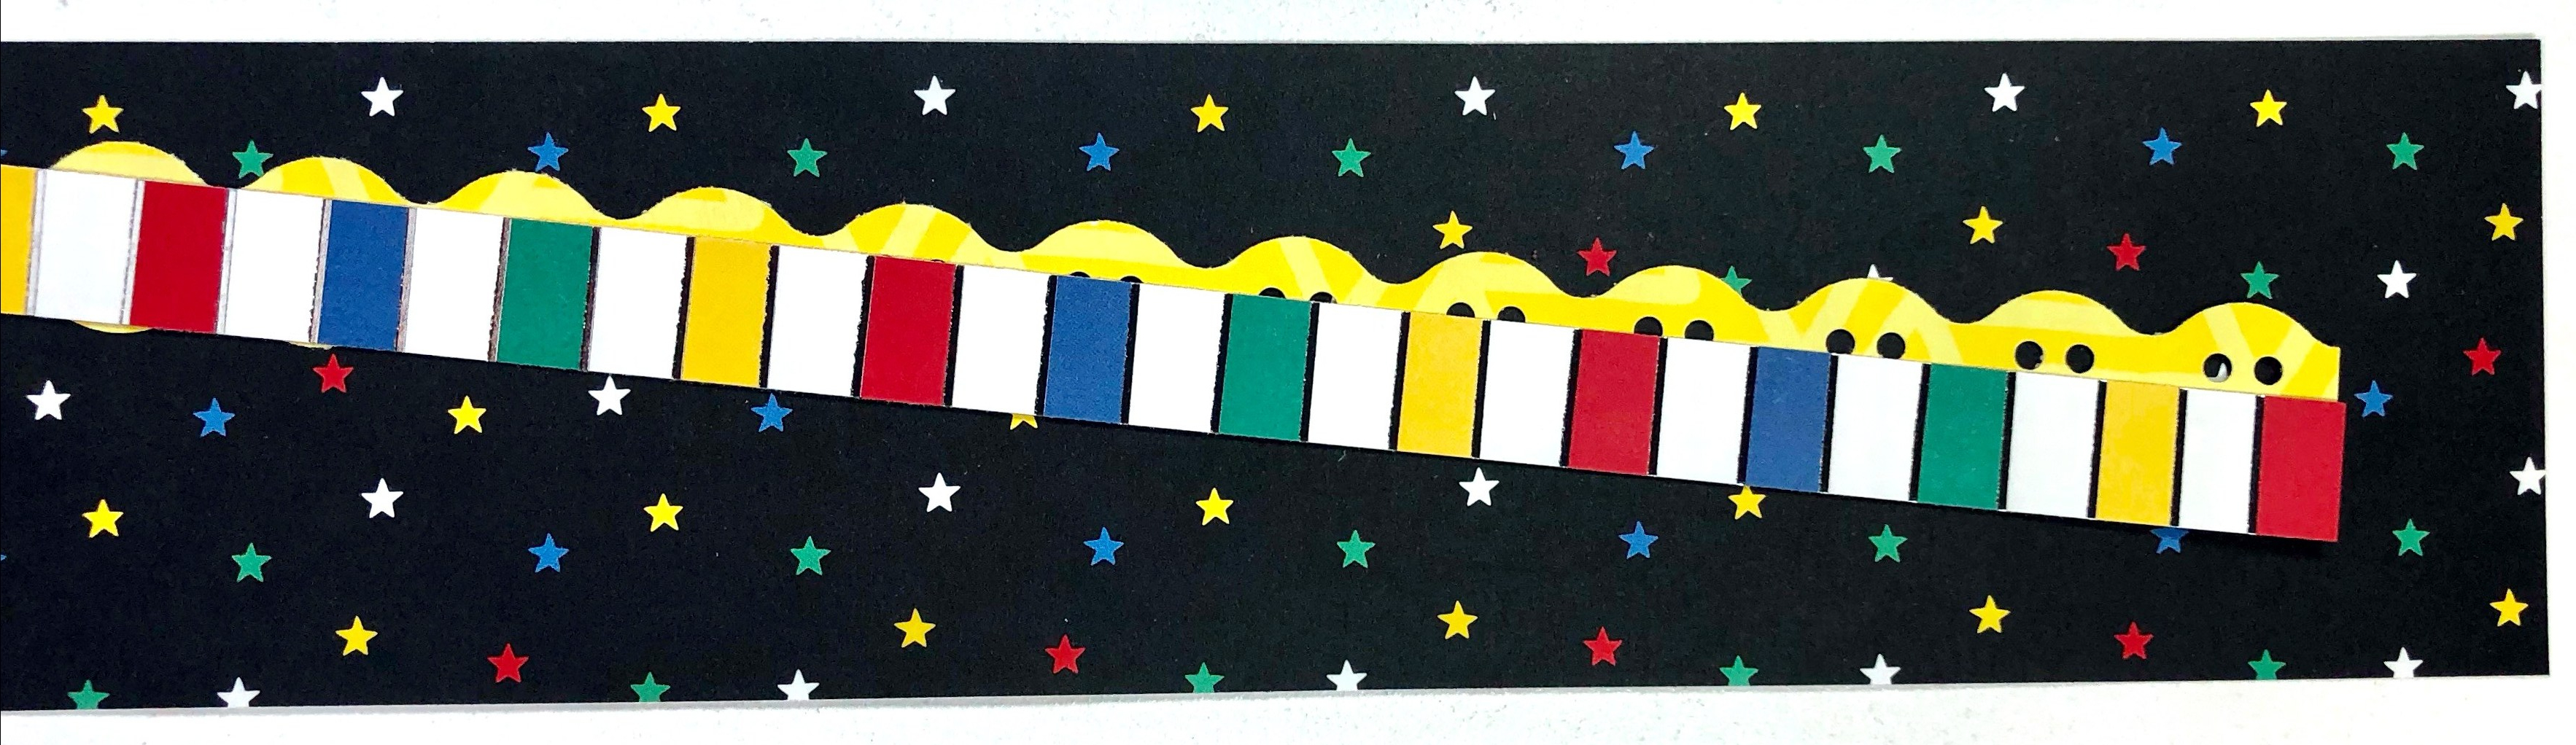
Step 4: With the stripes facing horizontally, cut two strips to measure 1/2″ x 12″ from the foiled striped paper. Adhere it to the top of the border so that the holes do not show. Then, adhere these pieces to the edge of the black star patterned pieces.
Step 5: Adhere the two border pieces to each outer edge of the blue triangle paper.
Step 6: Choose your photos for your layout and then cut White Cardstock photo mats 1/4″ larger than your photos.
Step 7: Using Red Cardstock, cut photo mats for each photo, 1/8″ larger than your white photo mats. Punch each corner of the red photo mats with the 4-Way Hearts and Stars Corner and Hole Punch. Insert and adhere the White Cardstock pieces to the previously punched red pieces as shown.
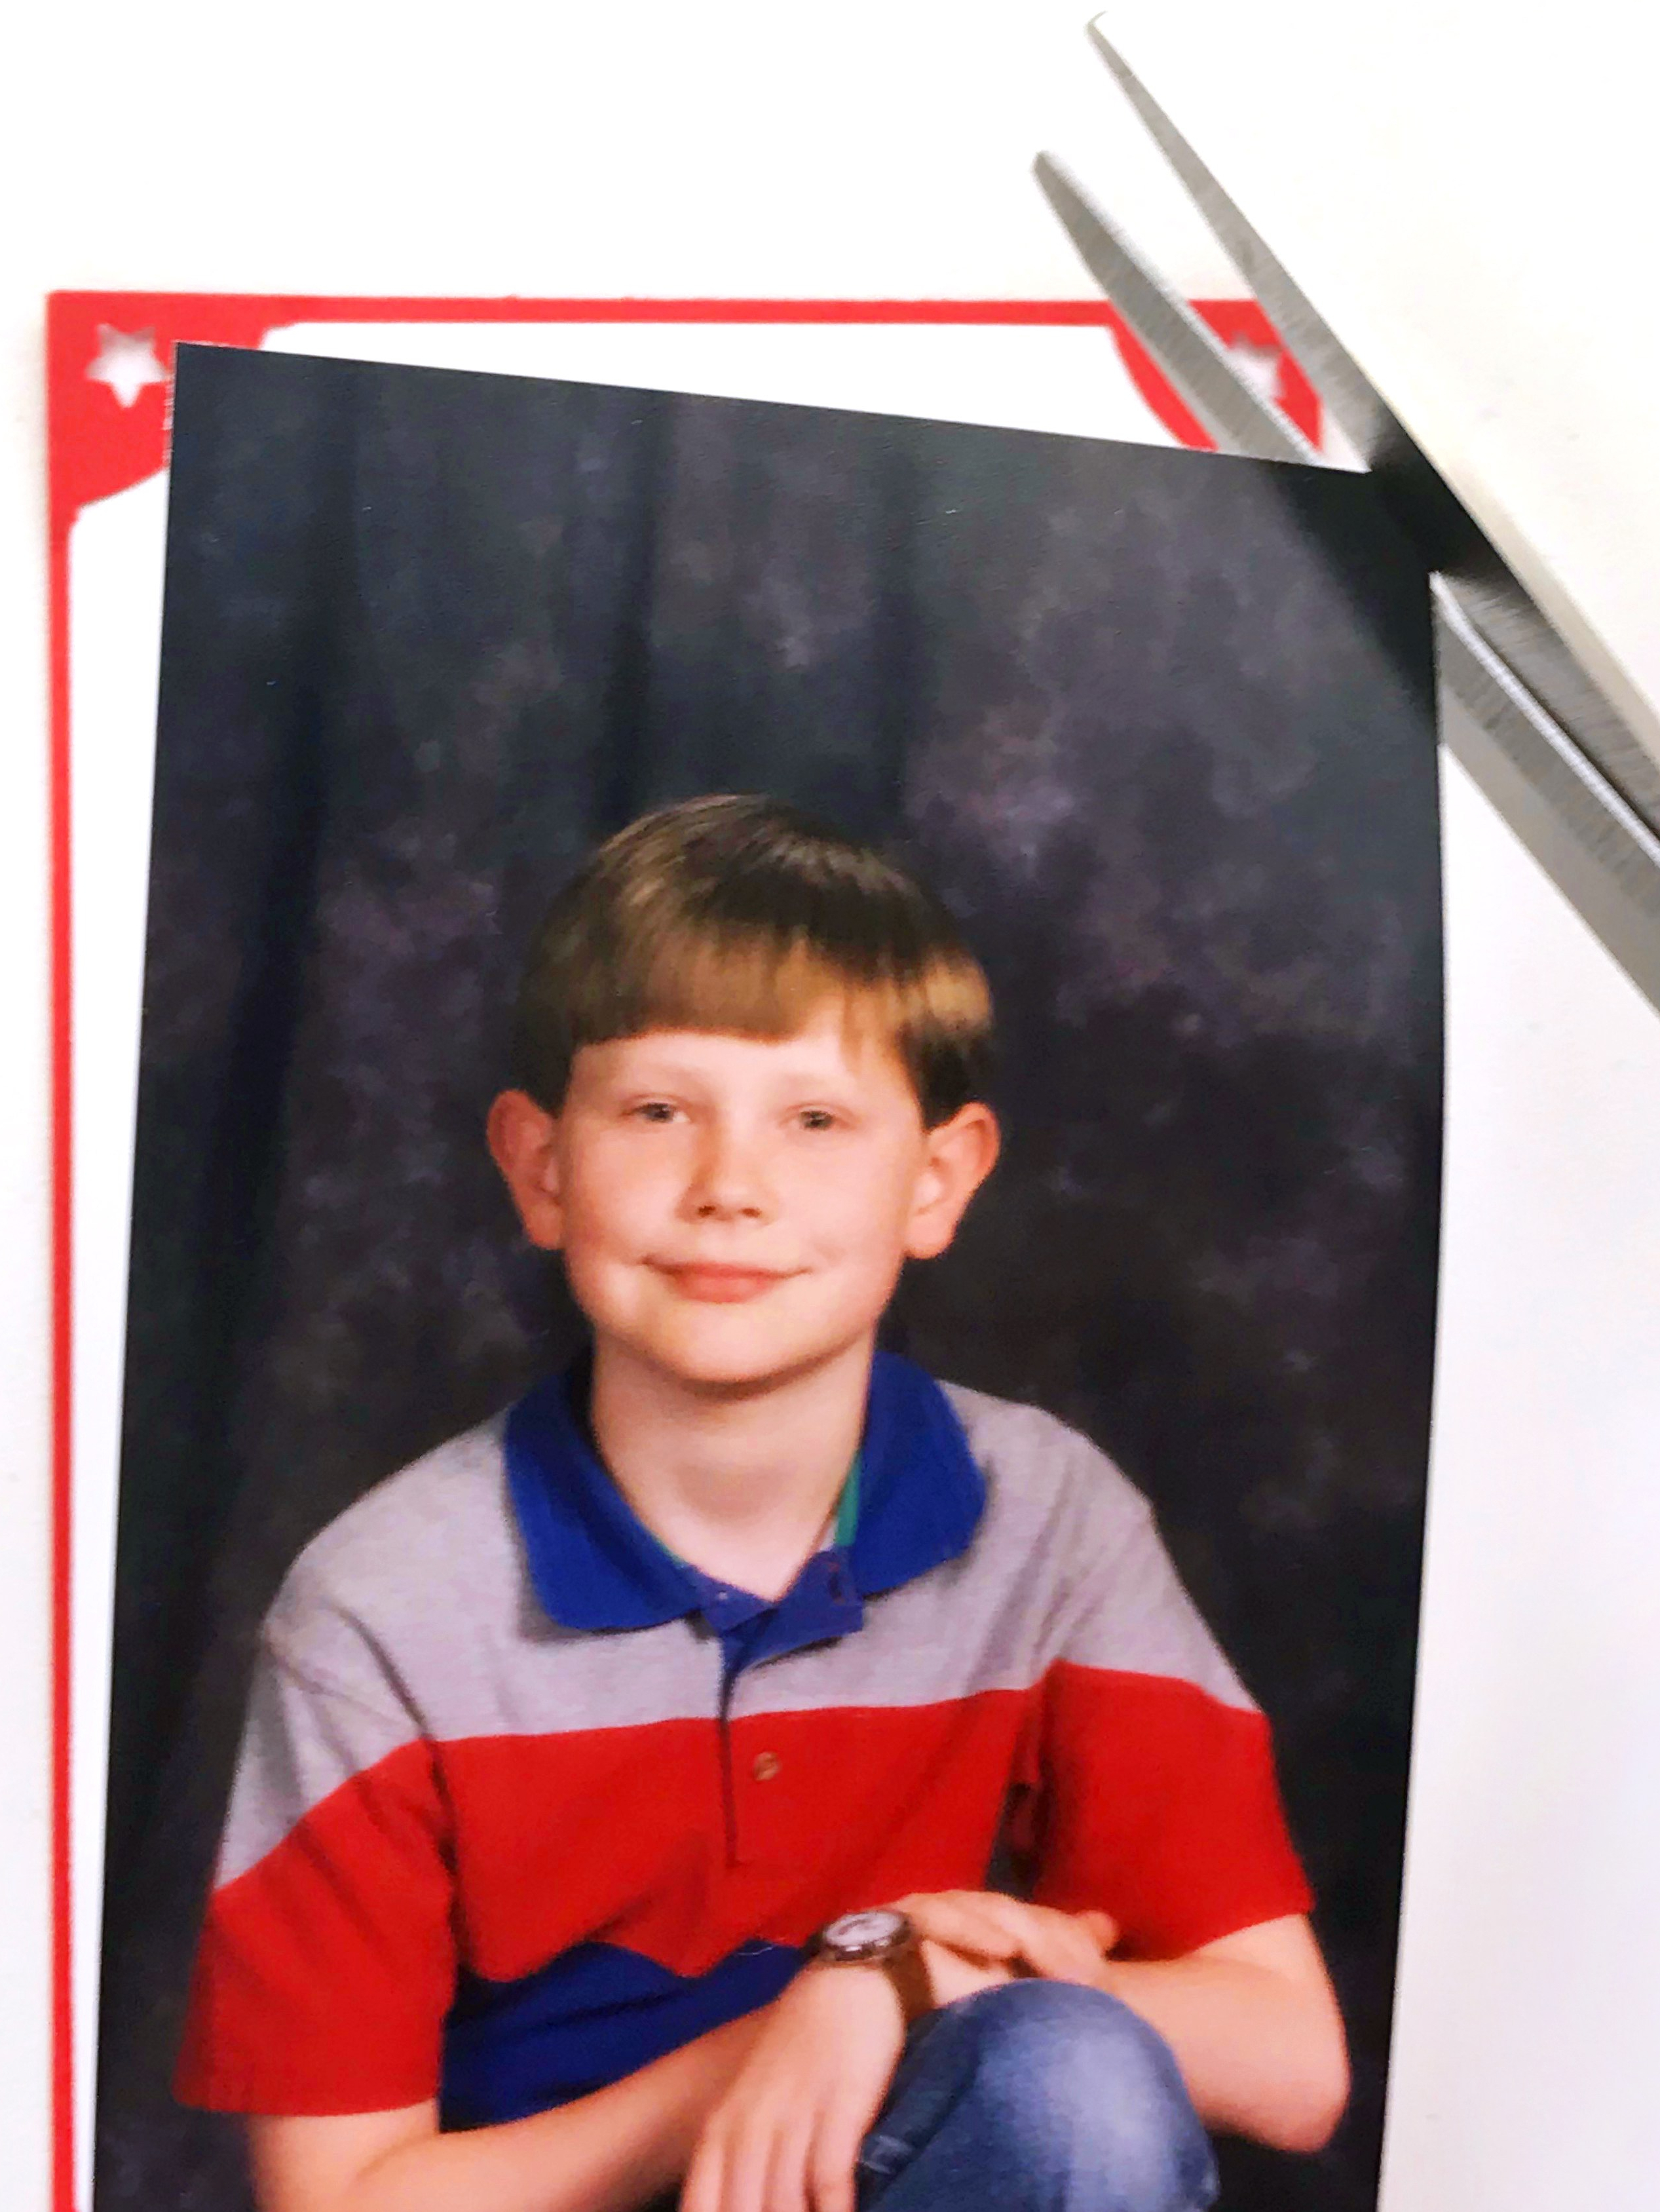
Step 8: Using scissors, cut the very edge of each corner of your photo. This will be a very tiny piece to keep the photo from showing through the hole that the punch makes. Insert and adhere the photos to the mats and then to the page as shown.
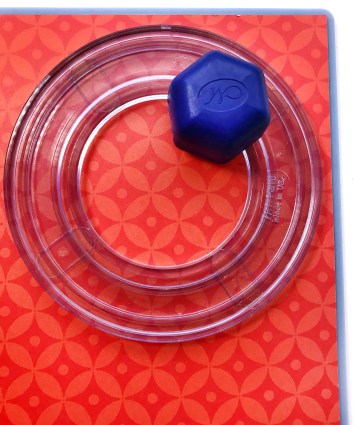
Step 9: Cut a circle using the Custom Cutting System medium Circle Pattern and the Blue Blade with red patterned paper. Adhere the “First Day,” “Back 2 School” and yellow star stickers to the circle as shown. Add to the page with Foam Squares.
Step 9: From Red Cardstock, cut a small circle using the smallest Circle Pattern and the Red Blade. Then, punch a star using the Shooting Star Punch and adhere to the red circle with Foam Squares.


Step 10: Finish by adhering stickers to the layout (using Foam Squares on some for added dimension).
The back-to-school season is a time where a lot of pictures are taken — a prime opportunity to add great layouts to your scrapbooks. This first-day-of-school scrapbook layout will make for many smiles when you revisit it years down the line. What are some of your favorite back-to-school memories? Comment below!

Great use of the border maker and punches to accent this cute layout!
Great layout! Love the papers and embellishments :-)
Love the BRIGHT & BOLD use of the Essentials color pack, layering techniques and how so many CM specific tools are used for this layout;0) ?????
We agree! She did a fabulous job :)
Love this! (Seems like breathtaking isn’t the right adjective to use though. Maybe absolutely the cutest A+ layout ever!) ?
Actually, taking another look, the photo matting is pretty breathtaking! ??
[…] Love the scrapbook layout shown above? Get the instructions here! […]