February 21, 2019
Throwback Thursday: Make Your Borders Feel New with the Texture Paper Pack

Borders are essential to a good scrapbook layout. They tie the theme of the page together while also adding a little extra pizzaz to your layout. Past blog posts have shown you how to use the papers in collections to create dynamic borders, and the new Textures paper packs opened up a new realm of possibilities for creating gorgeous borders. You can take some borders from three 2018 collections (Sun-Kissed, Gather Together and Maritime) and add the Texture paper packs to transform them into something completely new. Check it out in today’s blog post!
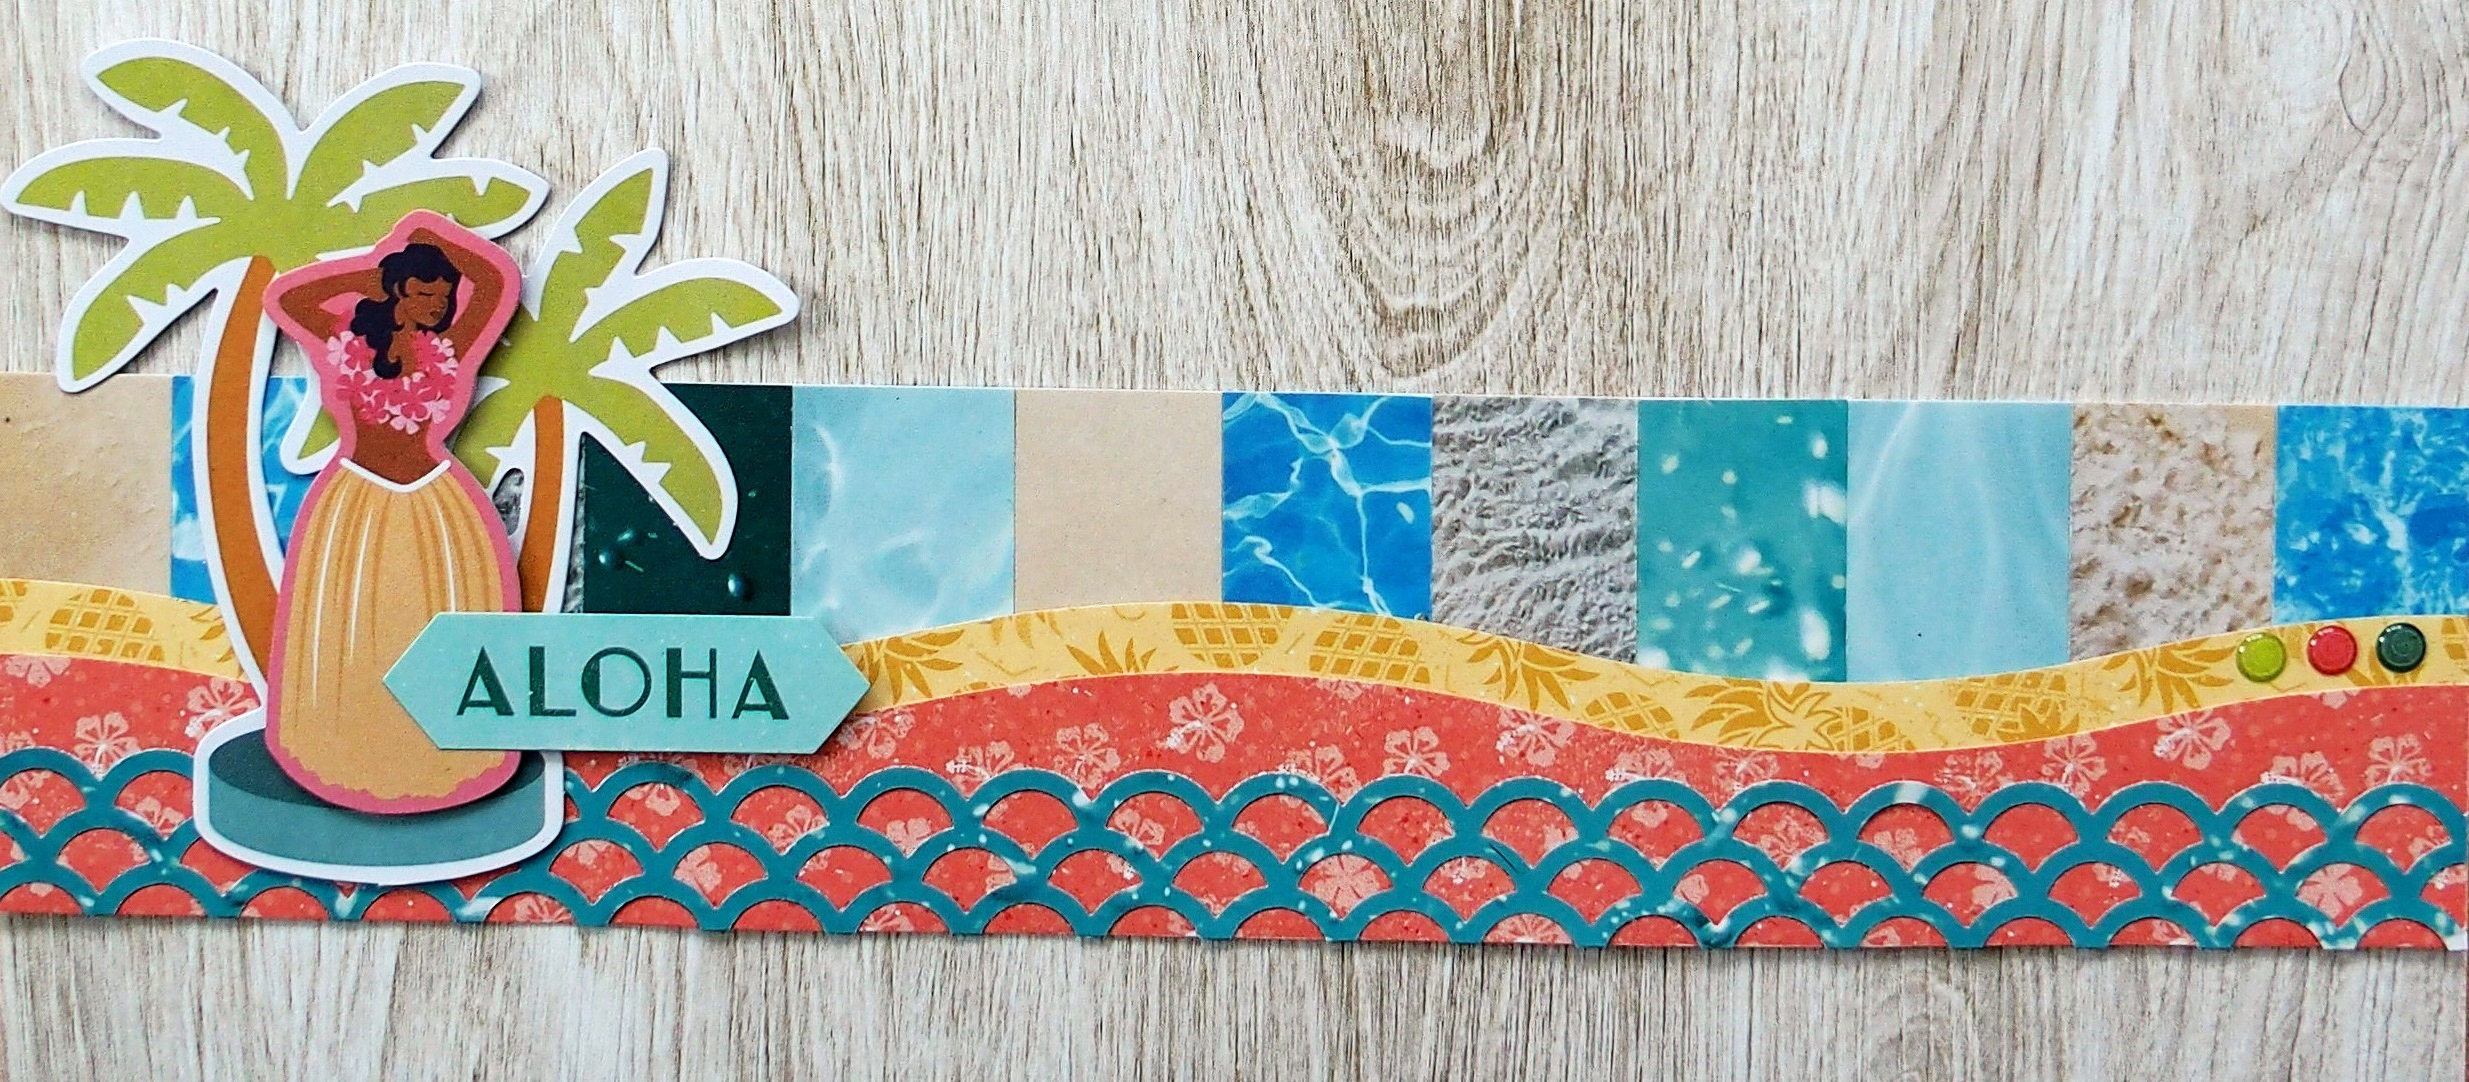
Sky & Water + Sun-Kissed Scrapbook Border
To create this border you’ll need:
- Sky & Water Paper Pack
- Sun-Kissed Paper Pack, Embellishments and Stickers
- Cardstock
- Scallop Border Punch
- 12-inch Decorative Trimmer
- 12-inch Trimmer
- Tape Runner with Repositionable Tape Runner Refill
- Foam Squares
Shop products by clicking your country’s icon below:


Step 1: Using the swell edge of the Decorative Trimmer, cut a 1-1/2? x 12? strip with one piece of patterned paper and a 1-1/4? x 12? strip with another piece of patterned paper. Adhere together as shown.
Step 2: Using the Scallop Border Punch, punch a border with a third piece of patterned paper and add to the swell border.
Step 3: Choose five papers from the Sky & Water Paper Pack and cut a 1? x 12? strip of each. Trim these to 2? lengths and adhere side by side on a 2? x 12? strip of cardstock.
Step 4: Mount the swell border piece on top of the previous strip piece, overlapping so that the final width of the border is 2-1/2?.
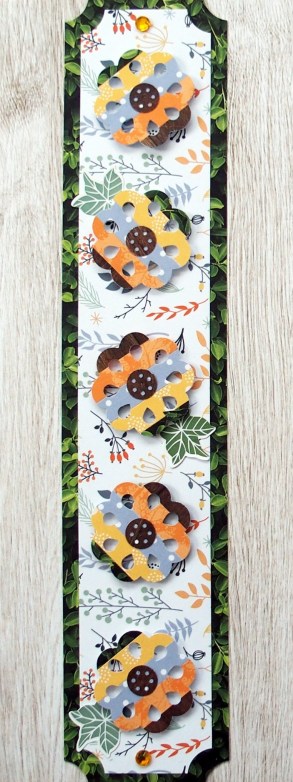
Rustic Manor + Gather Together Scrapbook Border
To create this border you’ll need:
- Rustic Manor Paper Pack
- Gather Together Paper Pack, Embellishments and Stickers
- Cardstock
- Dewdrop Flower Punch
- Embossed Trio Flower Punch
- 2-Way Corner Rounder
- 12-inch Trimmer
- Tape Runner with Repositionable Tape Runner Refill
- Foam Squares
Shop products by clicking your country’s icon below:
Step 1: For the base of this border, cut a 2-3/8? x 12? strip of patterned paper and notch the corners with the 2-Way Corner Rounder. Cut another strip to measure 2? x 11-5/8? out of patterned paper and notch the corners and mount on the larger strip.
Step 2: Cut 3/8? x 12? strips of five different papers from the Rustic Manor and Gather Together Paper Packs. Apply Repositionable Tape along the length of each strip and mount side by side on a 2? x 12? strip of cardstock.
Step 3: Punch five flowers using the Dewdrop Flower Punch from the previous cardstock strip. Mount to the base as shown using Foam Squares.
Sky & Water + Rustic Manor + Maritime Scrapbook Border

To create this border you’ll need:
- Sky & Water Paper Pack
- Rustic Manor Paper Pack
- Maritime Paper Pack, Laser Cut Border Embellishments and Stickers
- Cardstock
- 12-inch Trimmer
- Tape Runner with Repositionable Tape Runner Refill
- Foam Squares
- Precision Point Adhesive Pen
Shop products by clicking your country’s icon below:
Step 1: Cut a 2-1/2? x 12? strip of patterned paper for the base. Cut a 2″ x 12″ strip of another piece of patterned paper and mount on the base. Apply Precision Point Adhesive to the back of a laser cut embellishment and adhere it down the middle of the border.
Step 2: Choose six different papers and cut a 1/2? x 12? strip from each. Adhere them side by side on a 3? x 12? strip of cardstock.
Step 3: Line up one of the long edges along the 45-degree angle of the 12-inch Trimmer and cut off a corner of the strip. Set this piece aside. Insert the strip again, with the angled side you just cut lined up at the 45-degree mark and the 2-inch mark. Cut, which will give you an angled piece that measures 2? wide. Adhere this piece toward the bottom of the border as shown.
Step 4: Decorate the triangular piece with stickers as desired.
It’s always so fascinating to see how much you can transform a page, layout or border just by adding a little touch of something new. These borders were updated with the Textures collection, but you can create the original version of these marquetry-style borders by checking out this blog post!


Thanks for your patience in border designing — I love all 3
WOW!!!!!! These are just great!!!!!
I love your borders.