June 27, 2019
It Doesn’t Get Cuter than this Adorable Baby Scrapbook Spread
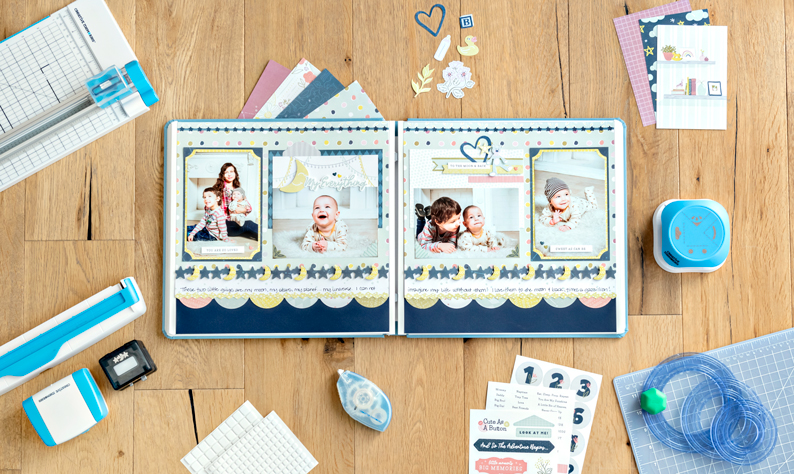
The first few months of a baby’s life are prime memory-making months. That bundle of joy experiences so many different “firsts,” resulting in tons of photo-worthy moments. And of course, with all those moments and all those photos, you’re going to need all the pages to commemorate them – one’s just not going to cut it! Thankfully, blog contributor Melissa is here with a sweet two-page baby scrapbook spread that perfectly captures the beginnings that fly by so fast. See it below!


To create this layout, you will need:
- Storytime Paper Pack or (Shop Canada | Shop Australia)
- Storytime Tone-on-Tone Paper Pack or (Shop Canada | Shop Australia)
- Storytime Stickers or (Shop Canada | Shop Australia)
- Storytime Border Stickers or (Shop Canada | Shop Australia)
- Storytime Embellishments or (Shop Canada | Shop Australia)
- Storytime Variety Mat Pack or (Shop Canada | Shop Australia)
- Navy Cardstock or (Shop Canada | Shop Australia)
- Original Border Maker System with Moon & Stars Border Maker Cartridge or (Shop Canada | Shop Australia)
- Custom Cutting System with Circle Patterns or (Shop Canada | Shop Australia)
- Essentials 4-Way Punch or (Shop Canada | Shop Australia)
- 12-inch Trimmer or (Shop Canada | Shop Australia)
- All-Purpose Scissors or (Shop Canada | Shop Australia)
- Tape Runner with Repositionable Adhesive or (Shop Canada | Shop Australia)
- Foam Squares or (Shop Canada | Shop Australia)
- Black Dual-Tip Pen or (Shop Canada | Shop Australia)

Step 1: Use the Navy Cardstock as the base for both sides of the spread.
Step 2: Cut two pieces from the blue leaf patterned paper to measure 12″ x 1/2″. Adhere each piece along the top edges of the spread.
Step 3: Cut two pieces of the blue dot patterned paper to measure 12″ x 8″. Adhere them along the bottom edges of the blue leaf paper.
Step 4: Cut two pieces from the blue star patterned paper to measure 12″ x 1-1/2″.

Step 5: Using the Circle Patterns from the Custom Cutting System, cut ten circles from tone-on-tone papers, using the inside of the medium circle with the Green Blade. Adhere the circles behind the white star patterned paper, so the bottom part of the circles are sticking out. Adhere it to the bottom edge of the dotted paper.

Step 6: Using the Original Border Maker System with the Moon & Stars Border Maker Cartridge, punch two borders from the blue tone-on-tone paper. Adhere them to the spread using Foam Squares. Punch two more borders using the yellow tone-on-tone paper. Use All-Purpose Scissors to cut out the moons. Adhere them to the top of the blue moons using Foam Squares.
Step 7: Cut two pieces from the blue tone-on-tone paper to measure 4-1/2″ x 6-1/2″. Use the Essentials 4-Way Punch on each corner.
Step 8: Cut two pieces from the yellow tone-on-tone paper to measure 4-1/4″ x 6-1/4″. Use the Essentials 4-Way Punch on each corner. Tuck a 4″ x 6″ photo into these corners. Tuck the yellow piece into the blue piece/corners and adhere it to the spread.
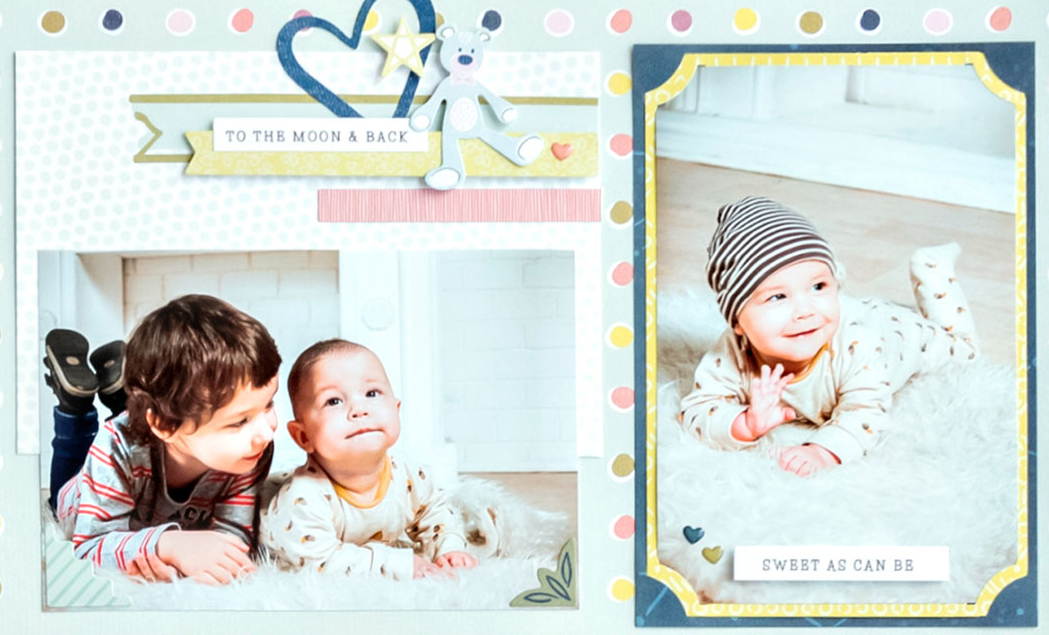
Step 9: Adhere two photos measuring 6″ x 4″ to two mats so they are slightly offset. Adhere them to the spread.
Step 10: Adhere stickers and embellishments, using Foam Squares on some for added dimension. Journal as desired using the Black Dual Tip Pen.
This two-page baby scrapbook layout is an easy, endearing way to showcase the earliest chapters of a baby’s life. Is there a first that stands out the most in your mind? Let us know in the comments below – and tell us what you think about this spread, too!

Adorable!!