August 20, 2019
Add Industrial Ingenuity to Your Desk with these DIY Sticky Note Holders
The best part about having the crafting bug? You can come up with unique ways to tackle all sorts of everyday challenges — some of which you didn’t even realize needed tackling! Someone who enjoys the imaginative art of DIY sees an entirely world of possibilities when it comes to their day-to-day life, and blog contributor Tina is no exception. She recently took the Memoirs & Memories collection and created handy DIY sticky note holders that look great on any desk or workspace. Check it out!
Tina’s Inspiration
Before I knew the inspiration behind the Memoirs & Memories collection, it screamed masculine and industrial to me. I decided to make these tablet and sticky note holders as a practical solution for jotting things down during meetings, taking notes over the phone or making grocery or to-do lists at home. When the holders are empty, new tablets and sticky notes can be added. It’s a win-win for de-cluttering your desk!
For this this project, you will need:
- Memoirs & Memories Paper Pack or (Shop Canada | Shop Australia)
- Memoirs & Memories Variety Mat Pack or (Shop Canada | Shop Australia)
- Memoirs & Memories Foiled & Embossed Embellishments or (Shop Canada | Shop Australia)
- Black Cardstock or (Shop Canada | Shop Australia)
- Medallion Punch or (Shop Canada | Shop Australia)
- Custom Cutting System with Circle Patterns or (Shop Canada | Shop Australia)
- 12-inch Trimmer with Straight and Scoring Blades or (Shop Canada | Shop Australia)
- Tape Runner or (Shop Canada | Shop Australia)
- Precision Point Adhesive Pen or (Shop Canada | Shop Australia)
- 5″ x 8″ Tablet
- Sticky Notes
Tablet Holder:
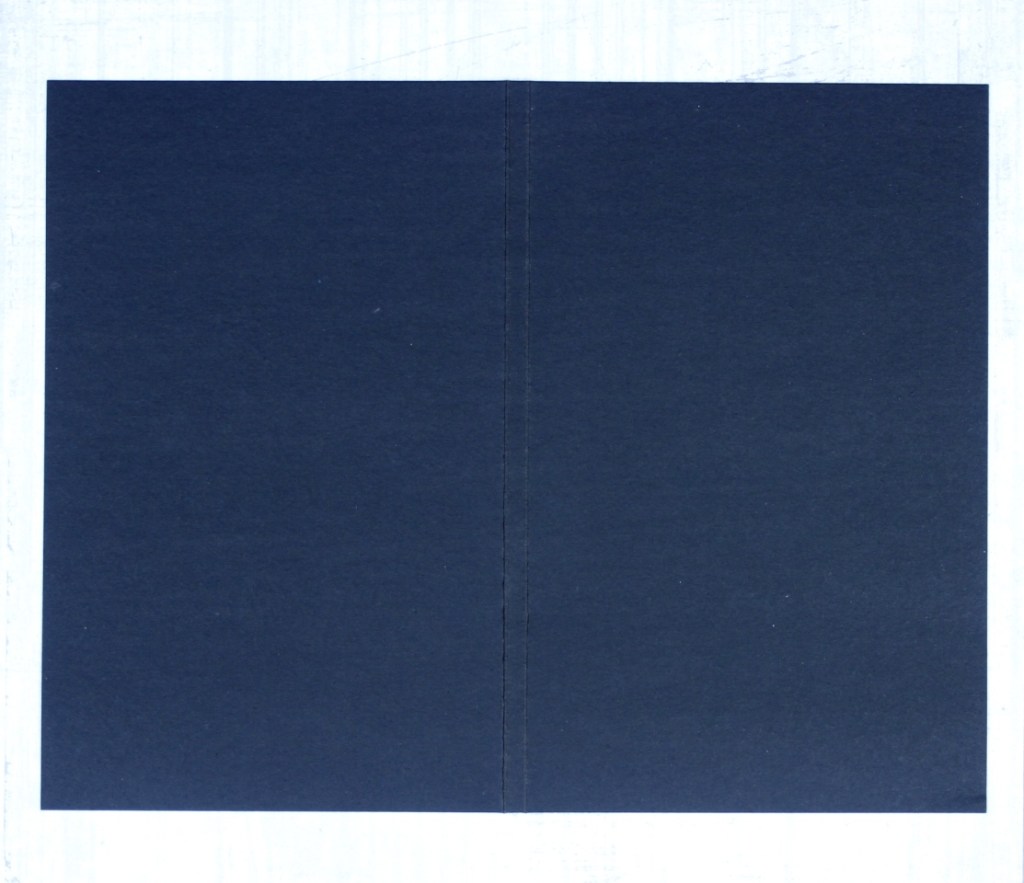
Step 1: Cut a piece of Black Cardstock to measure 8-1/2″ x 11″. Score it at 5-3/8″ and 5-5/8″ and crisp or burnish the score lines.
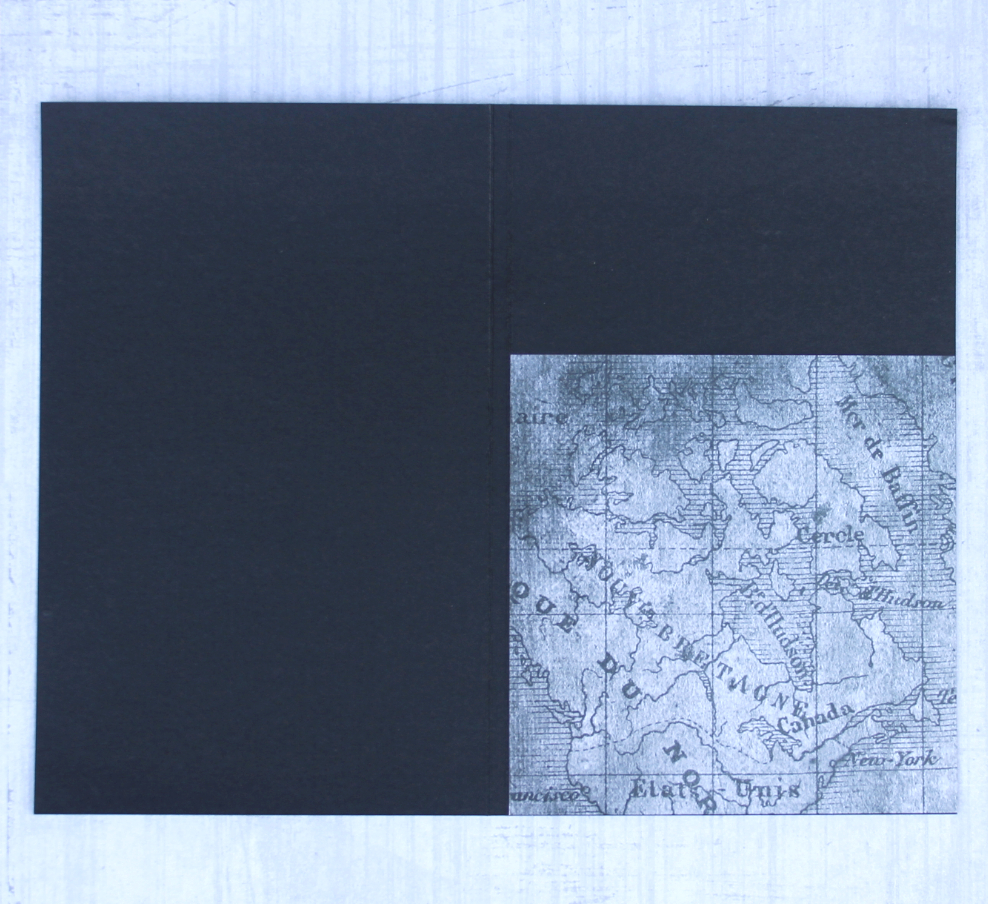
Step 2: Cut a 5-3/8″ x 5-3/8″ square from patterned paper.
Step 3: To create the inside pocket, use the Precision Point Adhesive Pen and run a thin line of adhesive along the sides and bottom of the backside of the patterned paper. Adhere it to the bottom of the inside of the holder and press it into place.
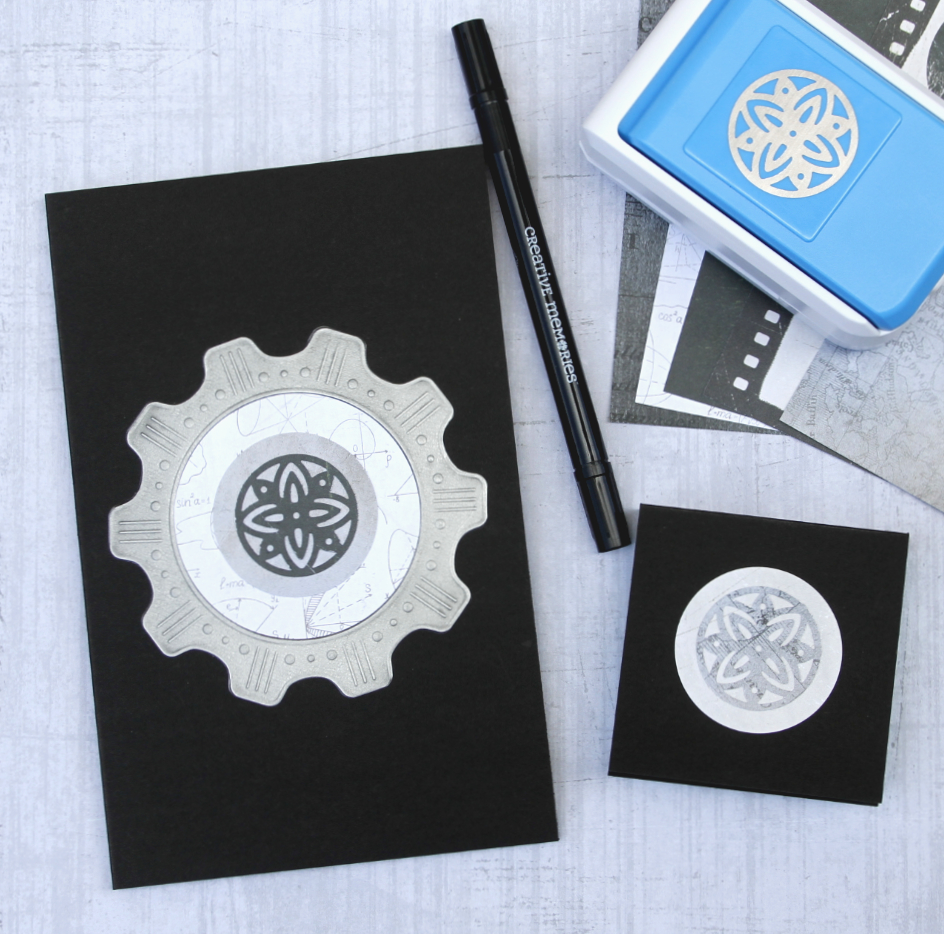
Step 4: Cut a 3-1/2″ circle using the Custom Cutting System out of patterned paper. Adhere it to the back of the gear embellishment using the Precision Point Adhesive Pen.
Step 5: Punch a mat using the Medallion Punch. Adhere it to the middle of the gear and adhere the whole thing to front of the holder using the Tape Runner.

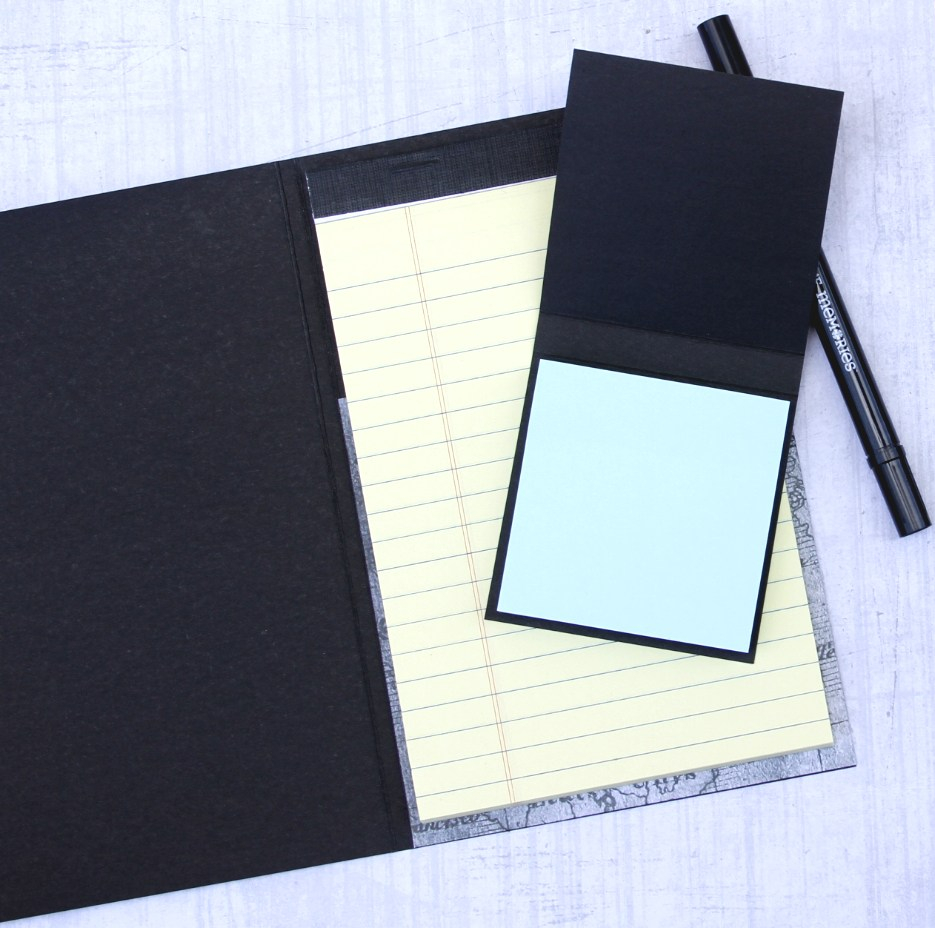
Step 6: Slide the tablet into the inside pocket.
Sticky Note Holder:

Step 1: Cut a piece of Black Cardstock to measure 3-1/4″ x 7″. Score it at 3-1/4″ and 3-3/4″ and crisp or burnish the score lines.
Step 2: Punch a mat using the Medallion Punch.
Step 3: Cut a 2″ circle using the Custom Cutting System out of patterned paper. Adhere the punched medallion to the circle and adhere that to the front of the sticky note holder.
Step 4: Adhere the sticky notes to the inside of the holder using the Tape Runner.
These DIY tablet holders are the perfect way to add style to any desk, workspace or home office. How do you like to get crafty with your everyday items? Let us know in the comments below!

Great idea! Thanks for sharing.
Cool projects.
This makes a handy little gift at a moments notice. I always have “extra” scrapbooking supplies and sticky notes on hand – would not have to be a full pack of sticky notes.
Thanks for the inspiration.