October 14, 2019
Channel the Flannel with this Plaid Scrapbook Layout

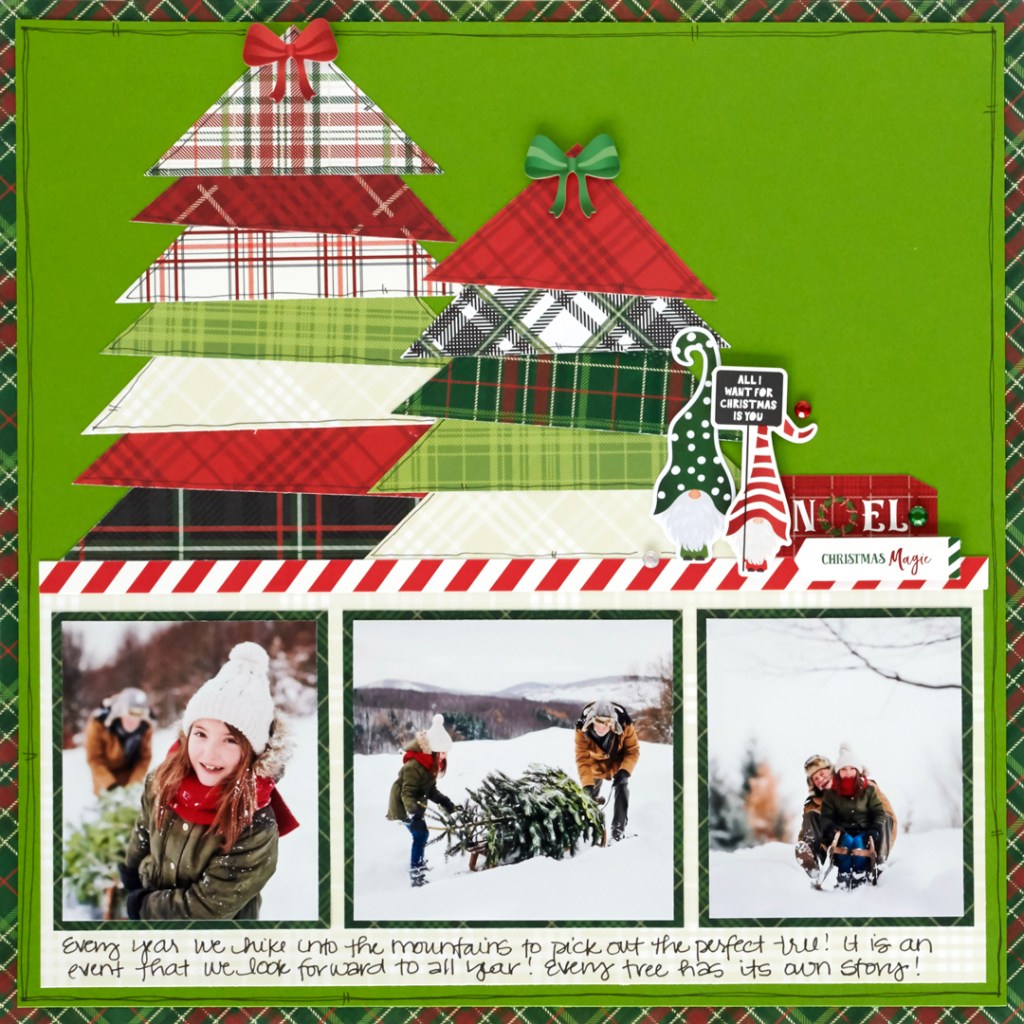
Nothing captures the essence of the winter season like flannel. Is there anything better than that warm, snuggly feeling as you slip on a flannel shirt or cover up with flannel sheets? Maybe one thing: Adding flannel to your layouts with the Festive Plaid Paper Pack! Take a look at this plaid scrapbook layout and see how you can turn it into a cold-weather wonder!
To create this layout, you will need:
- Festive Plaid Paper Pack or (Shop Canada | Shop Australia)
- Merry Little Christmas Stickers or (Shop Canada | Shop Australia)
- Merry Little Christmas Embellishments or (Shop Canada | Shop Australia)
- Leaf Green Cardstock or (Shop Canada | Shop Australia)
- 12-inch Trimmer or (Shop Canada | Shop Australia)
- Tape Runner or (Shop Canada | Shop Australia)
- Repositionable Tape Runner Refill or (Shop Canada | Shop Australia)
- Foam Squares or (Shop Canada | Shop Australia)
- All-Purpose Scissors or (Shop Canada | Shop Australia)
- Black Dual-Tip Pen or (Shop Canada | Shop Australia)
Get a closer look at the Festive Plaid Paper Pack in the video below!
Step 1: Use the red and green plaid patterned paper as the base for this layout.
Step 2: Cut a piece of Leaf Green Cardstock to measure 11-1/2″ x 11-1/2″ and adhere it to the layout.
Step 3: Cut a piece of the cream plaid patterned paper to measure 11″ x 5″ and adhere it to the lower portion of the layout.
Step 4: Cut three pieces of paper for photo mats, two measuring 3-1/4″ x 3-3/4″ and one measuring 4″ x 3-3/4″. Adhere them to the cream plaid patterned paper. Adhere two photos measuring 3″ x 3-1/2″ and one photo measuring 3-3/4″ x 3-1/2″ to the mats.
Step 5: Adhere the border sticker along the top edge of the cream plaid patterned paper and trim it to length.
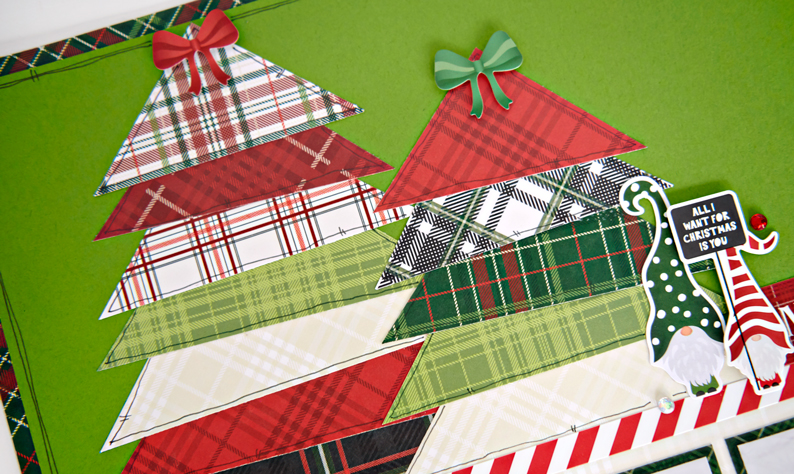
Step 6: Cut squares from various pieces of plaid patterned paper measuring 5-1/2″ x 5-1/2″, 5-1/4″ x 5-1/4″, 5″ x 5″, 4-3/4″ x 4-3/4″, 4-1/2″ x 4-1/2″, 4-1/4″ x 4-1/4″, 4″ x 4″ and 3-3/4″ x 3-3/4″. Cut each square in half, from corner to corner, creating two triangles. Continue cutting each additional square 1/4″ smaller, if needed/desired. Layer the triangles on top of each other, placing some at a slight angle, to create the trees.
Step 7: Adhere stickers and embellishments, using Foam Squares on some for added dimension.
Step 8: Doodle along the outer edge of the cardstock and the outside of the triangle pieces. Journal as desired.
This plaid scrapbook layout is the perfect way to add a little bit of woodsy warmth to your Christmas photos. What do you like most about this flannel paper pack? Let us know in the comments below!

Very cute layout Melissa!
Cute!
GORGEOUS PAPER – perfect for a trip to Scotland!!! Nice for Christmas too of course. thanks for the layouts also!
Fun layout! I got super happy thinking the product video was you making the layout – I love to watch you work ??
I absolutely Love this layout.
I love the colors, the tree and esp the elves! I would love to see a 2nd page for this one!
“Cut several squares measuring 5-1/2? x 5-1/2?. Cut each square again, this time 1/4? smaller.”
Don’t understand why you would do this. Please clarify.
I was wondering the same thing? Am I cutting each square to 5 1/4 x 5 1/4? Or 5 1/2 x 5 1/4? And why not just cut whichever size to begin with? I love the idea but am definitely a little confused about this part.
Thanks for bringing this to our attention! We have revised it so it has the exact cuts. Please let us know if you have further questions.
[…] Feel the need to channel the flannel? Play with all the plaid with the steps in this blog post! […]