February 20, 2020
Shoot for Thrills with these Theme Park Scrapbook Borders

The Magic Awaits collection is all about taking the thrills and adrenaline of a theme park and turning them into the magical memories and layouts you make. Take a look at these amusement park scrapbook borders and start thinking about how you can add a roller coaster of excitement to your layouts and projects!
To create these borders, you will need:
- Magic Awaits Paper Pack or (Shop Canada | Shop Australia)
- Magic Awaits Tone-on-Tone Paper Pack or (Shop Canada | Shop Australia)
- Magic Awaits Layered Border Embellishments or (Shop Canada | Shop Australia)
- Magic Awaits Stickers or (Shop Canada | Shop Australia)
- Black & White Cardstock or (Shop Canada | Shop Australia)
- Roller Coaster Border Punch or (Shop Canada | Shop Australia)
- 2-Way Corner Rounder or (Shop Canada | Shop Australia)
- 12-inch Trimmer or (Shop Canada | Shop Australia)
- 12-inch Decorative Trimmer or (Shop Canada | Shop Australia)
- Tape Runner or (Shop Canada | Shop Australia)
- Repositionable Tape Runner or (Shop Canada | Shop Australia)
- Foam Squares or (Shop Canada | Shop Australia)
Magic Awaits Border
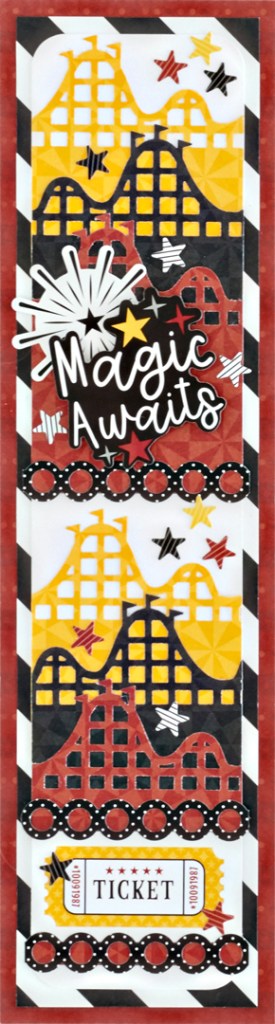
Step 1: Cut a 3-1/4″ x 12″ piece of red tone-on-tone patterned paper for the base. Cut a 2-7/8″ x 11-5/8″ piece of black and white stripe patterned paper and mount it on the base. Cut a 2-1/2″ x 11-1/4″ piece of White Cardstock. Round the corners with the 2-Way Corner Rounder and adhere it to the border.
Step 2: Punch a border with the Roller Coaster Border Punch from yellow, black and red tone-on-tone patterned papers. Trim the black and gold borders to measure 2-1/2″ x 12″ and the red border to measure 3-1/2″ x 12″. Cut each border into 2-1/2″ wide sections. Using the photo as a guide, layer a yellow section on top, followed by a black section (flipped over), then a red section. Repeat the layers on the bottom half of the border.
Step 3: For the middle red roller coaster section, add a starburst, “Magic Awaits” sticker and a section of a black circle border sticker. For the bottom red roller coaster section, add a ticket cut from designer paper and a section of a black circle border sticker above and below it. Add star stickers as desired throughout the border.
Happy Memories Border
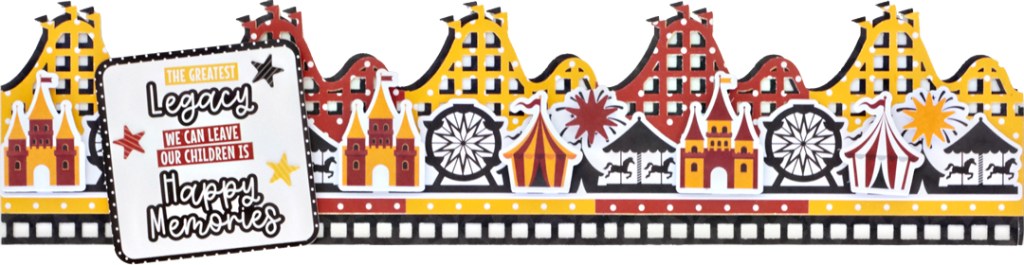
Step 1: Cut a 12″ x 4″ strip of black tone-on-tone patterned paper. Punch both sides with the Roller Coaster Border Punch. Trim off all but one row of grids from one side. This is your base.
Step 2: Punch a border with the Roller Coaster Border Punch from both yellow and red tone-on-tone dot papers. Trim both borders to measure 12″ x 2-1/2″ and cut each one into 2-1/2″ wide segments. Adhere the segments to the base, alternating colors, as shown.
Step 3: Adhere a carnival layered embellishment on the border and top it with stickers.
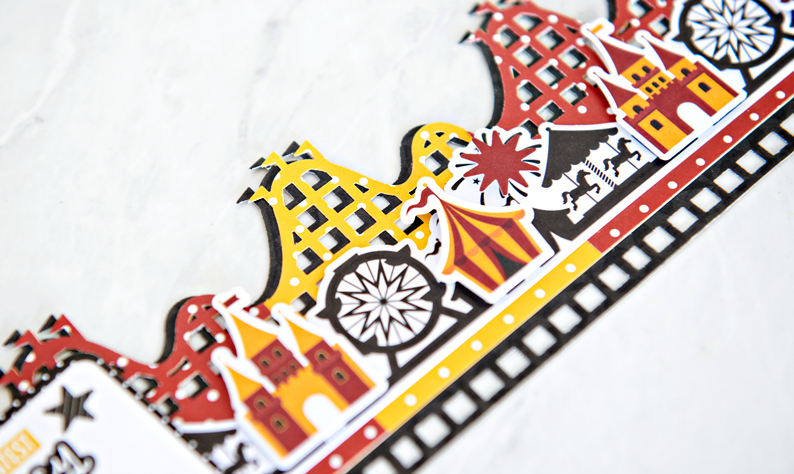
Let the Adventure Begin Border

Step 1: Cut a 3″ x 12″ strip of stripe patterned paper for the base.
Step 2: Cut a 2-3/8″ x 12″ strip of red polka dot tone-on-tone patterned paper. Using the swell edge of the 12-inch Decorative Trimmer, and with the paper aligned at the top of the trimmer and at the 1/2″ mark, cut a border to measure 2-1/4″ x 12″.

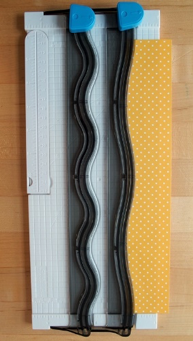
Step 3: Cut a 1-7/8″ x 12″ strip of yellow polka dot tone-on-tone patterned paper. With the paper aligned at the bottom of the trimmer and at the 1/2″ mark, cut a border to measure 1-3/4″ x 12″.
Step 4: Cut a 1-5/8″ x 12″ strip of Black Cardstock. With the paper aligned at the top of the trimmer and at the 1/2″ mark, cut a border to measure 1-1/2″ x 12″.


Step 5: Punch a border using the Roller Coaster Border Punch with Black Cardstock and trim off the bottom row of “grid” pattern. (If you made the Happy Memories Border, you should have this piece already cut). Apply Repositionable adhesive to the back swell edges of the Black Cardstock piece. Carefully adhere the roller coaster border to the swell edges, curving it as you go, so it is just barely tucked behind the black swell border piece.
Step 6: Adhere the black piece onto the yellow piece and then onto the red piece, as shown.
Step 7: Mount the “Let the Adventures Begin” border sticker and cameras border sticker on the border with Foam Squares.
Which of these theme park scrapbook borders do you plan on trying out first? Let us know in the comments below!

[…] Make your own version of this roller coaster scrapbook border with instructions in this blog post! […]