April 6, 2020
Create Easter Mini-Baskets and DIY Easter Cards with the Easter Blessing Theme Pack

Easter celebrations may look a lot different this year due to the COVID-19 pandemic. And even though most of us will be staying at home and practicing social distancing this holiday weekend, we can still still bring a bit of fun to the Easter dinner table with sweet mini treat baskets, in addition to sharing the joy of this delightful season by making and sending DIY Easter cards to loved ones who can’t be with us. Thankfully, all you need to make both the mini-baskets and cards are the Easter Blessing Theme Pack, the Spring Leaf Chain Border Maker Cartridge, Blank Cards or White Cardstock and a few basic tools. Check the beauties out below!
Check out this video and the instructions below to make these fun Easter crafts!

To make the Easter mini-baskets you will need:
- Easter Blessing Theme Pack or (Shop Canada | Shop Australia)
- Original Border Maker System with the Spring Leaf Chain Border Maker Cartridge or (Shop Canada | Shop Australia)
- 12-inch Trimmer with Straight and Scoring Blades or (Shop Canada | Shop Australia)
- All-Purpose Scissors or (Shop Canada | Shop Australia)
- Tape Runner or (Shop Canada | Shop Australia)
- Repositionable Tape Runner or (Shop Canada | Shop Australia)
- Foam Squares or (Shop Canada | Shop Australia)

Step 1: Cut Raspberry Cardstock from Easter Blessings Theme Pack into four 6″ x 6″ squares. Punch two border strips from the pink patterned paper with the Original Border Maker System and the Spring Leaf Border Maker Cartridge. These pieces will make one mini-basket.

Step 2: Insert the 12-inch Trimmer Scoring Blade into the 12-inch Trimmer. Score the cardstock square at 2″ on all four sides. Fold along all scored lines.
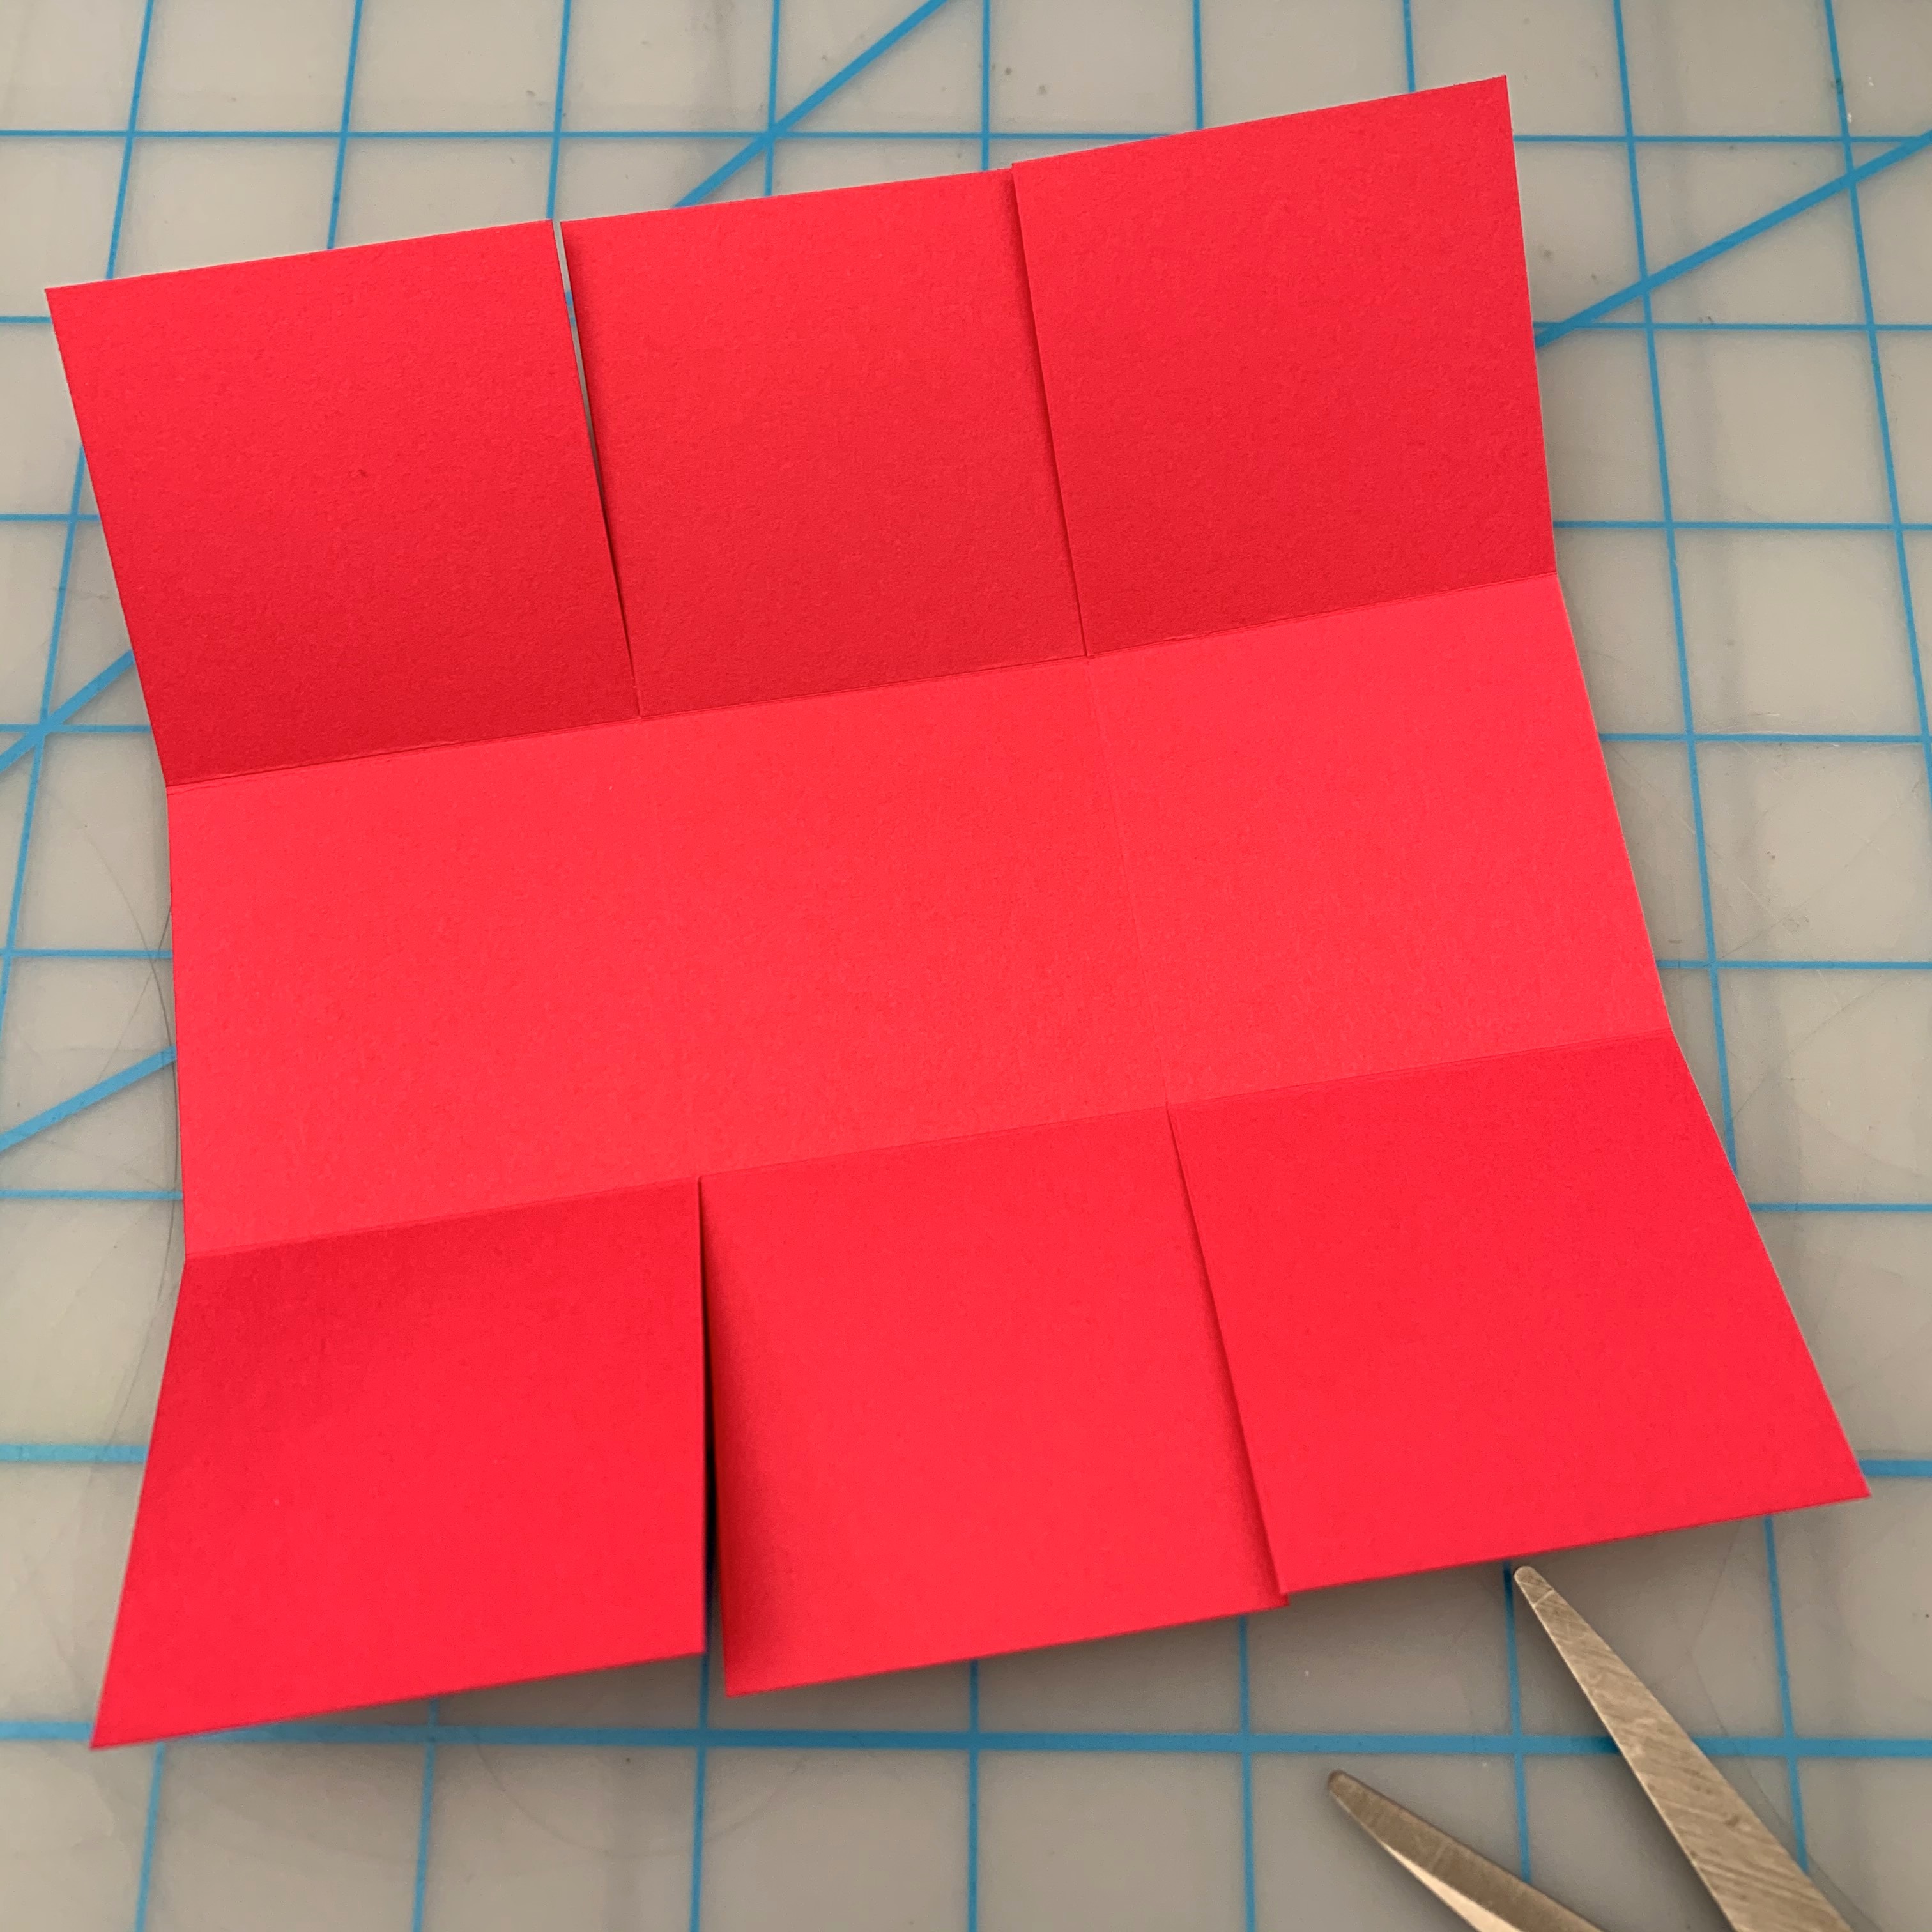
Step 3: Use the All-Purpose Scissors to cut along the score lines, starting at the bottom edge of your square and stopping where the next score line intersects. Repeat on the second score line at the bottom of the square, then turn the square 180 degrees and cut again along the two score lines at the bottom. Your square will look like the above photo.
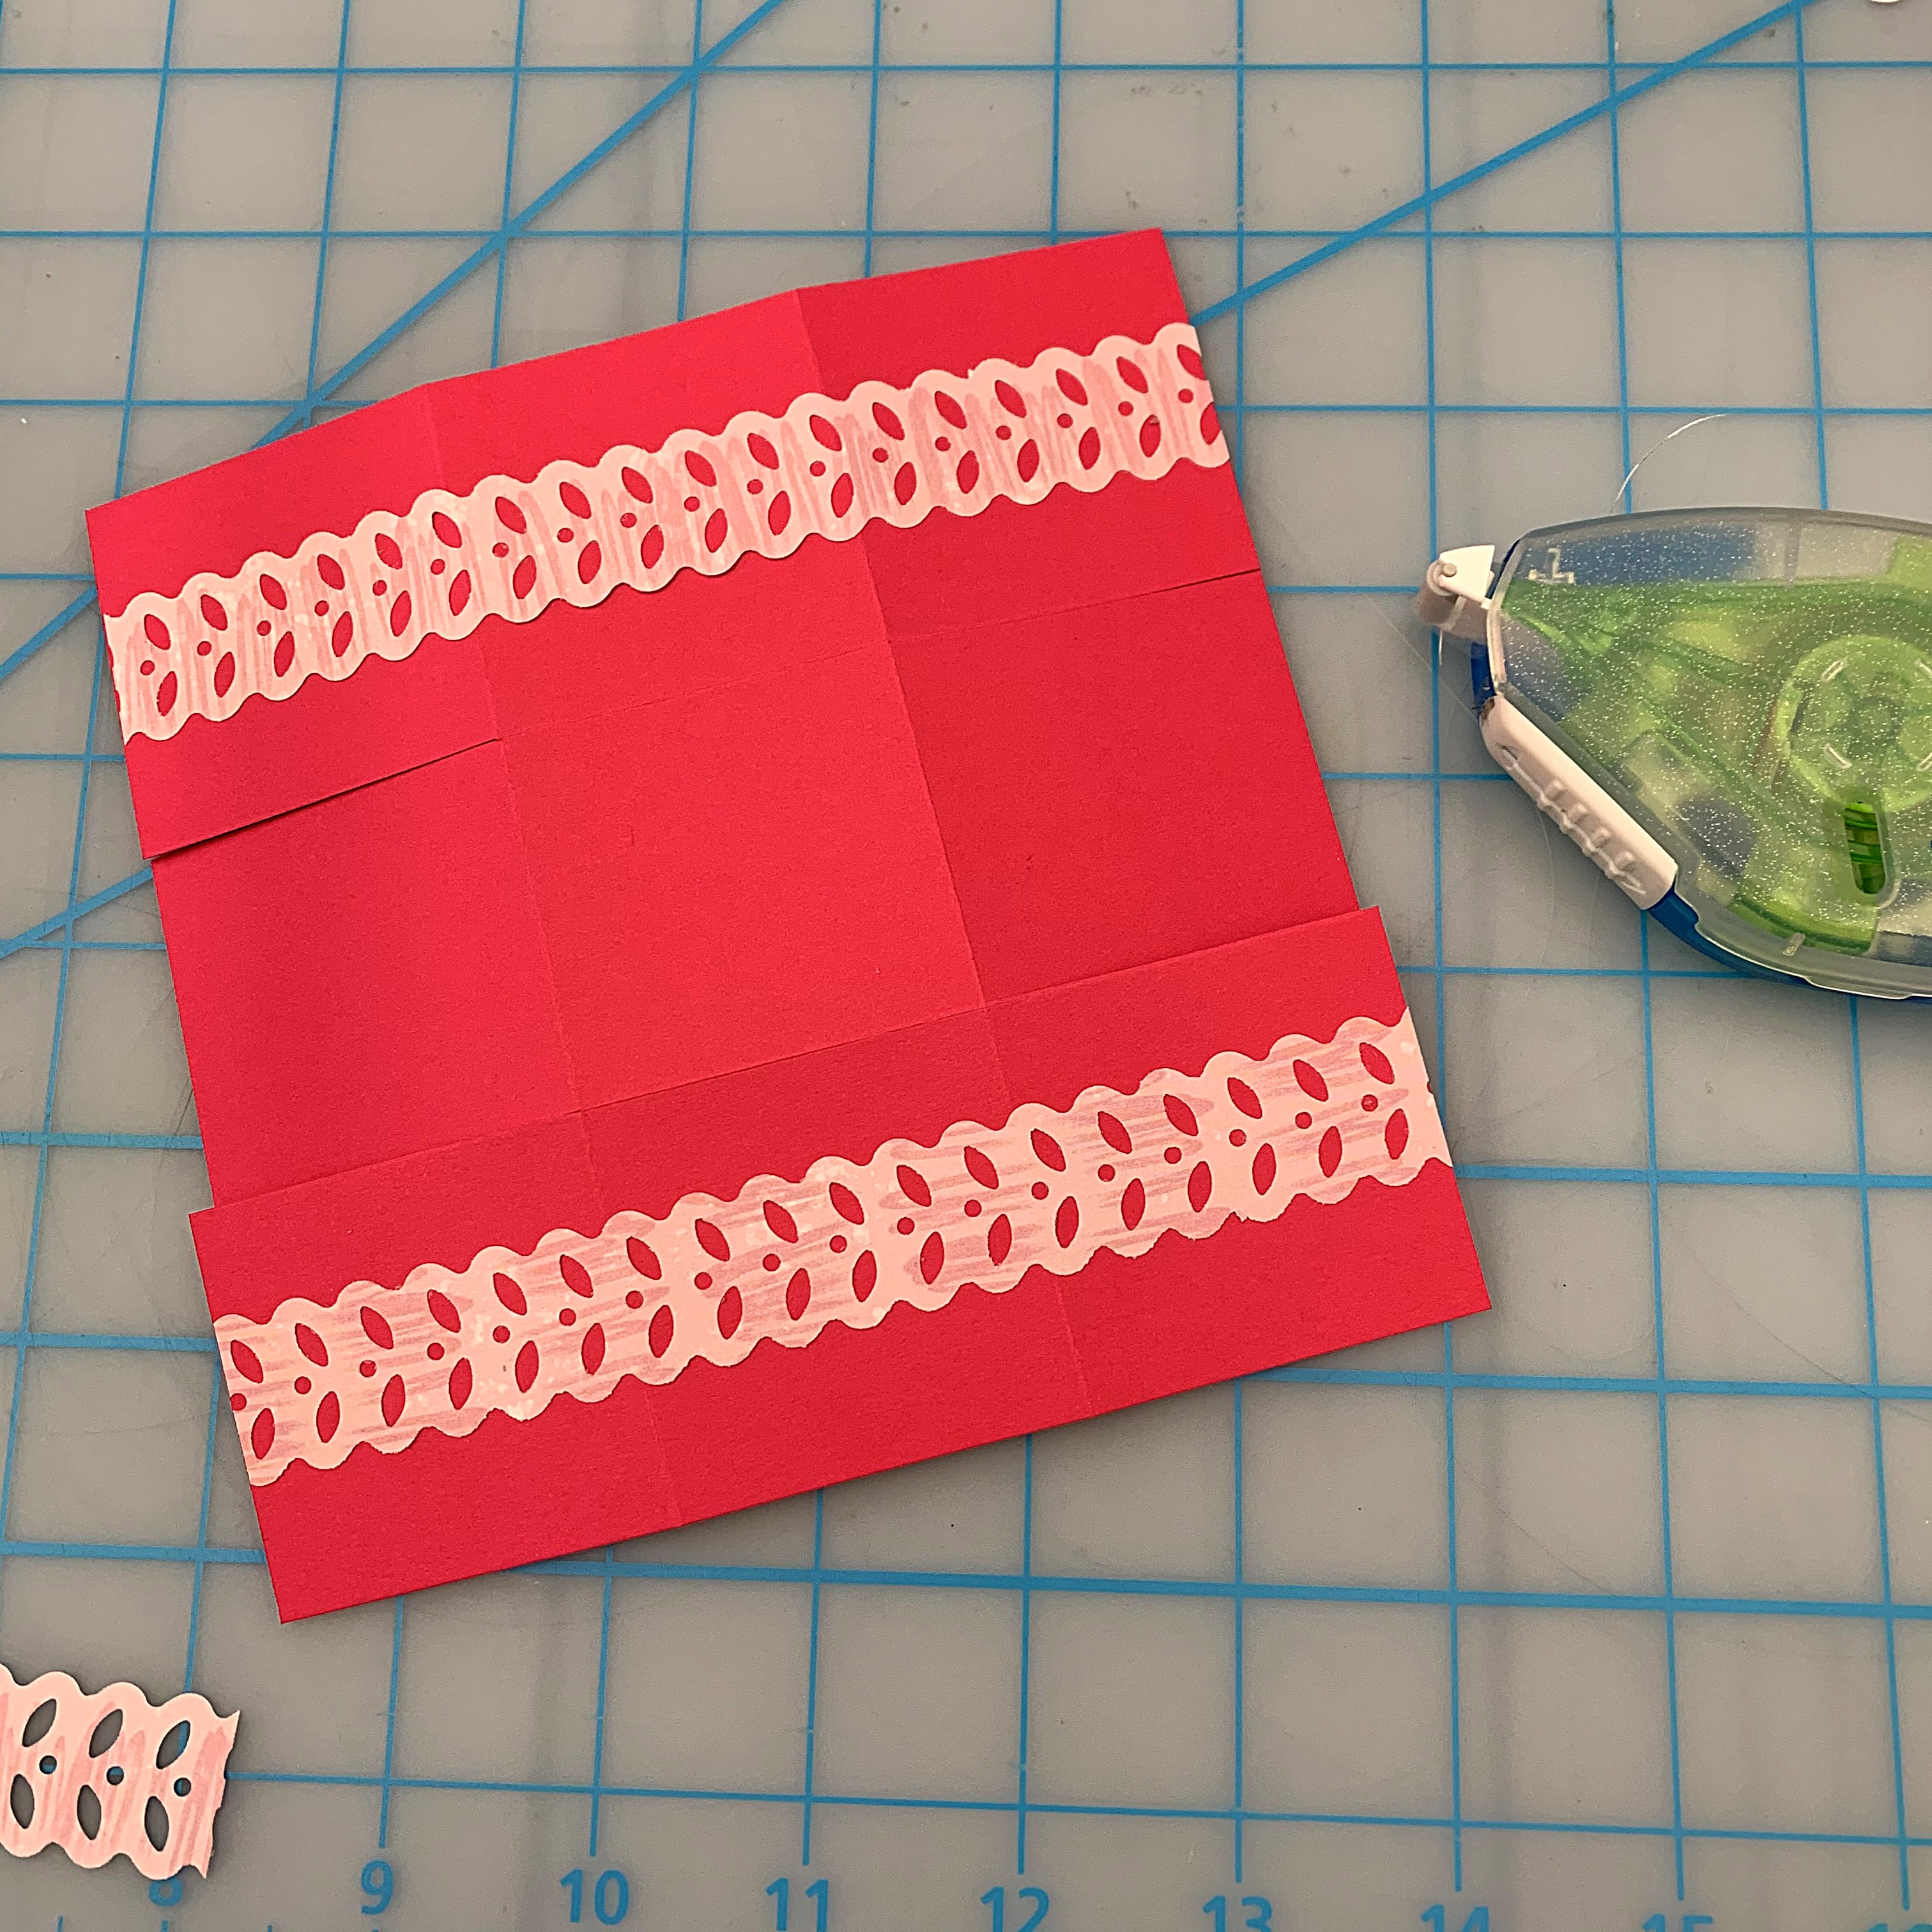
Step 4: Flip square over and turn 90 degrees. Cut one border strip into two 6″ border strips and adhere one across each the width of the square at the top and bottom.


Step 5: Add Tape Runner to one end of the other border strip. Adhere it to the middle flap. Add Tape Runner to the corners of the outer flaps and bring them up so their points meet in the middle. Trim the border strip to the desired “handle” length. Repeat on other side to complete basket.
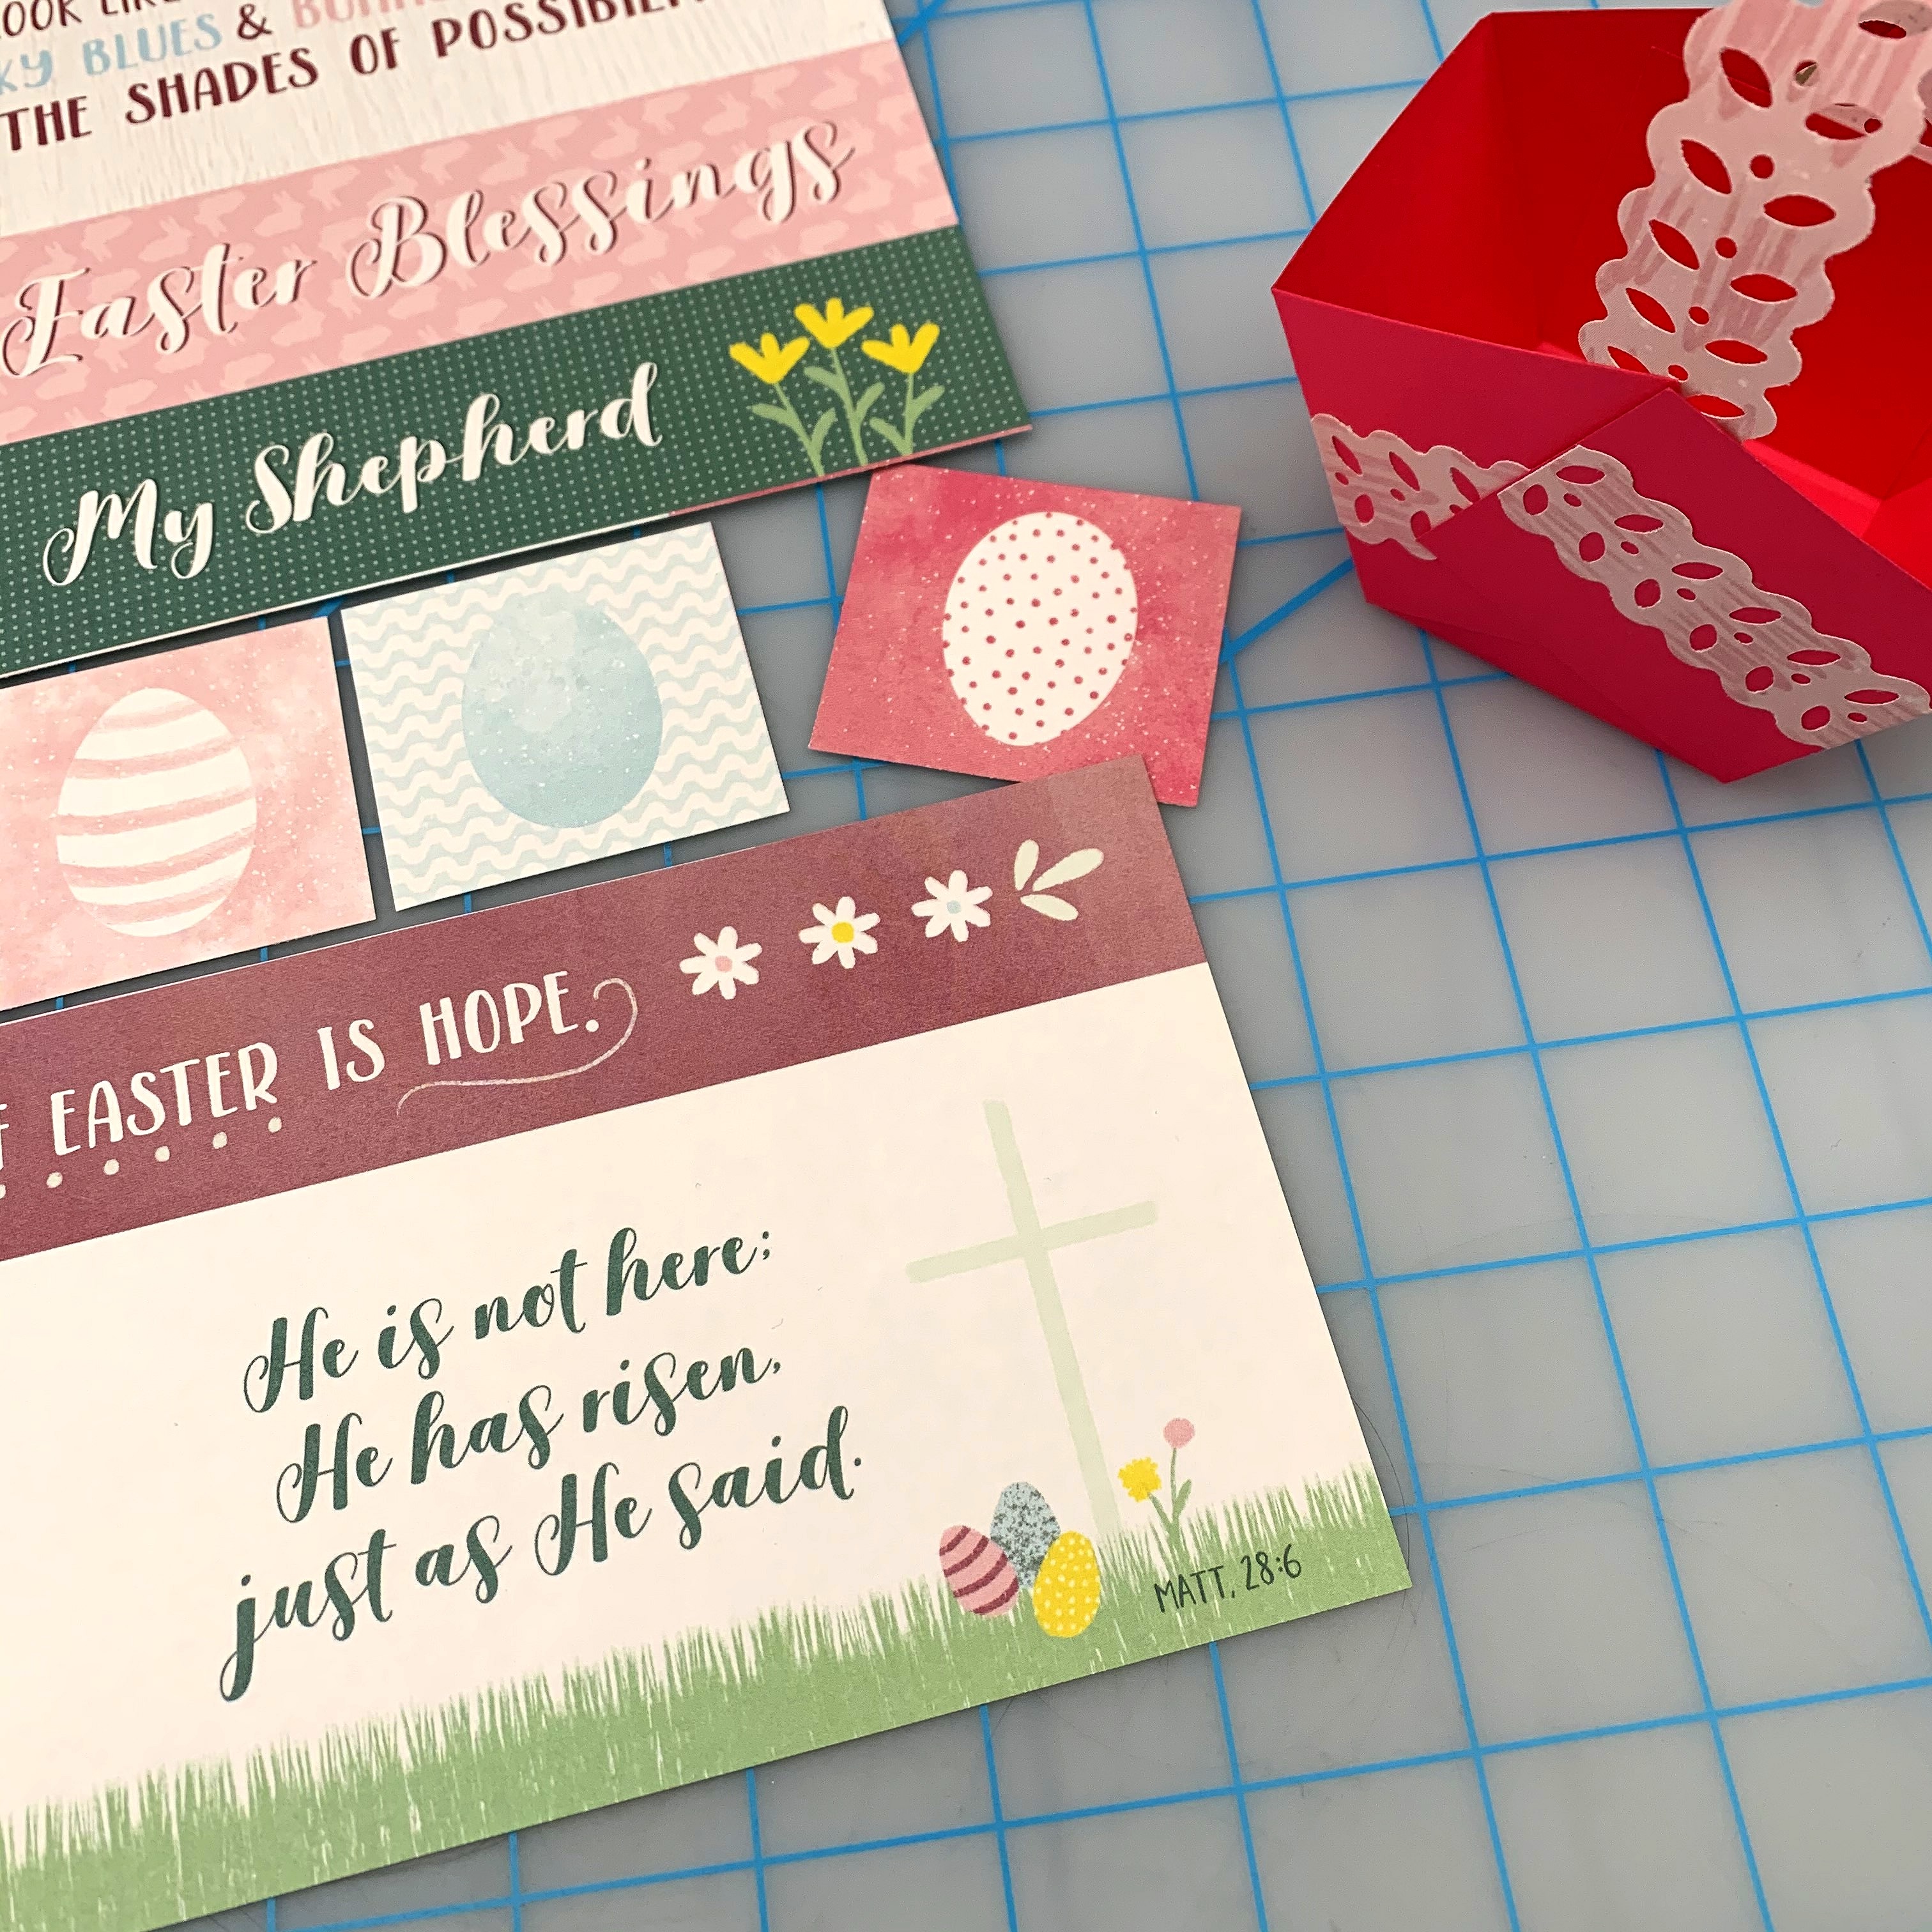

Step 6: Decorate as desired. We added a larger egg fussy-cut from the paper with all the cut-apart designs and one smaller egg sticker mounted with a Foam Square for added dimension. Add shredded paper or commercial Easter grass and a few sweet treats. Make one for each person’s place setting at Easter dinner!
To make the Easter cards you will need:
- Easter Blessing Theme Pack or (Shop Canada | Shop Australia)
- Blank Card Kit or (Shop Canada | Shop Australia)
- OR White Cardstock cut to 5-1/2″ x 8-1/2″, scored and folded in half to make card base
- Original Border Maker System with the Spring Leaf Chain Border Maker Cartridge or (Shop Canada | Shop Australia)
- 12-inch Trimmer or (Shop Canada | Shop Australia)
- You will also need the Scoring Blade if you are creating the card base from White Cardstock
- All-Purpose Scissors or (Shop Canada | Shop Australia)
- Tape Runner or (Shop Canada | Shop Australia)
- Repositionable Tape Runner or (Shop Canada | Shop Australia)
- Foam Squares or (Shop Canada | Shop Australia)
Step 1: Cut the desired 3″ x 3″ pre-designed squares from the Easter Blessing patterned paper. You will need one square per card.
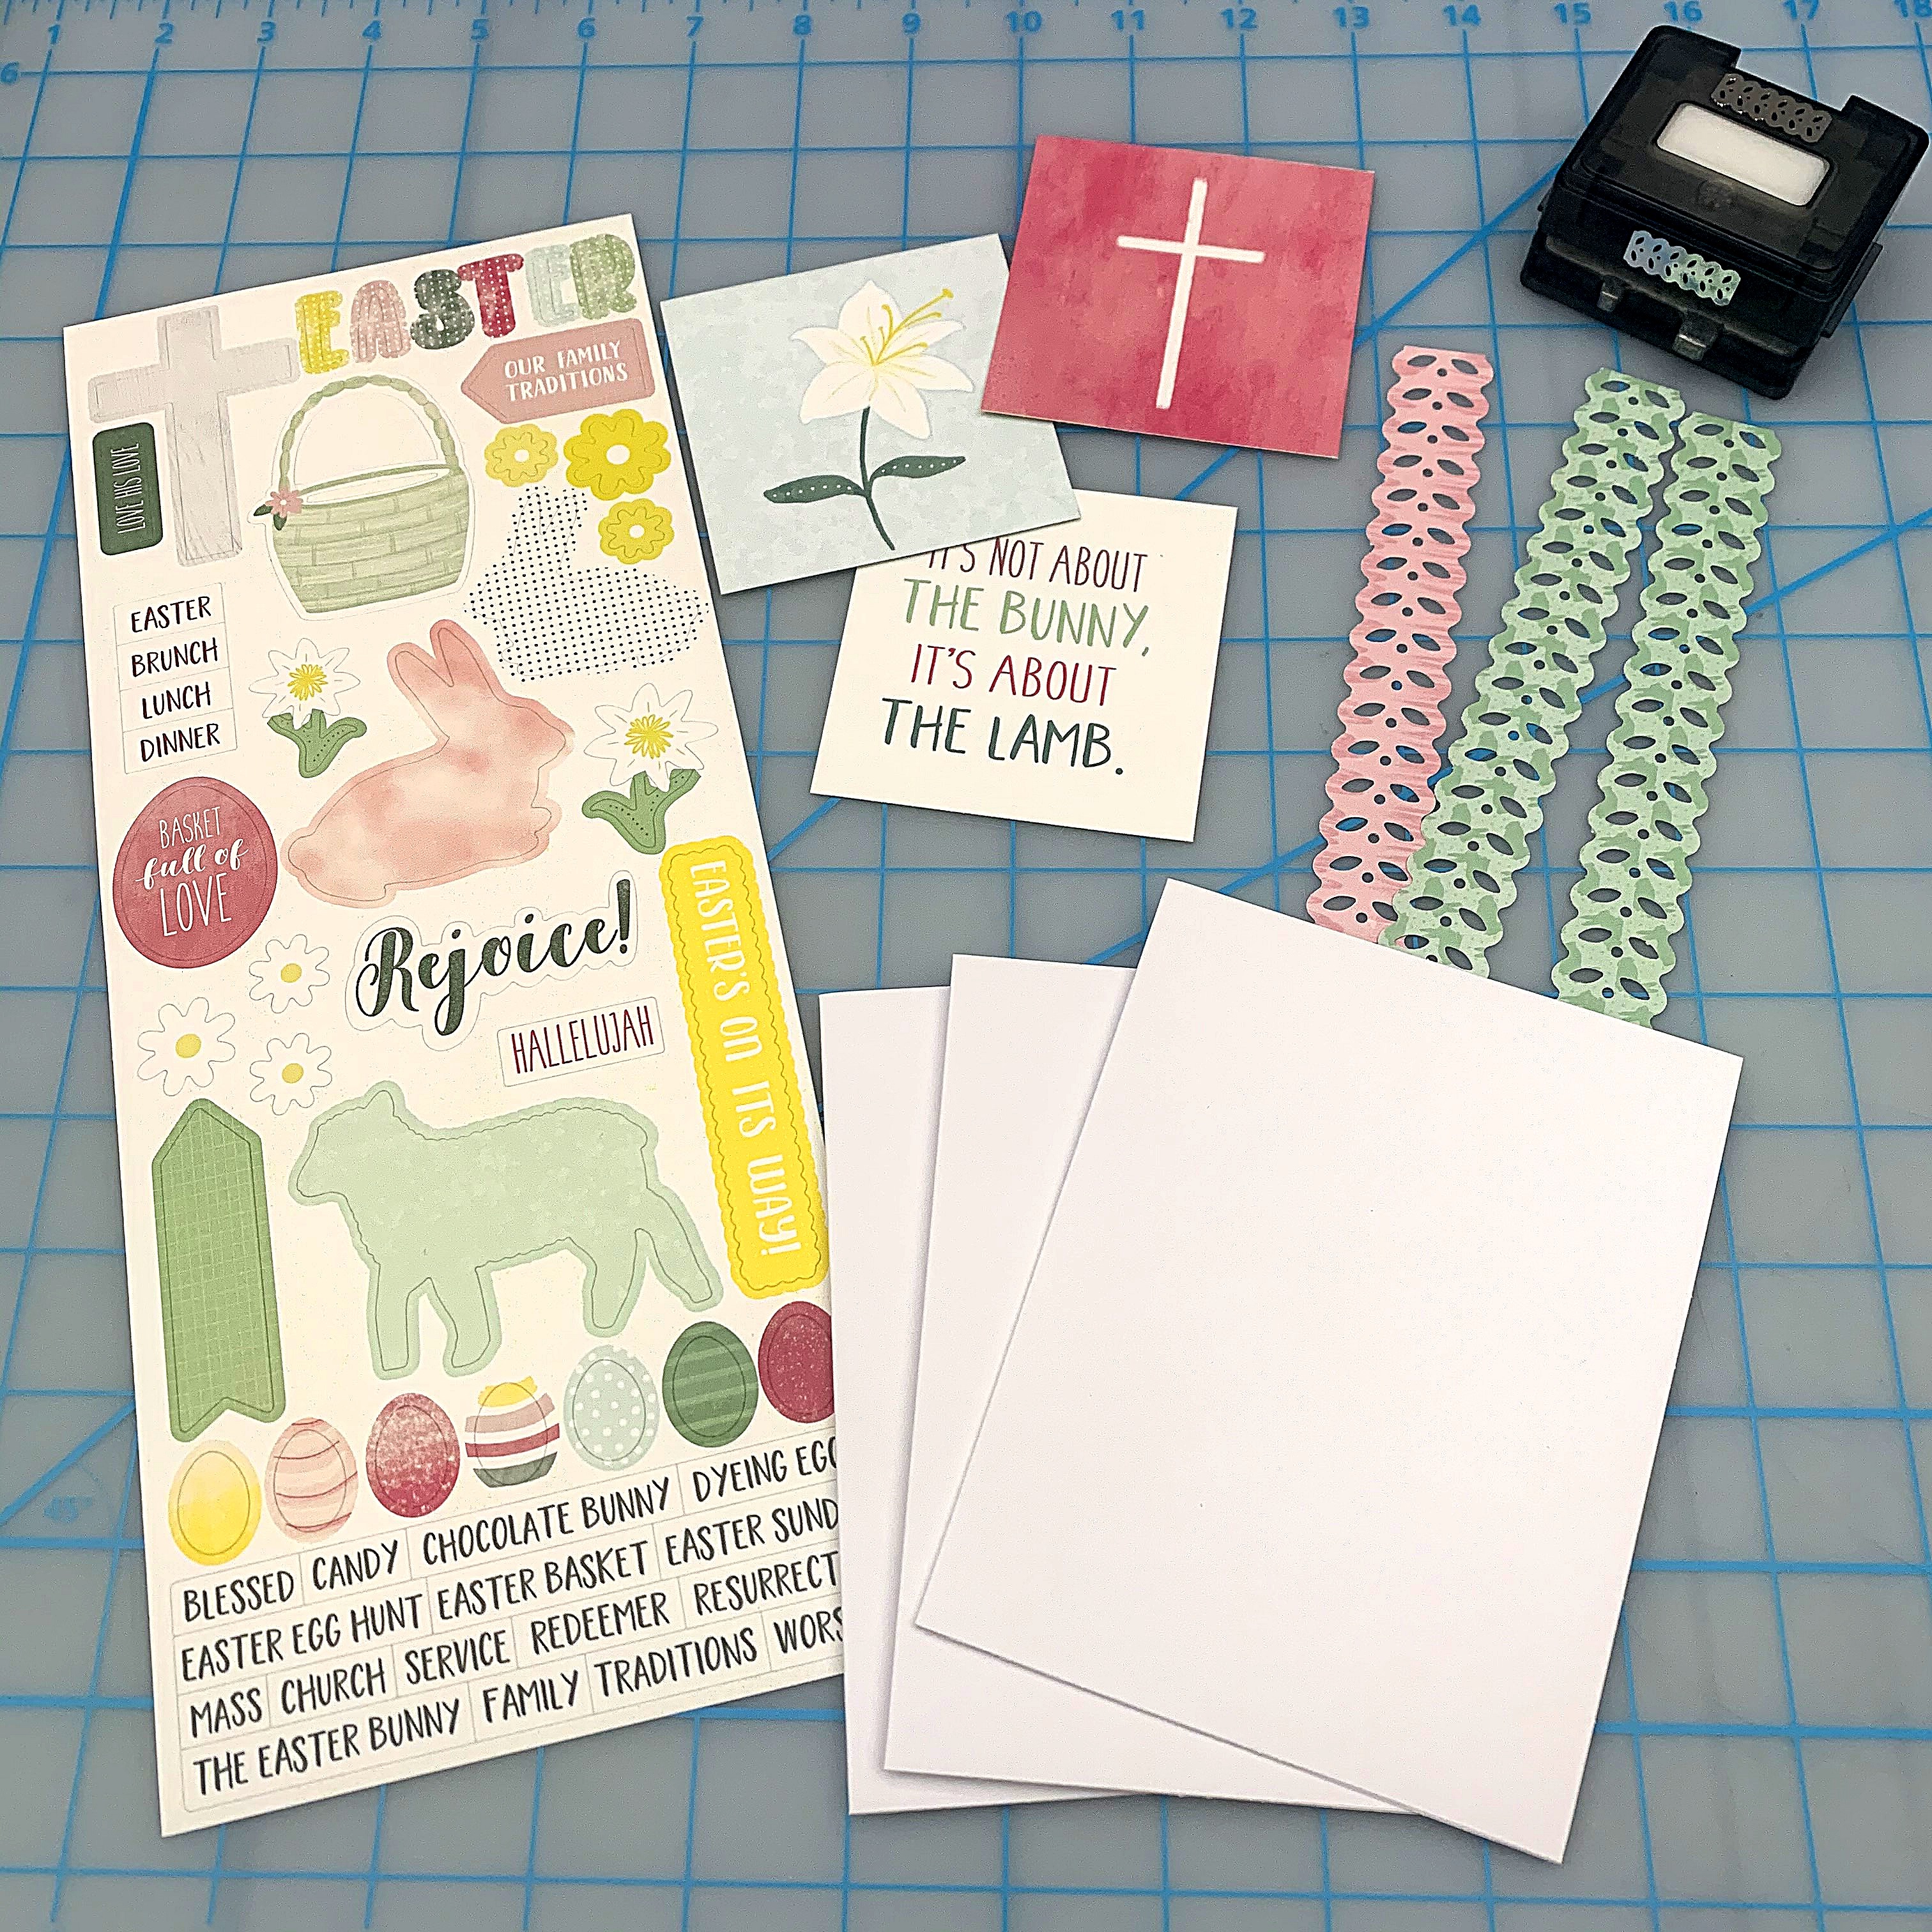
Step 2: Punch a border strip from the green bunny patterned paper with the Original Border Maker System and the Spring Leaf Border Maker Cartridge. Cut one border strip into two 6″ strips. You will need one 6” strip per card.
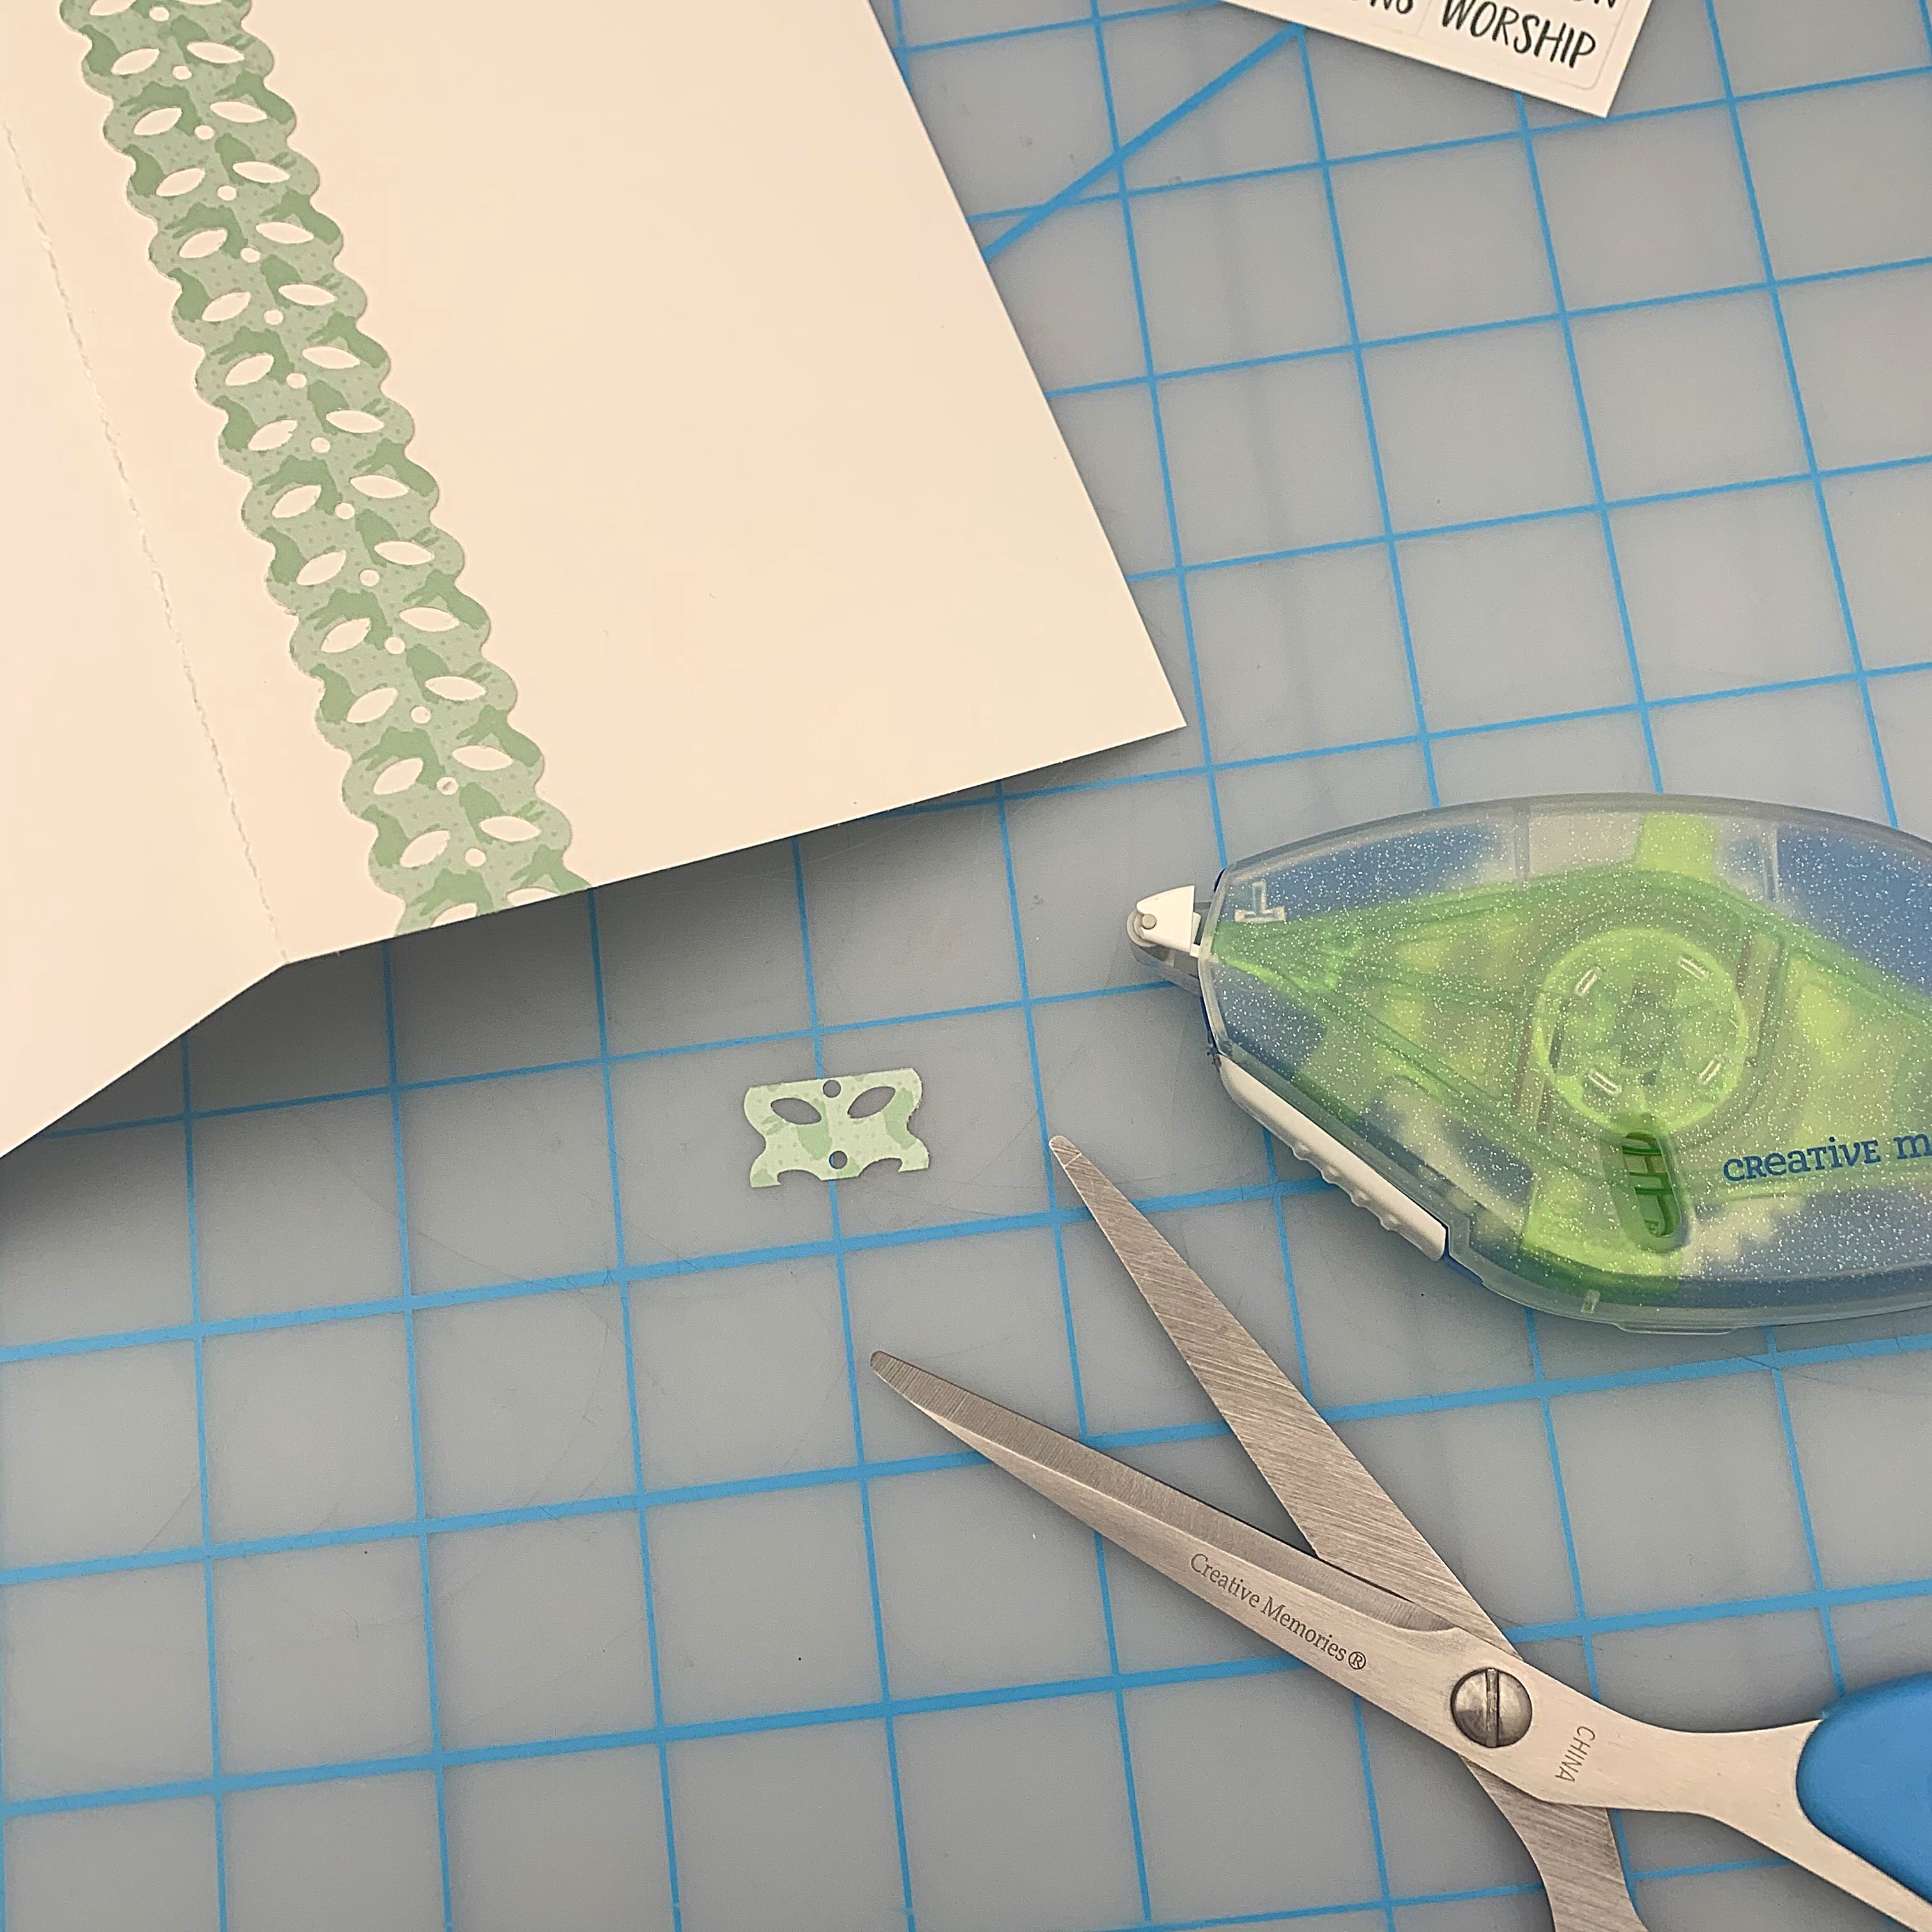
Step 3: Adhere the border strip close to the left-hand edge of the card front with Repositionable Adhesive. Trim off the slight excess with the All-Purpose Scissors.
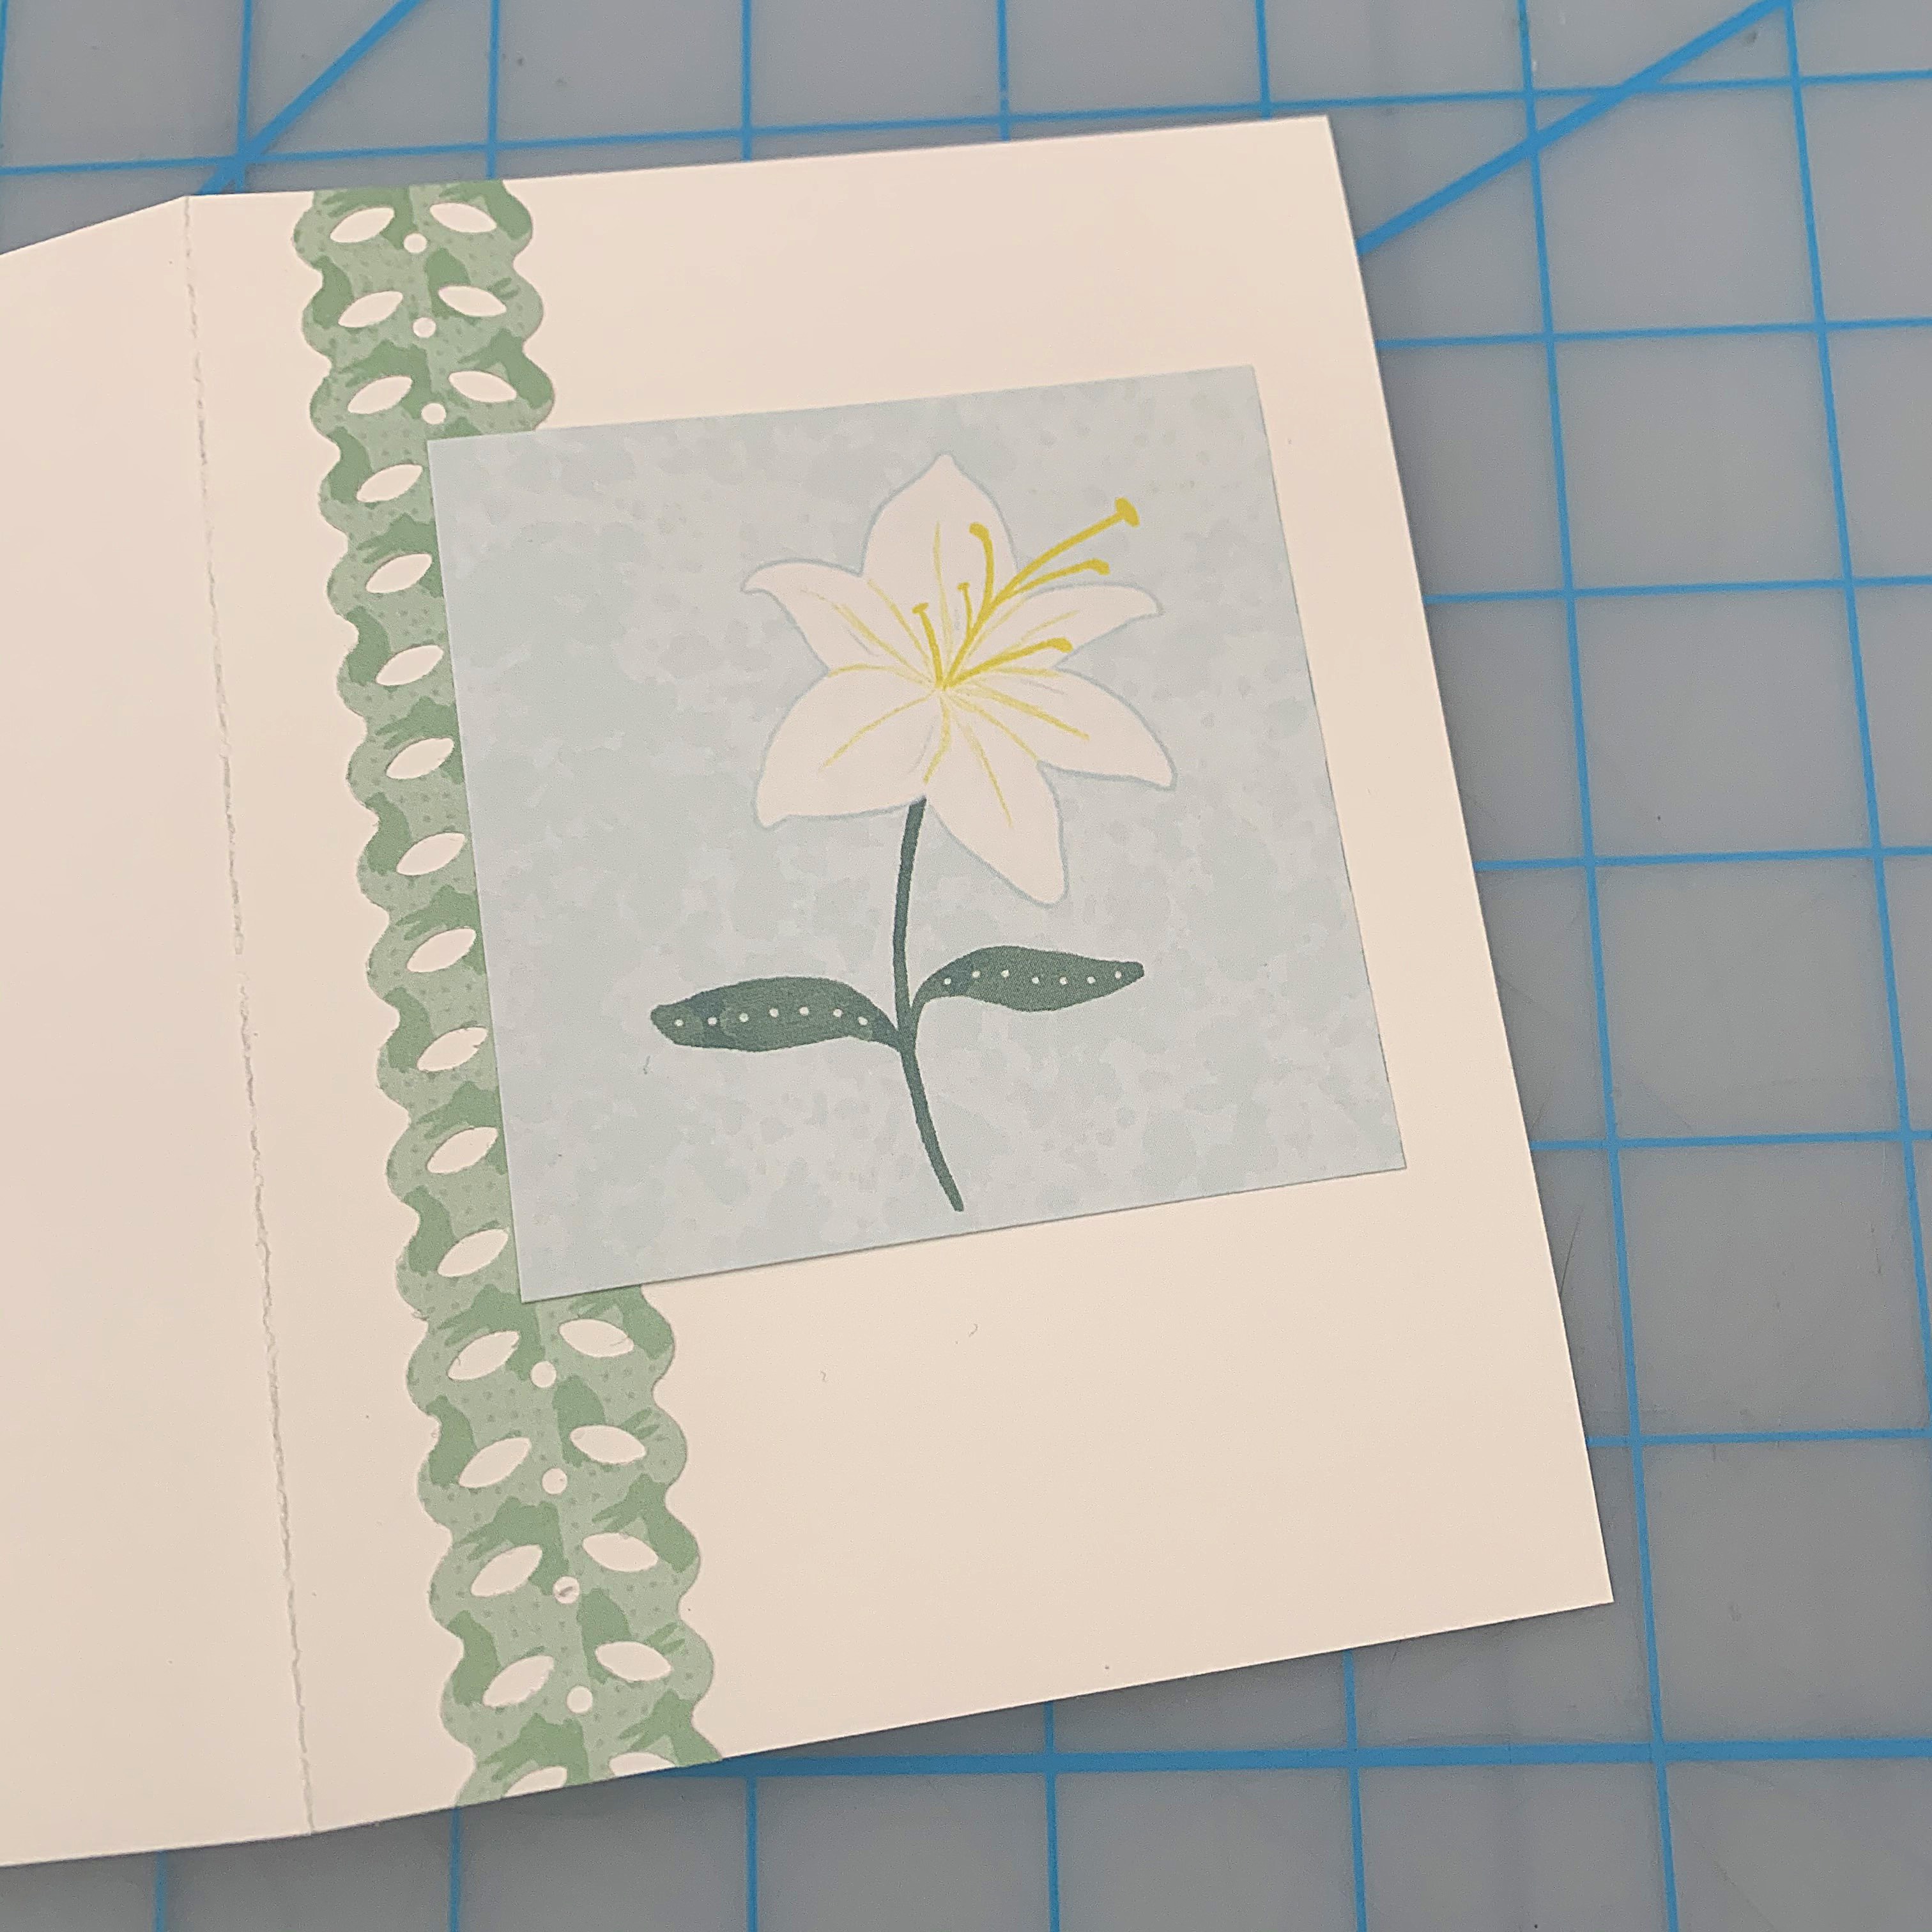
Step 4: Adhere the pre-designed square just above the middle of the card front with Tape Runner Adhesive.

Step 5: Choose a sentiment/word sticker from the Easter Blessing stickers. Adhere it to the lower right-hand corner of the pre-designed square with Foam Squares for added dimension.
You can also use the same supplies to create a horizontal card — just turn the card base sideways and adhere the components as shown in the picture below.

These simple yet elegant DIY Easter cards are sure to convey the feeling and meaning of the Easter season. Who will you send them to? (somebunny special, we hope!) Let us know in the comments below!

I wish this post would have come up several weeks before now. It is too close to the holiday now to make any amount.
But I love the idea for May baskets now that it’s too late for Easter.
These baskets are so easy to make! Made two last night in a lot less than an hour. I didn’t have the paper and stickers, but what a great way to use some of your paper scraps and old stickers! I put two wrapped mint chocolate Oreos and four home-made chocolate candy eggs in each one. They are absolutely adorable. Thanks for a great idea!
I made 4. So easy. Very cute. Thank you.
[…] Get Instructions! […]