May 29, 2020
Spread a Little Love With These Heart Scrapbook Layout Ideas
Love is always the answer, and we all could use a little extra love these days. Thankfully, blog contributor Sachiyo Omitsu has us covered — she created two beautiful heart scrapbook layouts that are perfect for spreading endearment and showcasing the things you care about the most. Check them out!
Sachiyo’s Inspiration
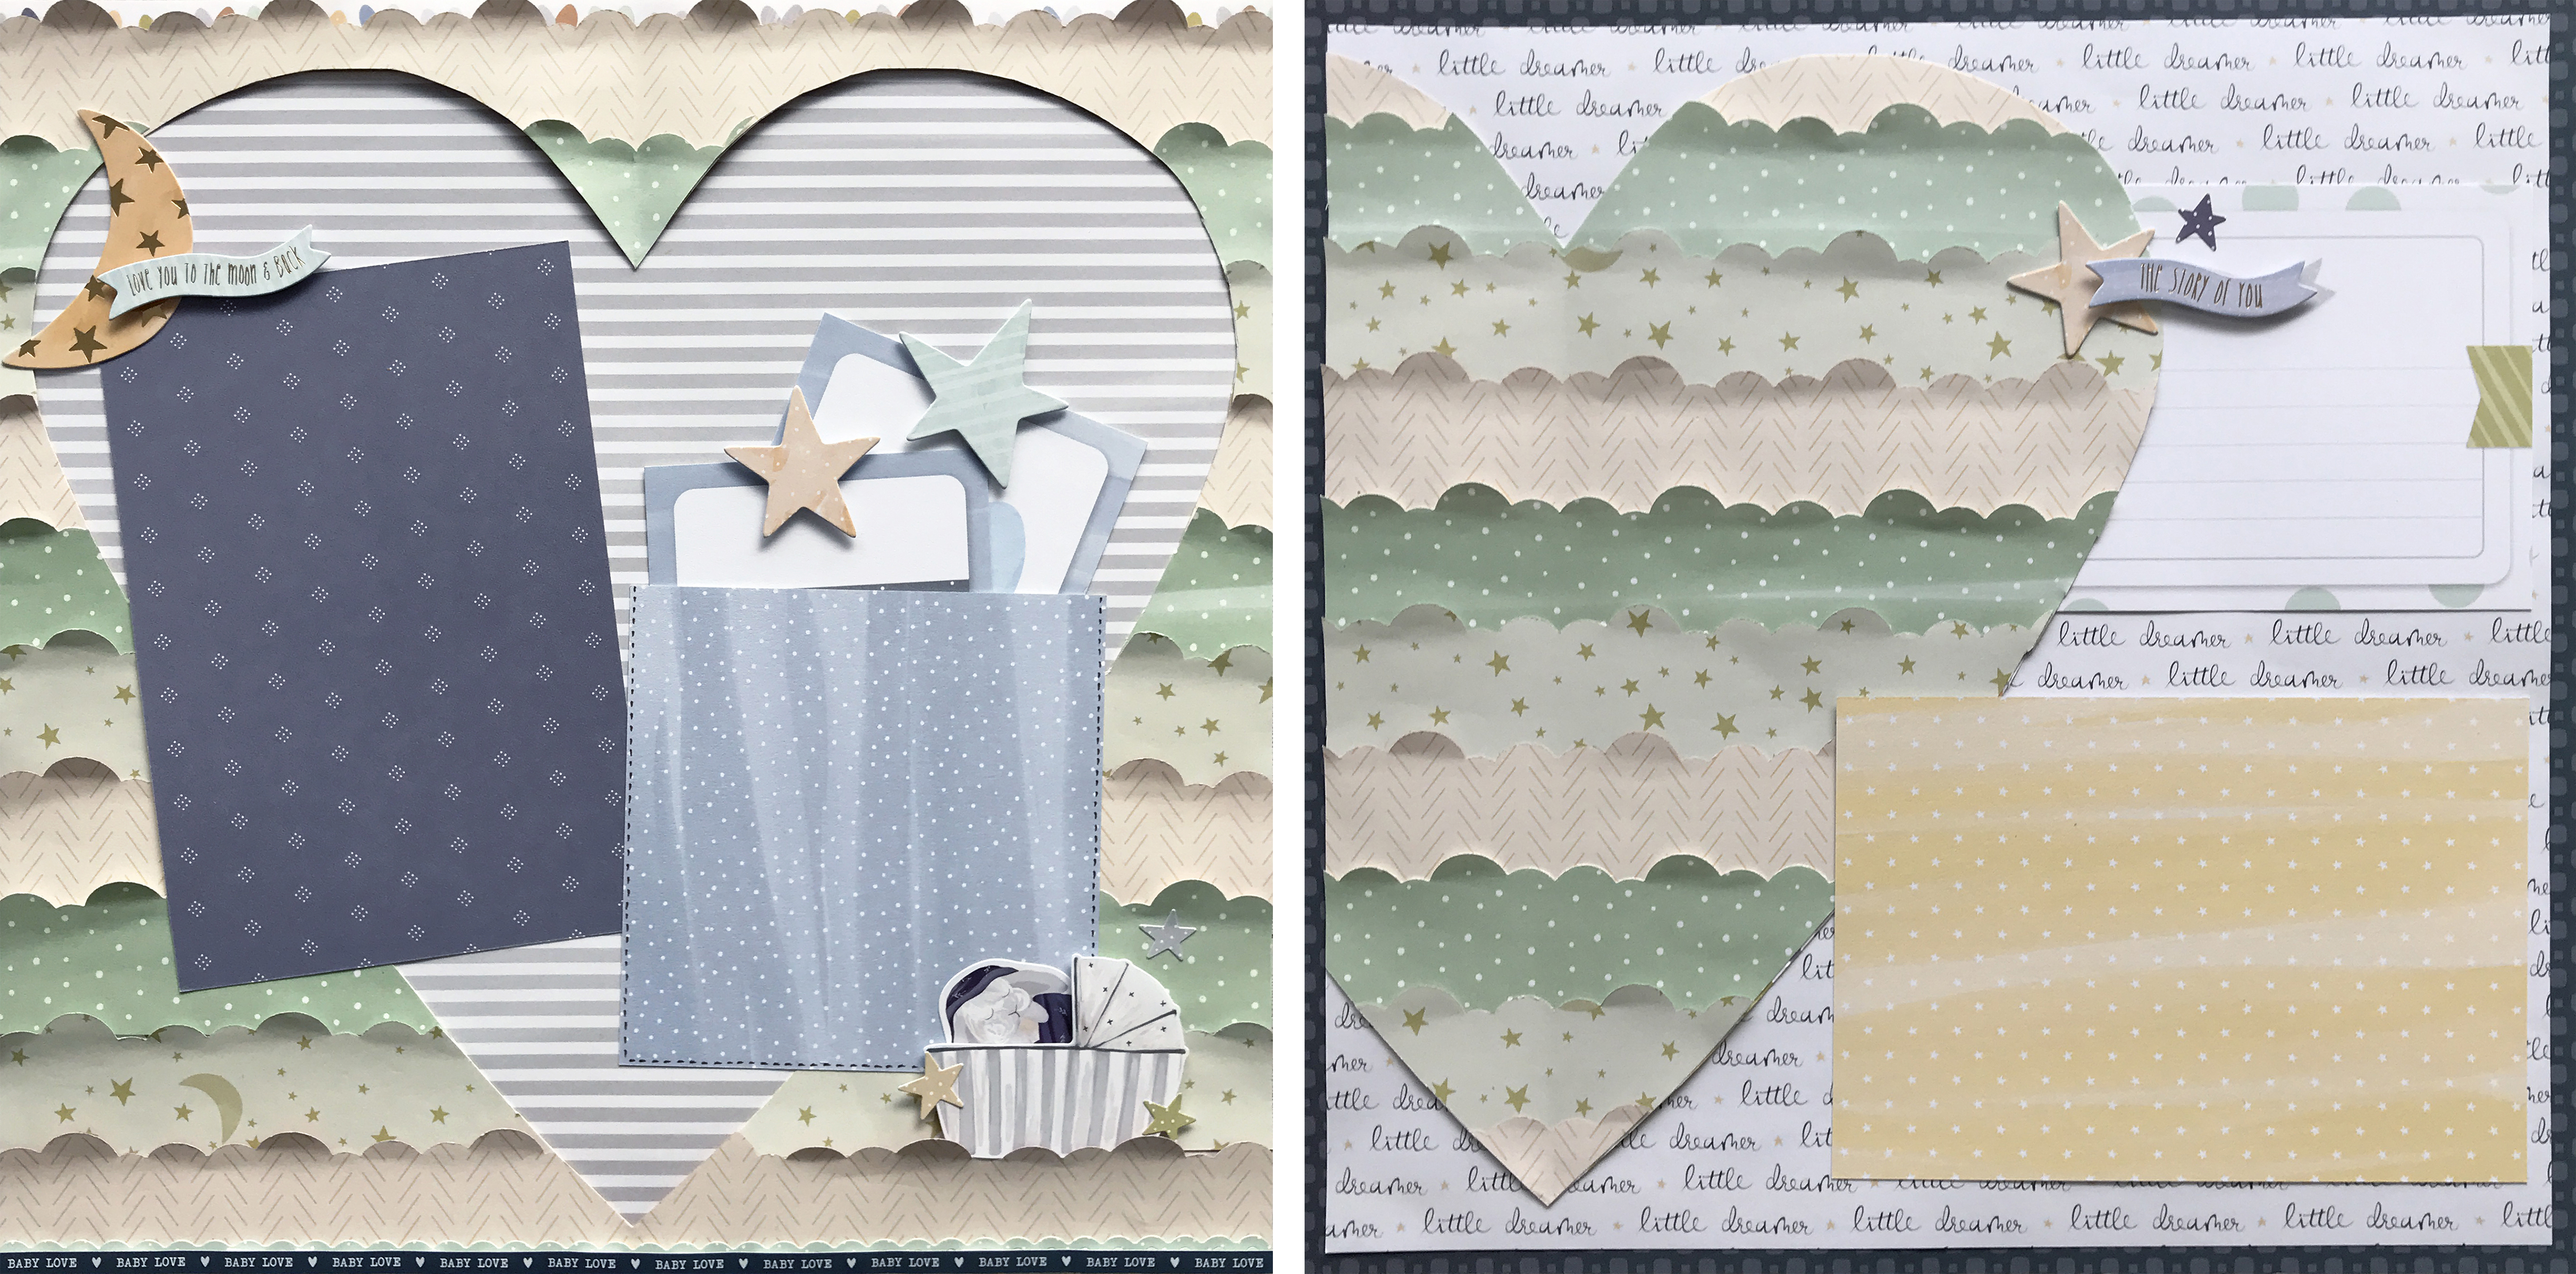
These clouds heart layouts are perfect for your babies, furry friends or any other occasions you want to show someone your love. You may even want to hide some secret notes in the pocket to give your loved ones a special surprise.
To create these layouts you will need:
- Little Dreamer Paper Pack or (Shop Canada | Shop Australia)
- Little Dreamer Tone-on-Tone Paper Pack or (Shop Canada | Shop Australia)
- Little Dreamer Variety Mat Pack or (Shop Canada | Shop Australia)
- Little Dreamer Stickers or (Shop Canada | Shop Australia)
- Little Dreamer Border Stickers or (Shop Canada | Shop Australia)
- Original Border Maker System with the Clouds Border Maker Cartridge or (Shop Canada | Shop Australia)
- 12-inch Trimmer or (Shop Canada | Shop Australia)
- All-Purpose Scissors or (Shop Canada | Shop Australia)
- Repositionable Tape Runner or (Shop Canada | Shop Australia)
- Precision Point Adhesive Pen or (Shop Canada | Shop Australia)
- Foam Squares or (Shop Canada | Shop Australia)
- Brown Dual-Tip Pen or (Shop Canada | Shop Australia)
Step 1: Use the heart patterned paper as the base.

Step 2: Using the Clouds Border Maker Cartridge, make some borders from the chevron patterned paper and green patterned paper. Cut each border to measure 1-1/2″ wide. Adhere the borders to the base.
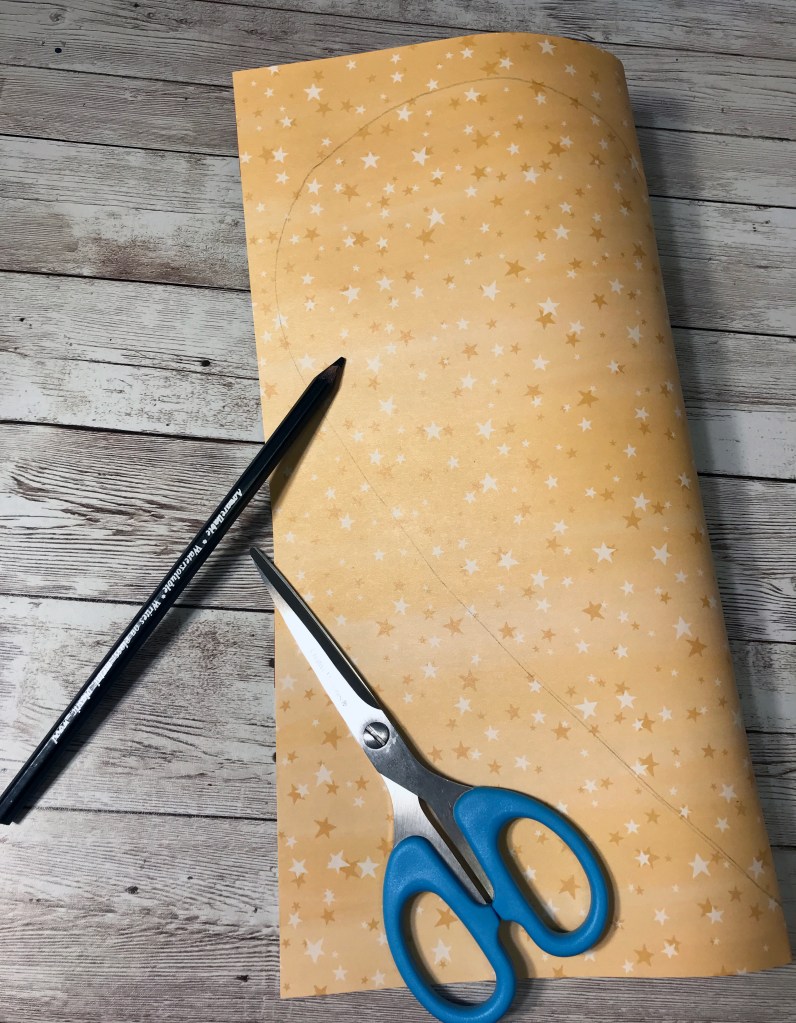
Step 3: Gently fold the base in half and draw half of a heart shape onto the paper along the fold. Cut out the heart using the All-Purpose Scissors.
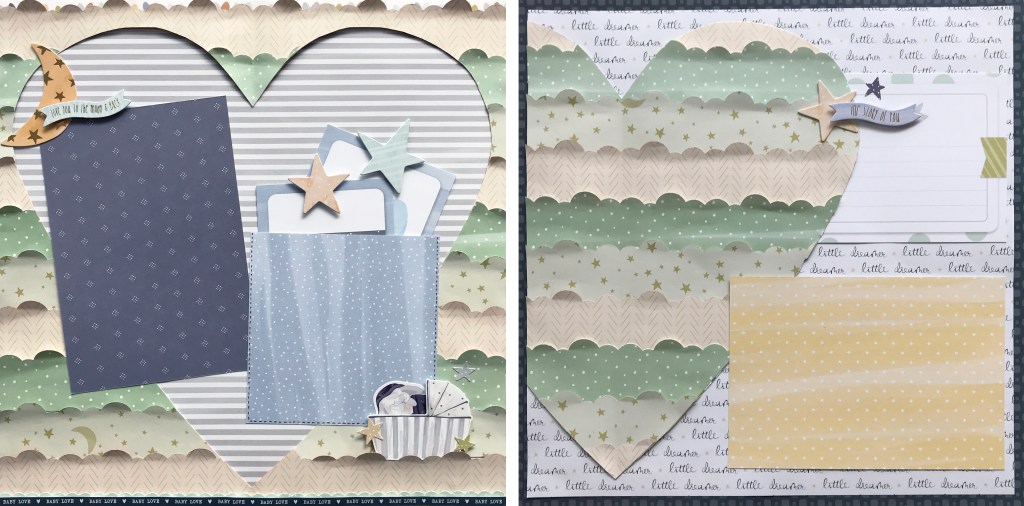
Love You to the Moon and Back Layout
Step 4: Open up the paper that the heart was cut out of and adhere it the gray patterned paper.

Step 5: Cut a mat to measure 4-1/2″ x 4-1/2″ to make a pocket.
Step 6: Using the Precision Point Adhesive Pen, apply adhesive to the mat. Allow 30 seconds for the adhesive to dry, and then adhere to the layout as shown. Draw stitch lines using the Brown Dual-Tip Pen.
Step 7: Cut a 4″ x 6″ mat in half to make two tags. Insert the tags into the pocket.
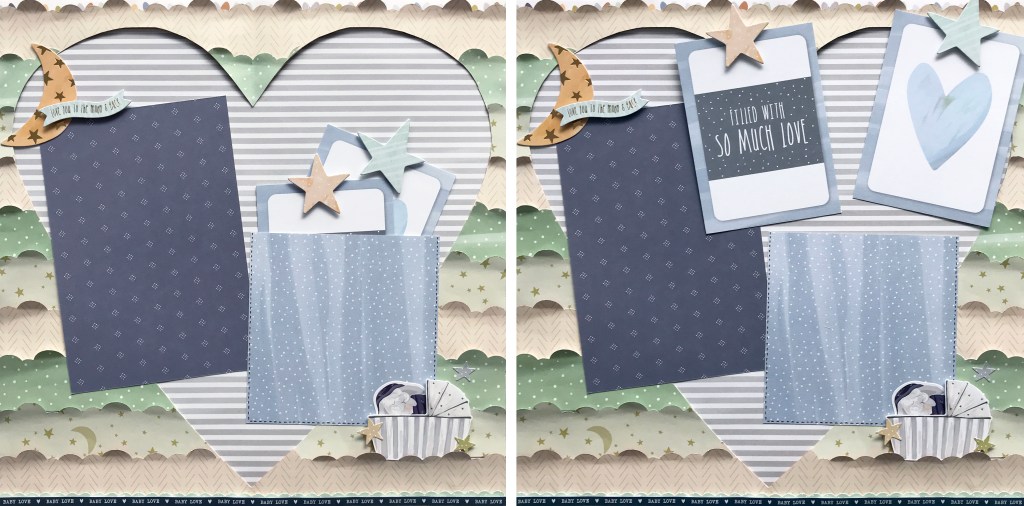
Step 8: Adhere embellishments and stickers. Use Foam Squares on some for added dimension.
Little Dreamer Layout

Step 9: Use the dark blue patterned paper as the base.
Step 10: Cut the Little Dreamer patterned paper to measure 11-1/2″ x 11-1/2″. Adhere it onto the base.
Step 11: Adhere the heart to the left side of the base and cut the excess using the All-Purpose Scissors.
Step 12: Adhere mats, embellishments and stickers. Use Foam Squares on some for added dimension.
Which of these heart scrapbook layout ideas do you love the most? Let us know in the comments below!

I absolutely love the various layouts from advisors in Japan! Such creativity! Just stunning!
Sachi is a California girl and she is brilliant! :)
Some of us don’t draw very good hearts. Do you have a pattern you could post that we could print out and follow?
Use the large CCS heart to make a pattern.
At one time CM had a heart cutting guide like the ovals and circles. I think I have one. It’s large enough for this project
Brilliant! and so beautiful!
Beautiful and so creative!