July 15, 2020
How to Use Craft Stamps
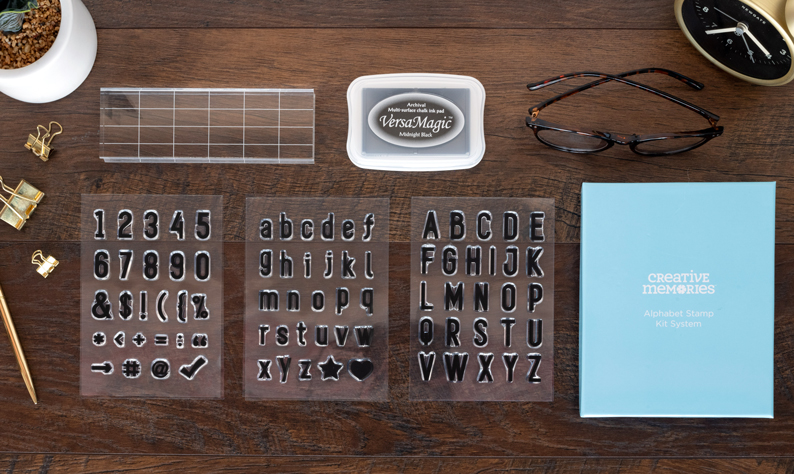
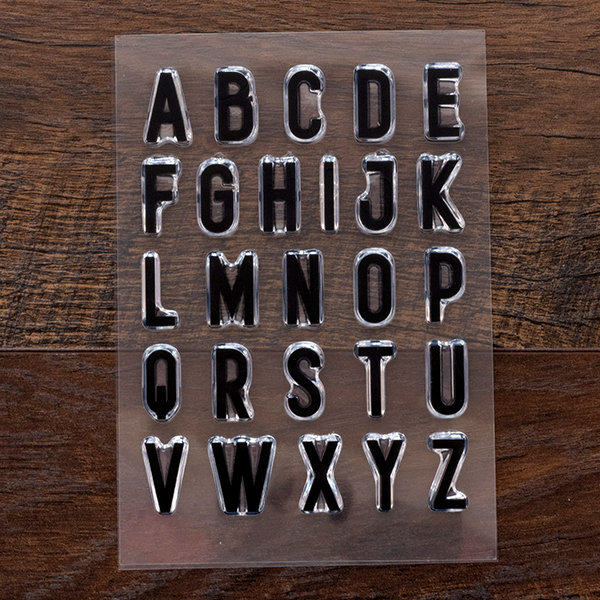
With craft stamps, you can create perfectly aligned titles, and our new Alphabet Stamp Kit will bring a fun textured look to give your pages and cards a classic, vintage feel. Plus, you can make all the words your heart desires, leading to endless title possibilities! Have you ordered your Alphabet Stamp Kit yet? Are looking for tips and tricks on how to use it? Or are you interested in stamping, but unsure how to get started? Check out this step-by-step guide!
Preparing the Surface and Stamp Block
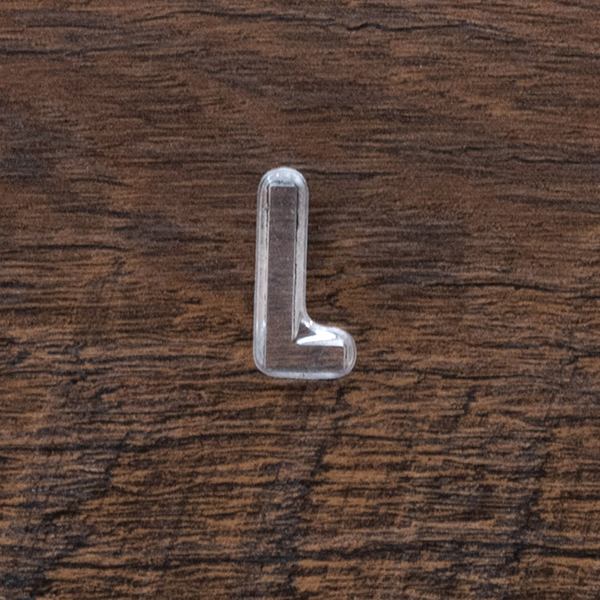
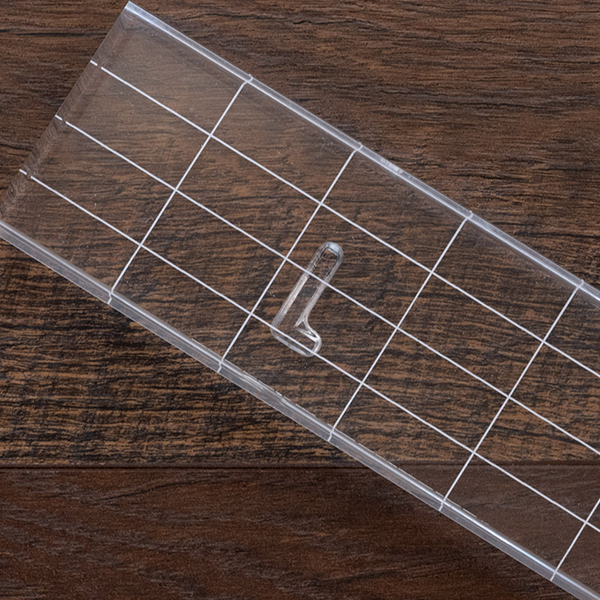
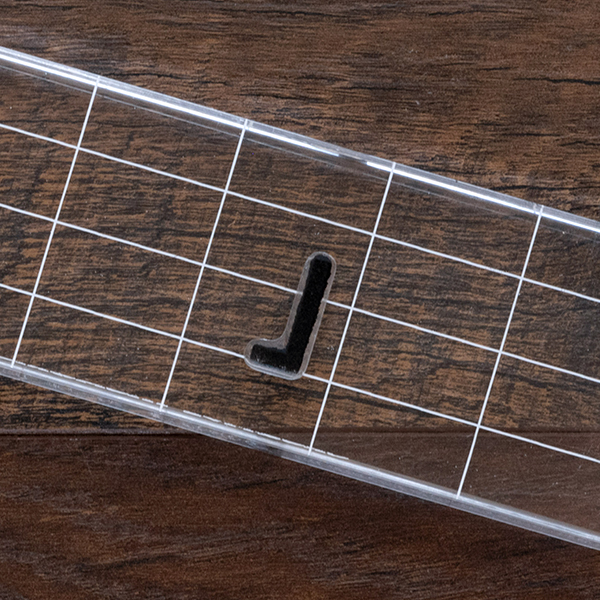
You need to be working on a completely flat surface. An uneven area will cause your image to not stamp uniformly. Place your stamp facedown on your work surface and then use your acrylic block to press down and pick it up. Have the stamp aligned properly on the block so you can easily see the letters, numbers and symbols while you’re working.

Tips for Titles
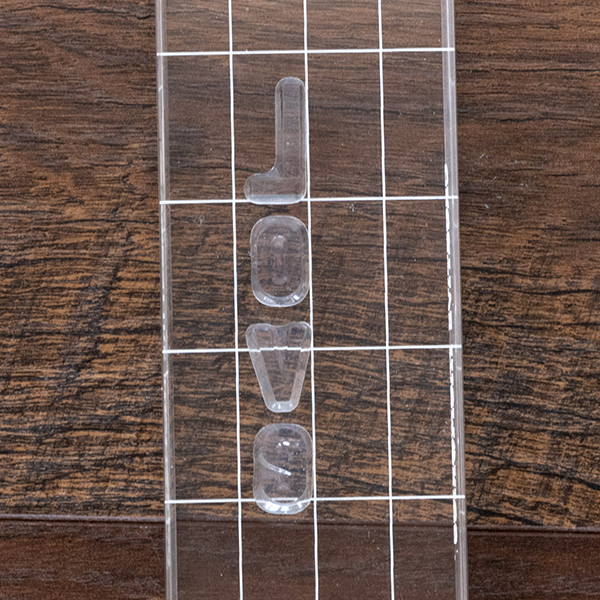
Use the gridlines on the block to help you align several letters together in order to spell out a custom title — note that you’ll be laying out the words backward. If you prefer the letters to be closer together, you can stamp each letter individually. Letters can be arranged in any direction on the block — you can make horizontal or vertical titles. The many gridlines are your best friend and will be useful for aligning your titles and justifying to the left or right!
Hint: If you want to spell a word with repeating alphabet letters, stamp each letter in the word individually.


Inking the Stamp
Flip the block over and tap the ink onto the stamp. You’ll get the best coverage if you gently tap several times rather than heavily pushing into the stamp or smearing the stamp with ink. Before stamping onto your paper, be sure to look at your stamp and make sure there are no areas that were missed in the inking process.

Stamping
Turn the block over and stamp your title onto your paper or cardstock by going in a straight downward motion. Do not rock the block back and forth once you’ve made contact with your page, for this could result in a fuzzy image. Apply firm pressure and wait a couple of seconds for the ink to soak in before lifting the block off.


Caring for Stamps
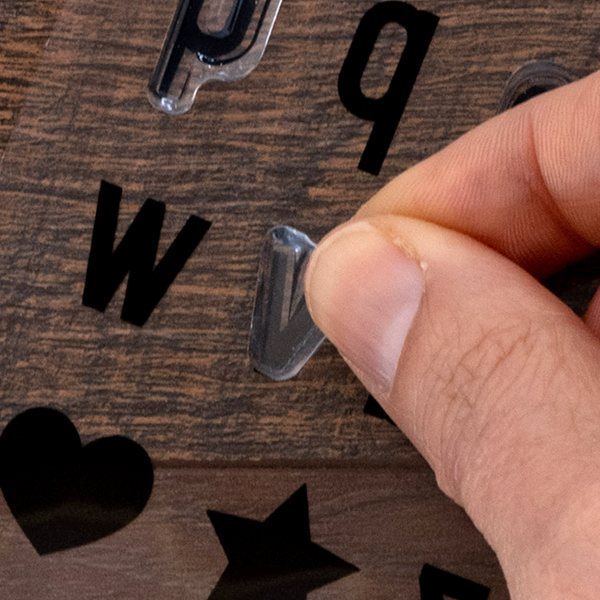
Be sure to clean your stamps with a wet towel after every use to ensure residual ink isn’t transferred to any unwanted place. Keep the stamps stored with the clear acetate sheet for easy access and protection of your stamps.

Getting Started With Stamps If You’re New
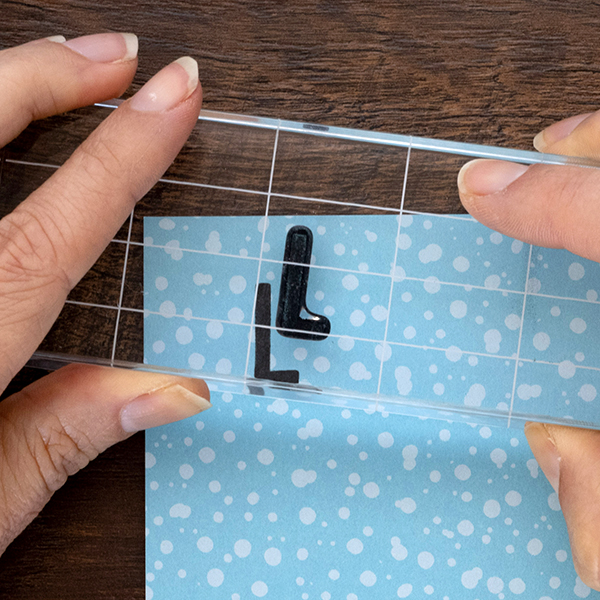
If you are new to stamps, consider stamping on a mat or piece of paper that you apply to your page (instead of directly onto your page) so you can give yourself the chance to try it multiple times. Plus, this way you can stamp your title a few times and use it on more than one page.
Remember to lay out the words backward. This will ensure that your titles read correctly when they are stamped. Tap ink onto the stamp a few times — resist the urge to press the ink heavily onto the stamp. A few taps of the ink will give you the best coverage.
Get even more tips on using stamps from Advisor Pam Winn in the video below!
So, what types of titles will you be making? Let us know in the comments below!

Thank you for all the tips. Stamping is not my forte, but now I know why. ? LOL!
I have never cared for stamping. I prefer to use sticky letters. I loved our letters from bygone days. Today, we have limited colours and not enough letters in a package. Always having to improvise. Stamping takes too long and is too much fussing for me.
I agree with Margaret! I feel the same way! (bring back more sticker letters!)
I totally agree!!! I too want the OLD stickers back that had lots of vowels. So easy and convenient and yes I have a Cricket, but I’d rather use old letter stickers.
I do like the idea of never running out of the letter you need.
I’ve never been a stamper, but I bought this set. I tried to do a six-letter word and only every other letter made a stamp. It seems some of the letters are thicker than others…? I had to push really hard to get the other letters to even make a mark. Also, the ink took very long to dry. Several minutes later I smudged all I had done—none of the ink was dry. I will keep trying, but I don’t know what to do differently. Suggestions?
I’ve never like stamping in my album. I tried it years ago and will stick with sticker letters and using the Cricut to match my papers. I really miss the colored smaller letters we had that were about 1″!!!
Bring back the old sticker letters!!
If I ever did decide to stamp on my scrapbook page, I would wish for multiple images of frequently used letters; it really is a tedious process to line up the stamps for a straight title. I’d rather use the sticker letters that I can move easily. I’m so glad I have a stash of CM letters in multiple colors but I wish they were available today in more colors.
I’ll stick with sticker letters and my handy, dandy Titletopia !! Stamping seems more time consuming and I’ve never been very good with getting a complete image with ANY stamper. And let’s not even talk about smearing…..
So if you are going to do a word like “happy” (with a double letter), or a repeat of a letter, do u just do part of the word “hap” and then “py”? Since there are 2 letters the same?
I stamp a lot and use the stamparatus from Stampin up. Can restamp perfect images over and over and so much more. Making journaling boxes and decorative embellishments for my albums is easy plus I make cards. I too loved the sticker letters but always ran out of the letters I need. This alpha set may soon be joining my collection.
I miss the old time letter stickers as well. I do have some of them. I did buy the stamps and it did take a long time for it to dry. I don’t think I’m a fan of stamping. I really like the colorful letter stickers better.
Gracias CM, por este producto que me encanta y hacia falta en nuestras herramientas.
[…] Get more tips on how to use the Alphabet Stamp Kit System in this post. […]
[…] Use alphabet stamps to add a personalized message or an inspirational quote to the container. For a more subtle look, use clear or white ink instead of colored ink. Also, consider using a stamp with the recipient’s initials or favorite ice cream flavor. […]