August 5, 2020
Coast to a Nautical Note With This Cruise Scrapbook Layout
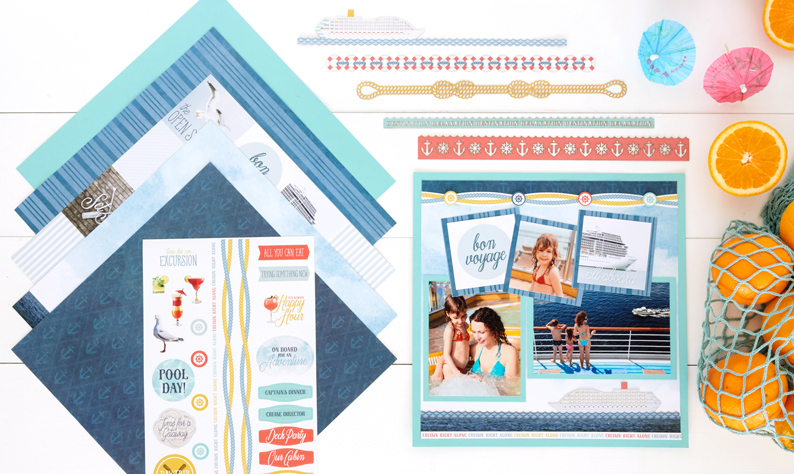
The new Cruisin’ Along Theme Pack is inspired by days spent on a cruise (perhaps with a fruity drink in hand!) and the open ocean on the horizon. There are so many ways to catch a high tide of creativity with these products, and you’ll love them for all your memories of any type of cruise, sailing and seafaring vacation. Take a glimpse at this fun cruise scrapbook layout and start thinking about how you’ll give your albums a nautical feel!

To create this layout, you’ll need:
- Cruisin’ Along Theme Pack or (Shop Canada | Shop Australia)
- Cruisin’ Along Laser Cut Borders or (Shop Canada | Shop Australia)
- 12-inch Trimmer or (Shop Canada | Shop Australia)
- Tape Runner or (Shop Canada | Shop Australia)
- Repositionable Tape Runner Refill or (Shop Canada | Shop Australia)
- All-Purpose Scissors or (Shop Canada | Shop Australia)
- Foam Squares or (Shop Canada | Shop Australia)
- Black Dual–Tip Pen or (Shop Canada | Shop Australia)

Step 1: Use the Aqua Cardstock as the base for this layout, but cutting out the middle of the cardstock, leaving a 11-1/2″ frame.
Step 2: Cut the water and sky patterned paper to measure 11-1/4″ x 11-1/4″. Adhere to the cardstock.
Step 3: Cut a piece of dark blue patterned paper to measure 11-1/4″ x 3/4″. Adhere to the top edge of the sky paper.
Step 4: Cut cardstock mats to measure 4-1/2″ x 5-1/2″ and 6-1/2″ x 4-1/2″. Adhere to the layout. Adhere photos that measure 4″ x 5″ and 6″ x 4″.
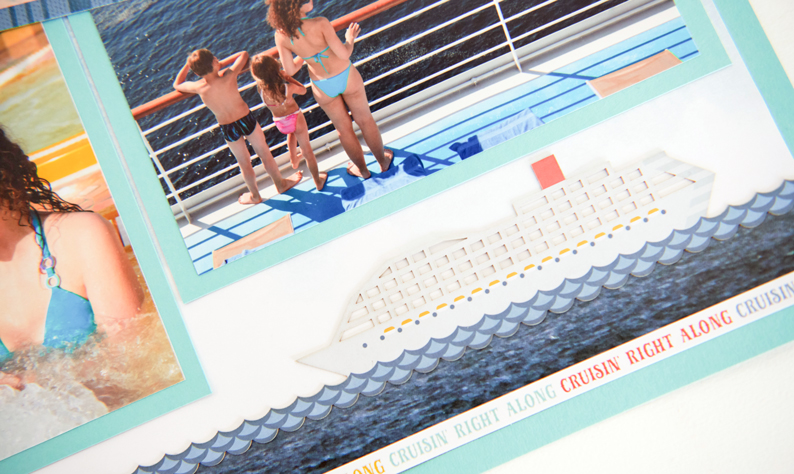
Step 5: Cut the cruise ship laser border to measure 11-1/4″. Adhere along the top of the “water” line on the paper.
Step 6: Cut three pieces from the blue striped paper to measure 3-1/2″ x 3-1/2″.
Step 7: Cut two title pieces from the designer paper to measure 3″ x 3″. Adhere to two of the blue mats.

Step 8: Cut a photo to measure 3″ x 3″. Adhere to one of the mats.
Step 9: Adhere stickers, using Foam Squares on some for added dimension. Journal as desired.
What types of memories will you fill this cruise scrapbook layout with? Let us know in the comments below!

I have cruised Alaska’s inside passage three times, oncecwith my sister, once with my husband and incevwith my sister, my husband, and my daughter. I only have 1 cruise scrapped. I would definitely use this to help with the others.
One of the best layouts ever! Makes me want to go on a cruise again!
[…] you cruisin’ for a nautical-themed layout? Follow the instructions in this blog post to sea what it’s all […]