September 5, 2020
Flip for Fun-in-the-Sun Moments With These Summer Scrapbook Borders

When you create fun and vibrant borders, cards and layouts (or whatever it may be!) with the Electric Summer collection, summer can last as long as you want! So let’s keep the sunshine and warmth radiating, shall we? Check out these summer scrapbook borders and squeeze a little bit extra summer in your albums!
To create these borders, you will need:
- Electric Summer Paper Pack or (Shop Canada | Shop Australia)
- Electric Summer Variety Mat Pack or (Shop Canada | Shop Australia)
- Electric Summer Layered Embellishments – Sold Out
- Electric Summer Stickers or (Shop Canada | Shop Australia)
- White Cardstock or (Shop Canada | Shop Australia)
- Original Border Maker System with the Flip Flops Border Maker Cartridge or (Shop Canada | Shop Australia)
- Custom Cutting System with Circle Patterns or (Shop Canada | Shop Australia)
- 12-inch Trimmer with Straight, Scoring & Scallop Blades or (Shop Canada | Shop Australia)
- Tape Runner or (Shop Canada | Shop Australia)
- Foam Squares or (Shop Canada | Shop Australia)
- Black Dual-Tip Pen or (Shop Canada | Shop Australia)
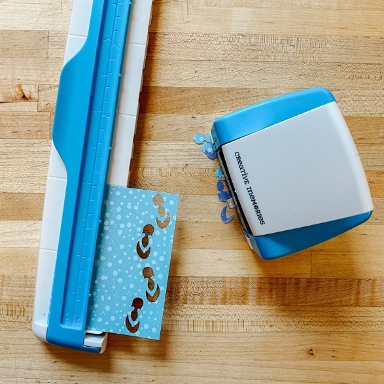
Check out the Flip Flops Border Maker Cartridge in action in the video below!

Life is Better in Flip Flops Border
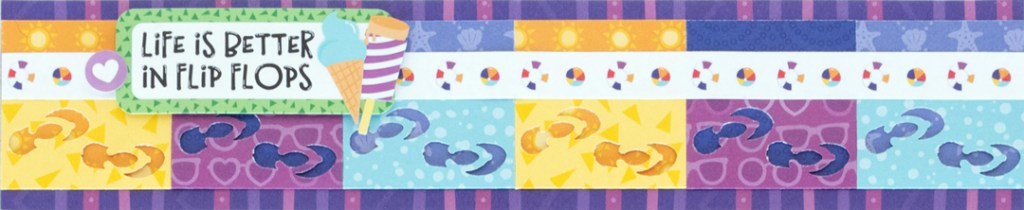
Step 1: Cut a 12″ x 2-1/2″ strip of purple striped paper for the base.


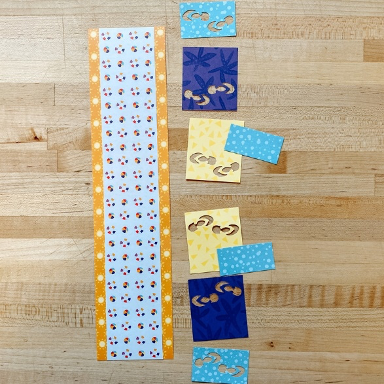
Step 2: Cut 4” x 3-1/8″ pieces of aqua, sunglasses and yellow patterned papers. Using the Flip Flops Border Maker Cartridge, punch twice along one 4″ side of each paper. Using the 12-inch Trimmer Scoring Blade, score each piece at the 2″ mark. Cut each piece in half, giving you six 3-1/8″ x 2″ pieces. Fold each along the score line so that now all pieces are 2″ x 2″. Mount all squares along the base. Add some Repositionable Adhesive inside the fold to keep the squares closed.
Step 3: Cut a 12″ x 1/2″ strip of lifesaver rings/beach balls paper. Adhere to the border as shown, helping to keep the squares folded.
Step 4: Top with stickers, popping some up with Foam Squares for added dimension.
Palm Tree Border

Step 1: Cut a 12″ x 2-1/2″ strip of purple sunglasses paper for the base
Step 2: Using the 12-inch Trimmer with the Scallop Blade, cut a 12″ x 2″ strip of yellow paper and a 12″ x 1-3/4″ strip of confetti paper. Adhere both to the base.
Step 3: Cut six 2″ x 1″ pieces of aqua, yellow and sun patterned papers. Adhere along the confetti piece. Punch a border using the Flip Flops Border Maker Cartridge from indigo waves paper. Trim to measure 12″ x 1-1/8″ and mount on top of the aqua, yellow and sun patterned pieces so every pair of flip-flops is a different hue.
Step 4: Add a palm tree layered embellishment.
Summertime Treats Border
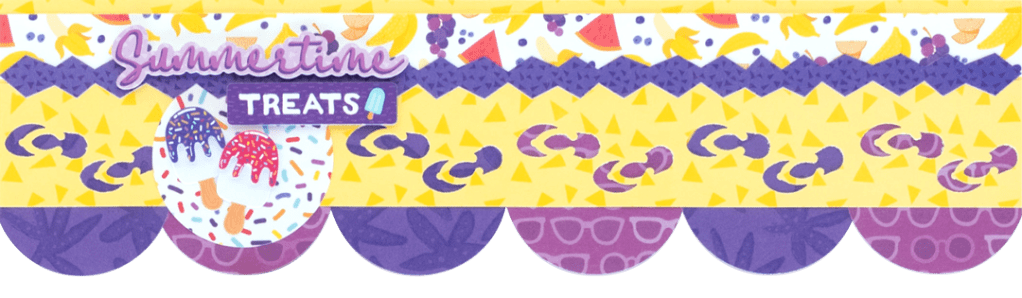
Step 1: Cut a 12″ x 2-1/2″ strip of yellow paper for the base. Cut a 12″ x 3/4″ strip of fruity paper and adhere it to the base, about 1/8″ from the top.
Step 2: Using the inside of the medium Custom Cutting System Circle Pattern and the Green Blade, cut three purple and three sunglasses circles. Arrange them along the bottom of the border, with the bottoms of the circles 3-1/4″ from the top of the border edge.
Step 3: Punch a border using the Flip Flops Border Maker Cartridge from yellow paper. Trim to measure 12″ x 1-1/2″ and adhere to the border as shown.
Step 4: Cut another circle with confetti paper Adhere it to the border. Add a purple border sticker, layered embellishments and “Summertime” and “Treats” stickers.
Summer Vibes Border
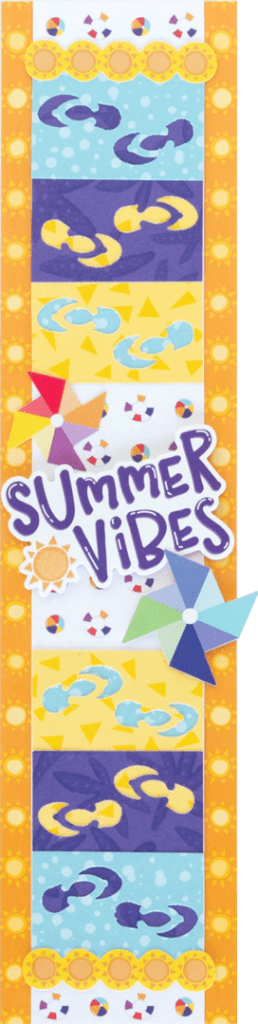
Step 1: Cut a 2-3/4″ x 12″ strip of sun paper for the base. Cut a 2″ x 12″ strip of lifesaver rings/beach balls paper and adhere it to the base.

Step 2: Punch borders using the Flip Flops Border Maker Cartridge from aqua, purple stripe and yellow patterned papers. Trim the purple stripe and yellow papers into 2″- 2-1/4″ pieces. Trim the aqua into 2″ x 2-1/4″ pieces, but then cut off the bottom 1″ section to fit behind the yellow flip-flops pieces. Flip the purple striped pieces over and use the dark purple side. Adhere to the border as shown, with purple over yellow and aqua over purple. Adhere the two sections to the top and bottom of the border.
Step 3: Trim the suns border sticker into sections and add to the border along with pinwheels and “Summer vibes” stickers.
Which one of these summer scrapbook borders will you be trying out? Tell us in the comments!
