November 24, 2020
These DIY Advent Calendars Are a Creative Countdown
The yuletide season is right around the corner, which means we’re gearing up with anticipation to the countdown to Christmas! Have you ever used an Advent calendar to count down the days until Christmas morning? Blog contributors Sachiyo Omitsu and Erica Kelley decided to create some DIY Advent calendars for their families this year — check it out!
Sachiyo’s Inspiration
It’s interesting to compare how Christmas is celebrated in countries around the world. Every country/region has different Christmas traditions, such as Christmas trees, Christmas stockings, Christmas greeting cards, and of course, the giving and receiving of gifts. One of the traditions that we love the most is the Advent calendar. My son loves to open a window of the Advent calendar every morning, take his chocolate and continue the countdown to Christmas Day. What does your Advent calendar have in each box? Chocolate? Candy? Tea? Wine?

Project by Sachiyo Omitsu – CM Independent Advisor
To create this advent calendar you’ll need:
- Christmas Spirit Paper Pack or (Shop Canada | Shop Australia)
- Christmas Spirit Embellishments or (Shop Canada | Shop Australia) — Returning December
- Christmas Spirit Stickers or (Shop Canada | Shop Australia)
- White Solid Cardstock or (Shop Canada | Shop Australia)
- Cardboard from a Cardstock Pack
- 12-inch Trimmer with Straight, Scoring & Perforating Blades or (Shop Canada | Shop Australia)
- Repositionable Tape Runner or (Shop Canada | Shop Australia)
- Precision Point Adhesive Pen or (Shop Canada | Shop Australia)
- Foam Squares or (Shop Canada | Shop Australia)

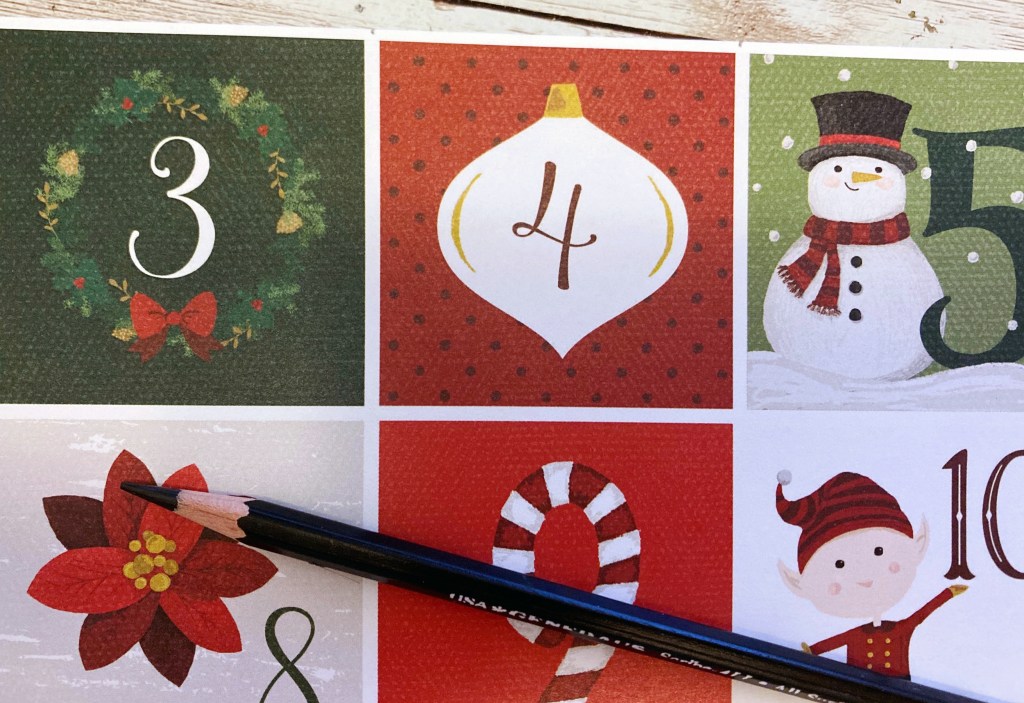
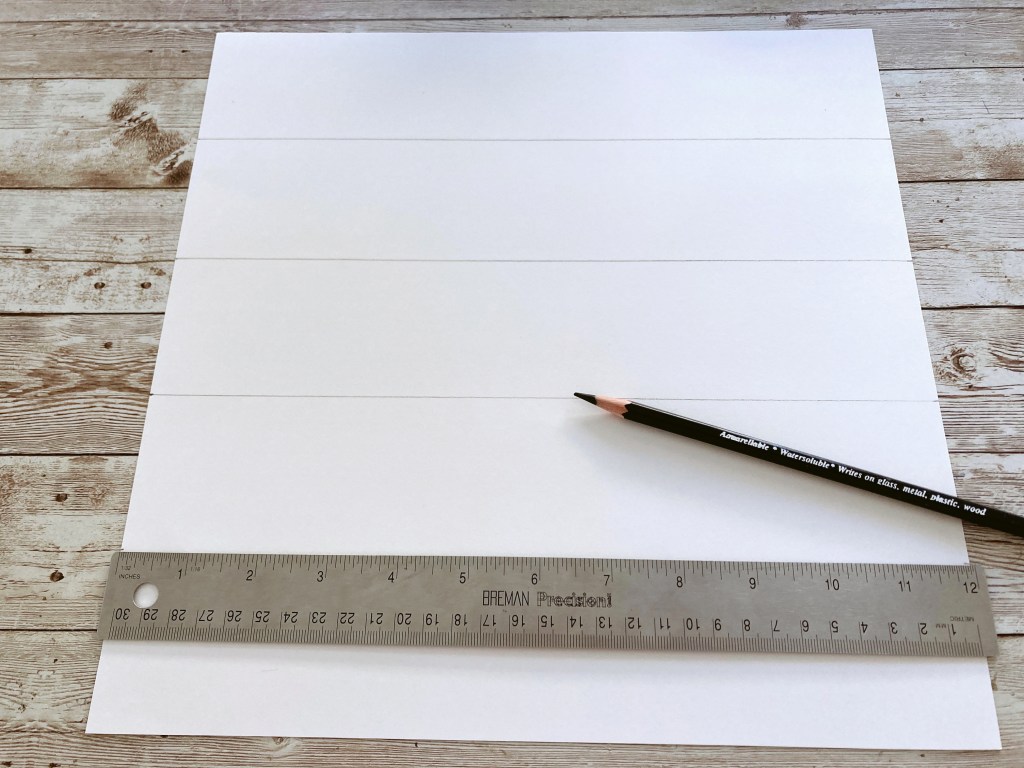
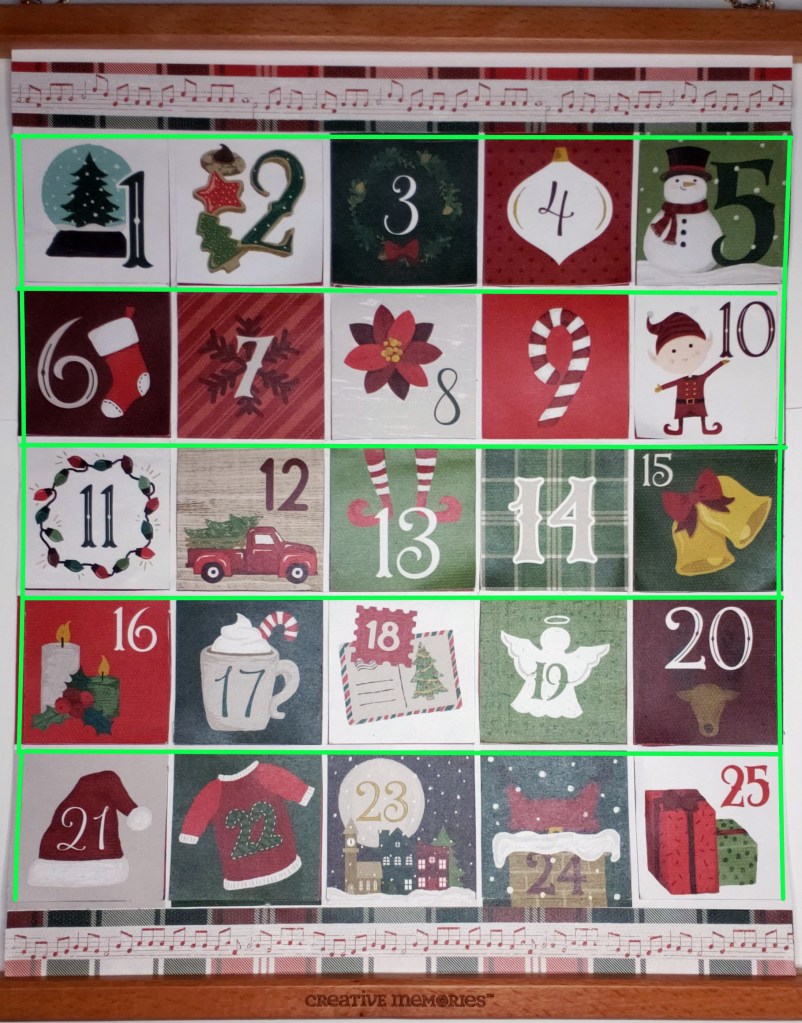
Step 1: Put a piece of White Solid Cardstock under the grid of the 25 days of Christmas countdown patterned paper so you see the edge of White Solid Cardstock. Mark points in between squares on the top and bottom of the White Solid Cardstock and draw lines as shown.

Step 2: Cut a piece of cardboard that you find in any cardstock pack to measure 12″ x 12″. Draw vertical and horizontal lines along the square of the designer paper.
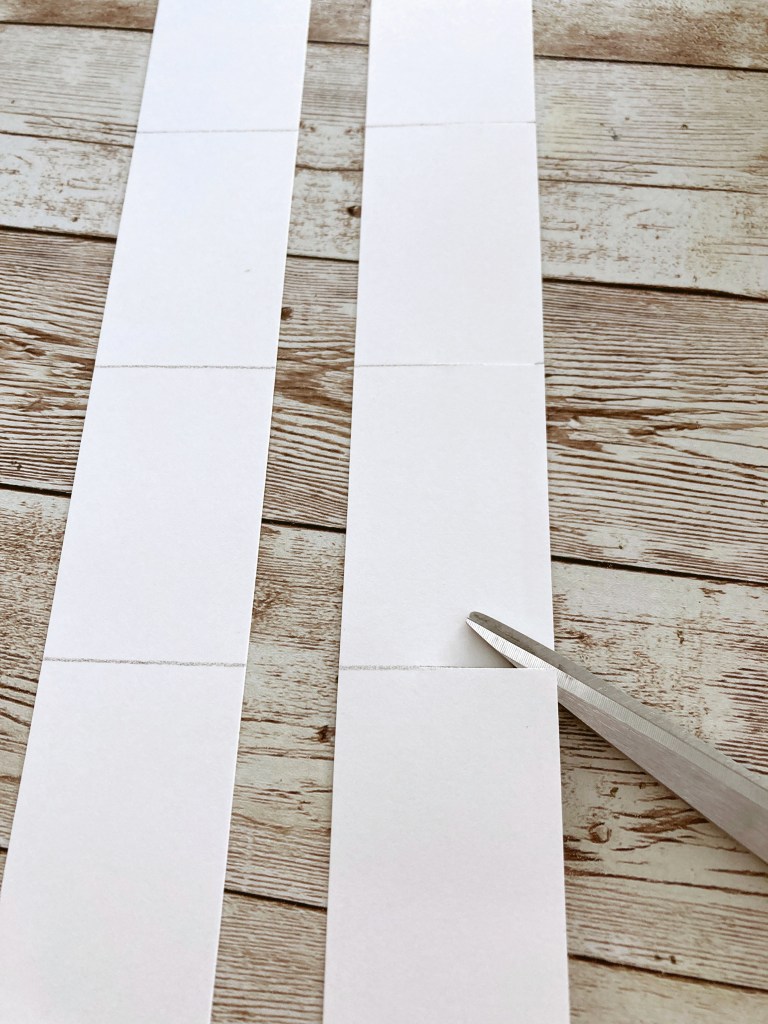
Step 3: Cut eight pieces of 1-1/2″ x 12″ strips from the lined cardstock. Cut a slit along the previously drawn lines as shown.

Step 4: Score four strips at 1/4″ from the side you previously cut a slit (see left four stripes in the photo), and the other four strips at 1/4″ from the straight side (see right four strips in the photo).

Step 5: Assemble to make grid squares. Adhere the grid to the cardboard using the 1/4″ tabs.


Step 6: Cut five strips to measure 2″ x 12″, and score one long side at 1/4″ and the other long side at 1/2″. Adhere all five strips to make one long strip. Score the strip at 6″ and then score four times at 12″ increments. Cut the excess. Fold along the scored lines and cut all the corners to make a miter joint, as shown. Apply adhesive to the 1/2″ tabs of the strip and adhere it from the bottom of the cardboard.
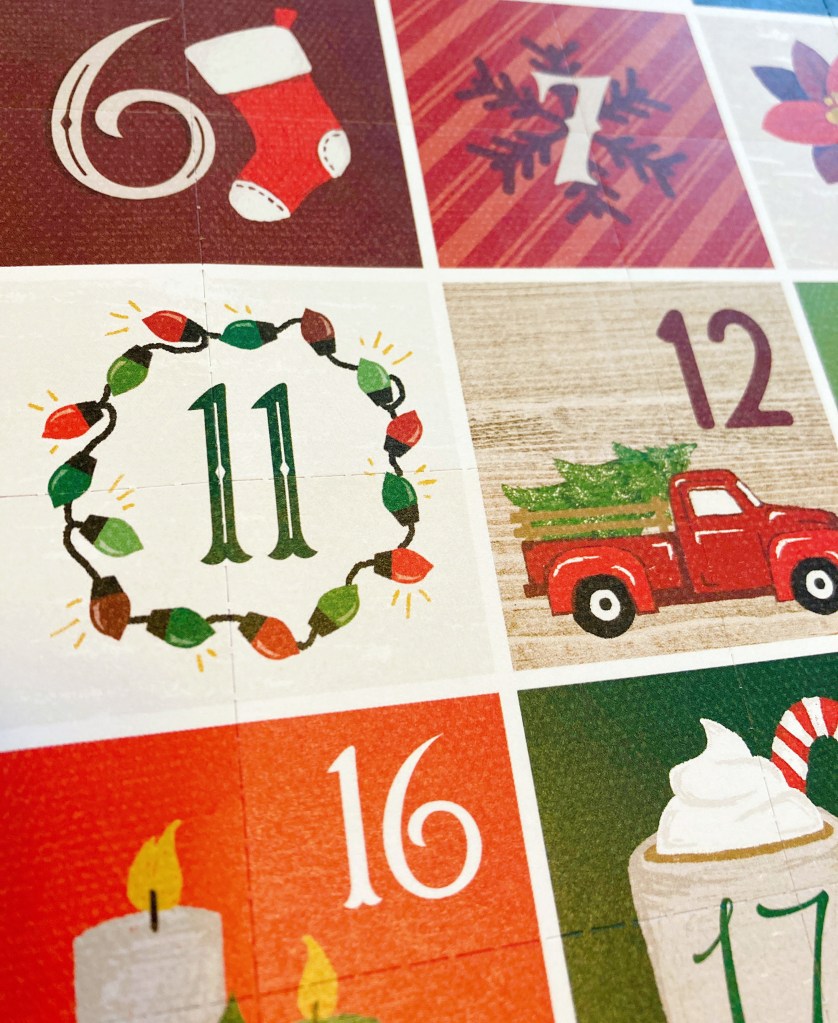
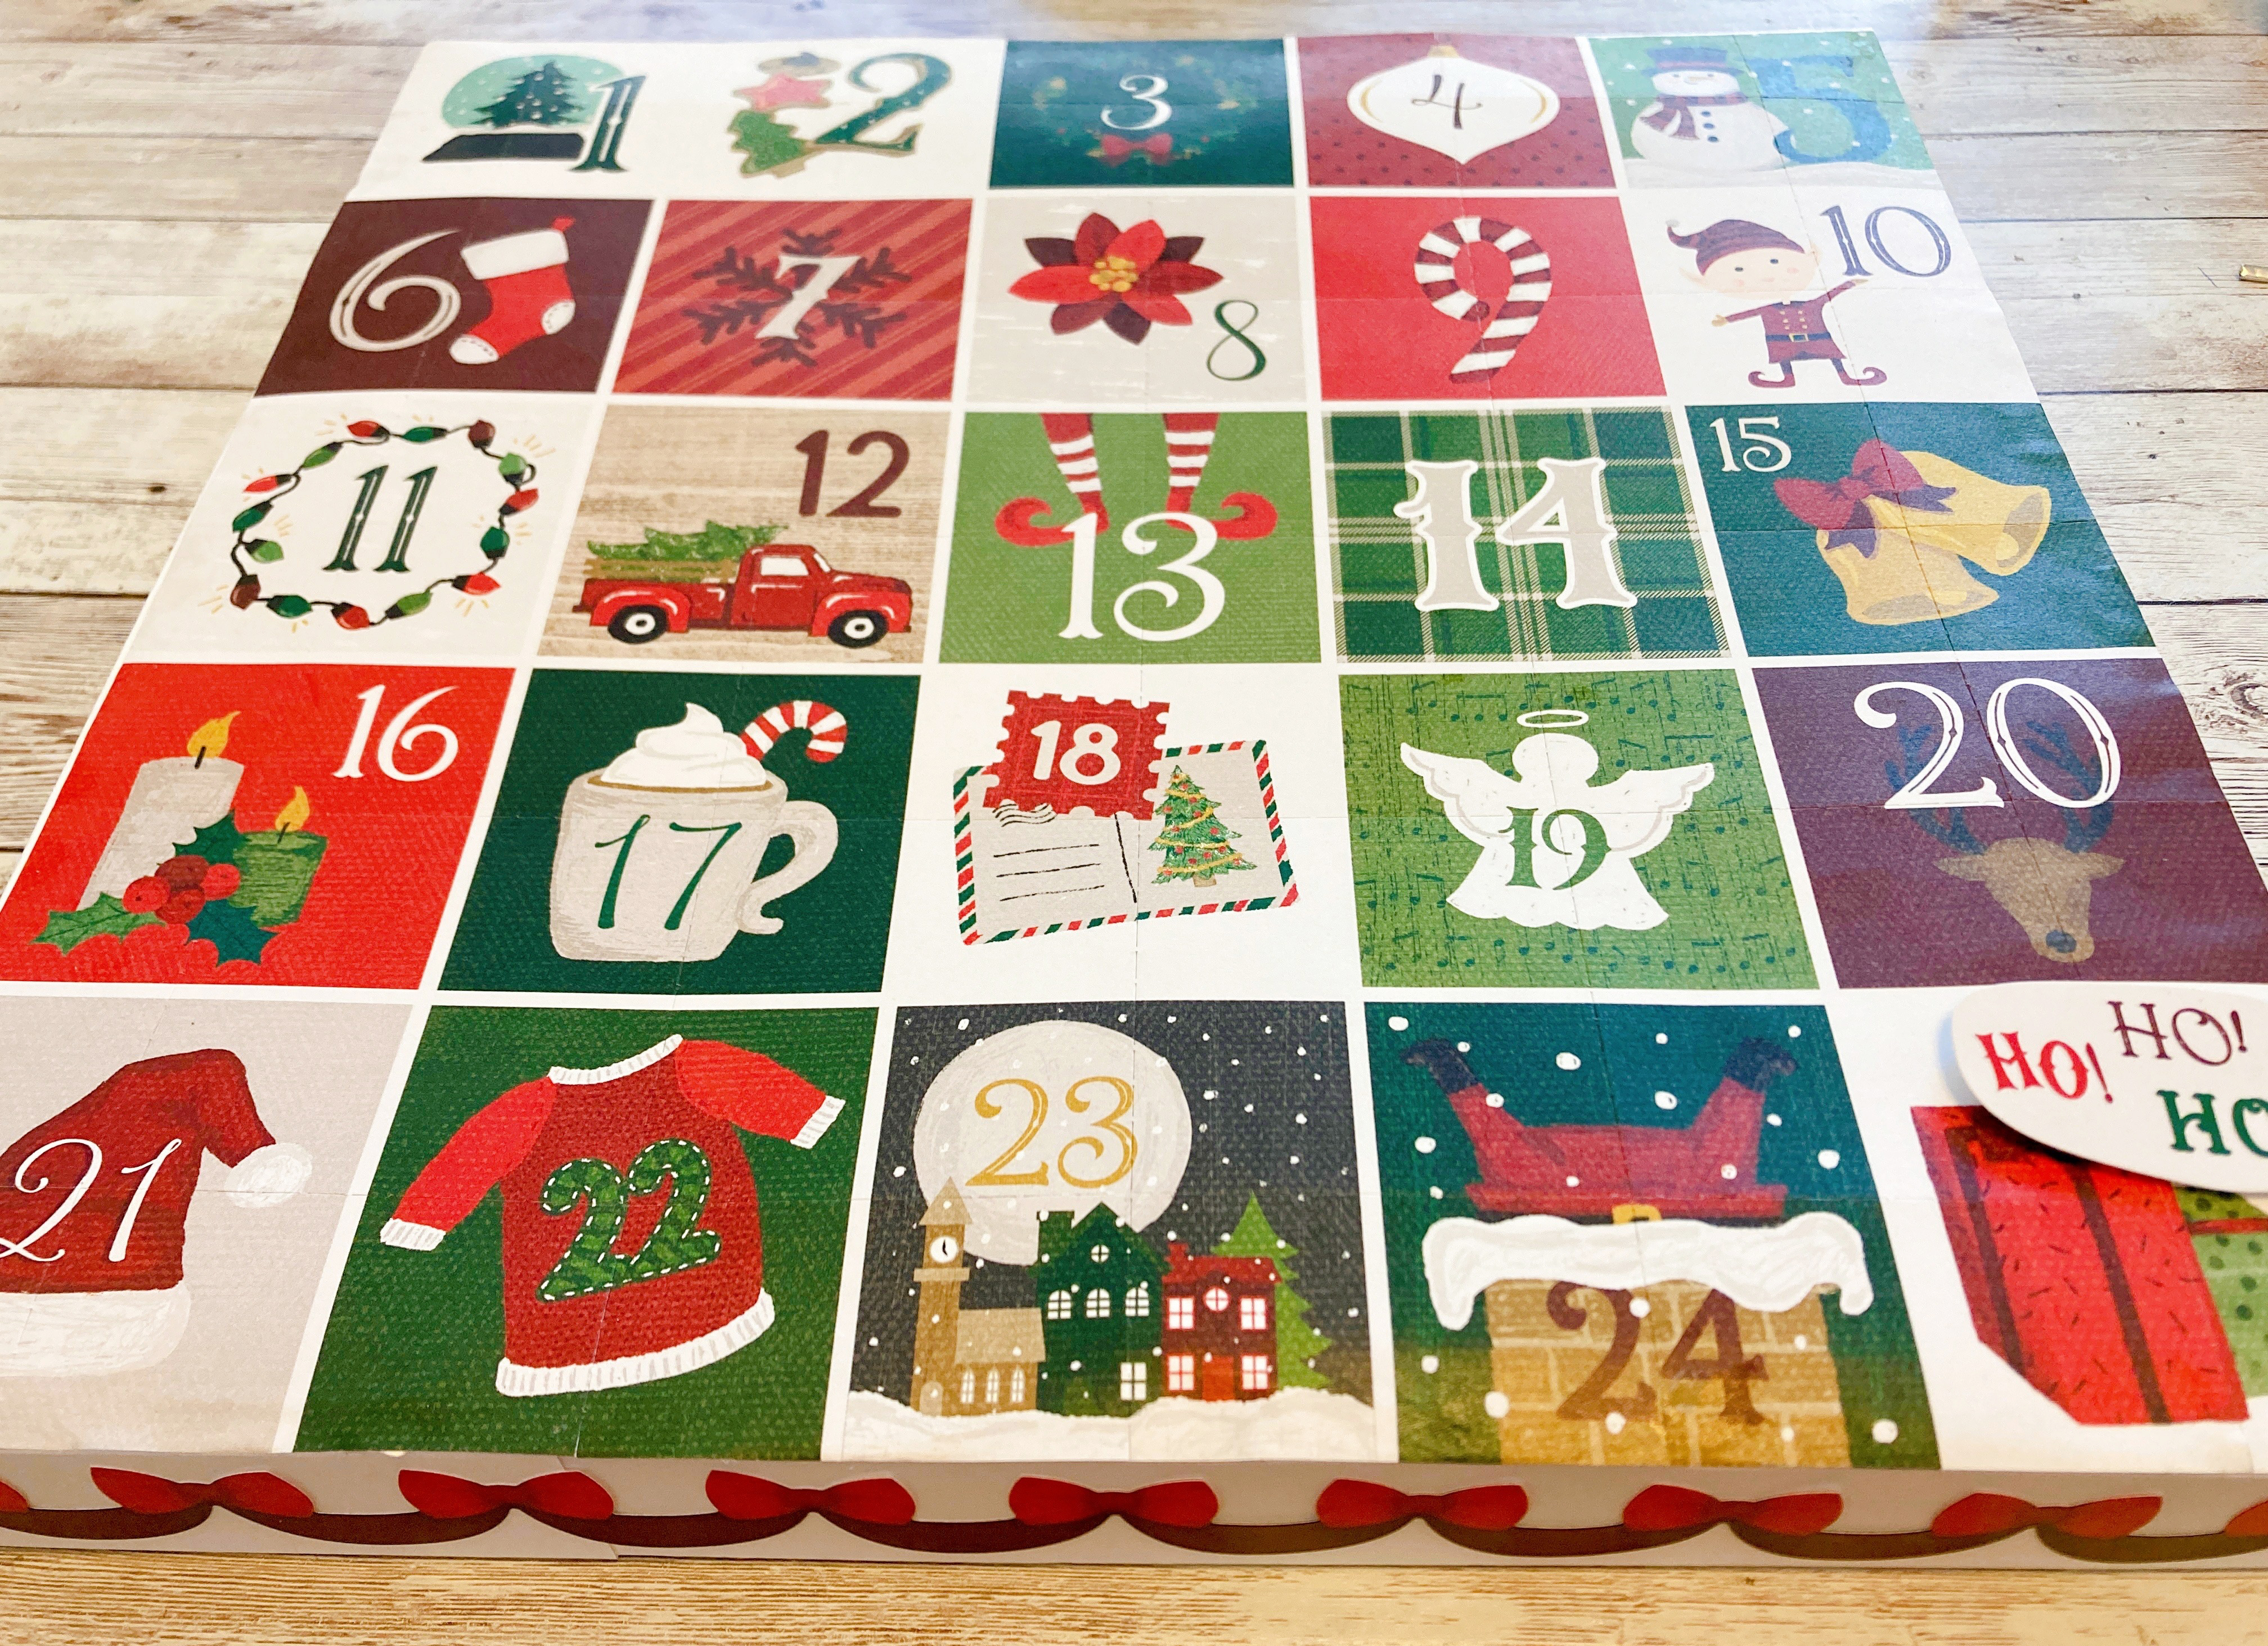
Step 7: Using the 12-inch Trimmer with the Perforating Blade, cut perforating lines crosswise on each square of the 25 days patterned paper.

Step 8: Fill in all the square blocks with a small gift you would like to add such as a candy, chocolate or a cute little embellishment.
Step 9: Adhere the 25 days patterned paper on top of the grid using the 1/4″ tabs of the outer frame.

Step 10: Adhere stickers and embellishments, using Foam Squares on some for added dimension.

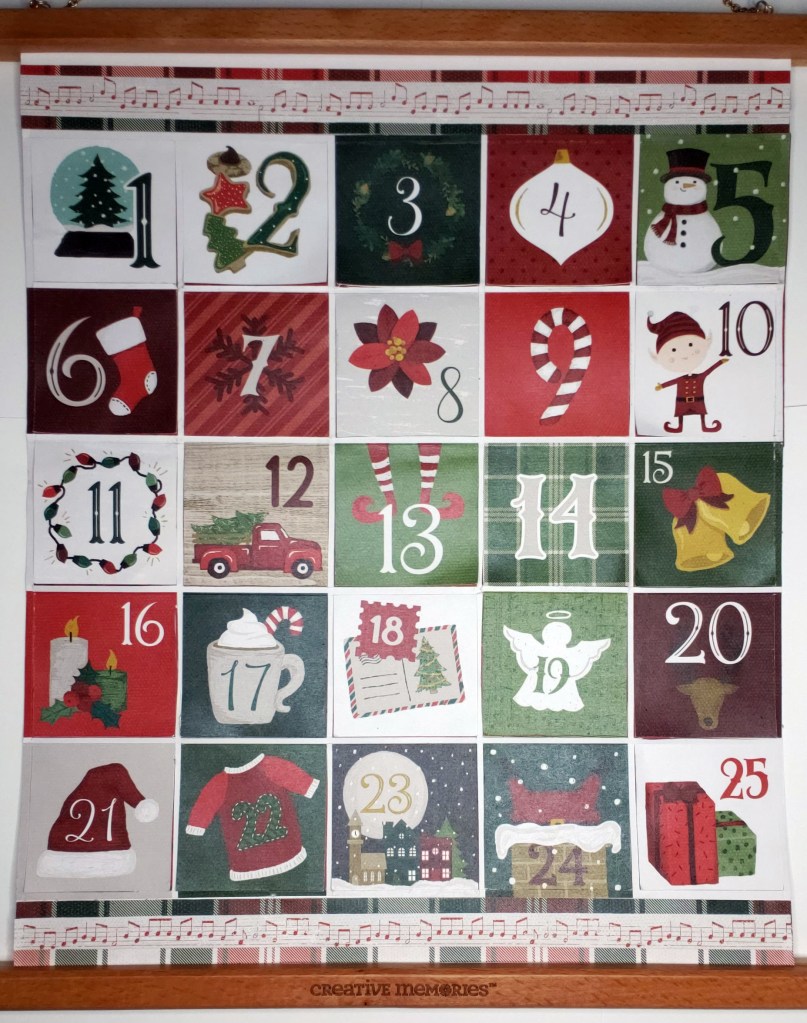
Project by Erica Kelley – CM Independent Advisor
To create this advent calendar you’ll need:
- Christmas Spirit Paper Pack or (Shop Canada | Shop Australia)
- White Solid Cardstock or (Shop Canada | Shop Australia)
- 12-inch Trimmer with Straight, Scoring & Deckle Blades or (Shop Canada | Shop Australia)
- Tape Runner or (Shop Canada | Shop Australia)
- Repositionable Tape Runner or (Shop Canada | Shop Australia)
- Precision Point Adhesive Pen or (Shop Canada | Shop Australia)
- Foam Squares or (Shop Canada | Shop Australia)
- Optional: Wooden Frame Hanger or (Shop Canada | Shop Australia)
Step 1: Use the 12-inch Trimmer with the Scoring Blade to score the border of the grid of the 25 days of Christmas countdown patterned paper at 1/8″. Then, score again at the top of the boxes from the second through fifth rows (on the green lines).
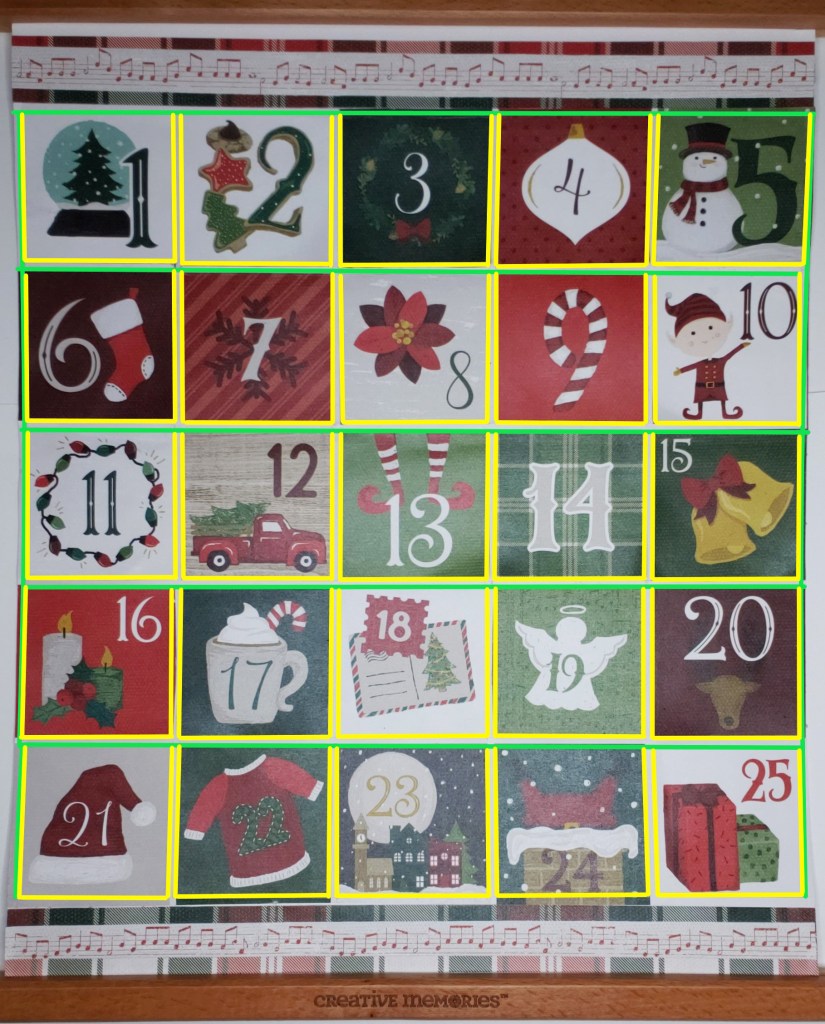
Step 2: Use the 12-inch Trimmer with the Straight Blade to cut the left, bottom and right sides of each numbered square (yellow lines). Do NOT cut into the score lines — they are the border and it’s how you will adhere to the other papers.
Step 3: Use the Precision Point Adhesive Pen on the back of the frame of the 25 days patterned paper, adhere to the red polka-dot designer paper.
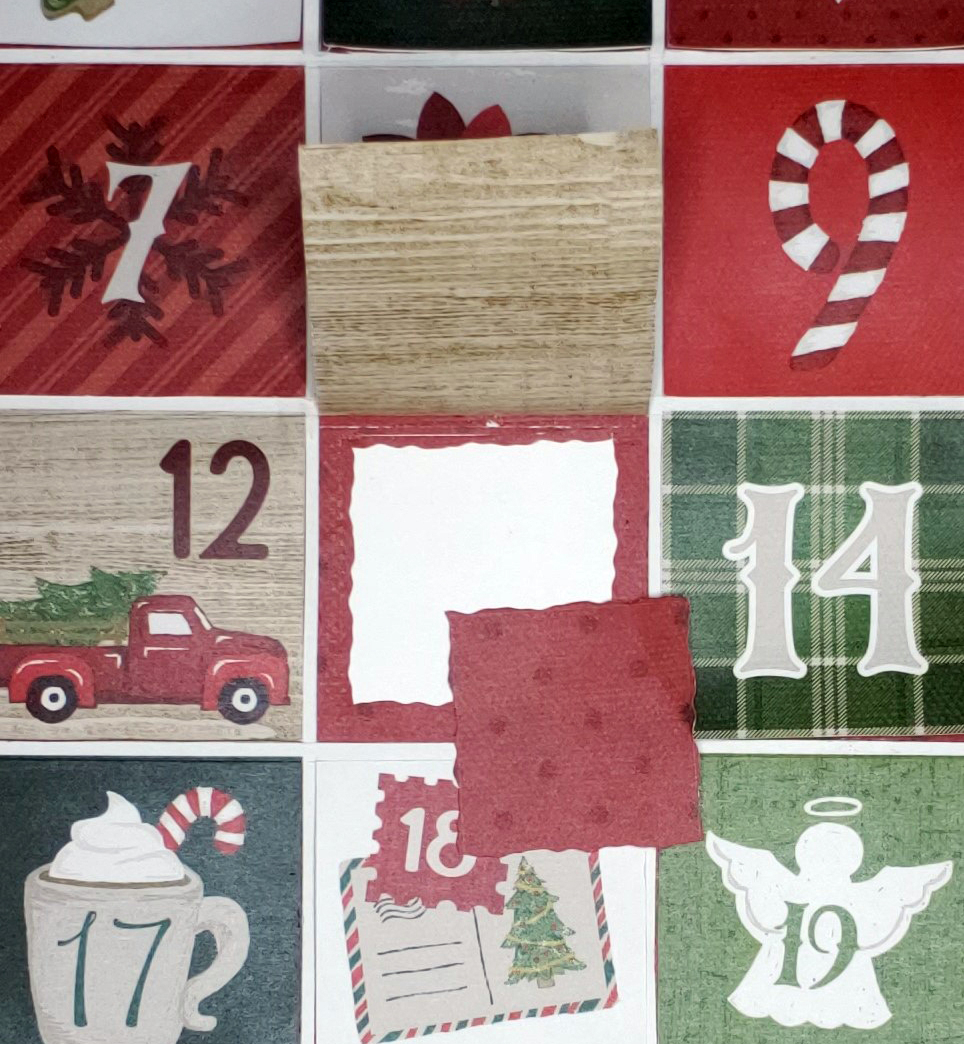
Step 4: Cut a square from the inside of each flap from the red paper with the 12-inch Trimmer with the Deckle Blade, 1/4″ from each side and remove the square (save for another project). Now adhere them both to the White Solid Cardstock.
Step 5: Decide how you are going to fill your boxes — you can use a list of activities or a yearly picture progression of your family, kids or pets.

Step 6: To make the borders for the top and bottom for the Advent calendar, cut two strips of plaid patterned paper to measure 12″ x 1″. Then, cut two single lines of music patterned patterned paper as shown. Layer the music patterned papers in the middle of the plaid patterned paper. Next, cut two strips of White Solid Cardstock to measure 12″ x 2-1/2″. Adhere the first border strip 1/2″ down from the top of one of the White Solid Cardstock strips and the other border strip 1/2″ up from bottom of the second White Solid Cardstock strip. Adhere them both to the top and bottom of the Advent calendar as shown. Add to the wooden frame hanger and enjoy.
Tip: After you have filled all your boxes, use a small dab of Repositionable Adhesive to seal each square so it will be ready come December.
What types of goodies will you fill these DIY Advent calendars with? Let us know in the comments below!

Oh this brings me back! When I was growing up I had a felt tree and below it was a calendar grid filled with felt ornaments. There was a poem on the tree skirt: “As you wait for Santa’s sleigh, decorate your tree each day. When you reach the star so bright, Santa will be here that night.”
If you aren’t Canadian you won’t understand this, Purdys. ?
Absolutely beautiful & creative! Over the top!