November 2, 2021
Get On Board With The Latest Chalk Pen for Scrapbooking Projects
Although many classrooms nowadays have glossy whiteboards or boards with interactive smart technology, there’s something about chalkboards and blackboards that evoke a classic, old-school aesthetic. And nowadays, chalk lettering is becoming quite the trend, from chic cafes to farmers’ market to your friend’s modern farmhouse kitchen to write down grocery lists and other reminders. Well, it’s time to chalk up your writing game — literally — with CM’s White Chalking Pen! If you have ever wanted to write or draw on a dark piece of paper or cardstock, you can! It mimics the appearance of written chalk (without any of the chalk dust haze lingering in the room!) and it’s photo-safe, too! Grab a blank paper slate and start doodling and drawing today with these scrapbooking projects that feature this brand-new chalk pen.

To create this layout and card, you will need:
- Joy to the World Paper Pack or (Shop Canada | Shop Australia)
- Joy to the World Embellishments or (Shop Canada | Shop Australia)
- Black & White Solid Cardstocks or (Shop Canada | Shop Australia)
- Blank Card Kit or (Shop Canada | Shop Australia)
- 12-inch Trimmer or (Shop Canada | Shop Australia)
- White Chalking Pen or (Shop Canada | Shop Australia)
- Custom Cutting System with Circle Patterns or (Shop Canada | Shop Australia)
- Holly Punch or (Shop Canada | Shop Australia) — Expected to return in November
- All-Purpose Scissors or (Shop Canada | Shop Australia)
- Tape Runner or (Shop Canada | Shop Australia)
- Repositionable Tape Runner Refill or (Shop Canada | Shop Australia)
- Foam Squares or (Shop Canada | Shop Australia)
- Pencil
- Ruler
Check out the White Chalking Pen in action in the video below!
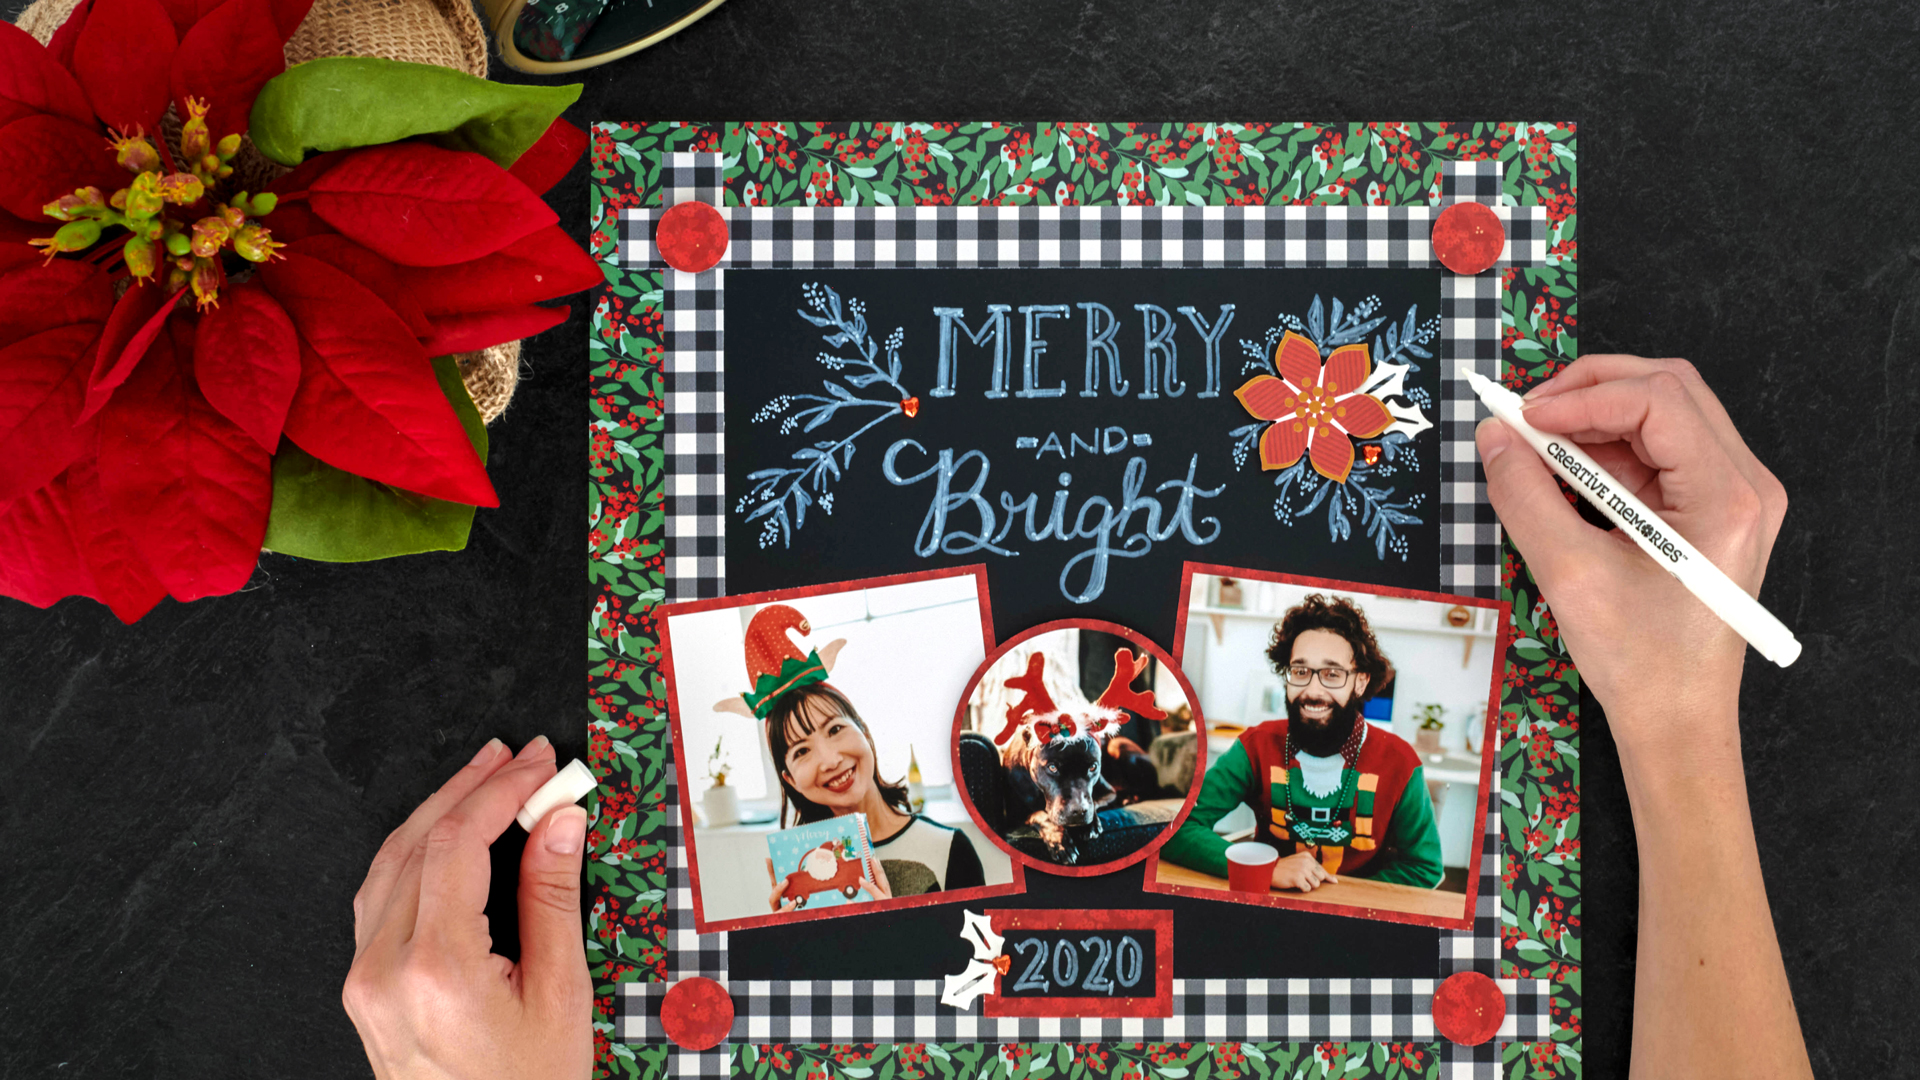
Merry and Bright Layout

Step 1: Cut a piece of Black Solid Cardstock to measure 10″ x 10″.
Step 2: Cut the gingham designer paper into four strips that measure 3/4″ x 11-1/4″. Adhere the four pieces on the outside edge of the cardstock piece as shown to make a frame.

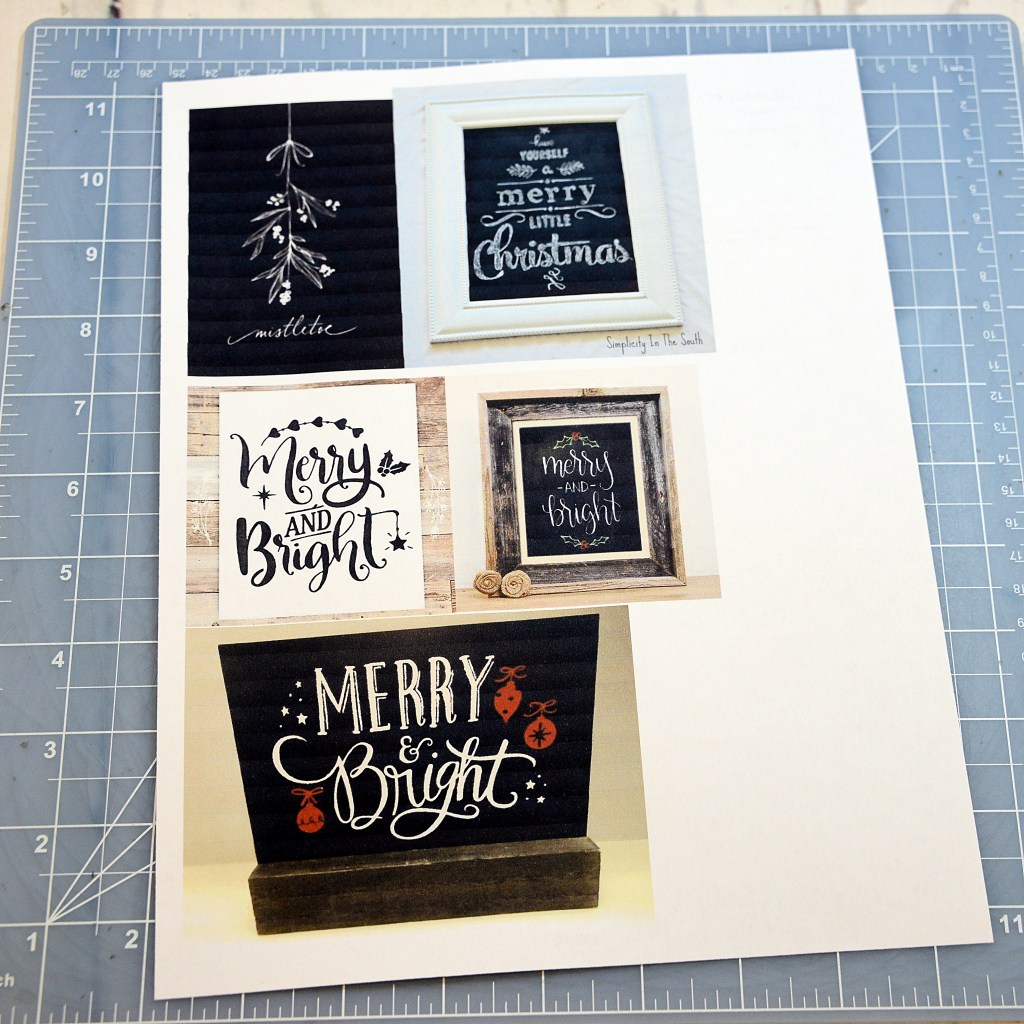
Step 3: Use a pencil and ruler to find the top-middle of the cardstock and draw lines to write on. Use the White Chalking Pen to add a title and decorative elements. Lightly erase pencil lines. See “Helpful Hints” below.
Helpful Hints: To align your title, start in the middle of your top line on the cardstock and add the middle letter of your title first. Then add adjacent letters working forward and backward. Use both the fine and round tips of the White Chalking Pencil to add width and details to your title letters. Search the internet for examples of “Christmas Chalk Art” to copy. Practice first.
Step 4: From the inside edge of the smallest Custom Cutting System Circle Pattern and Blue Blade, cut four circles from red holly berries designer paper. Use Foam Squares to adhere the circles to the four corners of the gingham pieces.
Step 5: Adhere the piece onto a sheet of holly berries and leaves designer paper.
Step 6: Crop two photos to measure 3-3/4″ x 3-3/4″ and cut two mats from red holly berries paper to measure 4″ x 4″. Adhere photos to the mats. Then adhere to the matted photos to the layout as shown.
Step 7: From the inside edge of the largest Custom Cutting System Circle Pattern and Blue Blade, cut a photo. Use the Green Blade to cut a mat from red holly berries paper. Adhere the photo to the mat. Then adhere the matted photo to the layout with Foam Squares.
Step 8: Use White Chalking Pen to add a date or to journal with if desired.
Step 9:Add a poinsettia embellishment with Foam Squares. Add gemstones.
Step 10: From White Solid Cardstock, use the Holly Punch to punch two holly cutouts. Cut the pieces apart with All-Purpose Scissors and add to the layout as shown.
Joyful Card

Step 1: Cut the Christmas florals designer paper to measure 5-1/2″ x 4-1/4″ and adhere to the card base.
Step 2: Cut a piece of Black Solid Cardstock to measure 5″ x 3-3/4″ and adhere to the middle of the card.
Step 3: Add a title and drawings/details with the White Chalking Pen.
Step 4: Add a poinsettia embellishment with Foam Squares for added dimension.
What are your thoughts on the latest chalk pen? Are you on board with the chalk-like appearance it leaves behind? Tell us your thoughts and opinions down below — let’s chalk about it!

Love this!
Yep, Love this! Can not wait to get pics for this layout!
Love this! How about stencils to go along with the chalk pen?
Could CM please answer the question of whether or not the chalk pen is a PERMANENT journaling tool? There was a brief comment on the last virtual crop video about the pen “not being used where you would want it to stay forever”, so I’m not taking a chance of using this pen on any layouts until there is a definitive statement as to whether or not it is equal to other CM pens as far as longevity goes. Thanks!
[…] Visit the Creative Memories blog for more info. […]
[…] Go to the Inventive Reminiscences weblog for more information. […]
[…] #4 positive is merry and brilliant, identical to its title says! Head over to this weblog put up to learn to craft […]