July 26, 2022
Paddle Through The Memories: Canoe Border Ideas And DIY Card

You’re floating on a placid lake or river. Your mind and body are tuned into the cooling, soft breeze, with no loud motor to interject the peaceful sounds of nature. Your arms swiftly plunge a paddle into the water, making your canoe slice through the aquatic landscape… gliding with ease. If it’s your first time canoeing or you’re a long-time lover, canoeing is the perfect way to go with the flow and to enjoy wildlife and a wonderful workout! Well, set down your paddles (for now!) and pick up your papers and tools to make these canoe border ideas and DIY card!

To create these borders and card, you will need:
- Leave Nothing Behind Paper Pack or (Shop Canada | Shop Australia)
- Leave Nothing Behind Stickers or (Shop Canada | Shop Australia)
- Leave Nothing Behind Embossed Embellishments or (Shop Canada | Shop Australia)
- Hot Fudge Solid Cardstock or (Shop Canada | Shop Australia)
- Blank Card Kit or (Shop Canada | Shop Australia)
- 12-inch Trimmer with Straight & Scallop Blades or (Shop Canada | Shop Australia)
- Original Border Maker System with Canoe Wave Chain Border Maker Cartridge or (Shop Canada | Shop Australia)
- Custom Cutting System with Circle Patterns or (Shop Canada | Shop Australia)
- Tape Runner or (Shop Canada | Shop Australia)
- Repositionable Tape Runner or (Shop Canada | Shop Australia)
- Foam Squares or (Shop Canada | Shop Australia)
- Black Dual-Tip Pen or (Shop Canada | Shop Australia)
Check out the Canoe Wave Chain Border Maker Cartridge in action in the video below!

Wild Border
Step 1: Using the 12-inch Trimmer with the Scallop Blade, cut a 12″ x 2-1/2″ strip of Hot Fudge Solid Cardstock and a 2″ x 12″ strip of terra cotta woven textile designer paper. Align and adhere the terra cotta woven textile strip on top of the cardstock.
Step 2: Using the Canoe Wave Chain Border Maker Cartridge, punch one border with olive green diamonds designer paper.
Step 3: Using the 12-inch Trimmer with the Scallop Blade, cut two 3/4″ x 12″ strips from the bright teal topography designer paper. Flip one strip over to show the navy night sky side. Layer the strips below the olive green diamonds canoe border strip and adhere together.
Step 4: Cut the border strip into six 2″ sections. Arrange each section across the woven textile/cardstock border base as shown. Adhere multi-hued border stickers along sides to cover up any excess.
Step 5: Add stickers as desired or as shown to the middle of the border.
Setting Up Camp Border

Step 1: Using the 12-inch Trimmer and the Scallop Blade, cut a 2-1/2″ x 12″ strip from the bright teal topography designer paper and a 12″ x 3/4″ strip from the olive green diamonds designer paper. Align and adhere the olive green diamonds strip on top of bright teal topography strip.
Step 2: Using the Canoe Wave Chain Border Maker Cartridge, punch one border from navy night sky designer paper. Adhere with Repositionable Tape Runner across lower edge of olive green diamonds strip so that the negative canoe shapes show the bright teal topography paper underneath.
Step 3: Mount a mountain range border sticker across top edge of olive green diamonds strip.
Step 4: Using the inside edge of the medium Custom Cutting System Circle Pattern and the Red Blade, cut a circle from olive green diamonds designer paper. Mount on top of the border, approximately 4″ from left-hand edge. Create sticker cluster on top of the circle and add faux-stitching details around edge of the circle with a Dual-Tip Pen.
Explore The Great Outdoors Border
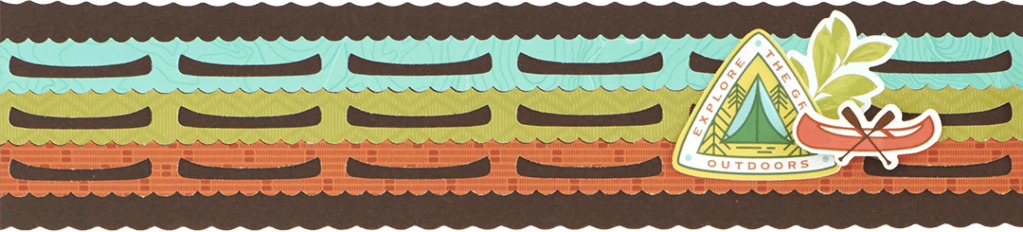
Step 1: Using the 12-Trimmer with the Scallop Blade cut a 12″ x 3″ strip of Hot Fudge Solid Cardstock.
Step 2: Using the Canoe Wave Chain Border Maker Cartridge, punch one border form each bright teal topography, olive green diamonds and terra cotta woven textile designer papers. Adhere with Repositionable Tape Runner across the cardstock base, fitting the scallops on the bottom edge of each border into the scallops on the top edges of the border beneath it.
Step 3: Create a cluster of embellishments and stickers approximately 3″ from right-hand side.
What A View Card
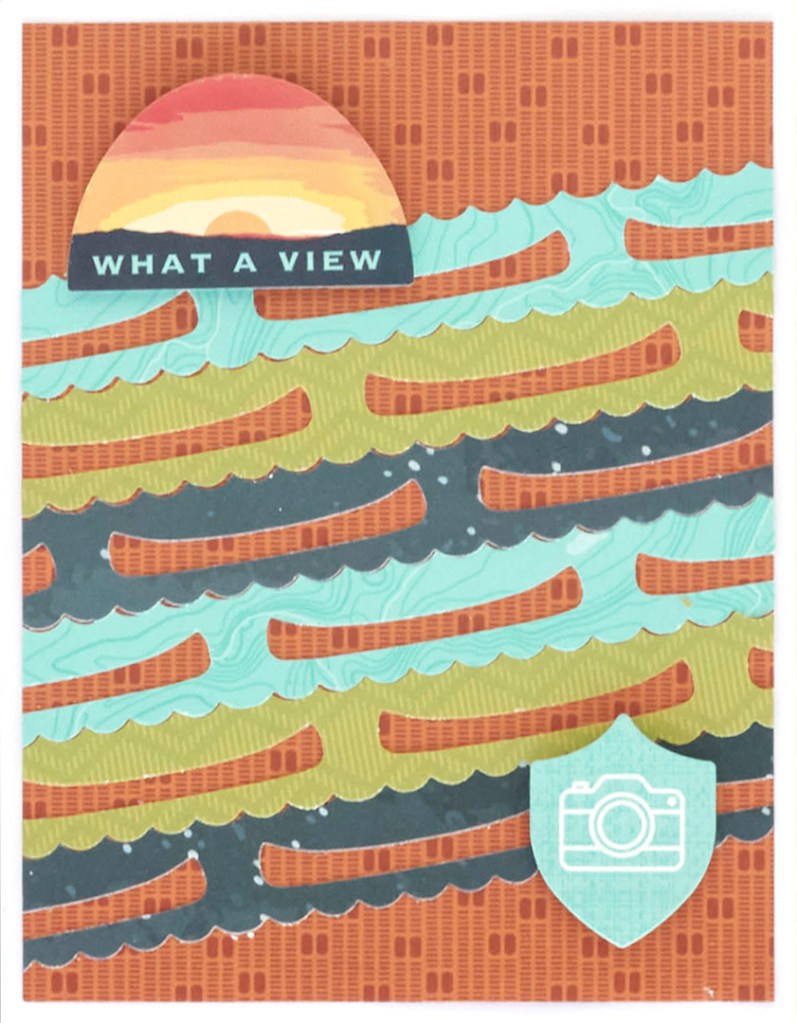
Step 1: Cut a 4″ x 5-1/4″ rectangle of terra cotta woven textile designer paper.
Step 2: Using the Canoe Wave Chain Border Maker Cartridge, punch one border from each bright teal topography, olive green diamonds and navy night sky designer papers. Adhere with Repositionable Tape Runner on an angle across the terra cotta woven textile rectangle base, fitting the scallops on the bottom edge of each border into the scallops on the top edges of the border beneath it. Trim off excess and repeat to have a total of six layers. Mount onto a blank card from the Blank Card Kit.
Step 3: Add “What a view” and bright teal camera stickers as shown with Foam Squares for added dimension.
Do you like to go canoeing? If so, will you be making these canoe border ideas? Or will you send out the DIY card to your nature-loving friends? Feel free to answer the questions in the comments section!
