August 1, 2022
Enjoy Harmonious Happenings: Mix And Match Scrapbooking Projects
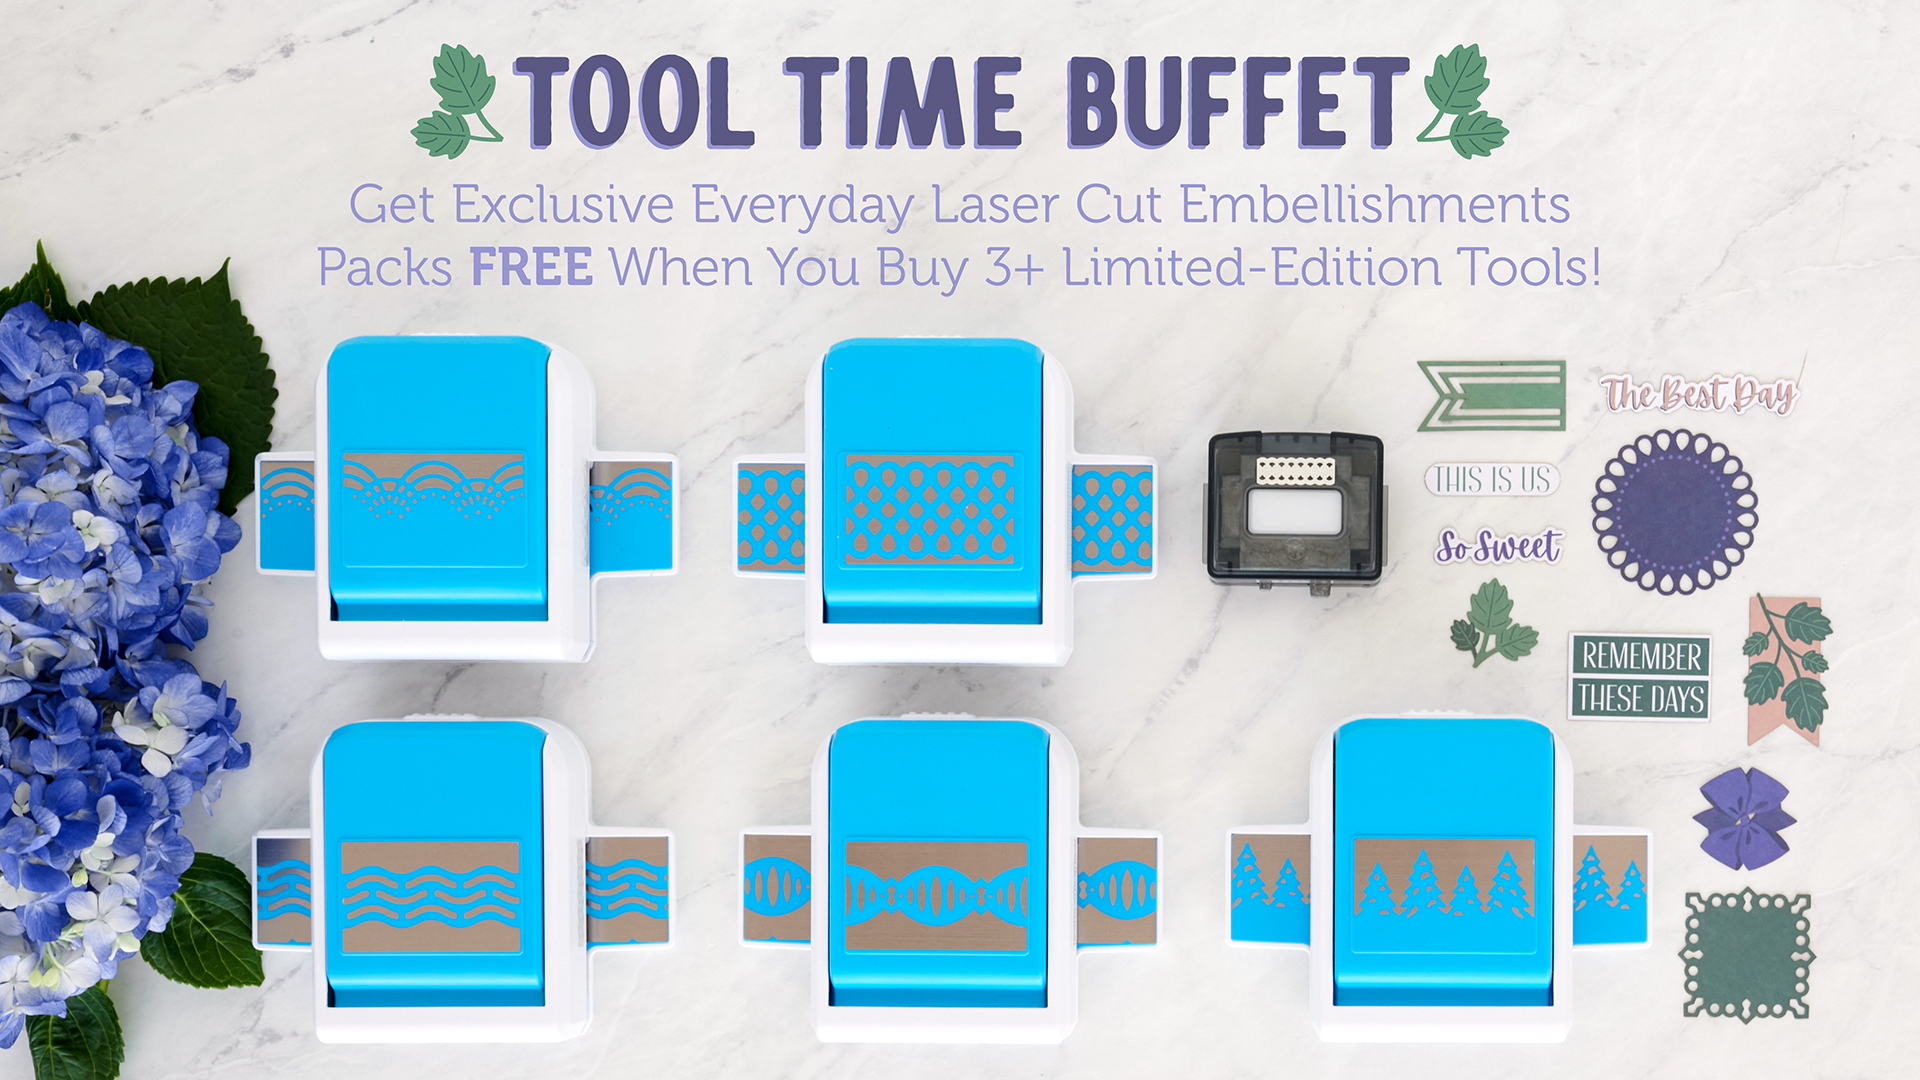
Oh my goodness, do you know what time it is? No worries, you’re not late for an appointment or oil change… you’re just in time for the Tool Time Buffet! (But note: It’s only around for a limited time, so jump on this offer soon!) Six tools — half new, half popular bring-backs — that can jazz up any sort of layout, card, border… you name it! In fact, see how these coincide perfectly with the newest Vivid Melodies collection and get to making these mix and match scrapbooking projects for ultimate harmony happenings.
EARN UP TO 3 EXCLUSIVE EMBELLISHMENTS PACKS FREE!
For a limited time only during the Tool Time Buffet, you can purchase exclusive tools AND have the opportunity to earn exclusive Everyday Laser Cut Embellishments Packs FREE! Click for details! US | CA | AU
To create these borders and layout, you will need:
- Vivid Melodies Butterscotch Paper Pack or (Shop Canada | Shop Australia)
- Vivid Melodies Butterscotch Embellishments or (Shop Canada | Shop Australia)
- Vivid Melodies Jazzberry Paper Pack or (Shop Canada | Shop Australia)
- Vivid Melodies Jazzberry Embellishments or (Shop Canada | Shop Australia)
- Vivid Melodies Capri Blue Paper Pack or (Shop Canada | Shop Australia)
- Vivid Melodies Capri Blue Embellishments or (Shop Canada | Shop Australia)
- Vivid Melodies Lime Tart Paper Pack or (Shop Canada | Shop Australia)
- Vivid Melodies Lime Tart Embellishments or (Shop Canada | Shop Australia)
- Dark Green, Parakeet Shimmer & White Solid Cardstocks or (Shop Canada | Shop Australia)
- Everyday Laser Cut Embellishments — Exclusive in the Tool Time Buffet Promotion
- Treeline Border Punch Border Punch — Exclusive in the Tool Time Buffet Promotion
- Decorative Arcs Border Punch — Exclusive in the Tool Time Buffet Promotion
- Teardrop Lattice Border Punch — Exclusive in the Tool Time Buffet Promotion
- River Waves Border Punch — Exclusive in the Tool Time Buffet Promotion
- Beaded Ovals Border Punch — Exclusive in the Tool Time Buffet Promotion
- Original Border Maker System with Ribbon Lace Chain Border Maker Cartridge — Exclusive in the Tool Time Buffet Promotion
- Custom Cutting System with Circle Patterns or (Shop Canada | Shop Australia)
- 12-inch Decorative Trimmer or (Shop Canada | Shop Australia)
- 12-inch Trimmer with Straight, Scoring & Scallop Blades or (Shop Canada | Shop Australia)
- Micro-Tip Scissors or (Shop Canada | Shop Australia)
- Tape Runner or (Shop Canada | Shop Australia)
- Repositionable Tape Runner or (Shop Canada | Shop Australia)
- Foam Squares or (Shop Canada | Shop Australia)
River Waves Border Punch & Ribbon Lace Chain BMC Layout
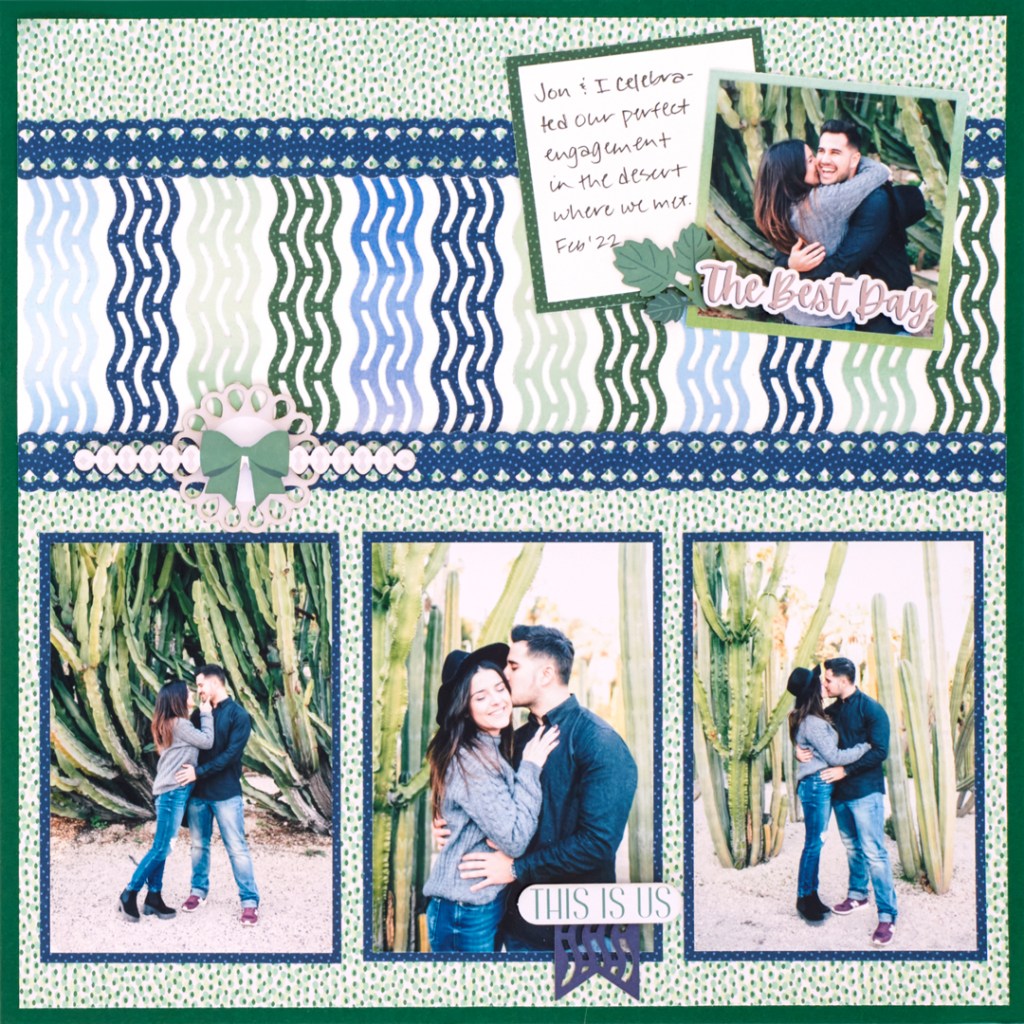
Step 1: Use a piece of Dark Green Solid Cardstock as the base for this layout. Cut a lime tart layered dots paper to 11-1/2″ x 11-1/2″ and adhere on the base.
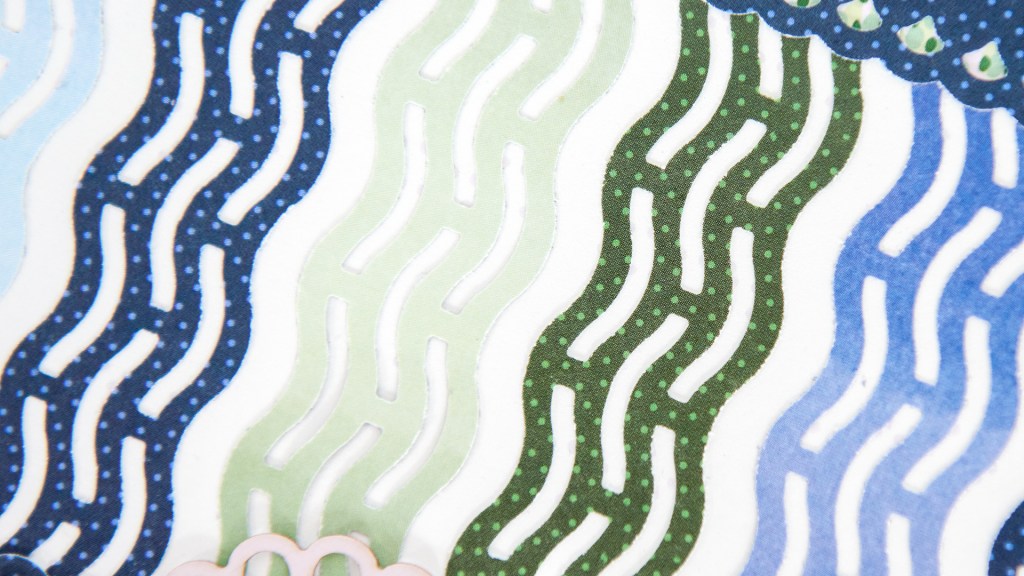
Step 2: Cut an 11-1/2″ x 4″ piece of White Solid Cardstock. Using the River Waves Border Punch, punch borders with two lime rart and two capri blue papers. Trim each into three 4″ sections. Alternating hues, adhere along the white strip as shown. Mount on the layout, about 2″ from the top edge.
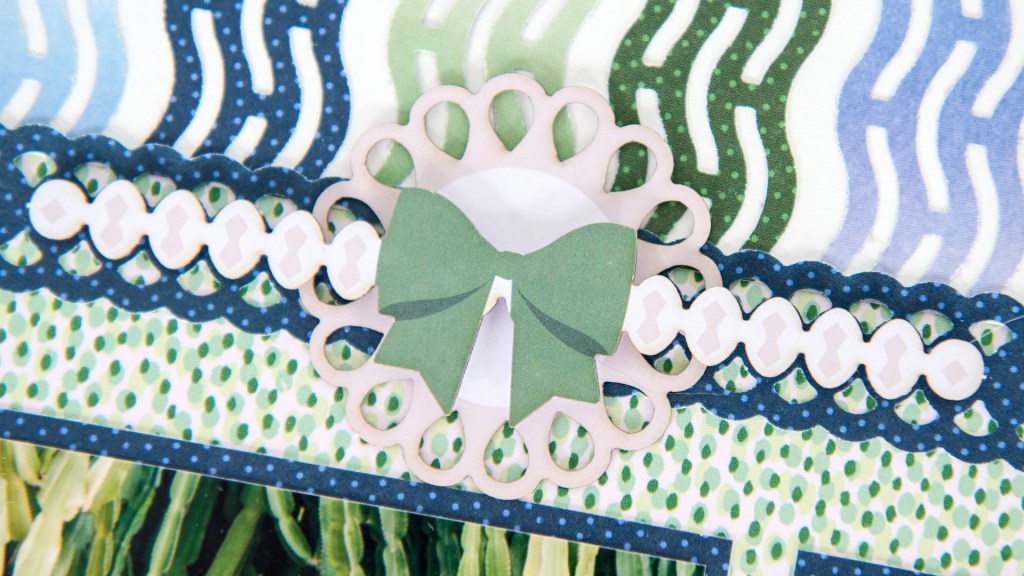
Step 3: Using the Ribbon Lace Chain Cartridge, punch two borders with capri blue dotted scallops paper. Trim to 11-1/2″ wide and adhere above and below the white piece.
Step 4: Crop three photos to 3-1/4″ x 4-3/4″ and mat with three 3-1/2″ x 5″ pieces of capri blue dotted scallops paper. Mount on the layout as shown.
Step 5: Crop a photo to 2-3/4″ x 2-3/4″, as well as a piece of White Solid Cardstock. Mount on two 3″ x 3″ pieces of lime tart papers. Adhere on the layout as shown.
Step 6: Add embellishments, popping some up with Foam Squares for added dimension.
Step 7: Journal as desired.
Decorative Arcs Border
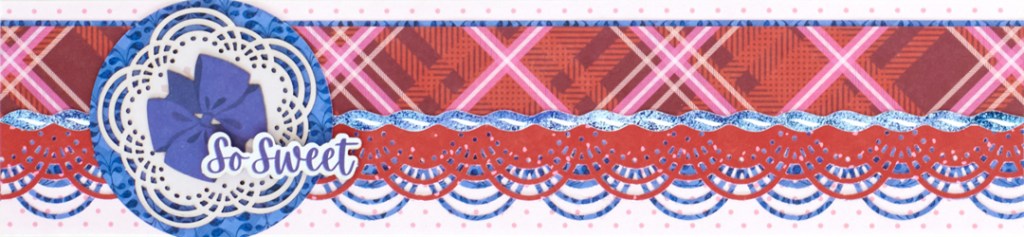
Step 1: Cut a 12″ x 2-3/4″ strip with jazzberry polka dots paper for the base.

Step 2: Using the Decorative Arcs Border Punch, position the capri blue vines paper in the punch so that the edge of the paper is in the middle of the punch. Punch a border. Trim to 12″ x 2-3/8″ and mount on the base. Position the jazzberry scattered dots paper in the punch at the usual black marking and punch a border. Trim to 12″ x 1″ and adhere on the border as shown.
Step 3: Cut a 12” x 1-1/8” strip with jazzberry plaid paper and adhere on the border as shown. Place a ribbon border sticker along the seam.
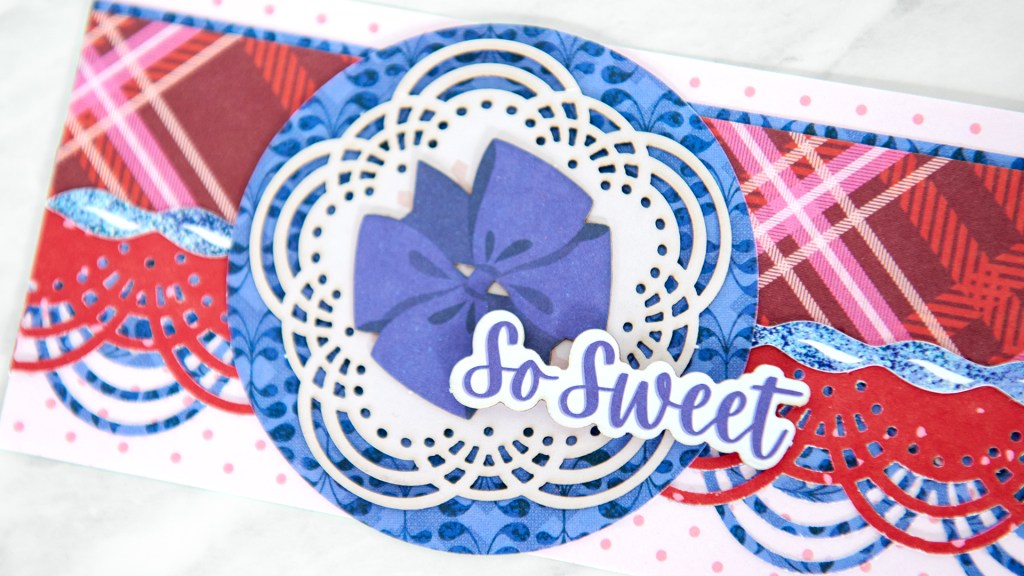
Step 4: Using the inside edge of the largest Custom Cutting System Circle Pattern and the Blue Blade, cut a circle with capri blue vines paper. Mount the decorative arc laser-cut embellishment on top and adhere on the border. Add additional embellishments, popping the title up with Foam Squares for added dimension.
Beaded Ovals Border

Step 1: Cut a 12″ x 2-3/4″ strip with lime tart plaid paper for the base.
Step 2: Using the 12-inch Trimmer and the Scallop Blade, cut a 12″ x 2″ strip with butterscotch scattered dots paper and adhere on the base. Using the 12-inch Trimmer and the Straight Blade, cut a 12″ x 1-1/2″ strip with butterscotch petite flowers paper and mount on top.

Step 3: Using the Beaded Ovals Border Punch, punch one border with butterscotch vines paper and another with lime tart scattered dots paper. Cut the butterscotch border in half lengthwise and adhere behind the lime tart border as shown. Mount on the border.
Step 4: Adhere embellishments.
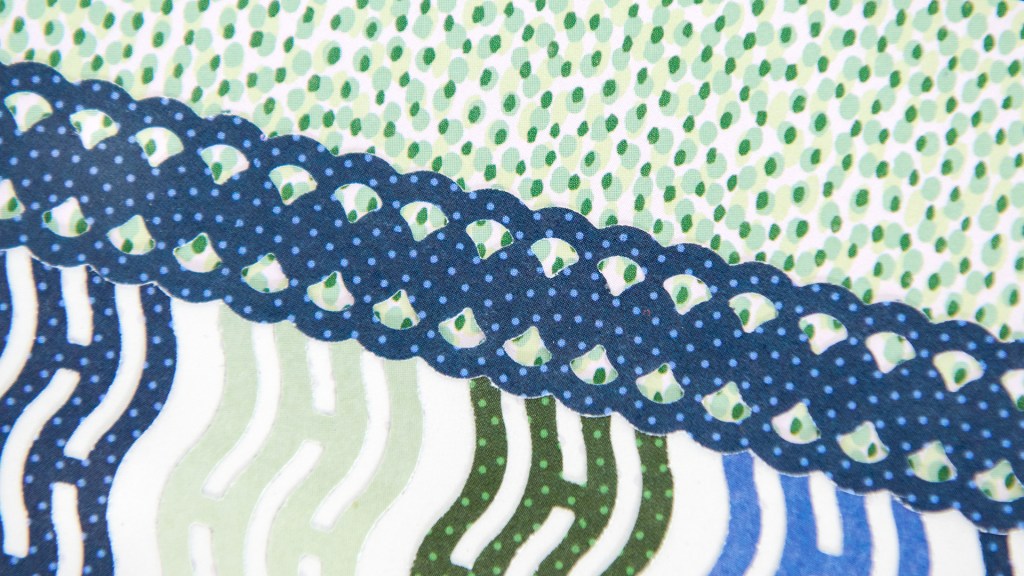
Teardrop Lattice Border
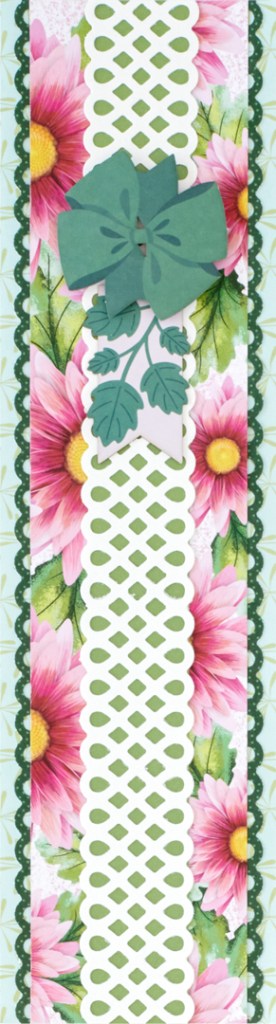
Step 1: Cut a 3-1/4″ x 12″ strip of lime tart block-print succulents paper for the base.
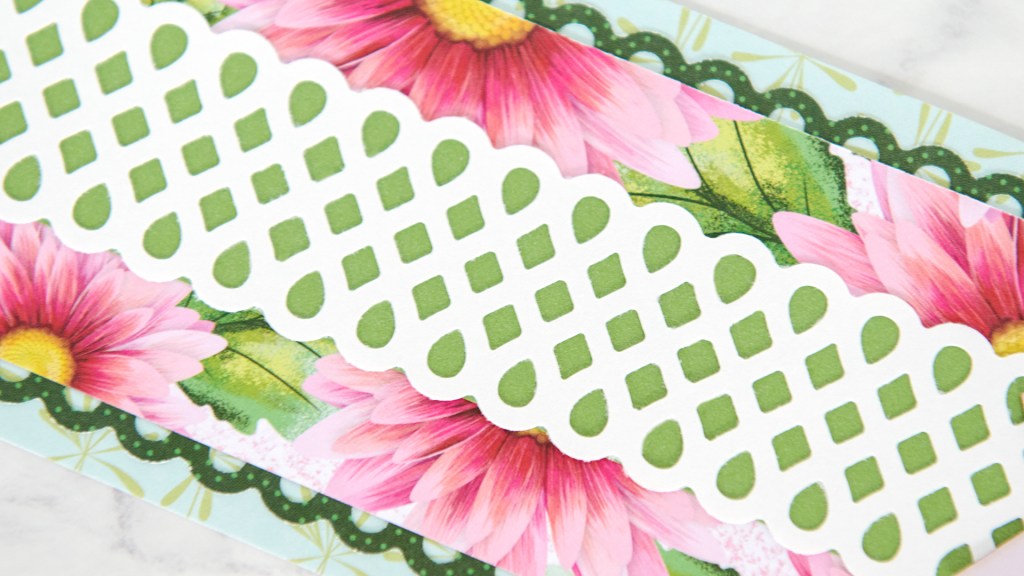
Step 2: Cut a 2-1/2″ x 12″ strip with jazzberry bold chrysanthemums paper. Using the Teardrop Lattice Border Punch, punch a border with lime tart dotted scallops paper. Cut in half lengthwise. Adhere behind the bold chrysanthemums strip as shown. Mount on the base.
Step 3: Using the Teardrop Lattice Border Punch, punch a border with White Solid Cardstock. Cut a 1-1/8″ x 12″ strip with Parakeet Shimmer Solid Cardstock and adhere behind the lattice border. Mount on the border.
Step 4: Adhere embellishments.
Treeline Border

Step 1: Cut a 12″ x 3″ strip with capri blue ombré wash paper for the base.
Step 2: Using the Treeline Border Punch, punch a border with lime tart dotted scallops paper. Trim to 12″ x 2-1/4″ and adhere on the base.
Step 3: Using the swell edge of the 12-inch Decorative Trimmer, cut a 12″ x 1-3/4″ strip with capri blue layered dots paper and adhere on the border. Using the swell edge of the 12-inch Decorative Trimmer, cut a 12″ x 1-1/4″ strip with lime tart petite leaves paper and adhere on top of the layered dots piece. Using the swell edge of the 12-inch Decorative Trimmer, cut a 12″ x 3/4″ strip with capri blue chevrons paper and mount on top.
Step 4: Adhere embellishments.
For details on the promotion, visit: US | CA | AU.
Which of these tools will you get?! Which of these mix and match scrapbooking projects has you feeling the happy harmony of hues and design?

[…] This page sort of snuck through as part of the whirlwind Tools Buffet Promotion in early August 2022. I just love the blues and greens of the page and the River Waves Border Punch is one of my favorites from this year. I am going to have to make it off limits for my demo layout tomorrow, but it’s definitely a great one! You can find the original blog post HERE. […]