September 30, 2022
Harvest A Bounty Of Fall Scrapbook Borders
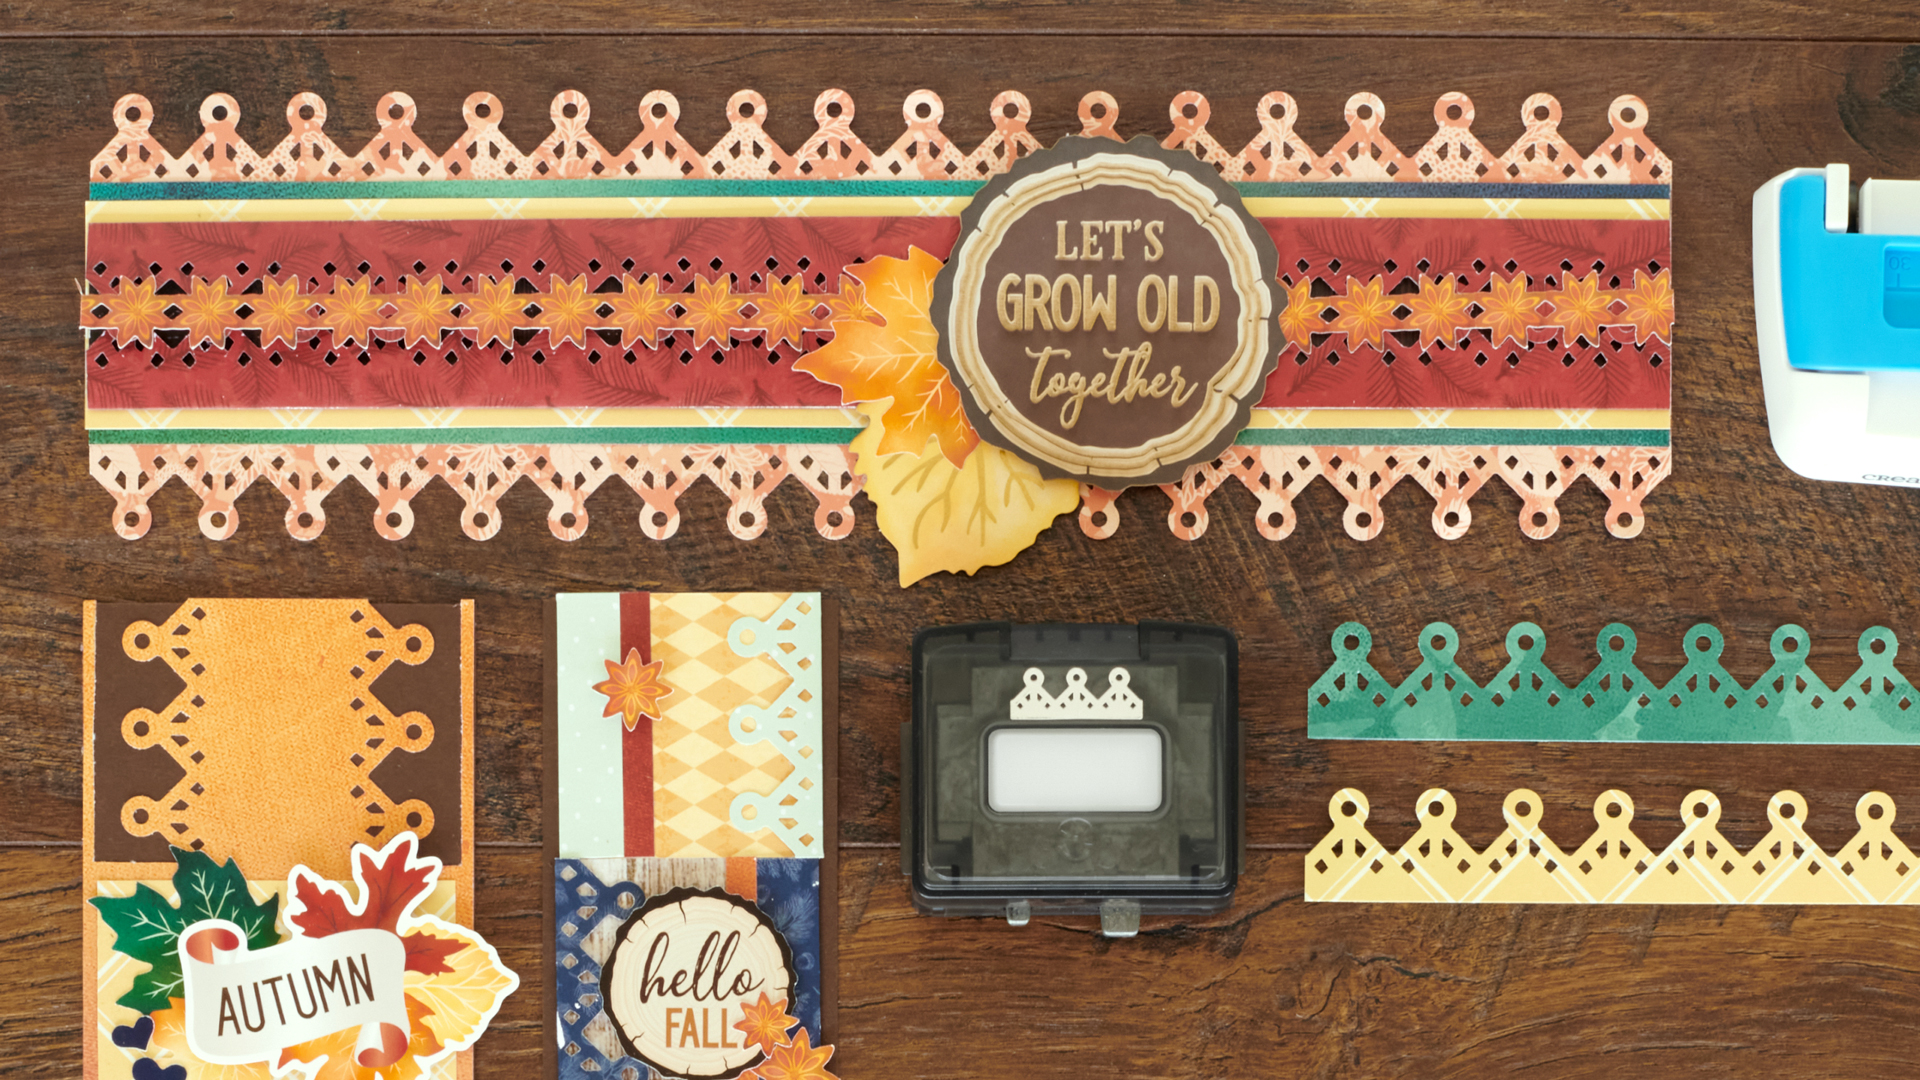
Autumn is a whole lot of fun, from the apple picking and hayrides, pumpkin-spiced goodies and cider tastings, falling foliage and jumping into the leaves! You know what else is a hole lot of fun? Why, the Pyramid Hole Border Maker Cartridge — literally! It’s perfect for any sort of themed layouts and projects, from birthdays and vacations to everyday moments at home… and these fall scrapbook borders!

To create these borders, you will need:
- Golden Harvest Paper Pack or (Shop Canada | Shop Australia)
- Golden Harvest Tone-on-Tone Paper Pack or (Shop Canada | Shop Australia)
- Golden Harvest Stickers or (Shop Canada | Shop Australia)
- Golden Harvest Laser Cut Foiled Embellishments or (Shop Canada | Shop Australia)
- Hot Fudge Solid Cardstock or (Shop Canada | Shop Australia)
- Original Border Maker System with Pyramid Keyhole Border Maker Cartridge or (Shop Canada | Shop Australia)
- 12-inch Trimmer with Straight & Scoring Blades or (Shop Canada | Shop Australia)
- Tape Runner or (Shop Canada | Shop Australia)
- Repositionable Tape Runner or (Shop Canada | Shop Australia)
- Precision Point Adhesive Pen or (Shop Canada | Shop Australia)
- Foam Squares or (Shop Canada | Shop Australia)

Hello Fall Border
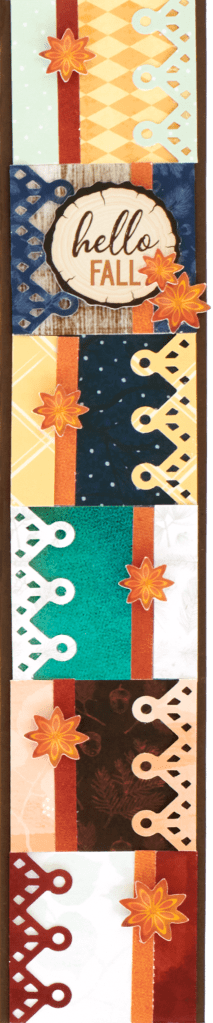
Step 1: Cut a piece of Hot Fudge Solid Cardstock to measure 2-1/4″ x 12″ for the base of the border.
Step 2: Cut six pieces from a variety of papers to measure 3-1/2″ x 2″.
Step 3: Using the Pyramid Keyhole Border Maker Cartridge, punch one side of each piece of paper.
Step 4: Using the 12-inch Trimmer and the Scoring Blade, score at 3/4″ on the punched side and 1/2″ on the other side. Fold those pieces over and adhere. (The Precision Point Adhesive Pen works best!)
Step 5: Align and adhere each of the segments on the cardstock base.
Step 6: Cut six pieces of ombré orange tonal paper to measure 2″ x 1/4″. Adhere along the folded straight edge of each segment.
Step 7: Adhere stickers, adding Foam Squares to some for added dimension.
Let’s Grow Old Together Border
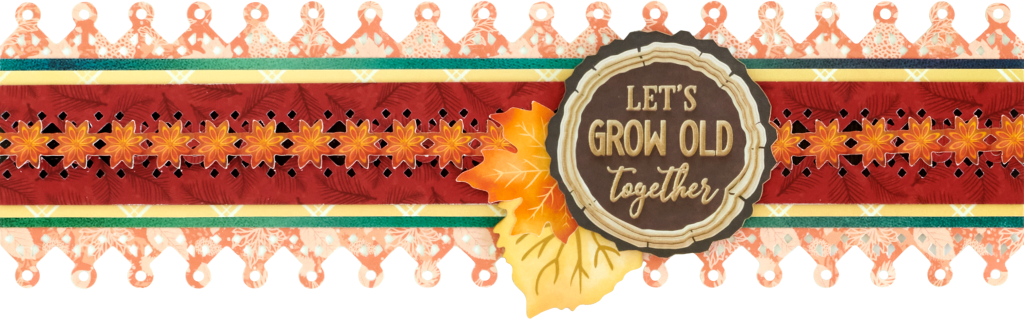
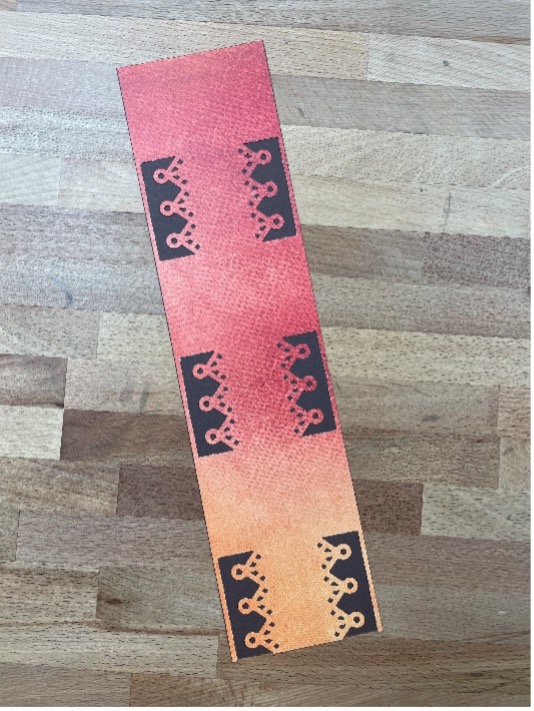
Step 1: Cut a piece of the orange falling leaves designer paper to measure 12″ x 4″.
Step 2: Using the Pyramid Keyhole Border Maker Cartridge, punch along both edges of the paper. Use this piece as the base of the border.
Step 3: Cut a piece of the ombré green tonal paper to measure 12″ x 2″. Adhere to the border.
Step 4: Cut a piece of the yellow simple plaid designer paper to measure 12″ x 1-3/4″. Adhere to the border.
Step 5: Cut a piece of red leaf fabric designer paper to measure 12″ x 3-1/2″. Punch both sides of the paper with the Pyramid Keyhole Border Maker Cartridge. Score from each side at 3/4″. Fold both sides so they overlap in the middle. Adhere this piece to the front of the border.
Step 6: Adhere stickers and embellishments, using Foam Squares on some for additional dimension.
Autumn Border
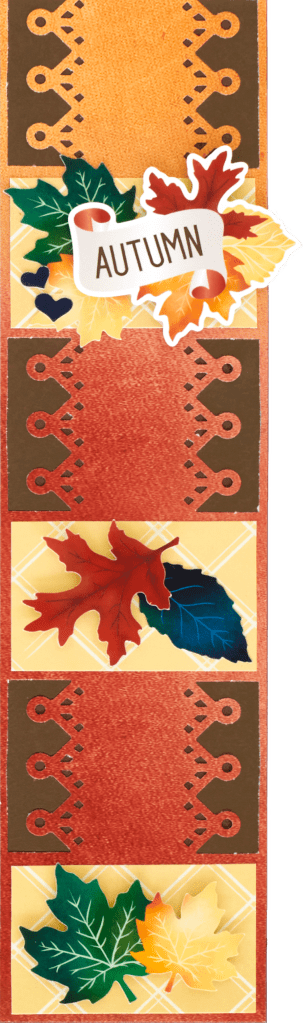
Step 1: Cut a piece of Hot Fudge Solid Cardstock to measure 3″ x 12″. Use this as the base of the border.
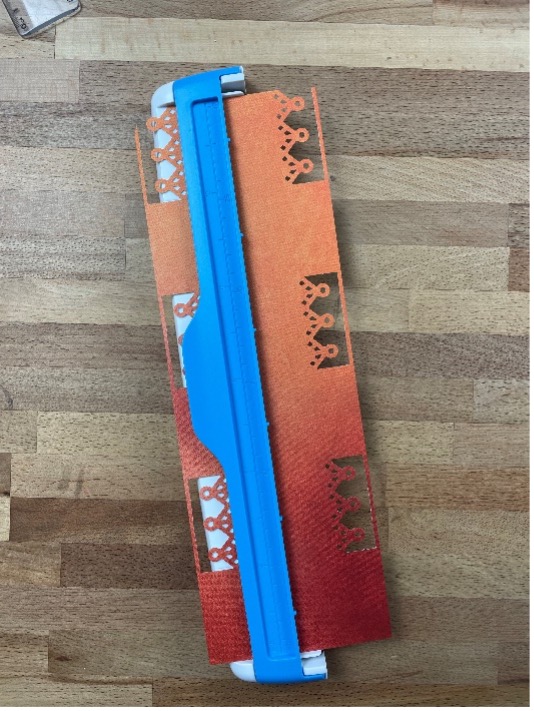
Step 2: Cut a piece of ombré orange tonal paper to measure 3″ x 12″. Using the Pyramid Keyhole Border Maker Cartridge, punch on both sides at every other notch, as shown. Adhere this piece of paper to the top of the cardstock.
Step 3: Cut three pieces of yellow simple plaid designer paper to measure 2-3/4″ x 1-3/4″. Adhere to the open areas.
Step 4: Adhere stickers to the yellow pieces, using Foam Squares on some for added dimension.
Would you add these fall scrapbook borders to an next autumn-themed layout? Which one are you fall-ing for most?

Like this collection
I love to see what you come up with. Thank you for the inspiration.