June 6, 2023
Wave A Wand-erful And Pretty Presence With This Princess Themed Scrapbook Layout

Once upon a time…
Actually, the time is now — create layouts and projects with the dreamy and delightful Enchanted Princess collection! It’s perfect for focusing on your little one’s fairy tale moments, princess-themed birthday parties and sleepovers, amusement or theme park trips, playing dress up and other magical and momentous times worth remembering. (Don’t forget there’s also the Enchanted Wizard collection for other spellbinding sensations, too! Check out the blog we posted last week on it here!) Dote on your pretty-as-a-princess memories with this princess themed scrapbook layout that is simply wand-erful!
To create this layout you will need:
- Enchanted Princess Paper Pack or (Shop Canada | Shop Australia)
- Enchanted Princess Stickers or (Shop Canada | Shop Australia)
- Enchanted Wizard & Princess Variety Mat Pack or (Shop Canada | Shop Australia)
- Purple Ice Solid Cardstock or (Shop Canada | Shop Australia)
- Custom Cutting System with Circle & Gemstone Patterns or (Shop Canada | Shop Australia)
- 12-inch Trimmer or (Shop Canada | Shop Australia)
- 12-inch Decorative Trimmer or (Shop Canada | Shop Australia)
- Micro-Tip Scissors (Shop Canada | Shop Australia)
- Tape Runner or (Shop Canada | Shop Australia)
- Repositionable Tape Runner or (Shop Canada | Shop Australia)
- Foam Squares or (Shop Canada | Shop Australia)
- Navy Dual-Tip Pen or (Shop Canada | Shop Australia)

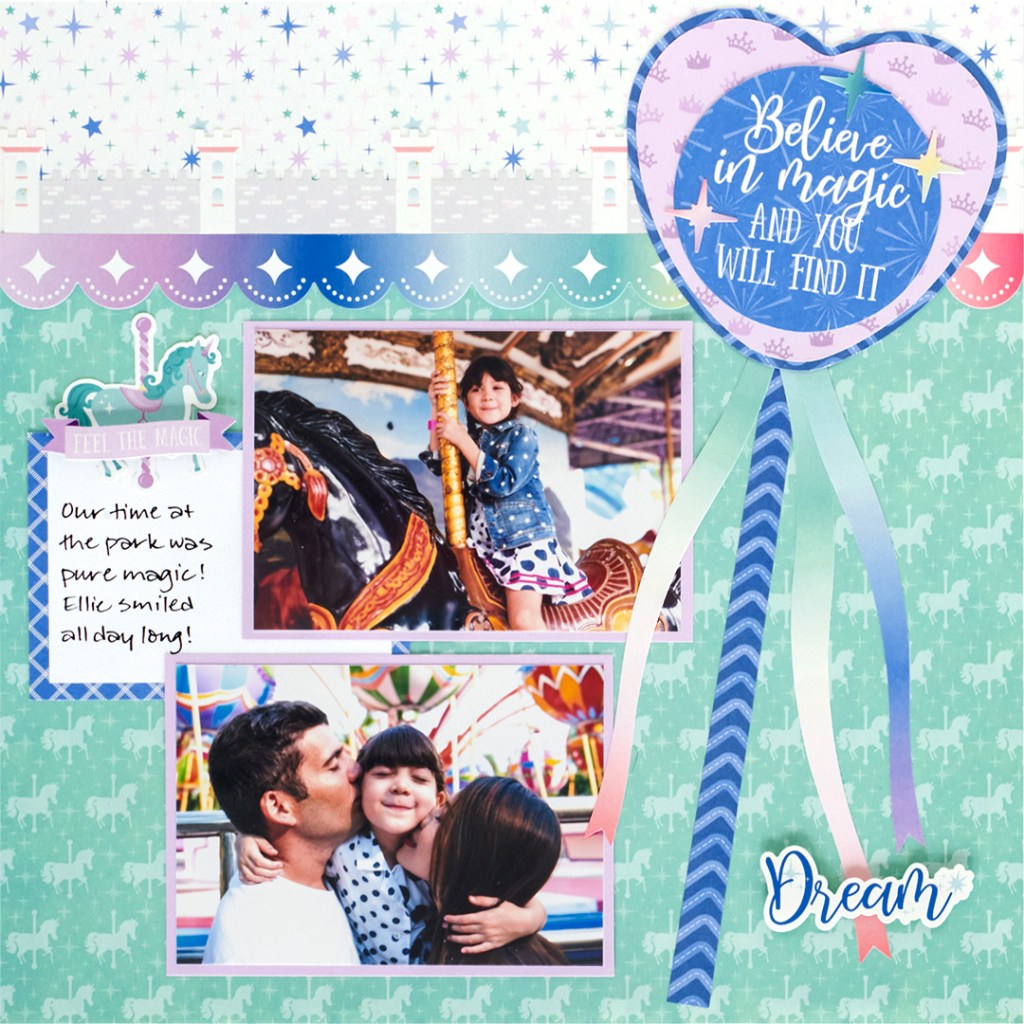
Step 1: Use a piece of magical unicorns paper as the base for this layout. Cut a 12” x 3” strip with sparkling stars paper and adhere on the top edge of the layout. Adhere scallops and castles border stickers along the seam.
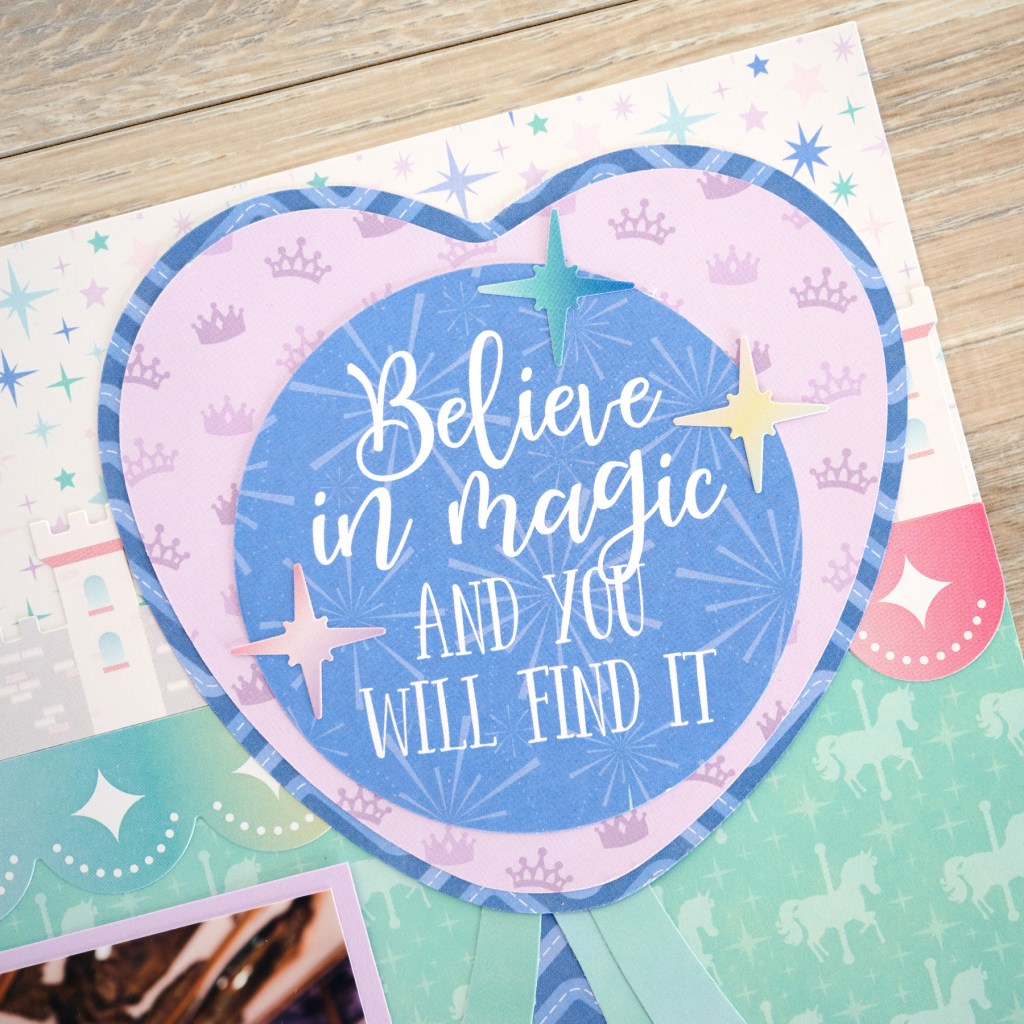
Step 2: Using the outside edge of the smallest heart Gemstone Custom Cutting System Pattern and the Green Blade, cut a heart with crowns paper. Using the Blue Blade and the same pattern, cut a heart with blue chevron paper. Using the inside edge of the largest Circle Custom Cutting System Pattern and the Green Blade, cut a circle from the “Believe in magic…” variety mat. Layer and adhere the three shapes and adhere on the upper-right corner of the layout.
Step 3: Cut a 1/2″ x 8” strip with blue chevron paper, tapering one end slightly. Tuck the tapered end underneath the heart to make a fairy wand. Using the swell edge of the 12-inch Decorative Trimmer, cut three “ribbons” with rainbow paper. (Tip: Make the first cut with the paper aligned at the top edge of the trimmer. Slide the paper to the bottom edge, aligned at about 1/2″ and make the next cut. Repeat to create three varied-width strips that look more like ribbons.) Adhere as shown on the “wand.”
Step 4: Crop two photos to 5” x 3-1/2” and mount on two 5-1/4” x 4” mats cut from Purple Ice Solid Cardstock. Adhere on the layout. Cut a blue journal box from a large variety mat and tuck in between the photos as shown.
Step 5: Add stickers and journal as desired.
What do you think of the Enchanted Princess collection? Will you wave your creative magic on this princess themed scrapbook layout?
P.S. Are YOU a member of the Virtual Crop Facebook Group? It’s your go-to place for MONTHLY Virtual Crops, MONTHLY Completed Album Challenges, WEEKLY LIVE STREAMING of Fast & Fun Projects with Noreen, LIVE QUARTERLY Secret Box Openings with project tutorials and so much more! We hope you’ll join our community of more than 33,000 fellow memory-keeping enthusiasts — you’ll feel right at home!
