January 22, 2024
It’s Building Time: Renovation Scrapbook Layout

Welcome to the construction zone! Today’s task — build this renovation scrapbook layout that features a D.I.Y. paper fence! Grab your tools because to create the fence planks you’ll be using the handy 45-degree line on your 12-inch Trimmer. And trust us, that 45-degree line will have you wishing that building a real fence was this easy!

To create this layout you will need:
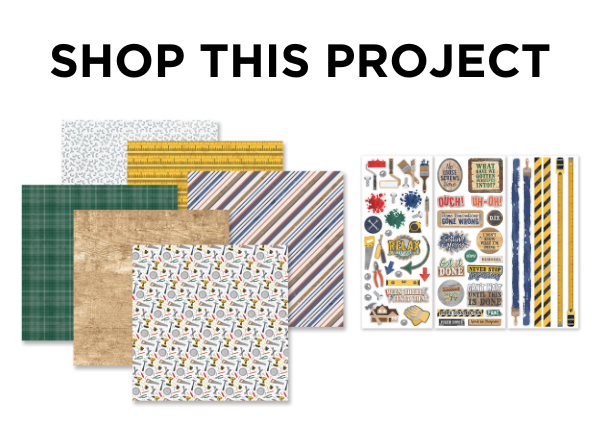
- Riveting Paper Pack or (Shop Canada | Shop Australia)
- Riveting Stickers or (Shop Canada | Shop Australia)
- Blue Solid Cardstock or (Shop Canada | Shop Australia)
- 12-inch Trimmer or (Shop Canada | Shop Australia)
- Tape Runner or (Shop Canada | Shop Australia)
- Repositionable Tape Runner or (Shop Canada | Shop Australia)
- Foam Tape or (Shop Canada | Shop Australia)
- Foam Squares Variety Pack or (Shop Canada | Shop Australia)
- Brown Dual-Tip Pen or (Shop Canada | Shop Australia)

Step 1: Use lumber paper as the base for the layout.
Step 2: Adhere the caution tape border sticker along the top edge of the layout.
Step 3: Cut a piece of crinkled paper to measure 12” x 1/2”. Adhere just under the border sticker.
Step 4: Cut a piece of Blue Solid Cardstock to measure 12” x 3”.
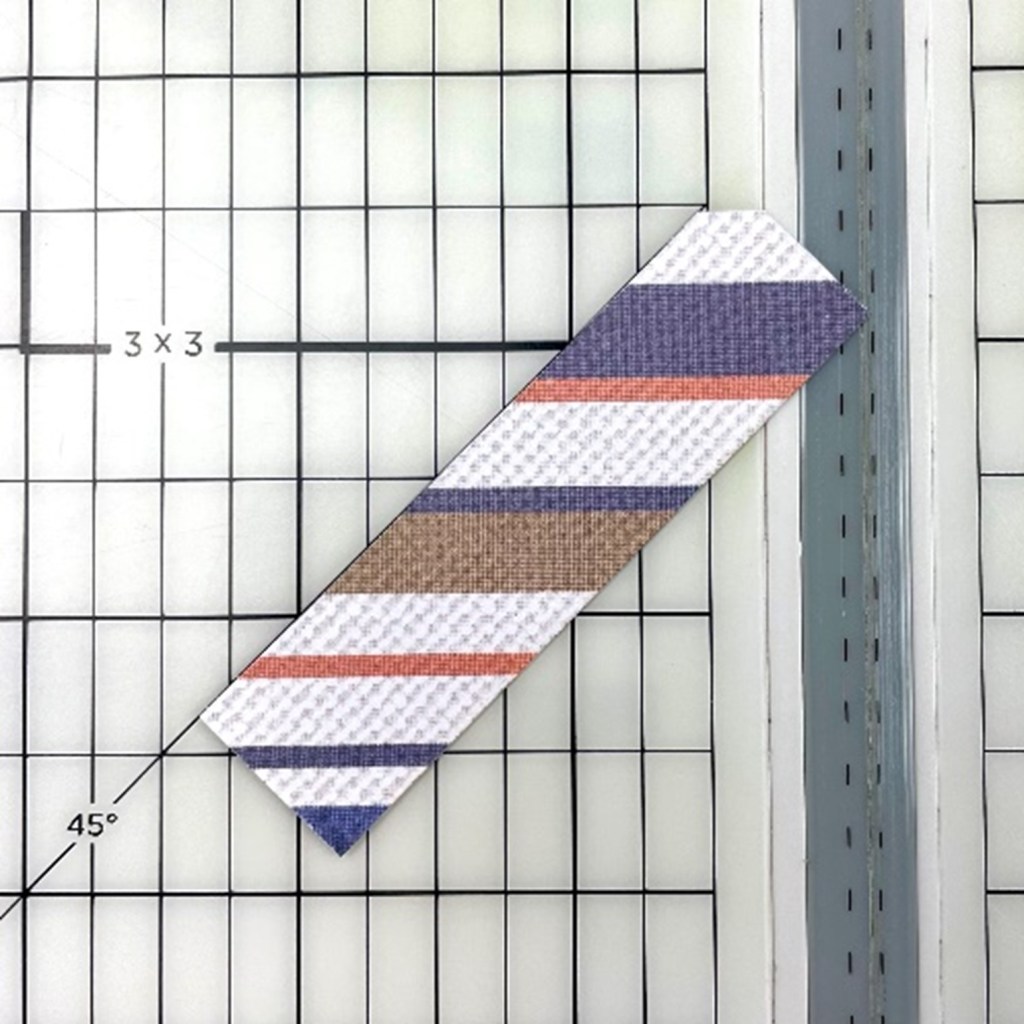
Step 5: Cut 15 pieces of a variety of patterns of paper to measure 3/4” x 2-3/4”. Place each piece along the 45-degree line on the 12-inch Trimmer with the upper-right corner touching the 1/8” line to the right of the cut line (shown below). Then cut. Flip the piece of paper over, then repeat this step. This gives the corners the look that emulates the top of the fence posts.
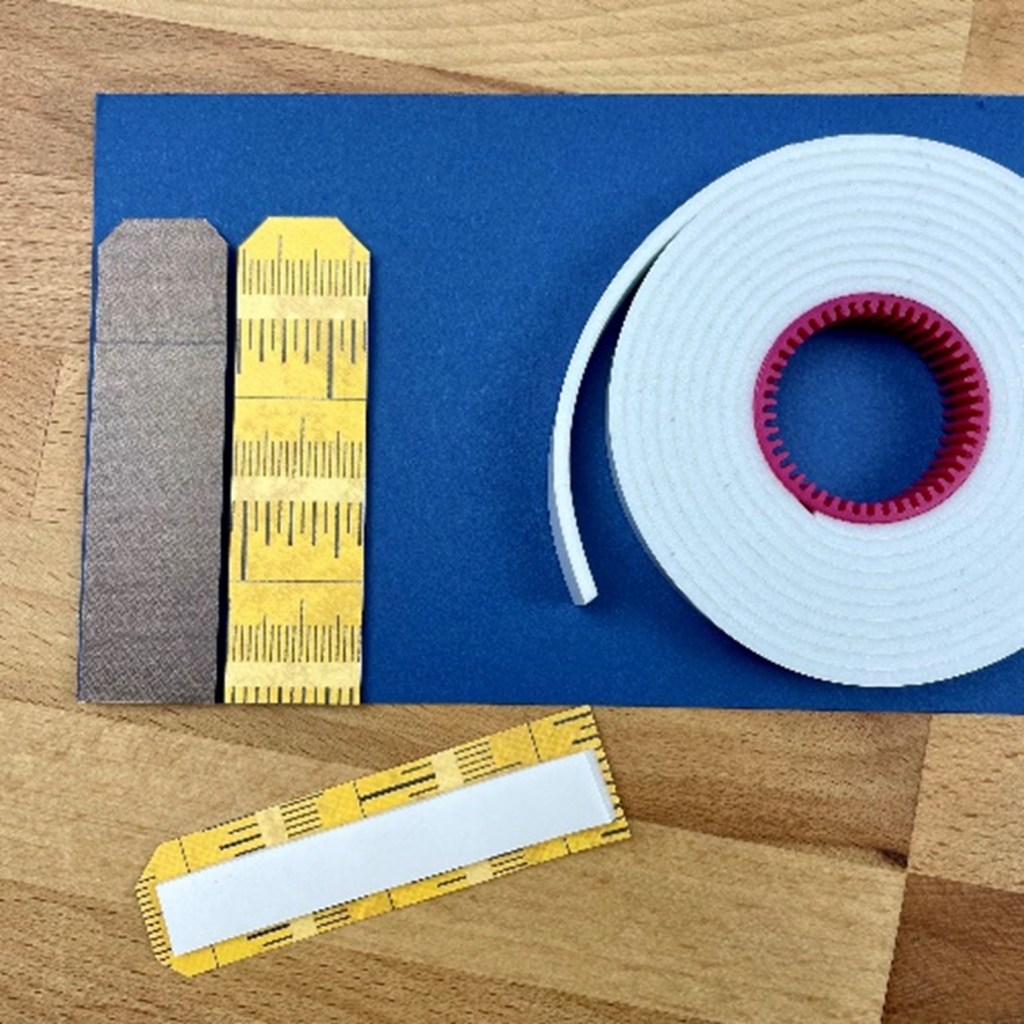
Step 6: Adhere each strip to the bottom edge of the Blue Solid Cardstock strip using Foam Tape.
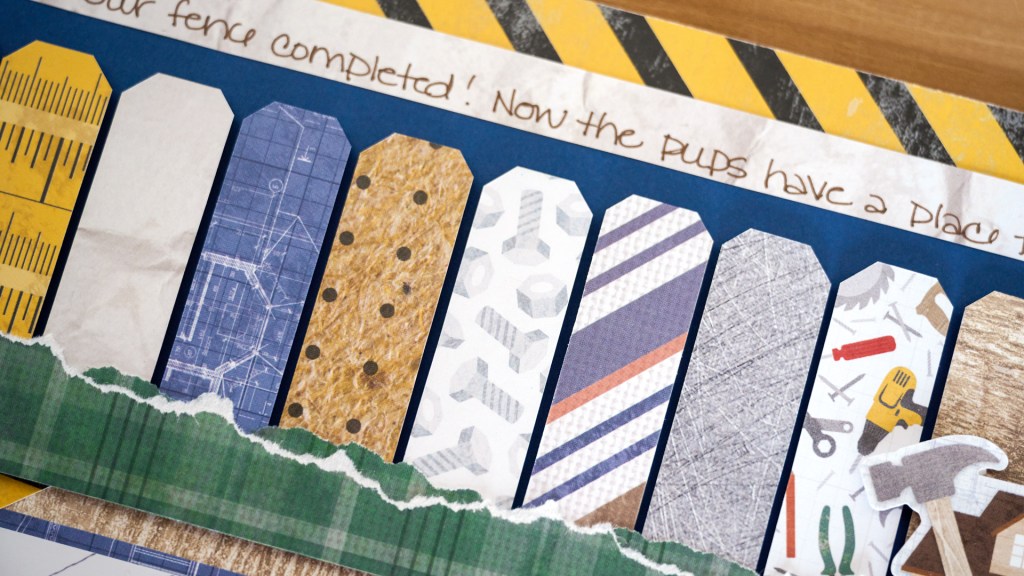
Step 7: Tear two pieces of green plaid paper that measure 12” x 3/4”. Layer and place on the bottom edge of the fence posts.
Step 8: Cut 4 photo mats from blueprint paper that measure 5-3/4” x 3-3/4”. Adhere to the layout.
Step 9: Adhere 4 photos that measure 5-1/2” x 3-1/2” to the mats.
Step 10: Adhere stickers to the layout, using Foam Squares on some for dimension.
Step 11: Journal as desired.
Will you be giving Melissa’s paper fence technique a try? What D.I.Y. projects have you done lately?
P.S. Are YOU a member of the Virtual Crop Facebook Group? It’s your go-to place for MONTHLY Virtual Crops, MONTHLY Completed Album Challenges, WEEKLY LIVE STREAMING of Fast & Fun Projects with Noreen, LIVE QUARTERLY Secret Box Openings with project tutorials and so much more! We hope you’ll join our community of more than 37,000 fellow memory-keeping enthusiasts — you’ll feel right at home!
