February 21, 2024
Come One, Come All To See This Amusement Park Scrapbooking Layout

Step right up and try your hand at this carnival booth layout created by blog contributor Sachiyo Omitsu! Using materials from the Adventure Parks collection, the Custom Cutting System, 12-inch Trimmer and a border punch, you’ll rollercoast through this prize of a design. Keep reading to see how you can recreate this amusement park scrapbook layout!

To create this layout you will need:
- Adventure Parks Paper Pack or (Shop Canada | Shop Australia)
- Adventure Parks Fast2Fab™-Inspired Designer Paper Pack or (Shop Canada | Shop Australia)
- Adventure Parks Embellishments or (Shop Canada | Shop Australia)
- Admission Ticket Border Punch or (Shop Canada | Shop Australia)
- White & Black Solid Cardstocks or (Shop Canada | Shop Australia)
- Custom Cutting System with Circle Patterns or (Shop Canada | Shop Australia)
- 12-inch Trimmer with Straight & Scallop Blades or (Shop Canada | Shop Australia)
- All-Purpose Scissors or (Shop Canada | Shop Australia)
- Tape Runner or (Shop Canada | Shop Australia)
- Repositionable Tape Runner or (Shop Canada | Shop Australia)
- Foam Tape or (Shop Canada | Shop Australia)


Step 1: Use the bursts stars Fast2Fab™-Inspired designer paper as the base of this layout.
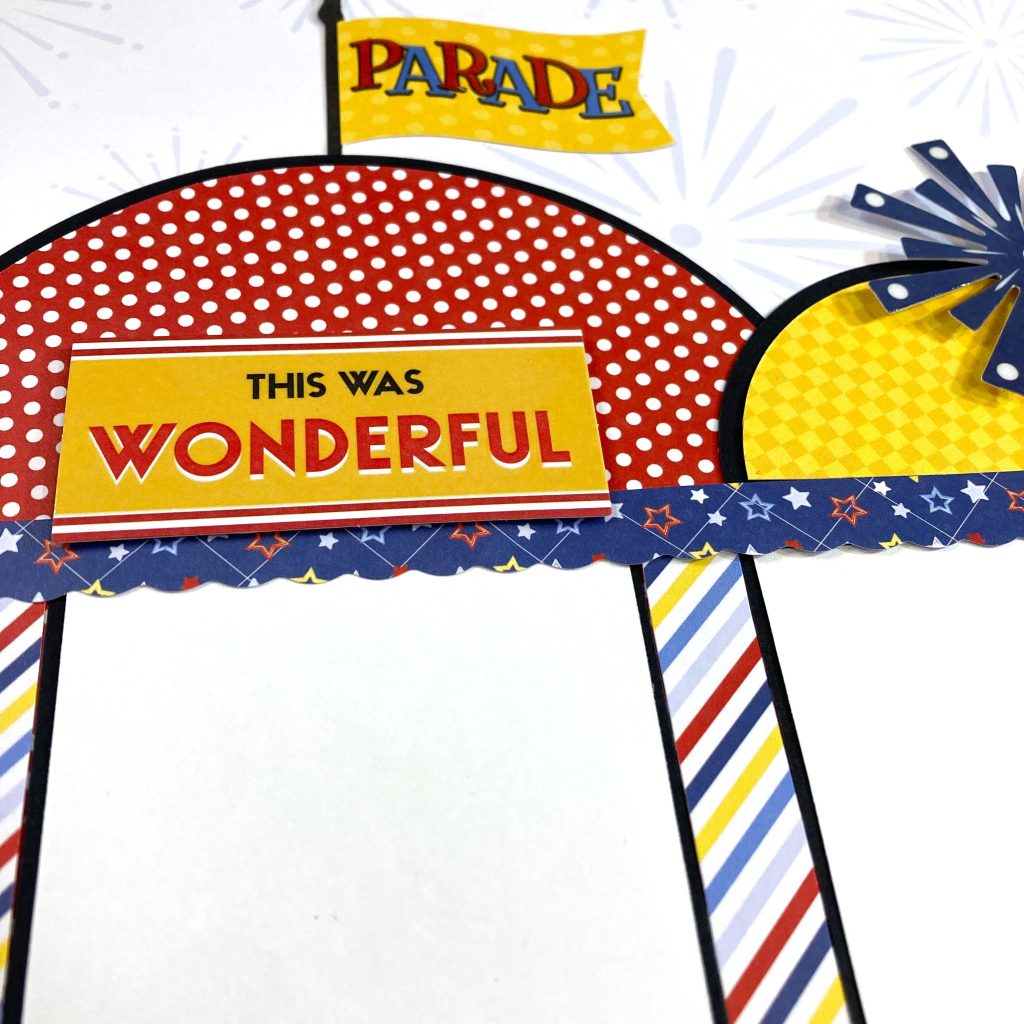
Step 2: Cut the following segments to make the carnival booth —
- Roof:
- Using the outside edge of the largest Circle Custom Cutting System Pattern and the Green Blade, cut a circle from a piece of Black Solid Cardstock. Using the outside edge of the largest Circle Custom Cutting System Pattern and the Red Blade, cut a circle from red polka dots paper. Adhere to the middle of the black circle.
- Using the inside edge of the largest Circle Custom Cutting System Pattern and the Red Blade, cut a circle from a piece of Black Solid Cardstock. Using the inside edge of the largest Circle Custom Cutting System Pattern and the Green Blade, cut a circle from yellow checkered paper. Adhere to the middle of the black circle and cut in half.
- Columns:
- Cut two 12” x 1/2” strips from diagonal stripe paper. Cut both strips at 5” so you have two 7” strips and two 5” strips.
- Cut two 1/8” wide strips from Black Solid Cardstock.
- Window Awnings:
- Use the 12-inch Trimmer with the Scallop Blade to cut the edge of the stars patterned paper, so the edge of the paper has a scallop pattern. Using the 12-inch Trimmer with the Straight Blade, cut the strip to measure 12” x 1/2”. Using the 45-degree line on the 12-inch Trimmer, cut both ends diagonally.
- Mats:
- Cut three mats to measure 3” x 4” from White Solid Cardstock. Cut three mats to measure 3-1/8” x 4-1/8” from Black Solid Cardstock. Adhere them together to make a double mat.

Step 3: Assemble the carnival booth as shown above.
Step 4: Use the Admission Ticket Border Punch to punch a border from Black Solid Cardstock. Cut out three tickets and add to the page.


Step 5: Adhere the stickers and embellishments, using Foam Squares on some for added dimension.
How fun was this amusement park scrapbook layout?! Are you feeling inspired to create more spreads with the Adventure Parks collection?
P.S. Are YOU a member of the Virtual Crop Facebook Group? It’s your go-to place for MONTHLY Virtual Crops, MONTHLY Completed Album Challenges, WEEKLY LIVE STREAMING of Fast & Fun Projects with Noreen, LIVE QUARTERLY Secret Box Openings with project tutorials and so much more! We hope you’ll join our community of more than 38,000 fellow memory-keeping enthusiasts — you’ll feel right at home!

Absolutely LOVE this!!
Absolutely ? beautiful ????
So bright and cheery, just wonderful