August 19, 2024
A Travel Layout For Global Tales

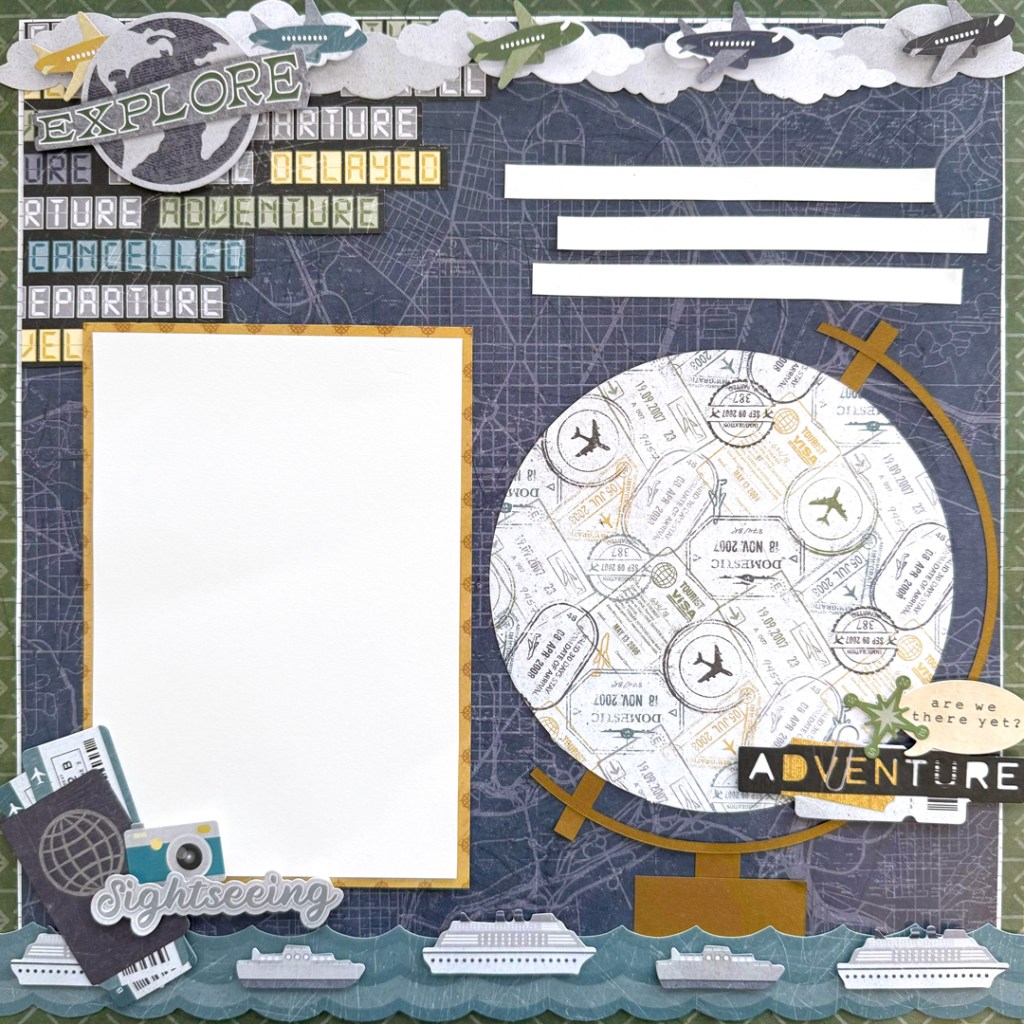
Set forth for scrapbooking with this Passport to Adventure layout! Create a globe, a flipboard and more to bring the travel vibes from your vacation straight to your scrapbook. Keep reading to see how you can recreate this travel layout!
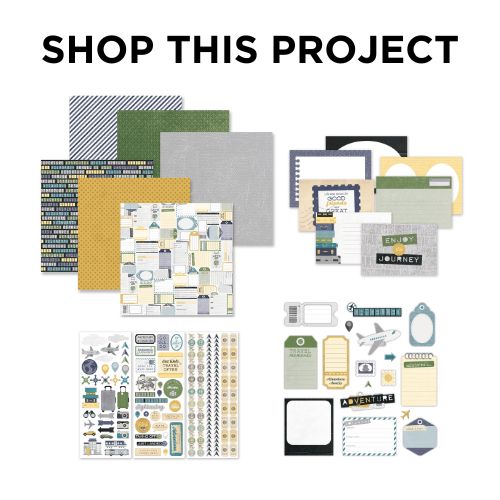
To create this layout you will need:
- Passport to Adventure Paper Pack or (Shop Canada | Shop Australia)
- Passport to Adventure Stickers or (Shop Canada | Shop Australia)
- Passport to Adventure Embellishments or (Shop Canada | Shop Australia)
- Passport to Adventure Layered Borders or (Shop Canada | Shop Australia)
- White Solid Cardstock or (Shop Canada | Shop Australia)
- Bronze Shimmer Solid Cardstock or (Shop Canada | Shop Australia)
- Custom Cutting System with Circle Patterns or (Shop Canada | Shop Australia)
- 12-inch Trimmer or (Shop Canada | Shop Australia)
- All-Purpose Scissors or (Shop Canada | Shop Australia)
- Tape Runner or (Shop Canada | Shop Australia)
- Repositionable Tape Runner or (Shop Canada | Shop Australia)
- Foam Squares Variety Pack or (Shop Canada | Shop Australia)

Step 1: Use a piece of the arrows paper as the base of this layout. Cut a piece of the grid paper to measure 11-1/2” x 11-1/2” and add to the base. Cut a piece of the map paper to measure 11-3/8” x 11-3/8” and add to the base.
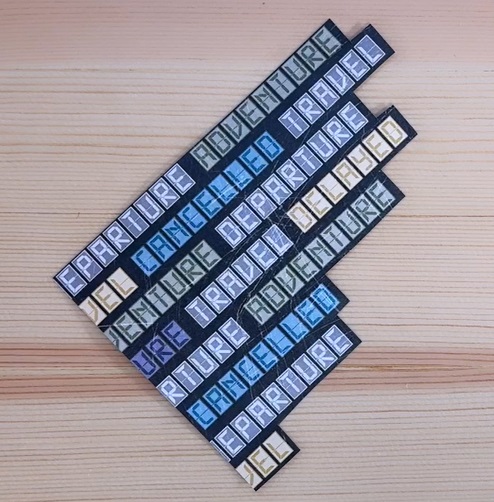
Step 2: Use scissors to cut the flip board paper as shown above and add to the page.
Step 3: Cut the following segments to create the globe:
- Globe: Using the outside edge of the medium Circle Custom Cutting System Pattern and the Blue Blade, cut a circle from the stamps paper.
- Latitude ruler: Using the outside edge of the large Circle Custom Cutting System Pattern and the Blue and Green Blades, cut a ring from Bronze Shimmer Solid Cardstock.
- Axis: Cut two 1/4” x 1” strips from a piece of Bronze Shimmer Solid Cardstock.
- Base: Cut one 1/2” x 1/2” piece and 2” x 1” from a piece of Bronze Shimmer Solid Cardstock.


Use the 13×13 Custom Cutting System Mat as the guide, assemble the globe as shown. Axis pieces are placed on the 60-degree line of the cutting mat. Trim the latitude ruler approximately at 3/4” from the axis.
Step 4: Cut a mat to measure 4-1/2” x 6-1/2” from a piece of the compass paper. Cut a mat to measure 4-1/4” x 6-1/4” from a piece of White Solid Cardstock and adhere it to the compass mat to create a double-mat. Add to the page.
Step 5: Cut a picture using the outside of the small Circle Custom Cutting System Pattern and the Red Blade. Add to the middle of the globe.
Step 6: Cut three strips to measure 5” x 3/8” from a piece of White Solid Cardstock for journaling. Add to the page.

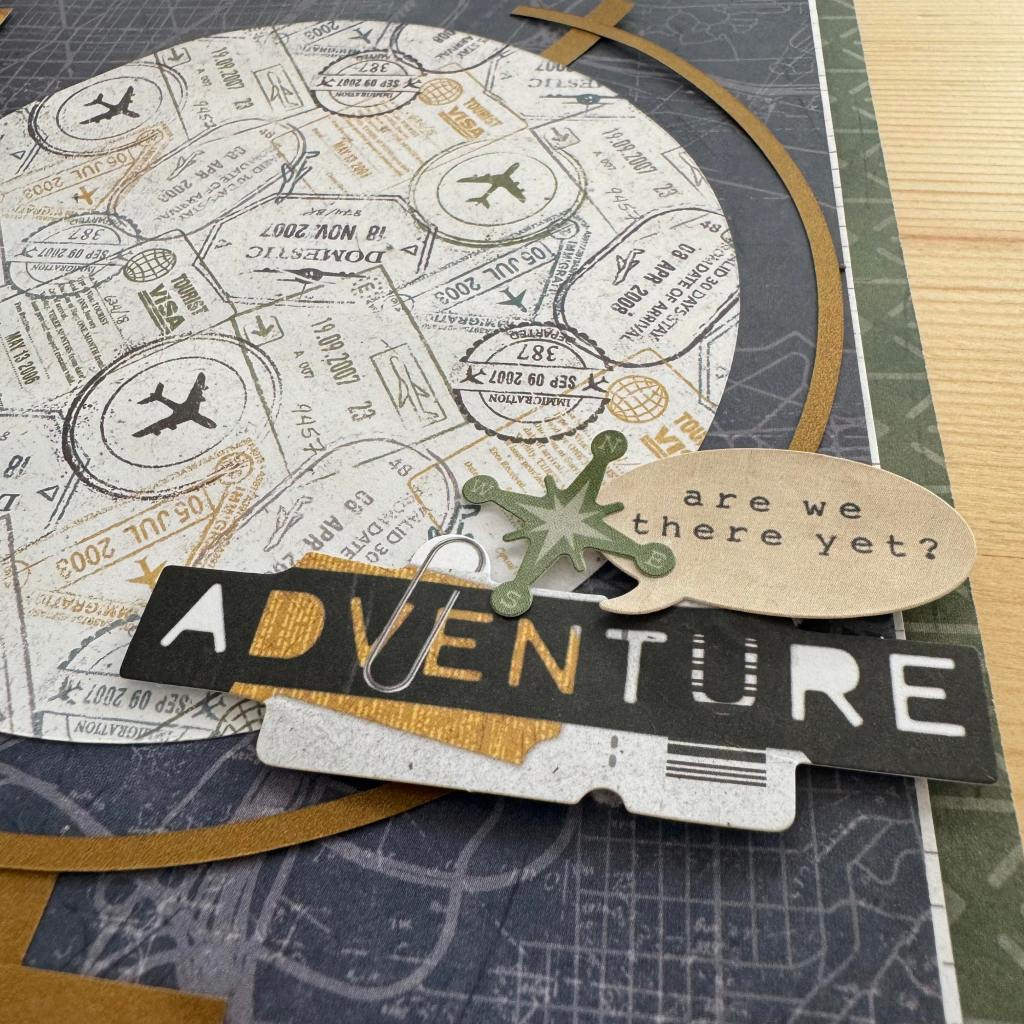
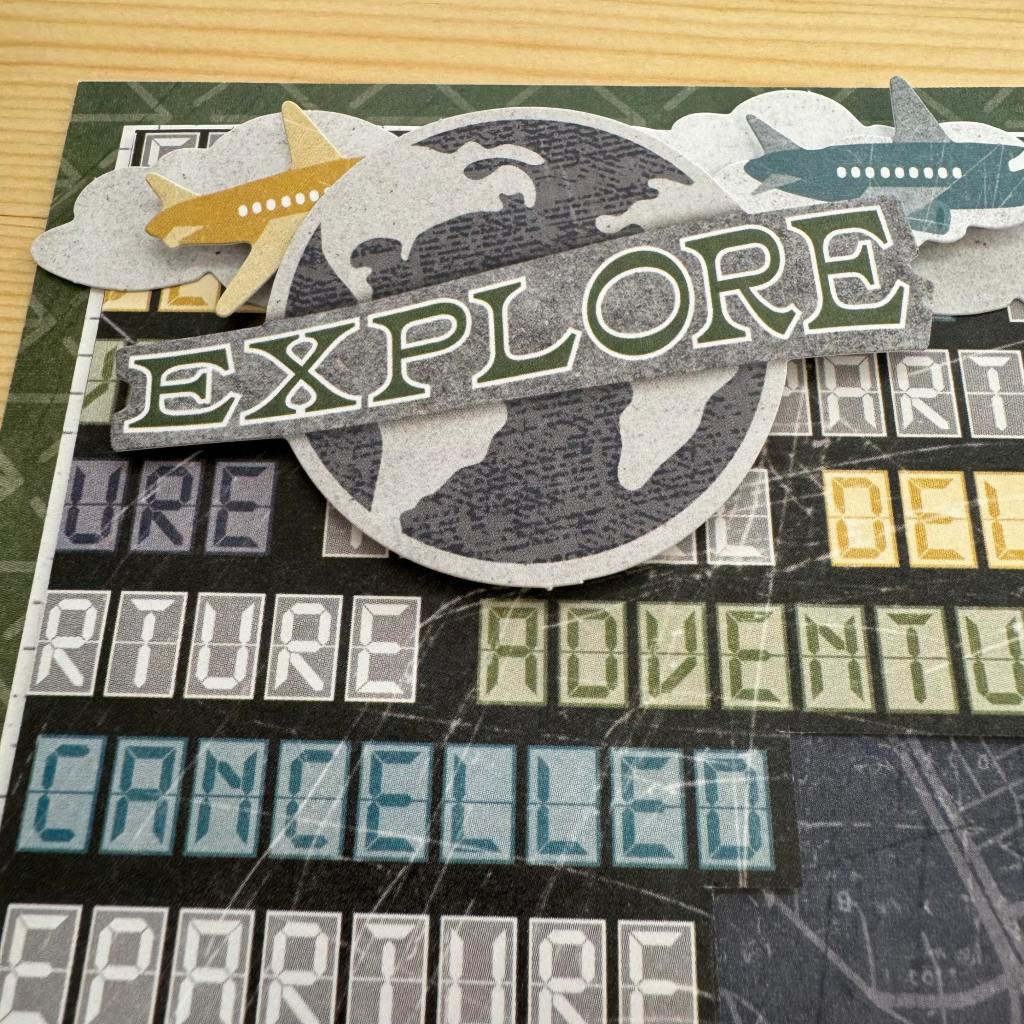
Step 7: Adhere the globe, stickers and embellishments, using Foam Squares on some for added dimension.
Did you go on any vacations recently? Do you have travel plans for next year?
P.S. Are YOU a member of the Virtual Crop Facebook Group? It’s your go-to place for MONTHLY Virtual Crops, MONTHLY Completed Album Challenges, QUARTERLY Secret Box Openings with project tutorials and so much more! We hope you’ll join our community of more than 40,000 fellow memory-keeping enthusiasts — you’ll feel right at home!

This would be a great title page for a travel album.
I love it Sachi. FUN & easy to create. Thank you.
I loved this page! I used it as the title page for the album of our France trip!