October 5, 2026
A Timeless Tree Layout with Timeless Tidings
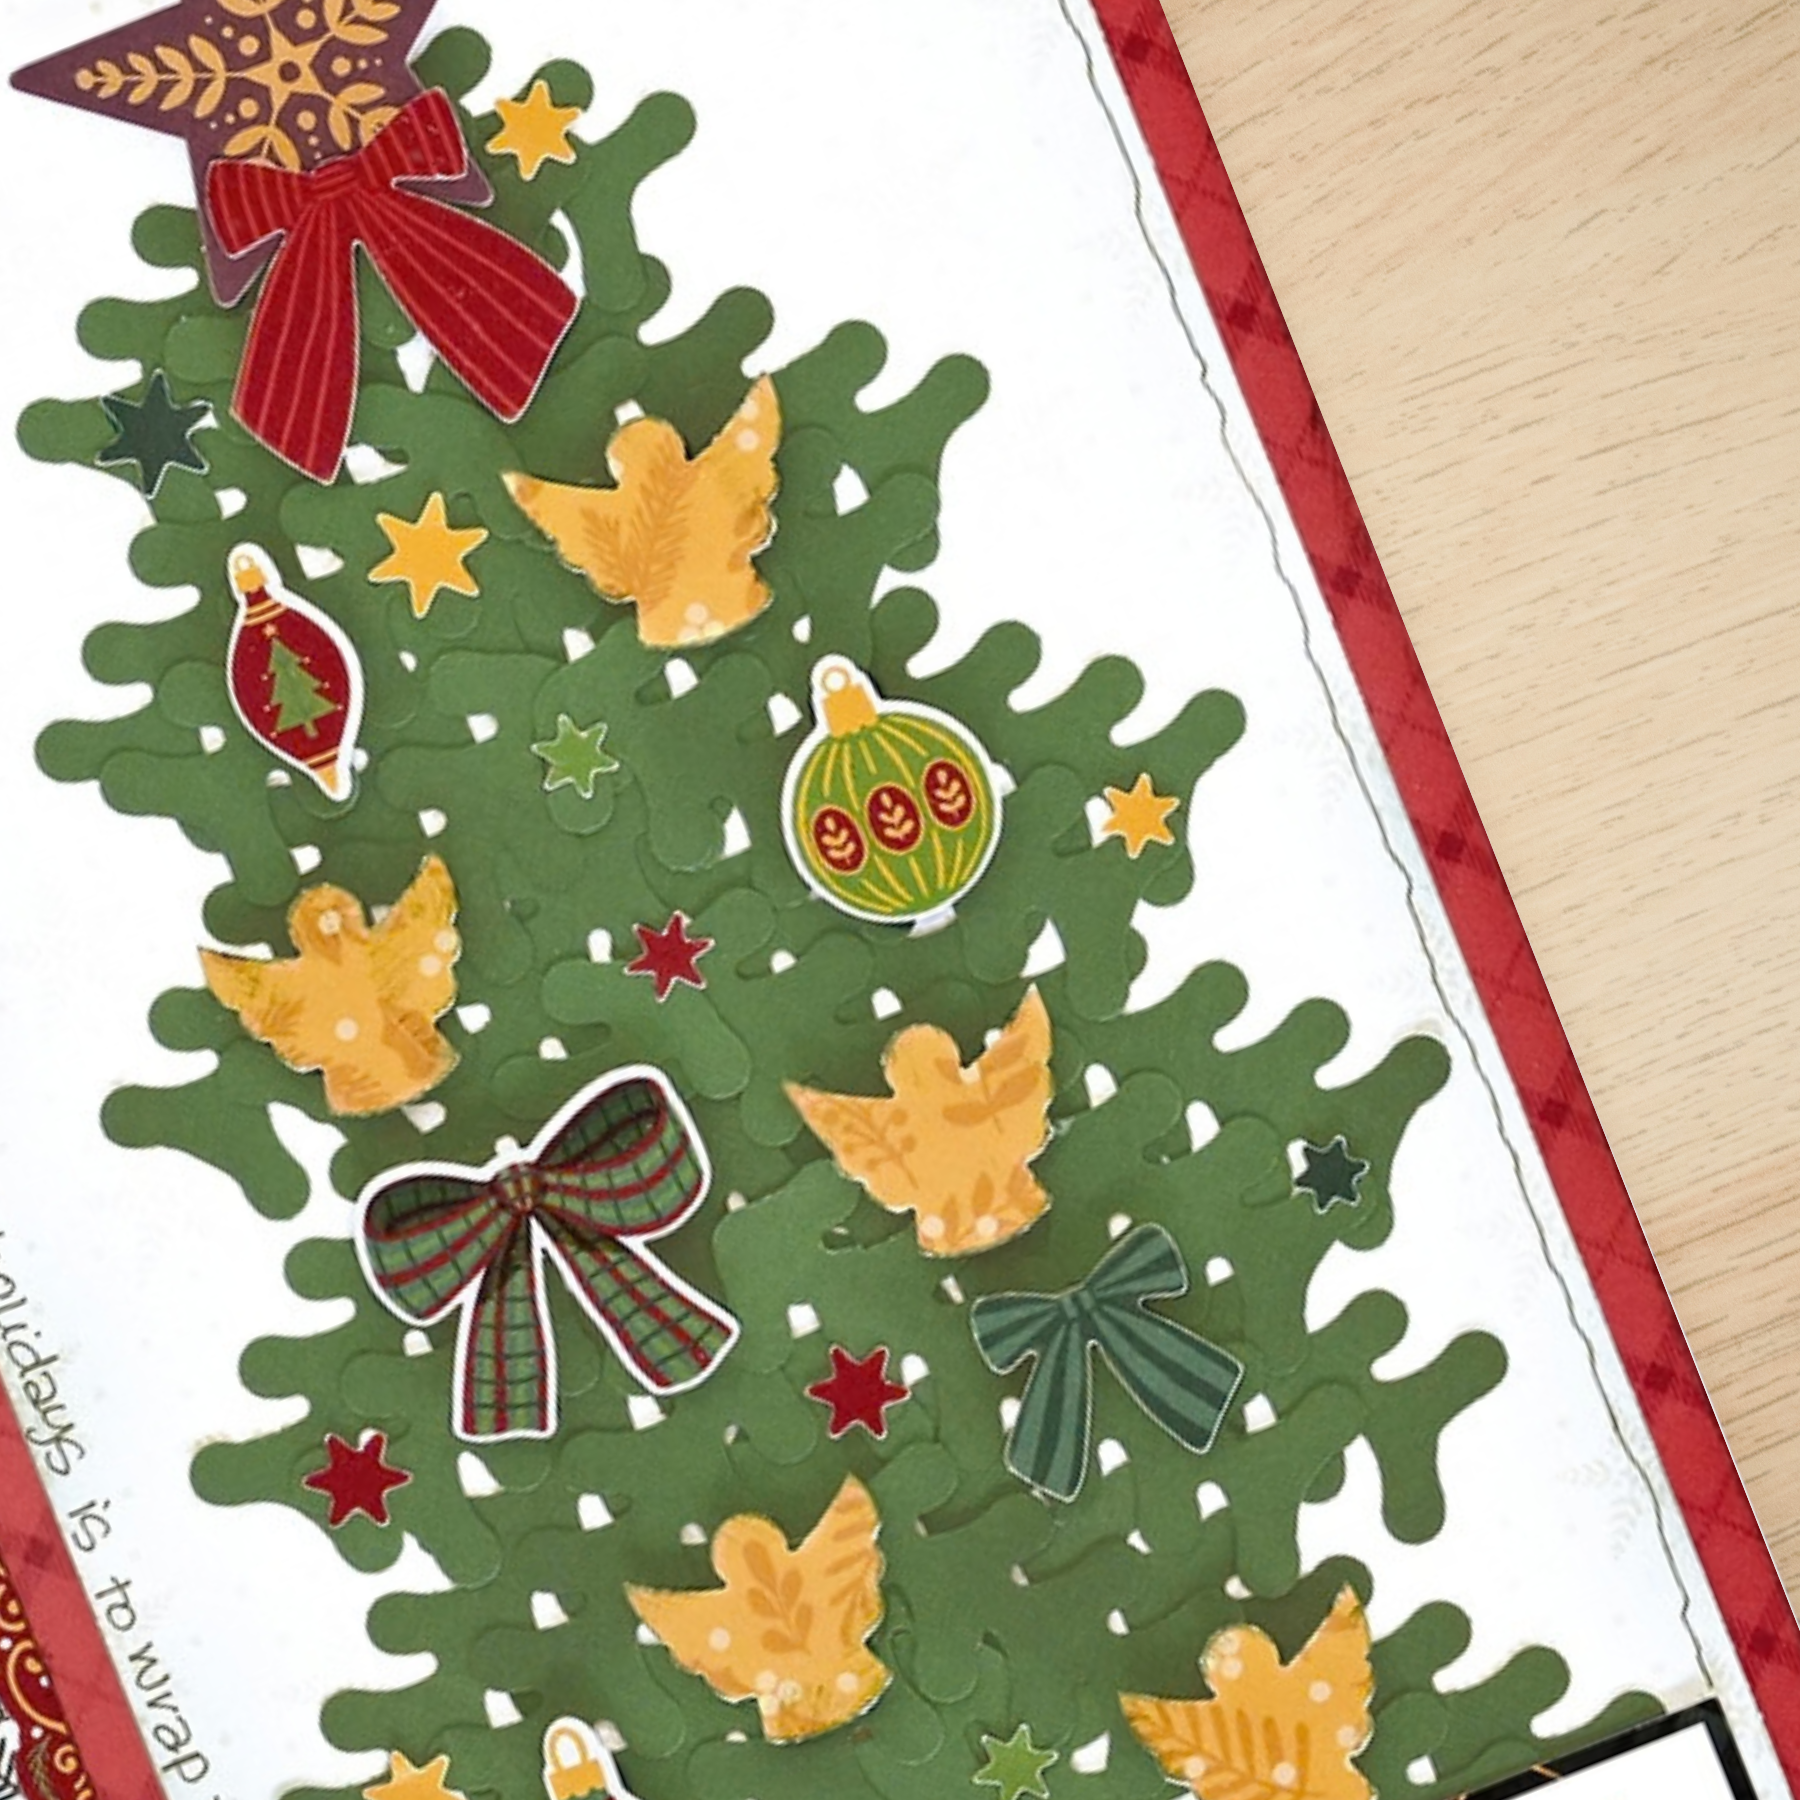
There’s something about a classic Christmas that never goes out of style. Timeless Tidings brings back all the details we love, from plaid and bows to sweet angels and traditional holiday colors, with a fresh take that feels right at home on today’s pages.
This festive layout puts the Evergreen Edge BMC to work in an unexpected way, turning punched evergreen pieces into a Christmas tree. It’s a fun reminder that sometimes a familiar tool can create something completely new when you look at it a little differently.
To create this layout, you will need:
- Timeless Tidings Designer Paper
- Timeless Tidings Mats
- Timeless Tidings Embellishments
- Timeless Tidings Stickers
- Dark Green Solid Cardstock
- Caramel Solid Cardstock
- 12-inch Trimmer
- Border Maker System
- Angels Chain BMC
- Evergreen Edge Chain BMC
- Ink Pad – Dark Green
- Ink Pad – Beige
- Craft Blending Brush – Dark Green
- 13×13 Non-Stick Craft Mat
- Repositionable Tape Runner
- Foam Squares
- Black Micro-Tip Pen
- Scissors
DON’T MISS OUT
It’s our birthday, and you get the gifts!
For every $120 USD | $145 CAD | $215 AUD you spend,
get the Birthday Week Bundle FREE!
DON’T MISS OUT
It’s our birthday, and you get the gifts!
For every $120 USD | $145 CAD | $215 AUD you spend, get the Birthday Week Bundle FREE!


Love this layout?

Love this layout?

Step 1: Use caramel gingham designer paper as the base for this layout. Layer the border stickers at 6″ vertically.
Step 2: Cut a piece of red designer paper to measure 6″ x 12″. Ink the edges with Dark Green Ink and adhere the piece to the right side of the layout as shown.
Step 3: Cut the stars designer paper to measure 5-1/2″ x 11-1/2″. Brush Dark Green Ink along the edges, then adhere the piece to the top of the red paper on the right side.
Step 4: Punch several borders from Dark Green Solid Cardstock using the Border Maker System and the Evergreen Edge Chain BMC. Cut the borders into segments with scissors to create the tree. Gently brush Beige Ink over the top of the evergreen pieces, then adhere the segments together to form the tree.
Step 5: Cut a piece of Caramel Solid Cardstock to 1/2″ x 3-1/2″ and adhere it to the base of the tree.
Step 6: Punch a border from gold designer paper using the Border Maker System and the Angel Chain BMC. Cut apart the angels with scissors and adhere them to the tree using Foam Squares for added dimension.
Step 7: Add stars, ornaments and bow stickers to the tree. Cut apart the mat with the title “Having A Merry Little Christmas” and adhere it to the bottom right of the tree.
Step 8: Using a Black Micro-Tip Pen, doodle and journal around the outer edges of the stars designer paper.
Step 9: Cut a 4″ x 4″ square from red designer paper. Cut from the upper right corner to the lower left corner to create two triangles. Ink the edges with Dark Green Ink, then adhere the triangles to the upper left and lower left corners of the layout.
Step 10: Cut a 4″ x 4″ square from bow designer paper. Cut from the upper left corner to the lower right corner to create two triangles. Ink the edges with Dark Green Ink, then adhere them slightly offset from the red designer paper triangles.
Step 11: Cut two photo mats from green designer paper to 3-3/4″ x 3-3/4″ and one to 5″ x 3-1/2″. Ink the edges with Dark Green Ink and adhere them to the layout. Add photos measuring 3-1/2″ x 3-1/2″ to the two smaller mats and a 4-3/4″ x 3-1/4″ photo to the larger mat.
Step 12: Finish the layout by adhering the remaining stickers and embellishments. Use Foam Squares on some for added dimension.

Want to recreate this layout?
We’ve gathered all the products featured in this project in one place, making it easy to find the papers, embellishments, tools and more.
P.S. Are YOU a member of the Virtual Crop Group? It’s your go-to place for MONTHLY Virtual Crops, MONTHLY Completed Album Challenges, QUARTERLY Secret Box Openings with project tutorials and so much more! We hope you’ll join our community of more than 53,000 fellow memory-keeping enthusiasts — you’ll feel right at home!

