October 15, 2026
A Little Autumn Inspiration for Your Next Layout
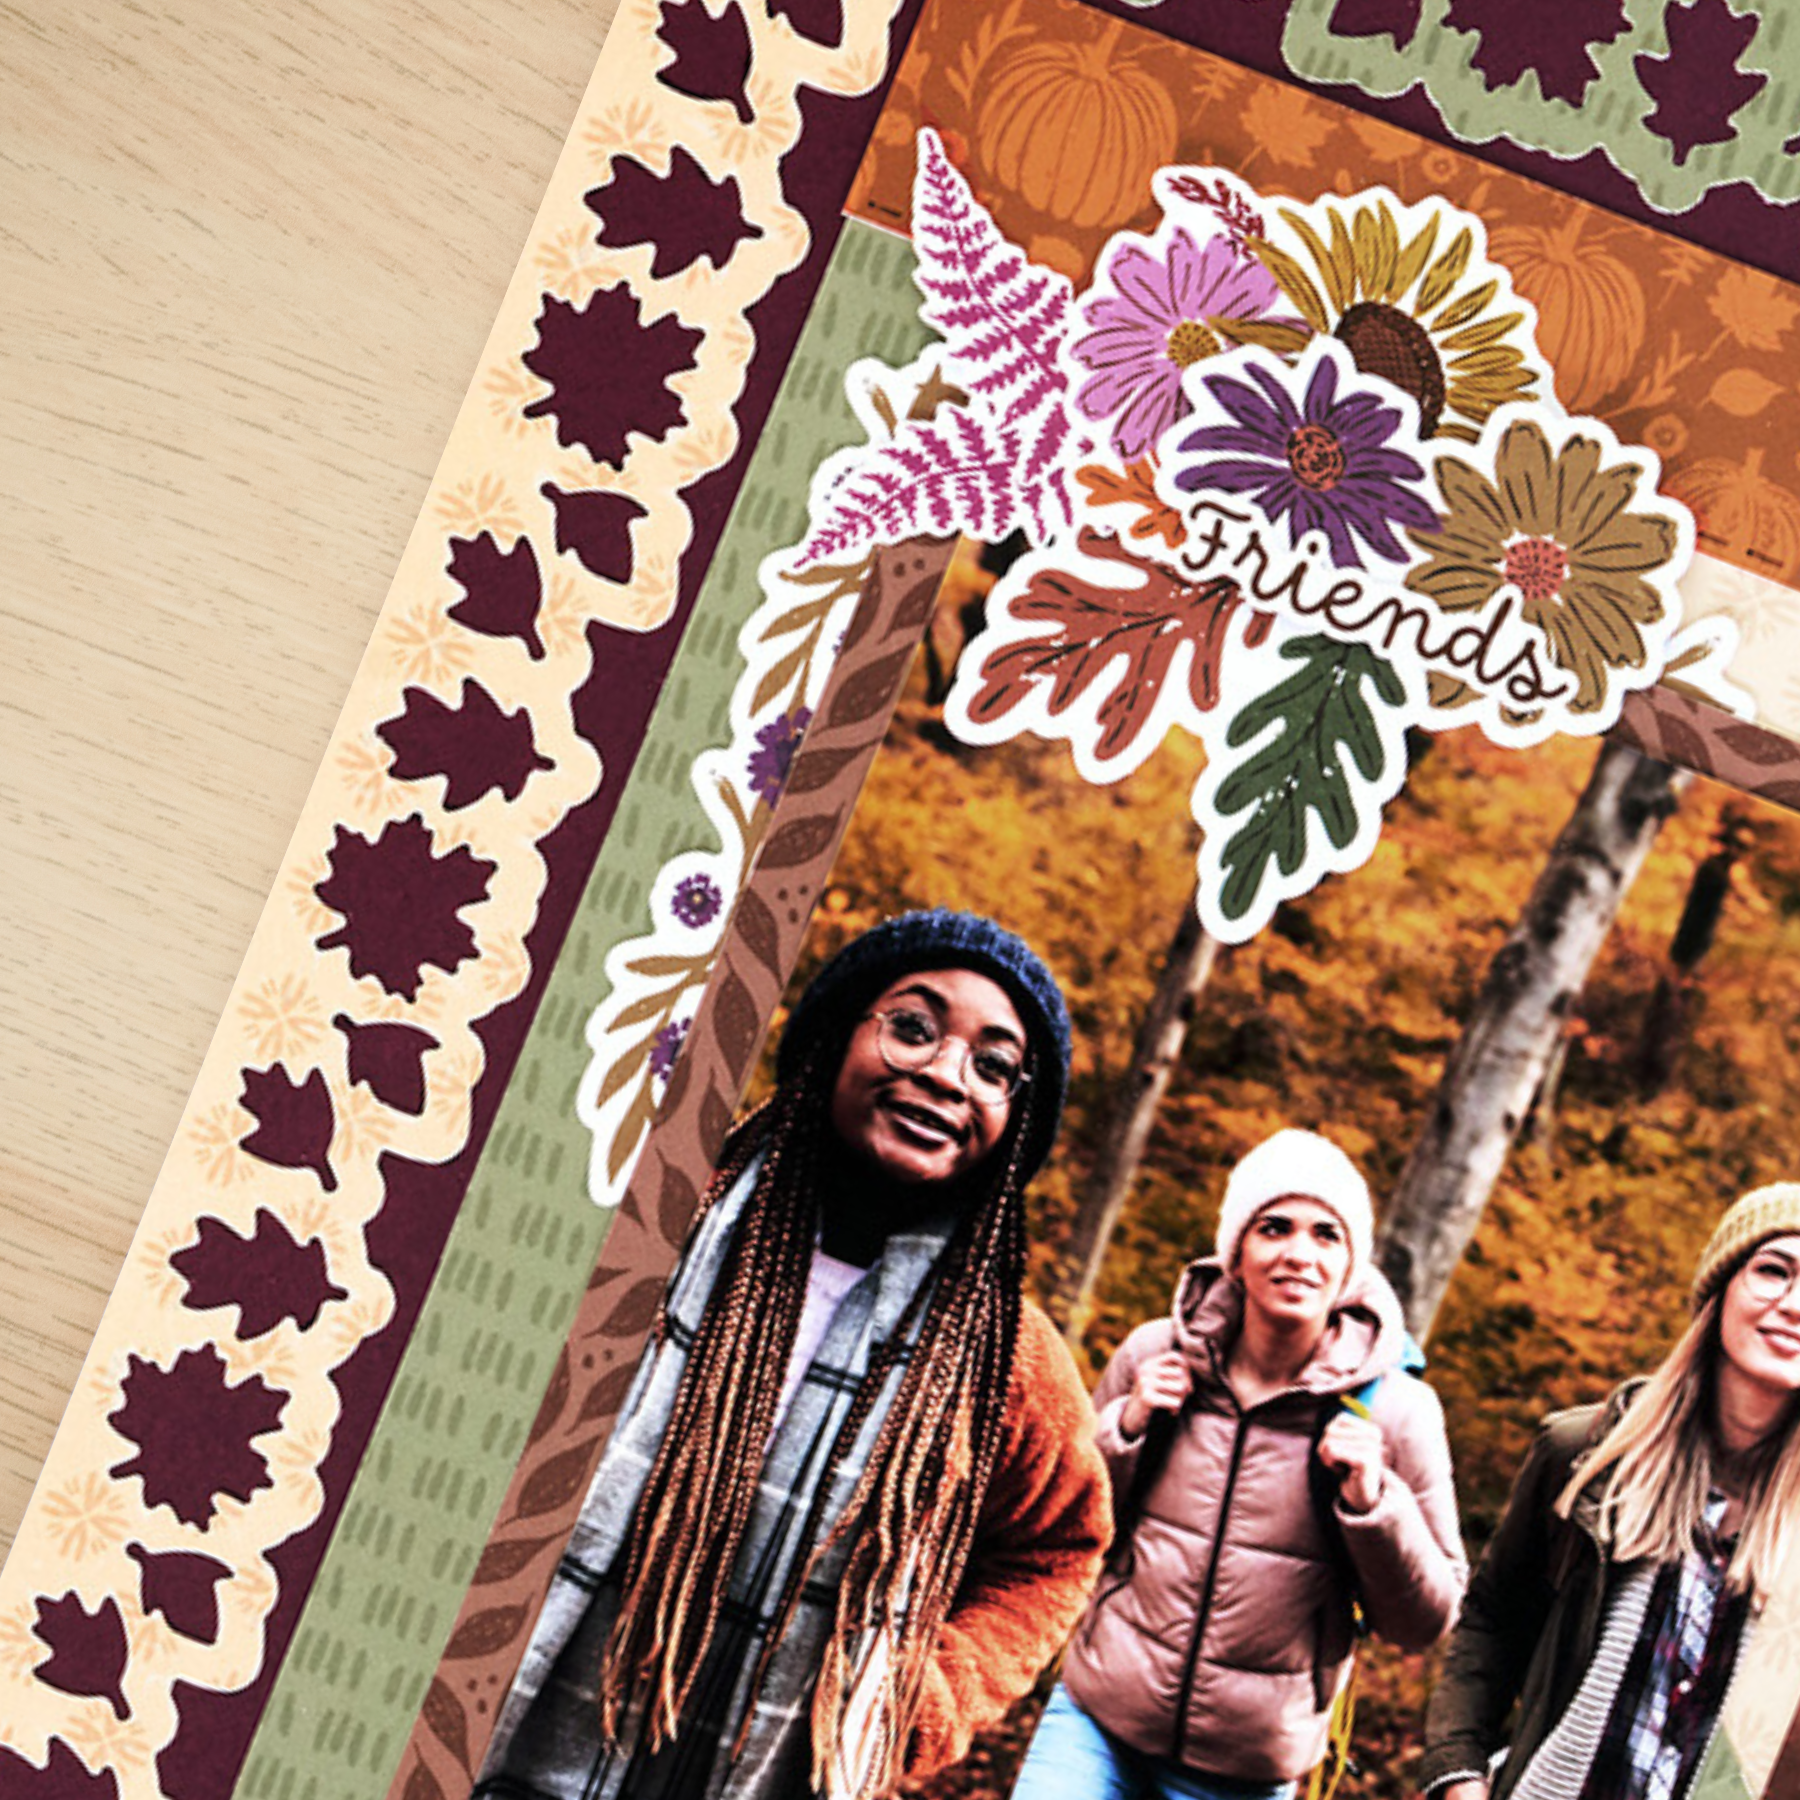
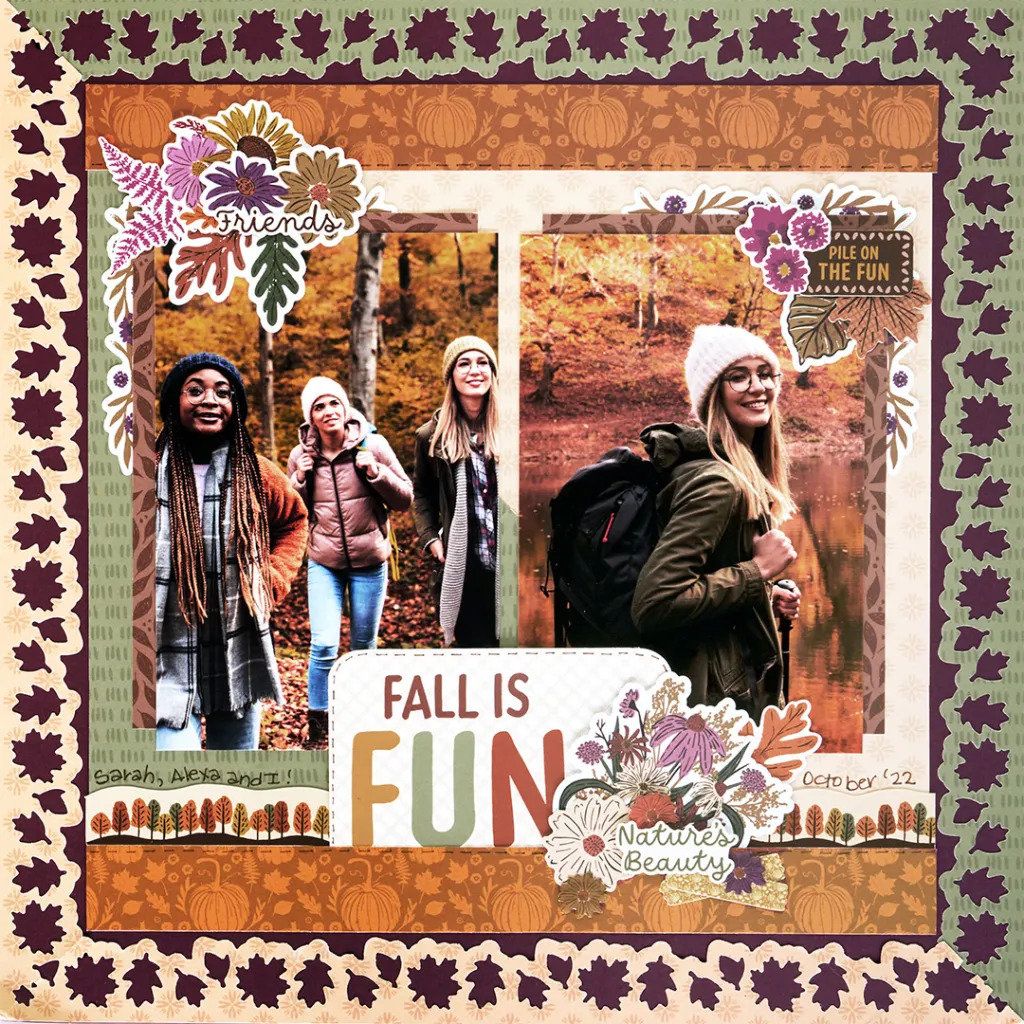
Crunchy leaves, colorful trees and time spent with friends make fall a season worth remembering! The Autumn Abundance collection captures all the beauty of autumn with rich colors and leafy details. Pair it with photos from your favorite fall outings to create a layout that celebrates the little adventures and the people who make them special.
To create this layout, you will need:
- Autumn Abundance Designer Paper
- Autumn Abundance Tone-on-Tone Paper
- Autumn Abundance Mat Pack
- Autumn Abundance Embellishments
- Autumn Abundance Stickers
- Original Border Maker System
- Falling Leaves BMC
- Deep Orchid Solid Cardstock
- 12-inch Trimmer
- Photo Trimmer
- Repositionable Tape Runner
- Foam Squares
- Dual-Tip Pen Chocolate

Love this layout?

Love this layout?

Step 1: Use a piece of Deep Orchid Solid Cardstock as the base of the layout.
Step 2: Fold a piece of tonal paper with green on one side and cream on the other in half diagonally, from corner to corner, to create a triangle. Place the folded edge along the top of the trimmer, with the point of the triangle aligned with the cutting line. Trim to create two equal-sized triangles.
Step 3: Place the triangle pieces in the BMS using the Falling Leaves BMC and punch. Repeat with the remaining piece.
Step 4: Adhere the border pieces along the outer edges of the cardstock base, alternating the sides of the paper. Adhere the remaining triangle pieces in the center of the layout, with the patterns facing opposite directions from those along the outer edges.
Step 5: Cut two strips from the orange pumpkin designer paper, each measuring 9-7/8″ x 1″. Adhere them along the top and bottom edges of the triangle pieces.
Step 6: Cut two photo mats from brown designer paper, each measuring 4″ x 6″. Adhere two 4″ x 6″ photos to the mats, offsetting them to leave approximately 3/8″ of the photo mats visible around the edges.
Step 7: Adhere stickers and embellishments to the layout, using Foam Squares on select pieces for added dimension.
Step 8: Cut the mat with title to measure 4″ x 3. Tuck it behind the bottom orange strip and adhere.
Step 9: Use a Dual-Tip Pen to journal as desired.
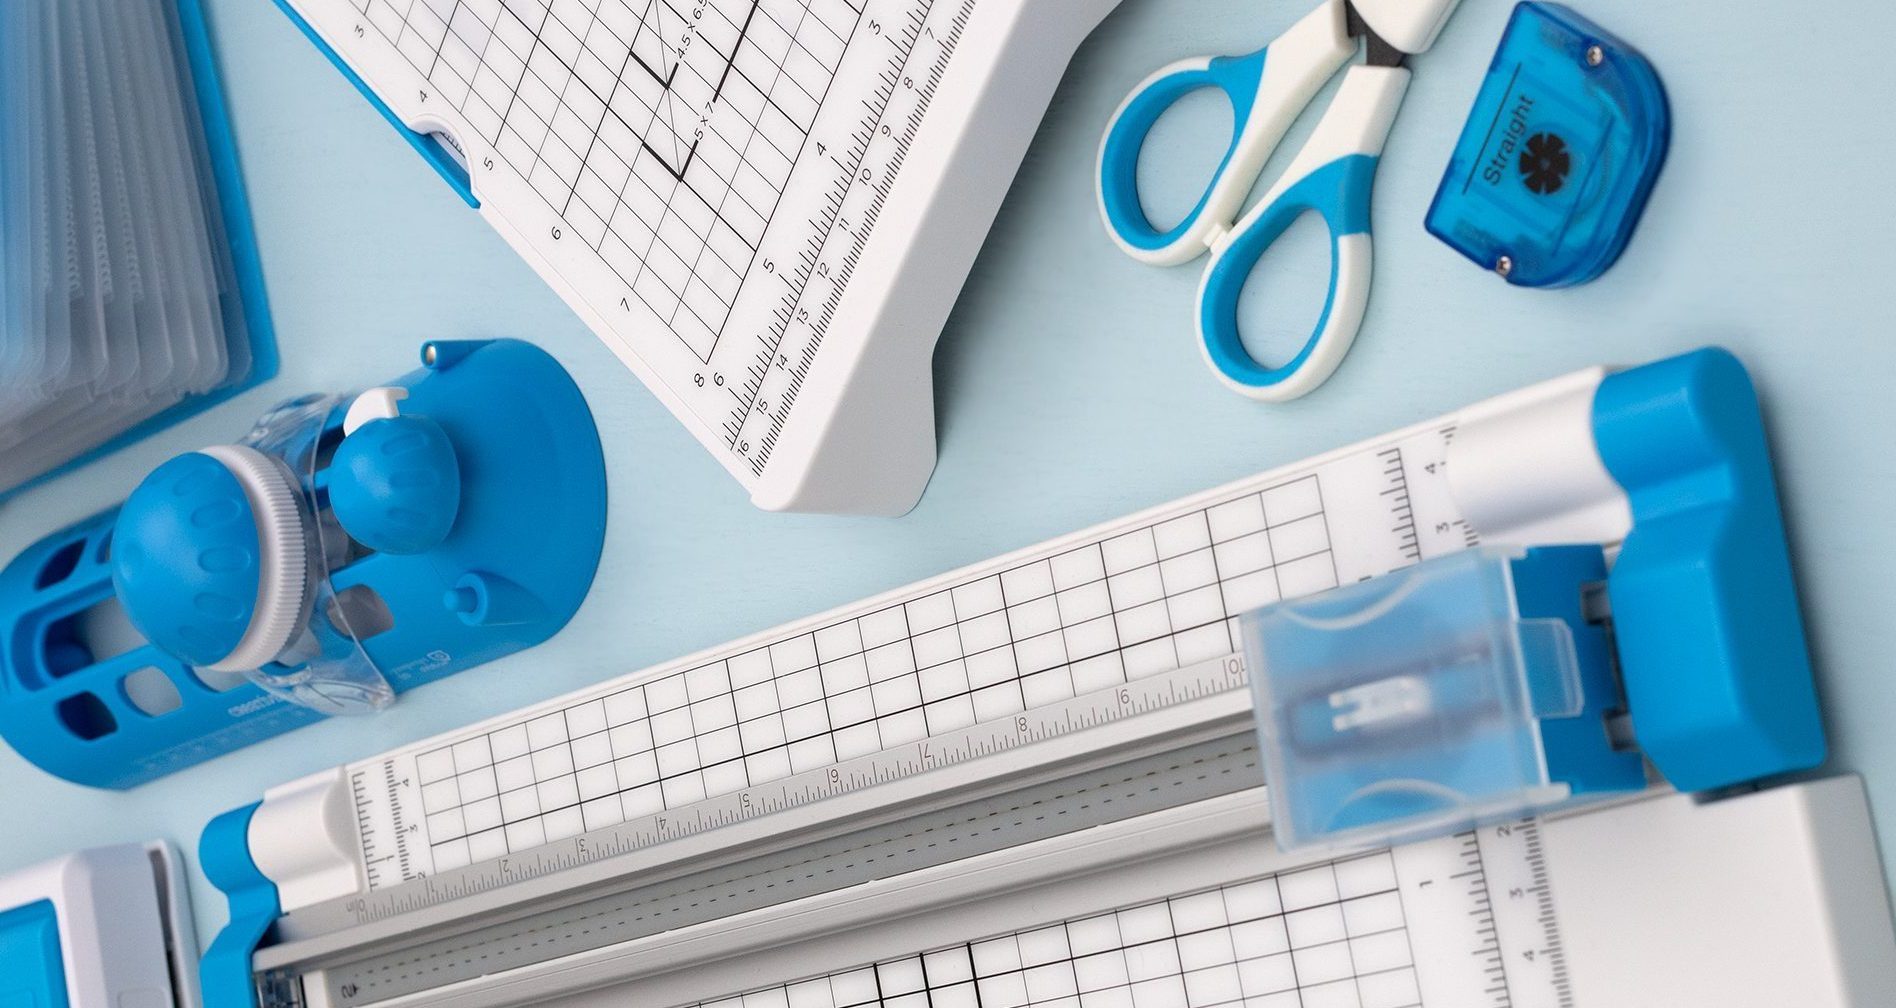
Want to recreate this layout?
We’ve gathered all the products featured in this project in one place, making it easy to find the papers, embellishments, tools and more.
P.S. Are YOU a member of the Virtual Crop Group? It’s your go-to place for MONTHLY Virtual Crops, MONTHLY Completed Album Challenges, QUARTERLY Secret Box Openings with project tutorials and so much more! We hope you’ll join our community of more than 53,000 fellow memory-keeping enthusiasts — you’ll feel right at home!

