December 4, 2020
Play With Shades in These Tonal Scrapbook Borders
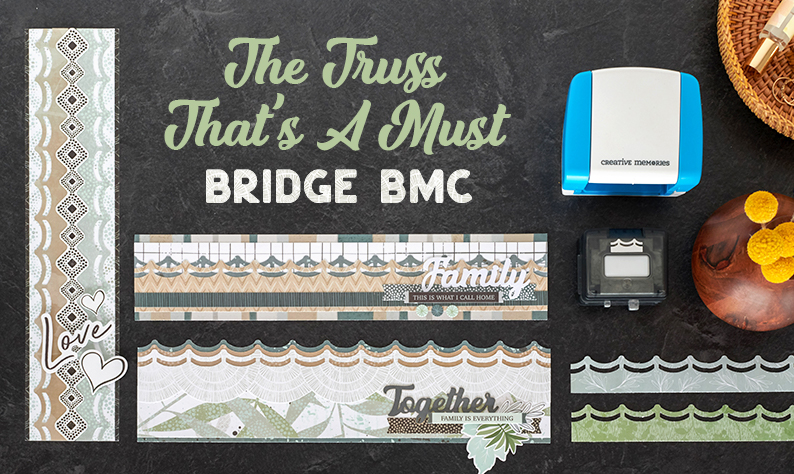
There are so many tranquil tones and tints to play with when you create with the Natural Disposition collection due to its earthy palette of slate, brown, steel and light blue, mint and more! But even with the serenely soft shades, (and use of the Bridge Border Maker Cartridge!) your designs can really pop off the page! See for yourself in these totally terrific and tonal scrapbook borders!

To create these borders you’ll need:
- Natural Disposition Paper Pack or (Shop Canada | Shop Australia)
- Natural Disposition Tone-on-Tone Paper Pack or (Shop Canada | Shop Australia)
- Natural Disposition Stickers or (Shop Canada | Shop Australia)
- Natural Disposition Laser Cut Embellishments or (Shop Canada | Shop Australia)
- 12-inch Trimmer with Straight & Scallop Blades or (Shop Canada | Shop Australia)
- Original Border Maker System with the Bridge Border Maker Cartridge or (Shop Canada | Shop Australia)
- Micro-Tip Scissors or (Shop Canada | Shop Australia)
- Tape Runner or (Shop Canada | Shop Australia)
- Repositionable Tape Runner or (Shop Canada | Shop Australia)
- Foam Squares or (Shop Canada | Shop Australia)
Check out the Bridge Border Maker Cartridge in action in the video below!

Together Border
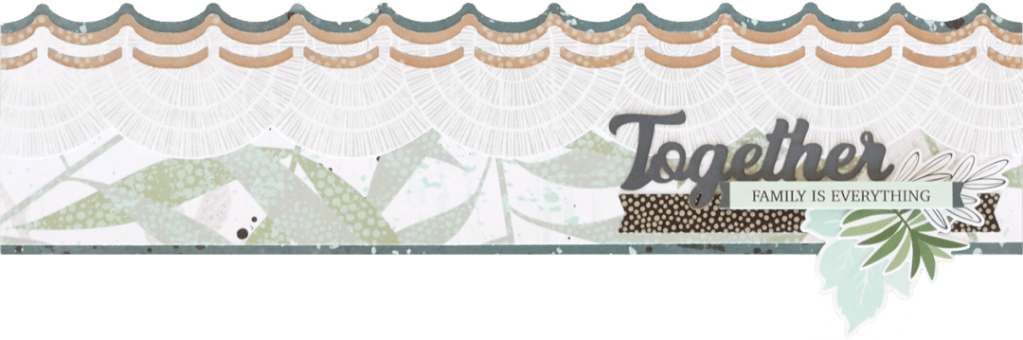
Step 1: Punch a border using the Bridge Border Maker Cartridge with splatter patterned designer paper. Trim to measure 12″ x 3″ to create the base.
Step 2: Punch a border using the Bridge Border Maker Cartridge with tan tonal paper. Trim to measure 12″ x 1″ and adhere to the base, aligning the scallops just below the base scallops.
Step 3: Cut a 12″ x 1-1/2″ of painted leaves designer paper and adhere 1/8″ from the bottom edge.
Step 4: Punch a border using the Bridge Border Maker Cartridge with cream circle patterned designer paper, making sure to start the punches with the middle of the paper’s circles at the top. Using Micro-Tip Scissors, cut around the circle shapes printed on the paper. Adhere to the border, aligning the scallops just below the others.
Step 5: Add stickers and embellishments, popping some up with Foam Squares for added dimension.
Unforgettable Border
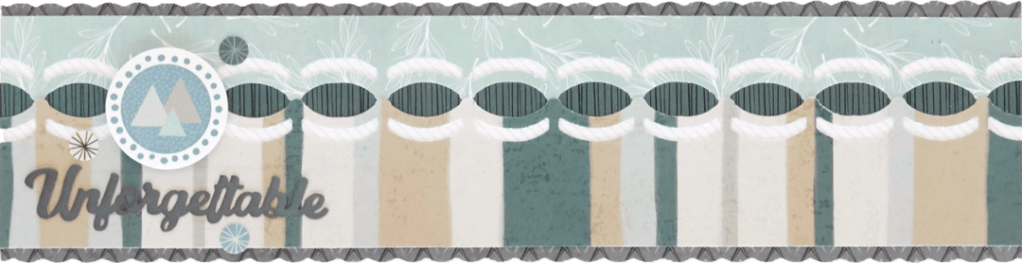
Step 1: Using the 12-inch Trimmer with the Scallop Blade, cut a 12″ x 3″ strip of slate tonal paper for the base.
Step 2: Punch a border using the Bridge Border Maker Cartridge with light blue designer paper and trim to measure 12″ x 1″. Punch a border using the Bridge Border Maker Cartridge with striped designer paper and trim to measure 12″ x 1-3/4″.
Step 3: Cut a 12″ x 1″ strip of white striped tonal paper. Adhere a steel blue border sticker along the middle of the strip. Mount the light blue bridge strip (scallops down) over it, and mount the striped bridge strip (scallops up) over that, as shown, so that the scallops meet over the steel blue sticker strip. Mount on the base.
Step 4: Add stickers and embellishments, popping some up with Foam Squares for added dimension.
Family Border

Step 1: Cut a 12″ x 2-1/2″ strip of striped designer paper for the base. Cut a 12″ x 1″ strip of white gridded designer paper and adhere to the base, about 1/4″ from the top edge.
Step 2: Punch a border using the Bridge Border Maker Cartridge with slate designer paper. Trim to measure 12″ x 1″. Punch a border using the Bridge Border Maker Cartridge with tan tonal paper. Trim to measure 12″ x 1-1/2″. Adhere over the slate piece, offsetting as shown. Adhere to the border. Trim off the excess steel piece from one side and place it on the other side.
Step 3: Add a steel blue border sticker. Top with stickers and embellishments, popping some up with Foam Squares for added dimension.
Love Border
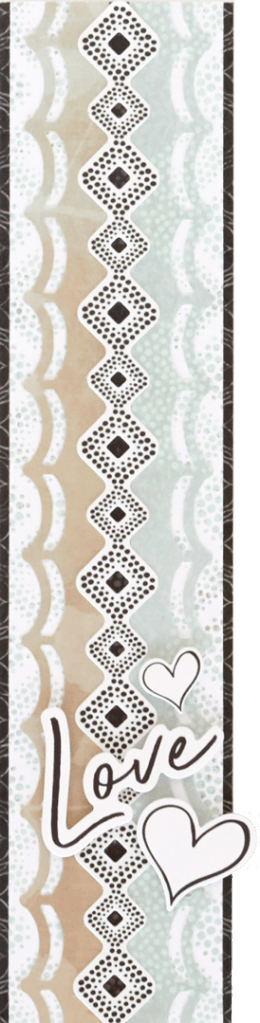
Step 1: Cut a 2-3/4″ x 12″ strip of black designer paper for the base.
Step 2: Cut a 2-1/2″ x 12″ strip of dotted diamonds patterned designer paper and adhere on top of the base.
Step 3: Punch a border using the Bridge Border Maker Cartridge with both tan designer paper and mint tonal, trimming each to measure 1″ x 12″. Adhere to the border with straight sides aligning in the middle as shown.
Step 3: Cut a 1/4″ x 12″ strip of black tonal paper and adhere it down the middle of the border. Top with a square border sticker. Add “Love” and heart stickers with Foam Squares.
Which one of these tonal scrapbook borders will you be trying out? Let us know in the comments below!

[…] Now that is an unforgettable border! Create it (and more) by reading this blog post! […]
Can’t wait for my order to arrive so I can play with the tools and paper and make these borders. They are beautiful.
[…] Step-by-step instructions can be found for this border (and others!) within this blog post! […]
This is a brilliant post, thank you for sharing these great tips. I think you are right with play with shades in these tonal scrapbook borders. I am sure many people will come to read this in future. If possible visit this website Cedarblinds.co.nz to gain more idea or tips on the same.