October 24, 2022
October Completed Album Challenge PLUS A School Scrapbook Spread

Plans and goals, hobbies and extracurriculars, jobs and meetings — one’s schedule can really build up over a month’s time. But as the weeks wind down and you check things off your list, you can find more time for yourself… which means it’s the perfect opportunity for a Completed Album Challenge in the Virtual Crop Facebook Group.
If you completed an album this month (does not need to be from start to finish in October, just completed in October), make a short video flipping through each of the pages in your newly (and of course, awesome!) completed album. Then, post your video in the Virtual Crop Facebook Group with the hashtag #OctoberCropDontStop for the chance to win! Add this fun idea to your to-do list (you deserve a relaxing, creative activity!) and make this school scrapbook spread to cap off your next completed album!
Here’s an example of what your Completed Album Challenge video could look like!
For ALL the details on the Completed Album Challenge, check out this blog post.
In need of an idea to complete your latest album? Today’s post is here to help!
To create this layout you will need:
- Back To School Paper Pack or (Shop Canada | Shop Australia)
- Back To School Annual Paper Pack or (Shop Canada | Shop Australia)
- Back To School XL Layered Ruler Frame Embellishment or (Shop Canada | Shop Australia)
- Back To School Stickers or (Shop Canada | Shop Australia)
- Back To School Embellishments or (Shop Canada | Shop Australia)
- Back To School Variety Mat Pack or (Shop Canada | Shop Australia)
- Primary Foiled Memory Tabs or (Shop Canada | Shop Australia)
- Back To School ABC Handwriting Stencil or (Shop Canada | Shop Australia)
- 12-inch Trimmer or (Shop Canada | Shop Australia)
- Original Border Maker System with the Home Sweet Home Border Maker Cartridge or (Shop Canada | Shop Australia)
- All-Purpose Scissors or (Shop Canada | Shop Australia)
- Tape Runner or (Shop Canada | Shop Australia)
- Repositionable Tape Runner or (Shop Canada | Shop Australia)
- Foam Squares or (Shop Canada | Shop Australia)
- Black Dual-Tip Pen or (Shop Canada | Shop Australia)

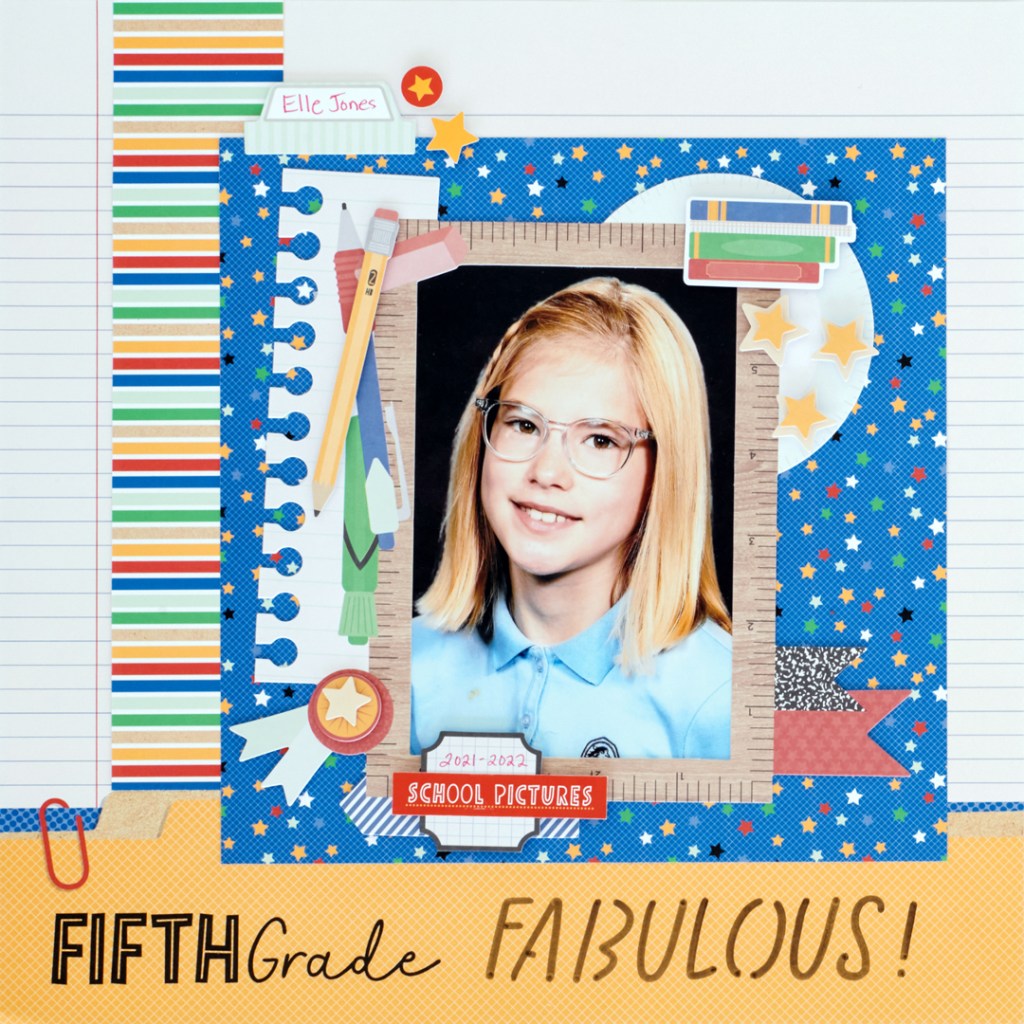
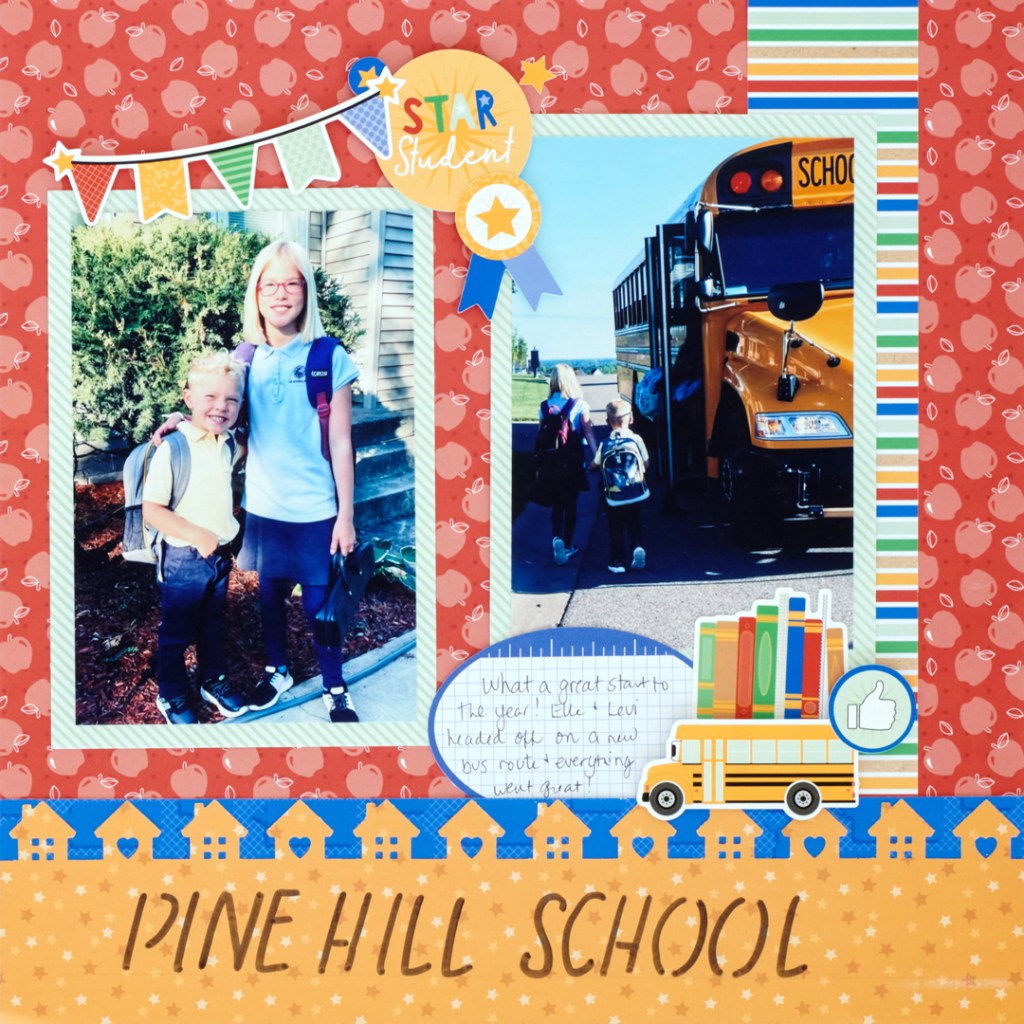
Step 1: Use the fifth grade annual paper as the left-hand base page and the red apples designer paper as the right-hand base page.
Step 2: Using the 12-inch Trimmer, cut an 8-1/2″ square of the blue stars annual paper, two 2″ x 12″ strips of the stripes designer paper, a 2-1/2″ x 12″ strip of the yellow stars designer paper and a 1″ x 12″ strip of the blue thought bubbles designer paper.
Step 3: Adhere the stripes paper strips vertically on both pages as shown, trimming the strip on the left-hand side with All-Purpose Scissors to meet the top edge of the manila file folder border design.

Step 4: Arrange the 8-1/2″ blue stars square to overlap the stripes paper strip and the manila file folder border on the base page. Adhere. Mount a 4″ x 6″ photo to the back side of the layered ruler frame embellishment, then adhere on top of the blue stars paper square.
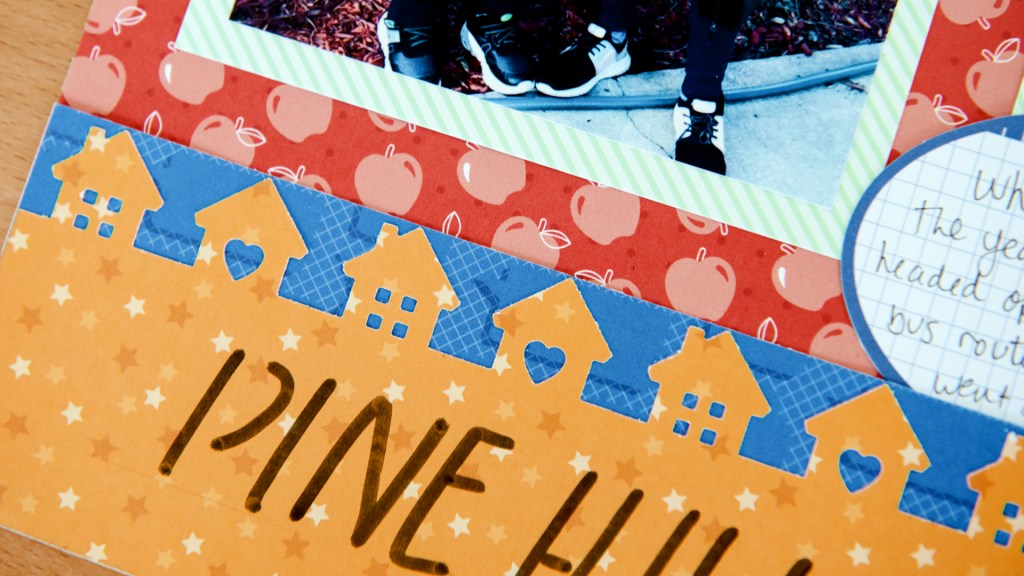
Step 5: Punch the top edge of the yellow stars paper with the Home Sweet Home Border Maker Cartridge and the Original Border Maker System.
Step 6: Mount the 1″ x 12″ blue thought bubbles strip to be even with the blue printed border on the left-hand page. Adhere the cut and punched yellow stars strip on top, trimming off any overhang if necessary.
Step 7: Mount two 4″ x 6″ photos on large variety mats and arrange as shown. Adhere.
Step 8: Use the Back To School ABC Handwriting Stencil and Black Dual-Tip Pen to write title words across bottom manila file folder border of both pages.
Step 9: Add Primary Foiled Memory Tab, stickers and embellishments as shown or desired, using Foam Squares Adhesive on some for added dimension.
Step 10: Journal with Dual-Tip Pen.
Will you be making this superb school scrapbook spread to complete your next album? (We sure hope so!) Take time for yourself, have fun and post your video in the Virtual Crop Facebook Group… you may just win!
