January 25, 2024
Get A Look At This Beaut: Australia Themed Scrapbooking Layout

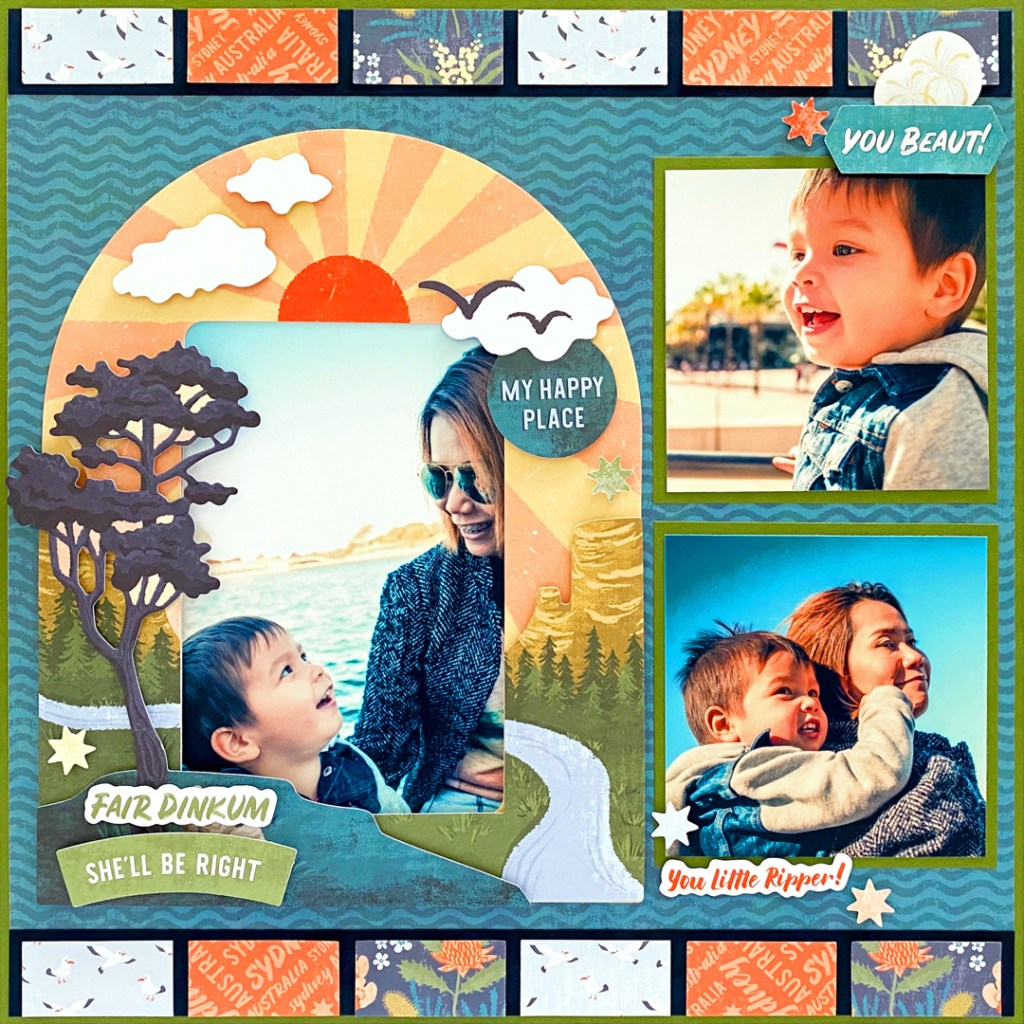
Whether you’re a local or tourist to the land down under, you’re sure to have experienced its beauty first-hand and snapped a photo or two (hundred — let’s be real). This Australia themed scrapbooking layout, which features an XL Layered Frame Embellishment*, is here to help you show off your koala-ty memories with ease!
And Happy Australia Day to all our Aussie mates!
* This pre-layered frame embellishment comes ready to simply add your photo behind the frame and adhere to the page, making your layouts of the beautiful land of Australia simple and quick!
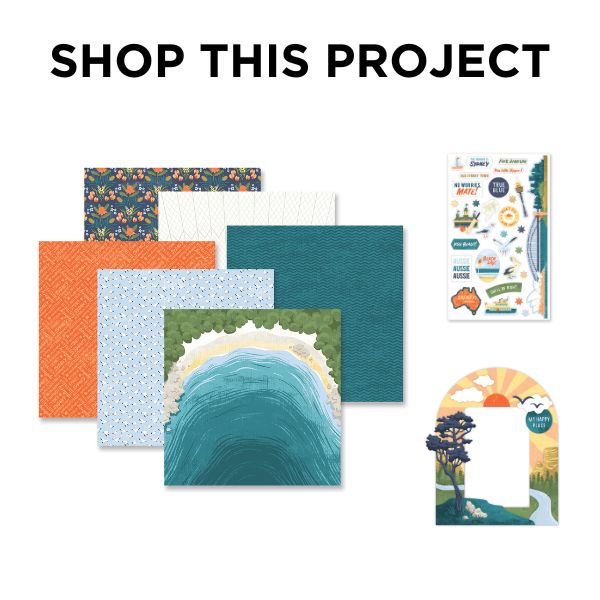
To create this layout you will need:
- Sydney Scenes Paper Pack or (Shop Canada | Shop Australia)
- Sydney Scenes XL Layered Frame Embellishment or (Shop Canada | Shop Australia)
- Sydney Scenes Accessory Stickers or (Shop Canada | Shop Australia)
- Avocado & Navy Solid Cardstocks or (Shop Canada | Shop Australia)
- 12-inch Trimmer or (Shop Canada | Shop Australia)
- Square Punch or (Shop Canada | Shop Australia)
- Repositionable Tape Runner or (Shop Canada | Shop Australia)
- Foam Squares Variety Pack or (Shop Canada | Shop Australia)

Step 1: Trim a sheet of waves paper to measure 11-3/4” x 11-3/4”. Position and adhere this in the middle of a sheet of Avocado Solid Cardstock. (Tip: To conserve cardstock, you can “gut”/remove the middle of the Avocado Cardstock before adhering the waves piece.)
Step 2: Punch six squares with the Square Punch from the gulls, word art and flowers papers. If you don’t have the Square Punch, you can cut the squares with the 12-inch Trimmer to measure 1-3/4” x 1-3/4”.
Step 3: Trim a strip of Navy Solid Cardstock to measure 2” x 11-3/4”.
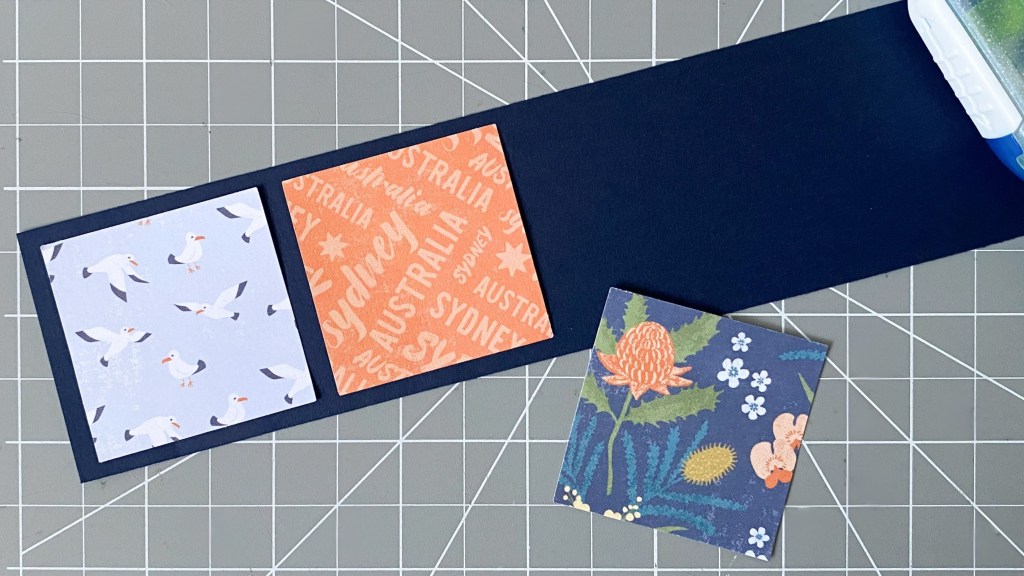
Step 4: Adhere the squares evenly spaced along the Navy Solid Cardstock strip.
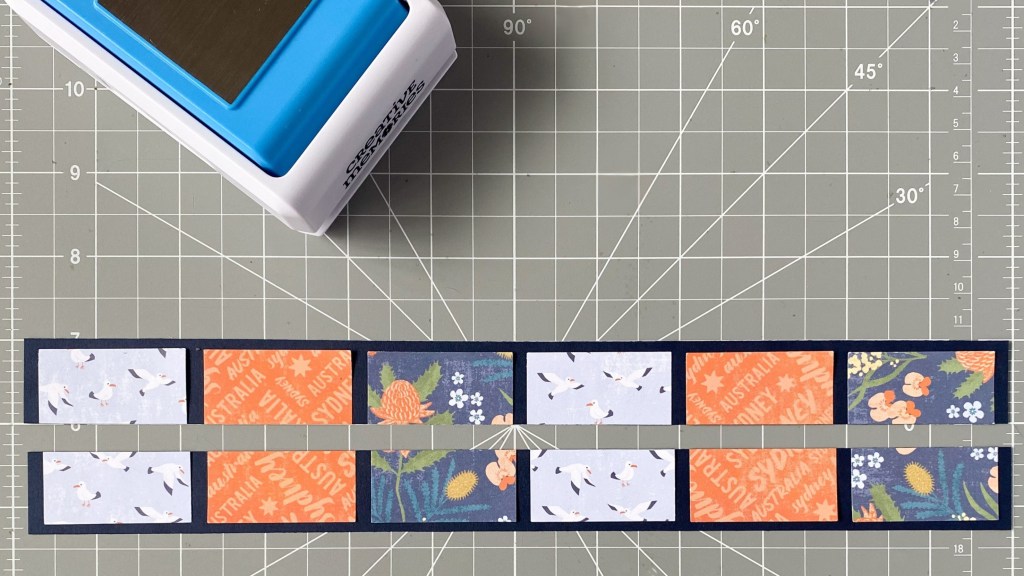
Step 5: Cut the navy strip in half lengthways. Adhere half to the top and half to the bottom of the base page, with the navy edge facing toward the middle of the page.


Step 6: Adhere a 4” x 6” photo behind the XL Layered Frame Embellishment and add to the left side of the layout. Use Foam Squares to adhere a few phrases and decorative stickers over the frame.
Step 7: Using Avocado Solid Cardstock, cut two photo mats to measure 4” x 4”. Trim two photos to measure 3-3/4” x 3-3/4” and adhere to the photo mats. Add these to the right side of the page stacking them vertically. Finish off the layout with stickers as desired.
Comment below if you’ve visited Australia or if you’re an Aussie yourself and let us know what photos you’d feature on this Australia scrapbooking layout!
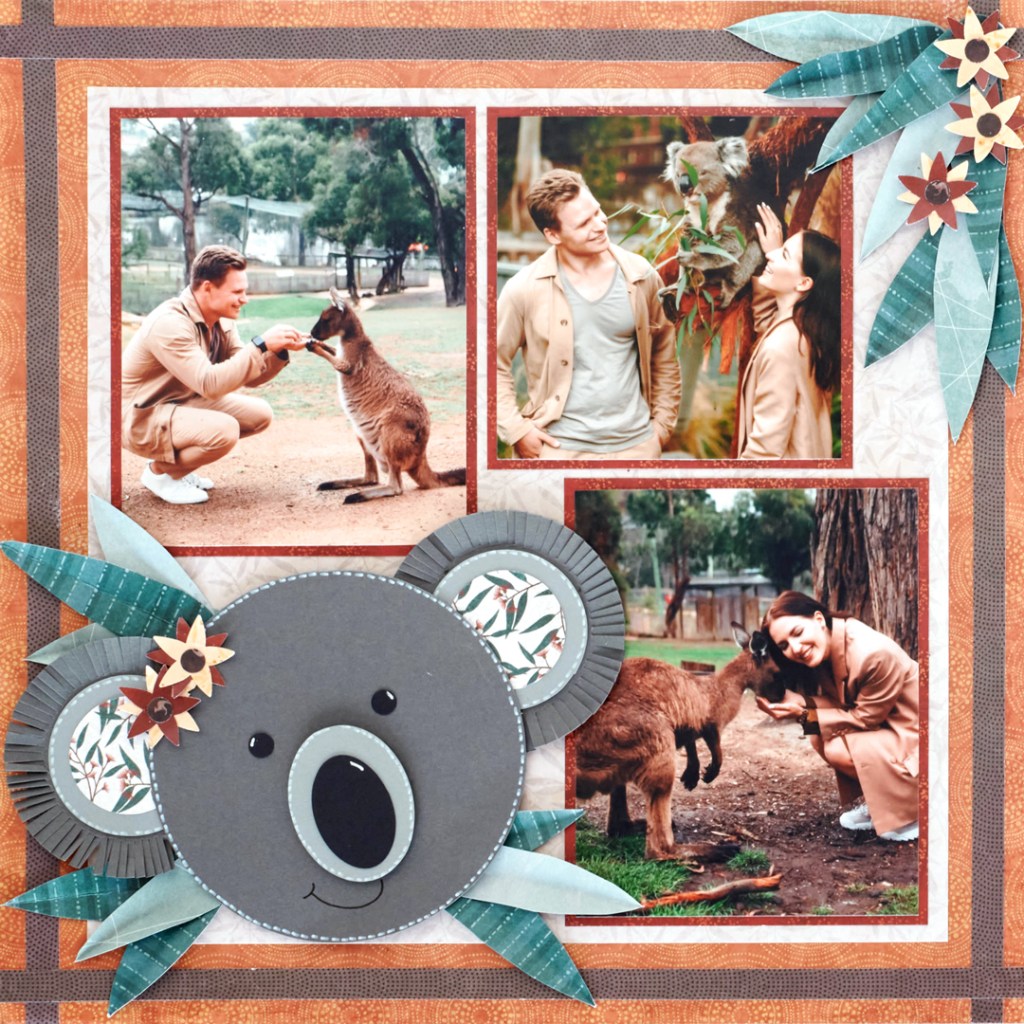
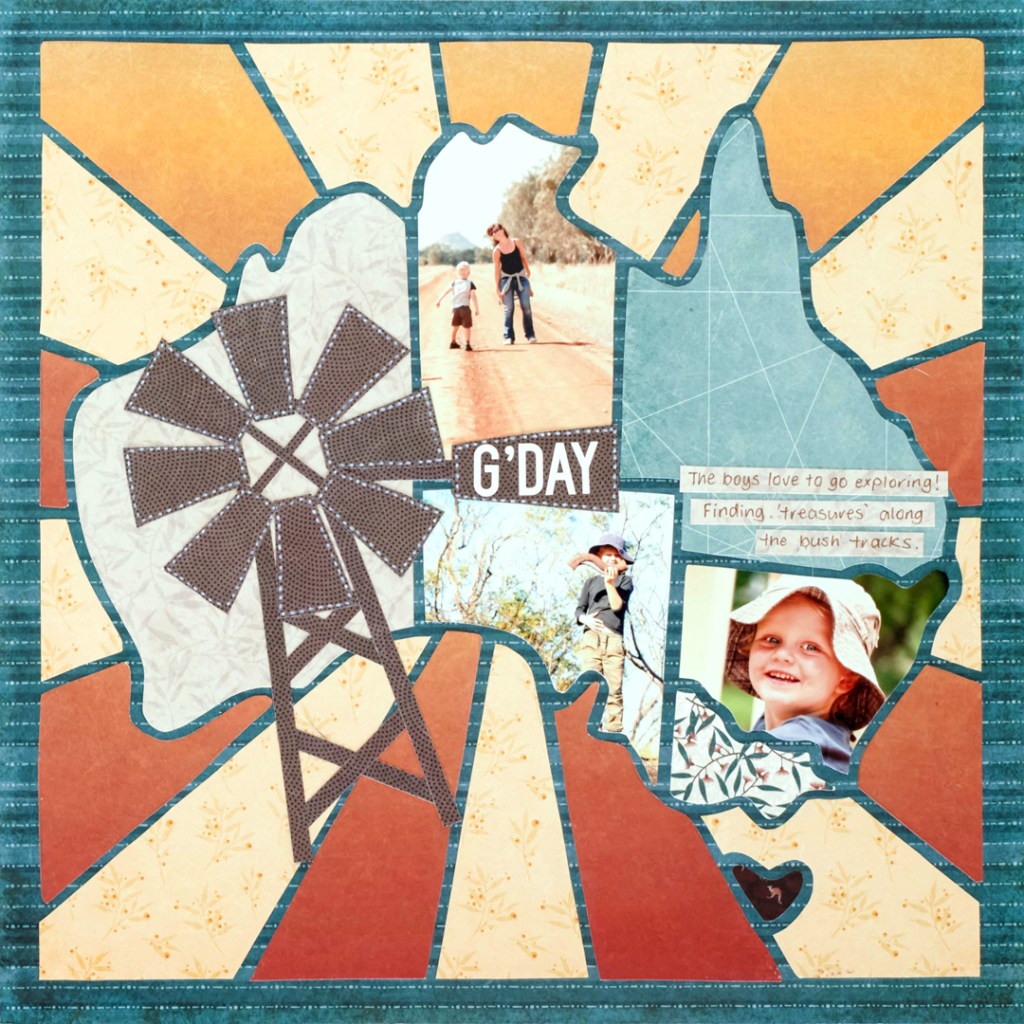
While You’re Here, Check out These Awesomely Aussie Layouts, Too!
P.S. Are YOU a member of the Virtual Crop Facebook Group? It’s your go-to place for MONTHLY Virtual Crops, MONTHLY Completed Album Challenges, WEEKLY LIVE STREAMING of Fast & Fun Projects with Noreen, LIVE QUARTERLY Secret Box Openings with project tutorials and so much more! We hope you’ll join our community of more than 37,000 fellow memory-keeping enthusiasts — you’ll feel right at home!

Could u please make a map of Australia in paper page. Could use this a lot.
These layouts were great! Thank you for the ideas maybe using them to do my trip!
stunning!!!
Love these!