September 10, 2026
A Weathered Feel for Your Scrap Journal Layout
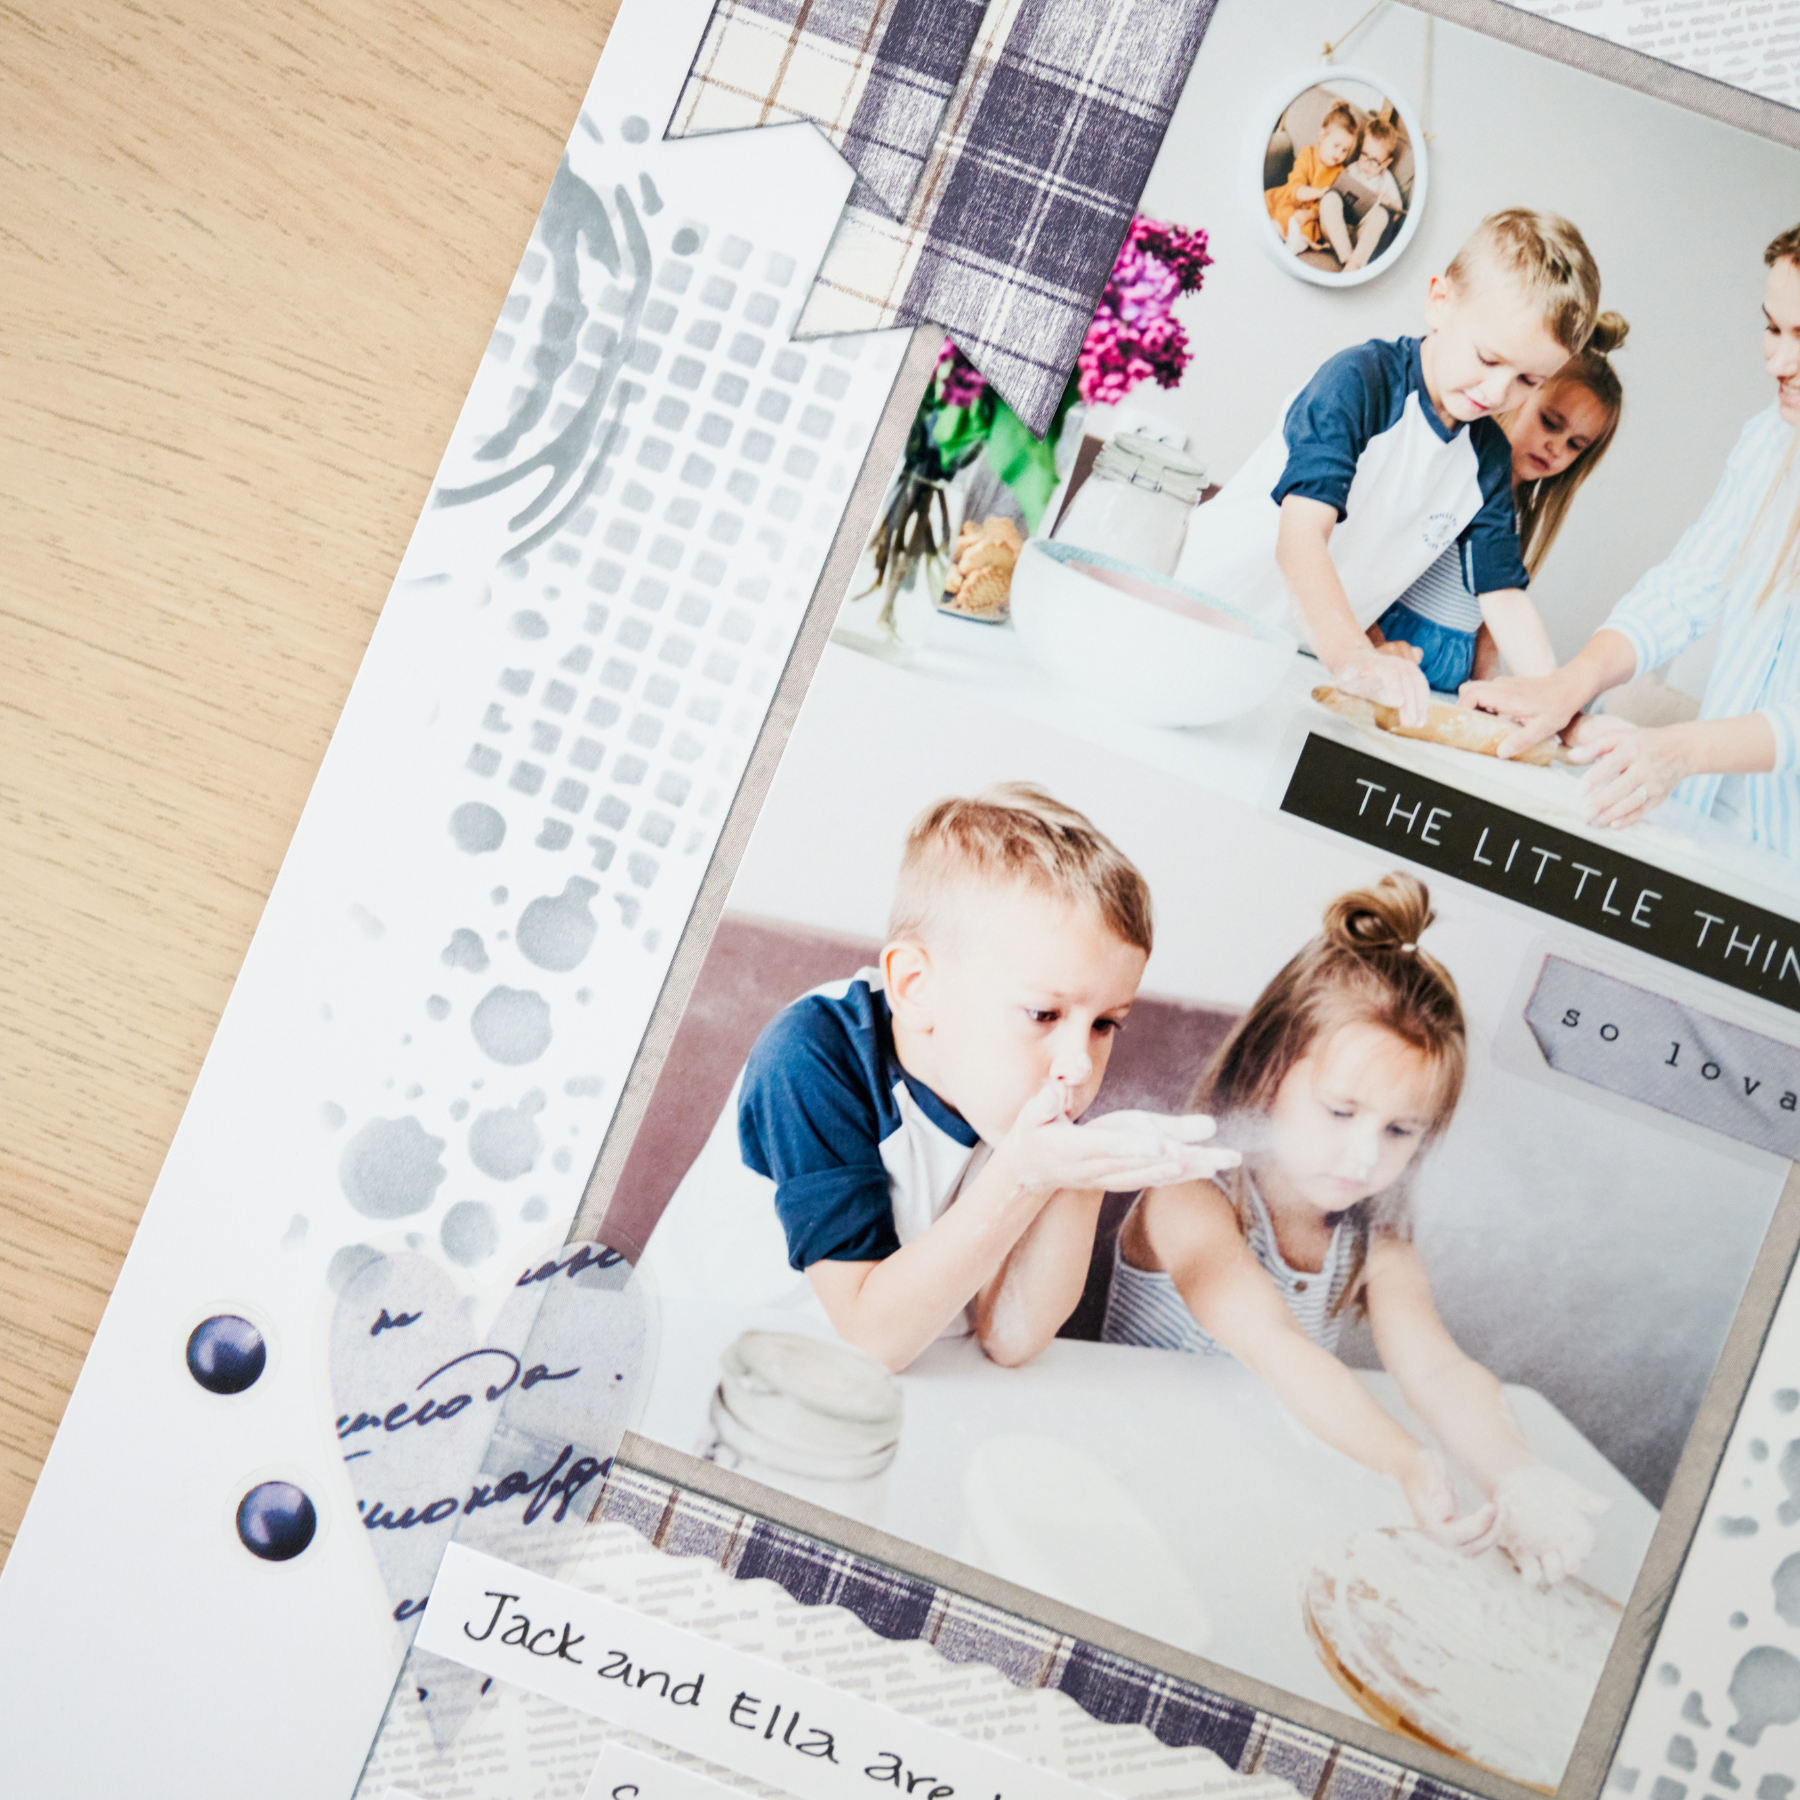
Give everyday memories a little more character with this Scrap Journal layout featuring the Weathered Indigo Collection. The Distressed Elements Stencil and a few simple inking techniques create layered clusters with a worn-in look, adding texture and depth without overwhelming the photos. There’s something about the mix of texture and imperfection that works especially well for everyday photos.
To create this layout, you will need:
- Weathered Indigo Scrap Journal Paper Pack
- Weathered Indigo Stickers
- Bright White Solid Cardstock
- Distressed Elements 5×5 Inking Stencil
- Cool Gray Craft Blending Brush
- Cool Gray Ink Pad
- Place & Peel Tape
- Black Micro-Tip Pen
- 12-inch Trimmer
- 12-inch Trimmer Pinking Blade
- Photo Trimmer
- Micro-Tip Scissors
- Repositionable Tape Runner
- Foam Squares
- 13×13 Non-Stick Craft Mat


Love this layout?

Love this layout?

Step 1: Use a piece of 6-3/4″ x 10″ Bright White cardstock as the base for this layout.
Step 2: Cut a piece of newsprint designer paper to measure 4-1⁄4″ x 1-1⁄4″. Ink the edges with Cool Gray Ink, then center it from side to side and adhere it at the top of the center section.
Step 3: Cut a piece of dark gray print designer paper to measure 4-1⁄4″ x 6-1⁄4″. Ink the edges with Cool Gray Ink, then center it from side to side and adhere it below the newsprint piece.
Step 4: Cut a piece of newsprint designer paper to measure 4-1⁄4″ x 2-1⁄4″. Ink the edges with Cool Gray Ink, then center it from side to side and adhere it below the dark gray print piece.
Step 5: Cut a 4-1⁄4″ x 12” piece of scratch paper. Tape this over the center pieces so that you can ink without worry with Place & Peel Tape. Stencil the grid part of the stencil 3″ from the left top and 3/4″ from the bottom right.
Step 6: Stencil splatter drops near the grid design. Use the coffee stain and stencil half on each side of the page as shown.
Step 7: Adhere two 4″ x 3″ photos to the dark gray mat. Cut a 4-1⁄4″ x 3/8″ piece of plaid designer paper and use the 12-inch Trimmer Pinking Blade along one side. Adhere the piece below the gray photo mat.
Step 8: Cut two pieces of plaid designer paper to measure 1″ x 3-1⁄4″ and 1″ x 2-3⁄4″. Dovetail the bottom ends of each piece and adhere them to the page as shown.
Step 9: Add stickers and journaling.
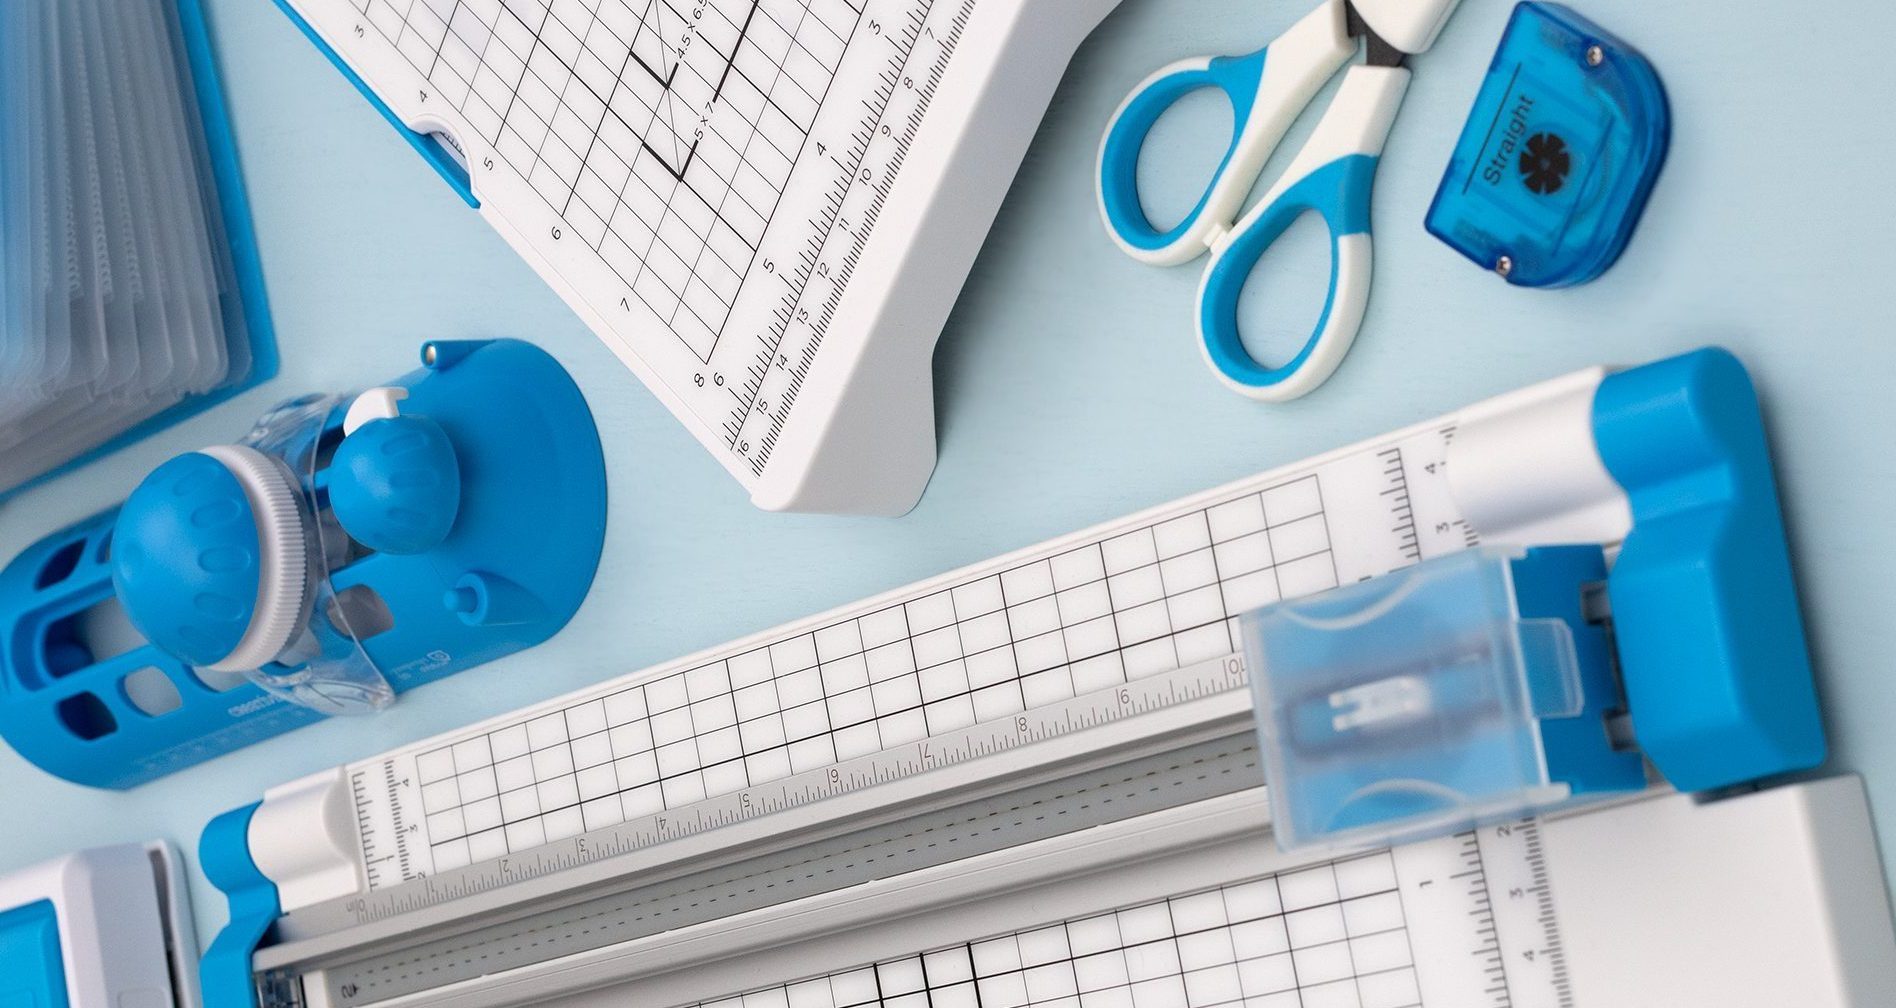
Want to recreate this layout?
We’ve gathered all the products featured in this project in one place, making it easy to find the papers, embellishments, tools and more.
P.S. Are YOU a member of the Virtual Crop Group? It’s your go-to place for MONTHLY Virtual Crops, MONTHLY Completed Album Challenges, QUARTERLY Secret Box Openings with project tutorials and so much more! We hope you’ll join our community of more than 53,000 fellow memory-keeping enthusiasts — you’ll feel right at home!

