September 18, 2026
A Vivid Melodies 2 Layout for Every Family Photo
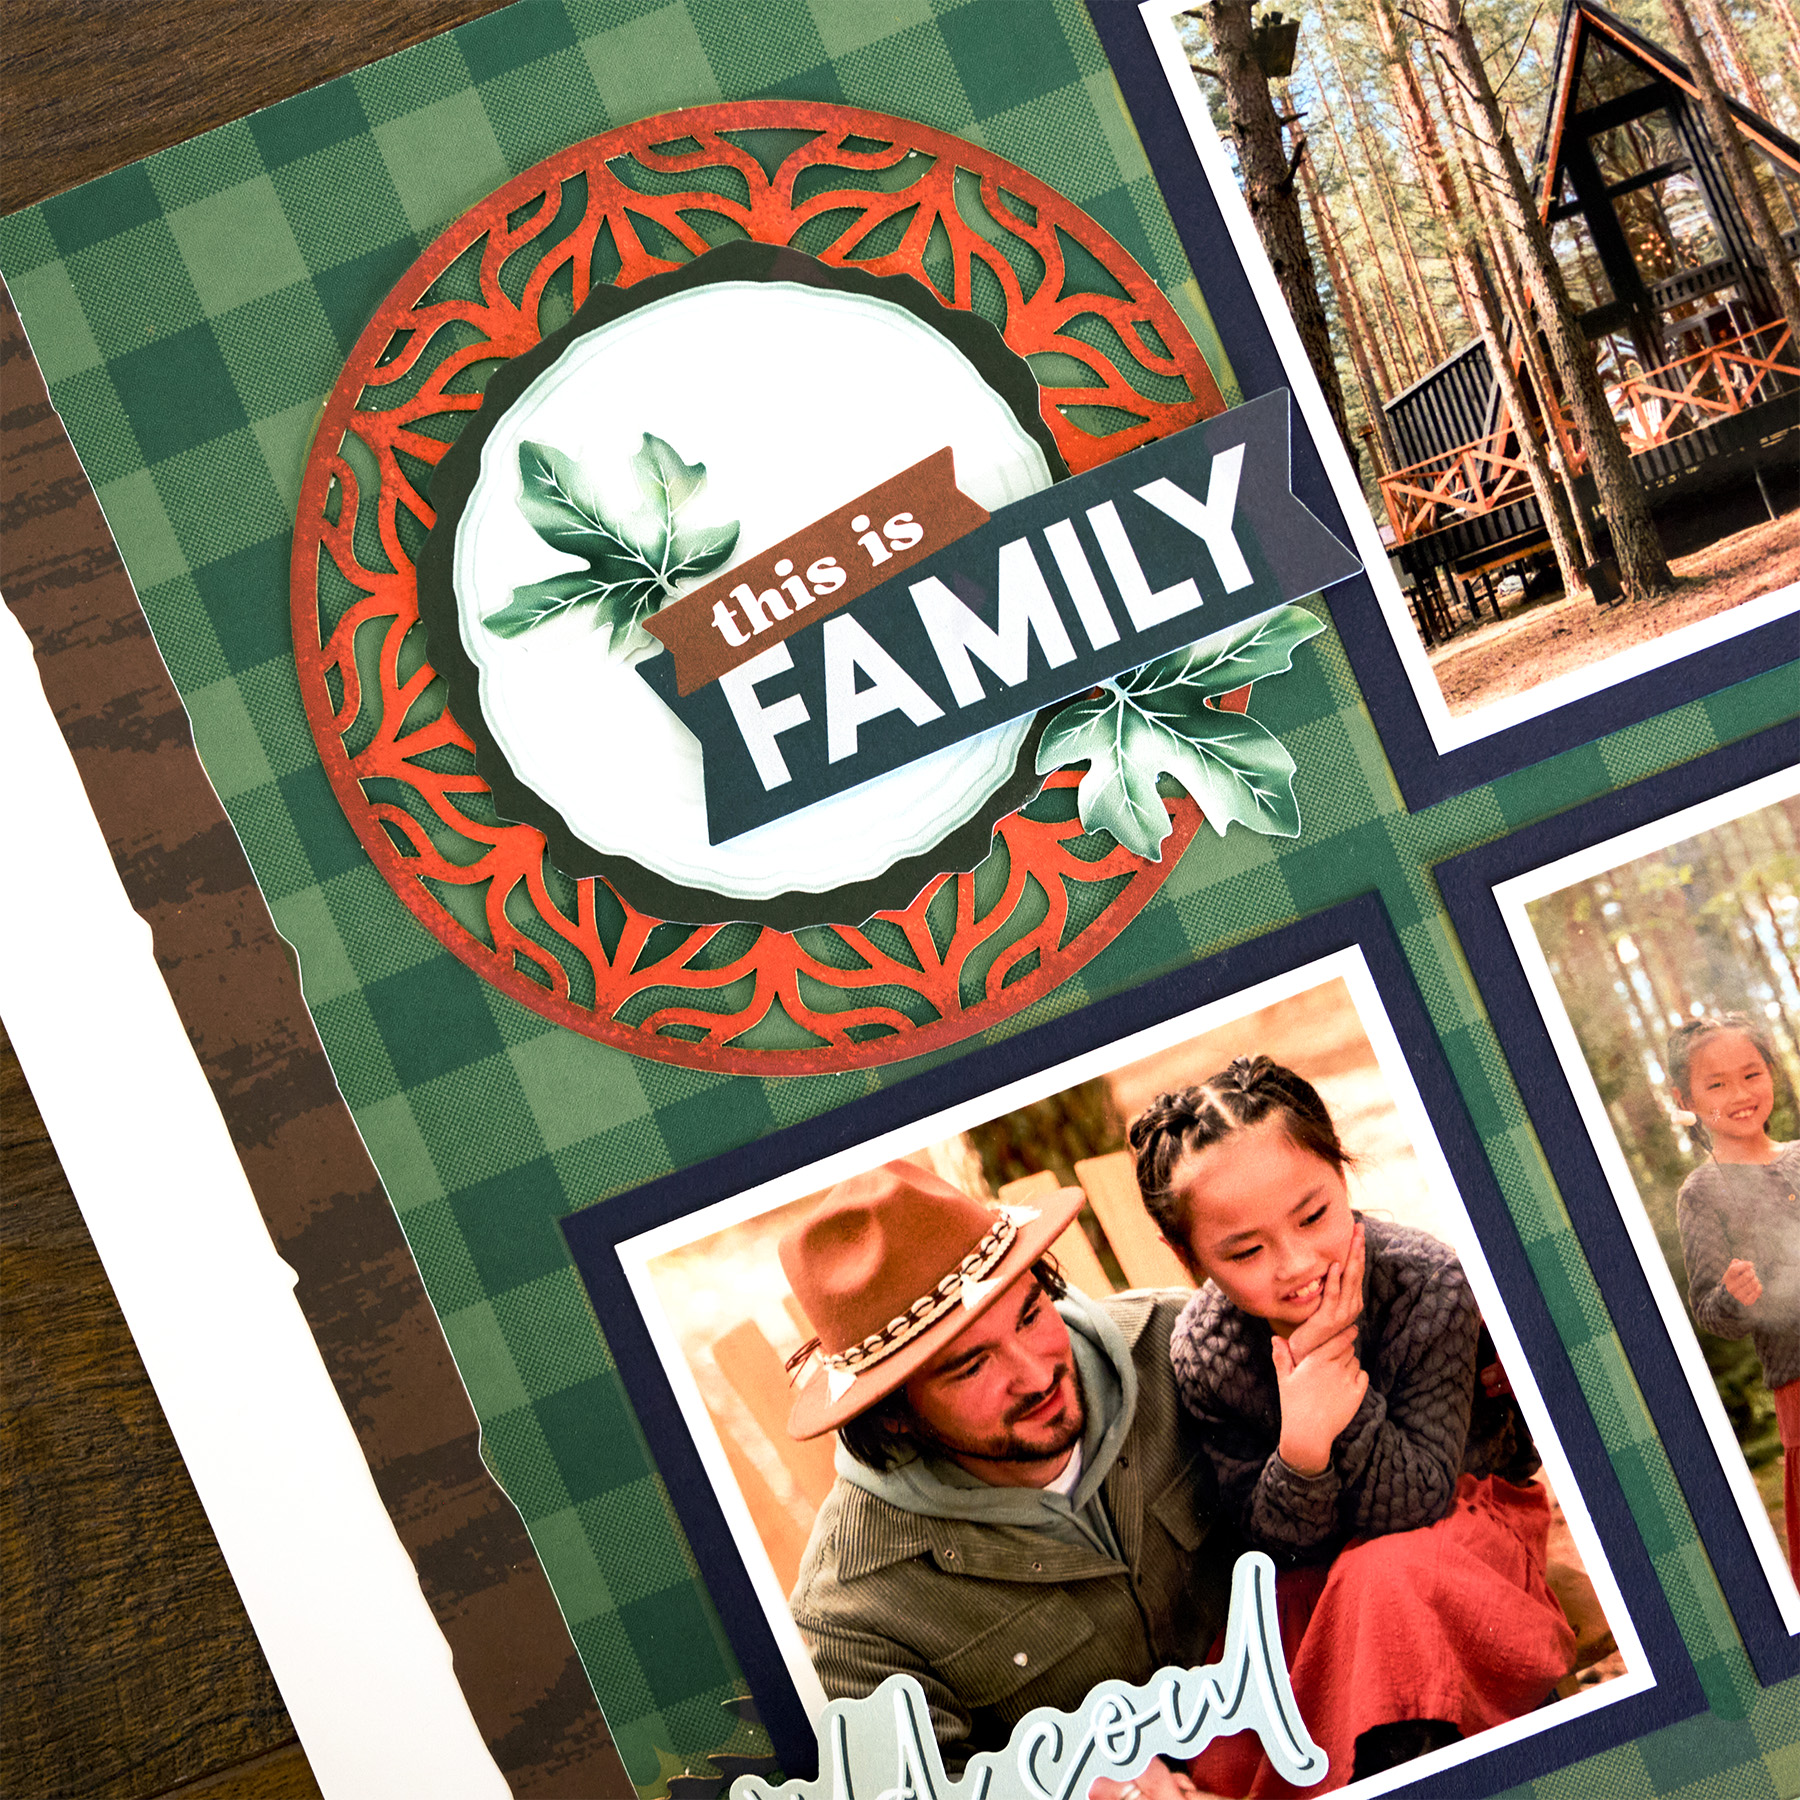
Family photos are coming, and Vivid Melodies 2 is ready for all of them. With a mix of colors, patterns and embellishments, it’s easy to take the collection in a lot of different directions, whether you’re scrapping fall family photos, holiday gatherings or everyday moments with the people you love. We especially love how easily the different Vivid Melodies 2 colors mix with other collections, giving you even more ways to make your pages feel like your own.
To create this layout, you will need:
- Vivid Melodies 2 Paper Pack – Dark Green
- Vivid Melodies 2 Embellishments – Dark Green
- Vivid Melodies 2 Stickers – Dark Green
- Vivid Melodies 2 Paper Pack – Navy
- Vivid Melodies 2 Embellishments – Navy
- Vivid Melodies 2 Paper Pack – Pumpkin
- Vivid Melodies 2 Embellishments – Pumpkin
- Bright White Solid Cardstock
- Navy Solid Cardstock
- 12-inch Trimmer
- Photo Trimmer
- Micro-Tip Scissors
- Repositionable Tape Runner
- Foam Squares
- Write-On Stickers
- Dual-Tip Black Pen

Love this layout?

Love this layout?

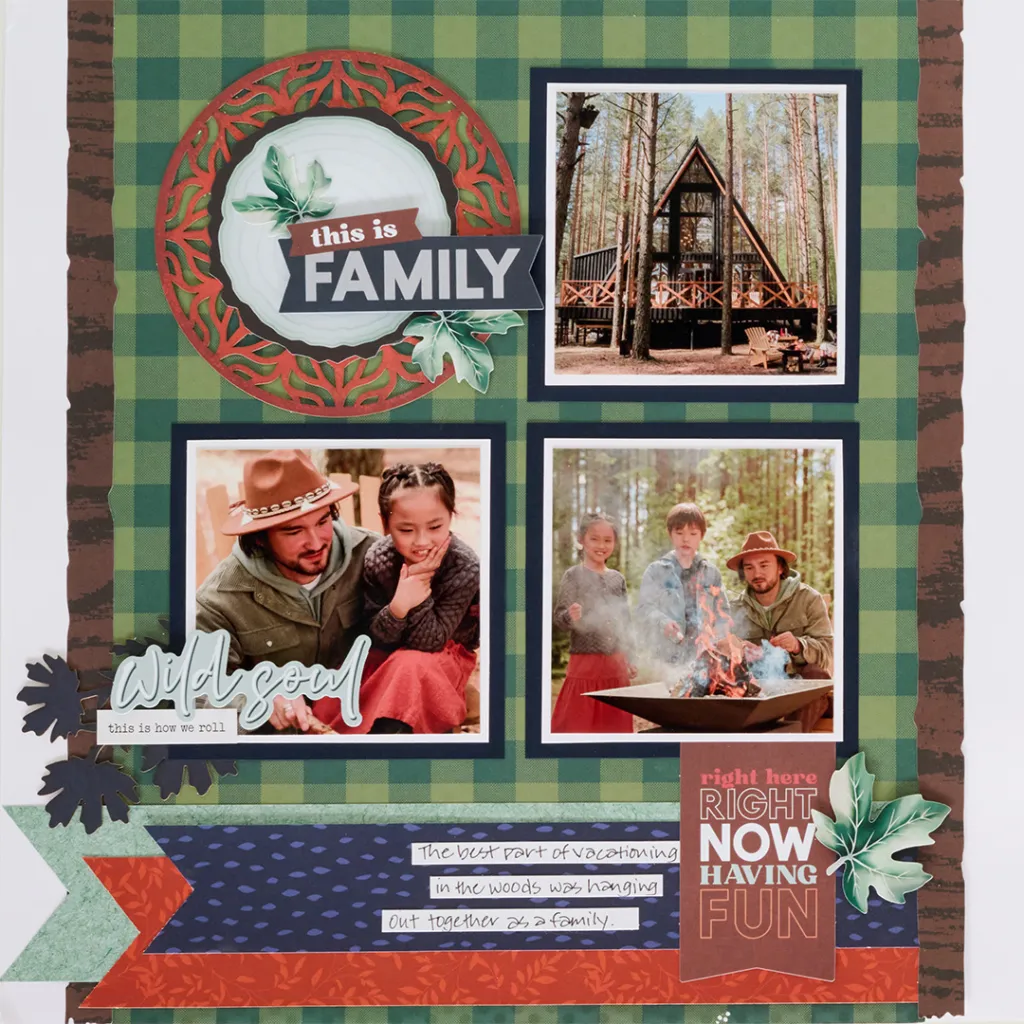
Step 1: Use a sheet of Bright White Solid Cardstock as the base for this layout.
Step 2: Cut a sheet of green gingham designer paper to measure 9-1/2″ x 12″ and adhere it to the center of the base page. Adhere two brown woodgrain border embellishments 3/4″ from the left and right sides of the layout.
Step 3: Cut a 10-3/4″ x 2″ strip of green kraft designer paper, a 10″ x 1-3/4″ strip of pumpkin leaves designer paper and a 9-1/4″ x 1-1/2″ strip of navy droplets designer paper. Using micro-tip scissors, dovetail one short end of each strip. Adhere the strips to the bottom of the layout as shown, tucking the straight short ends behind the woodgrain embellishment on the right side.
Step 4: Cut three 4″ x 4″ squares from Navy Solid Cardstock and three 3-1/2″ x 3-1/2″ squares from Bright White Cardstock. Crop three photos to measure 3-1/4″ x 3-1/4″. Layer and adhere the photos onto the mats and adhere them as shown.
Step 5: Finish the layout with the coordinating laser border, stickers and embellishments as shown. Layer the title and leaf embellishments to create dimension, and tuck the “Right Here Right Now Having Fun” title embellishment under the lower right photo mat.
Step 6: Cut strips of Write-On Stickers and adhere them to the navy strip. Journal as desired.
Want to recreate this layout?
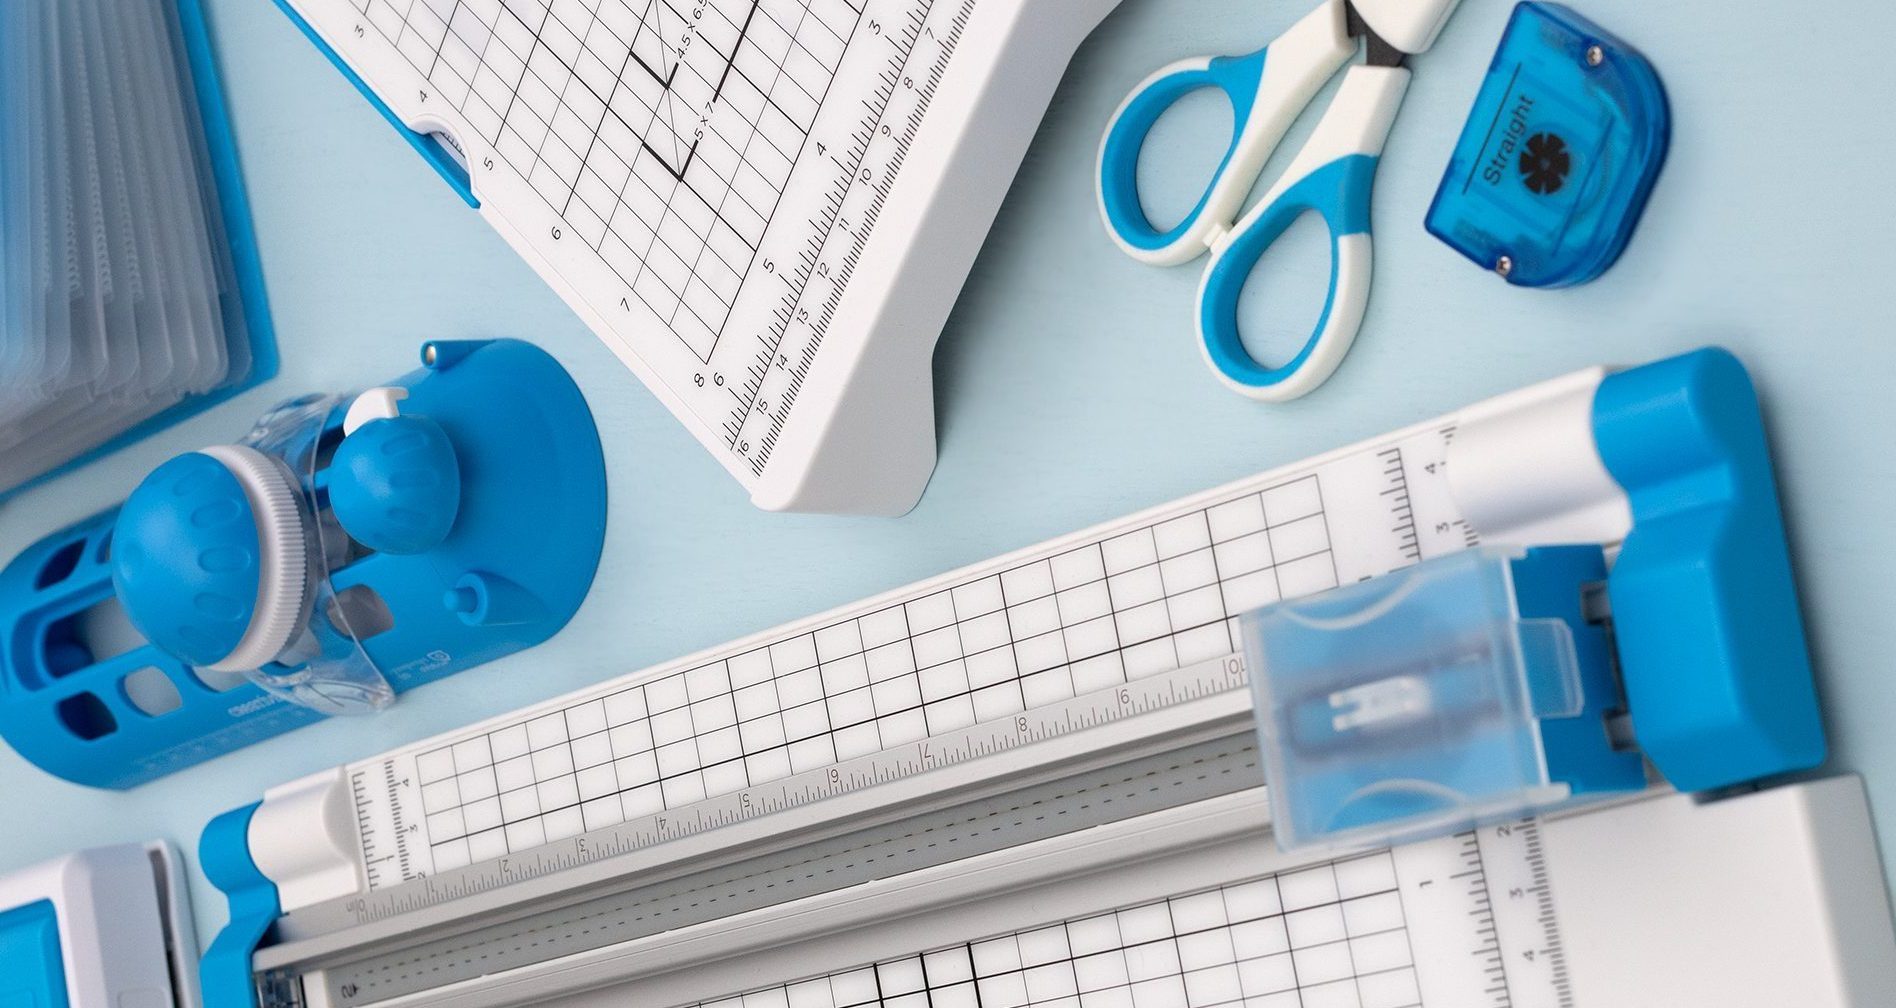
We’ve gathered all the products featured in this project in one place, making it easy to find the papers, embellishments, tools and more.
P.S. Are YOU a member of the Virtual Crop Group? It’s your go-to place for MONTHLY Virtual Crops, MONTHLY Completed Album Challenges, QUARTERLY Secret Box Openings with project tutorials and so much more! We hope you’ll join our community of more than 53,000 fellow memory-keeping enthusiasts — you’ll feel right at home!

