October 9, 2026
The October 2026 Virtual Crop is HERE!
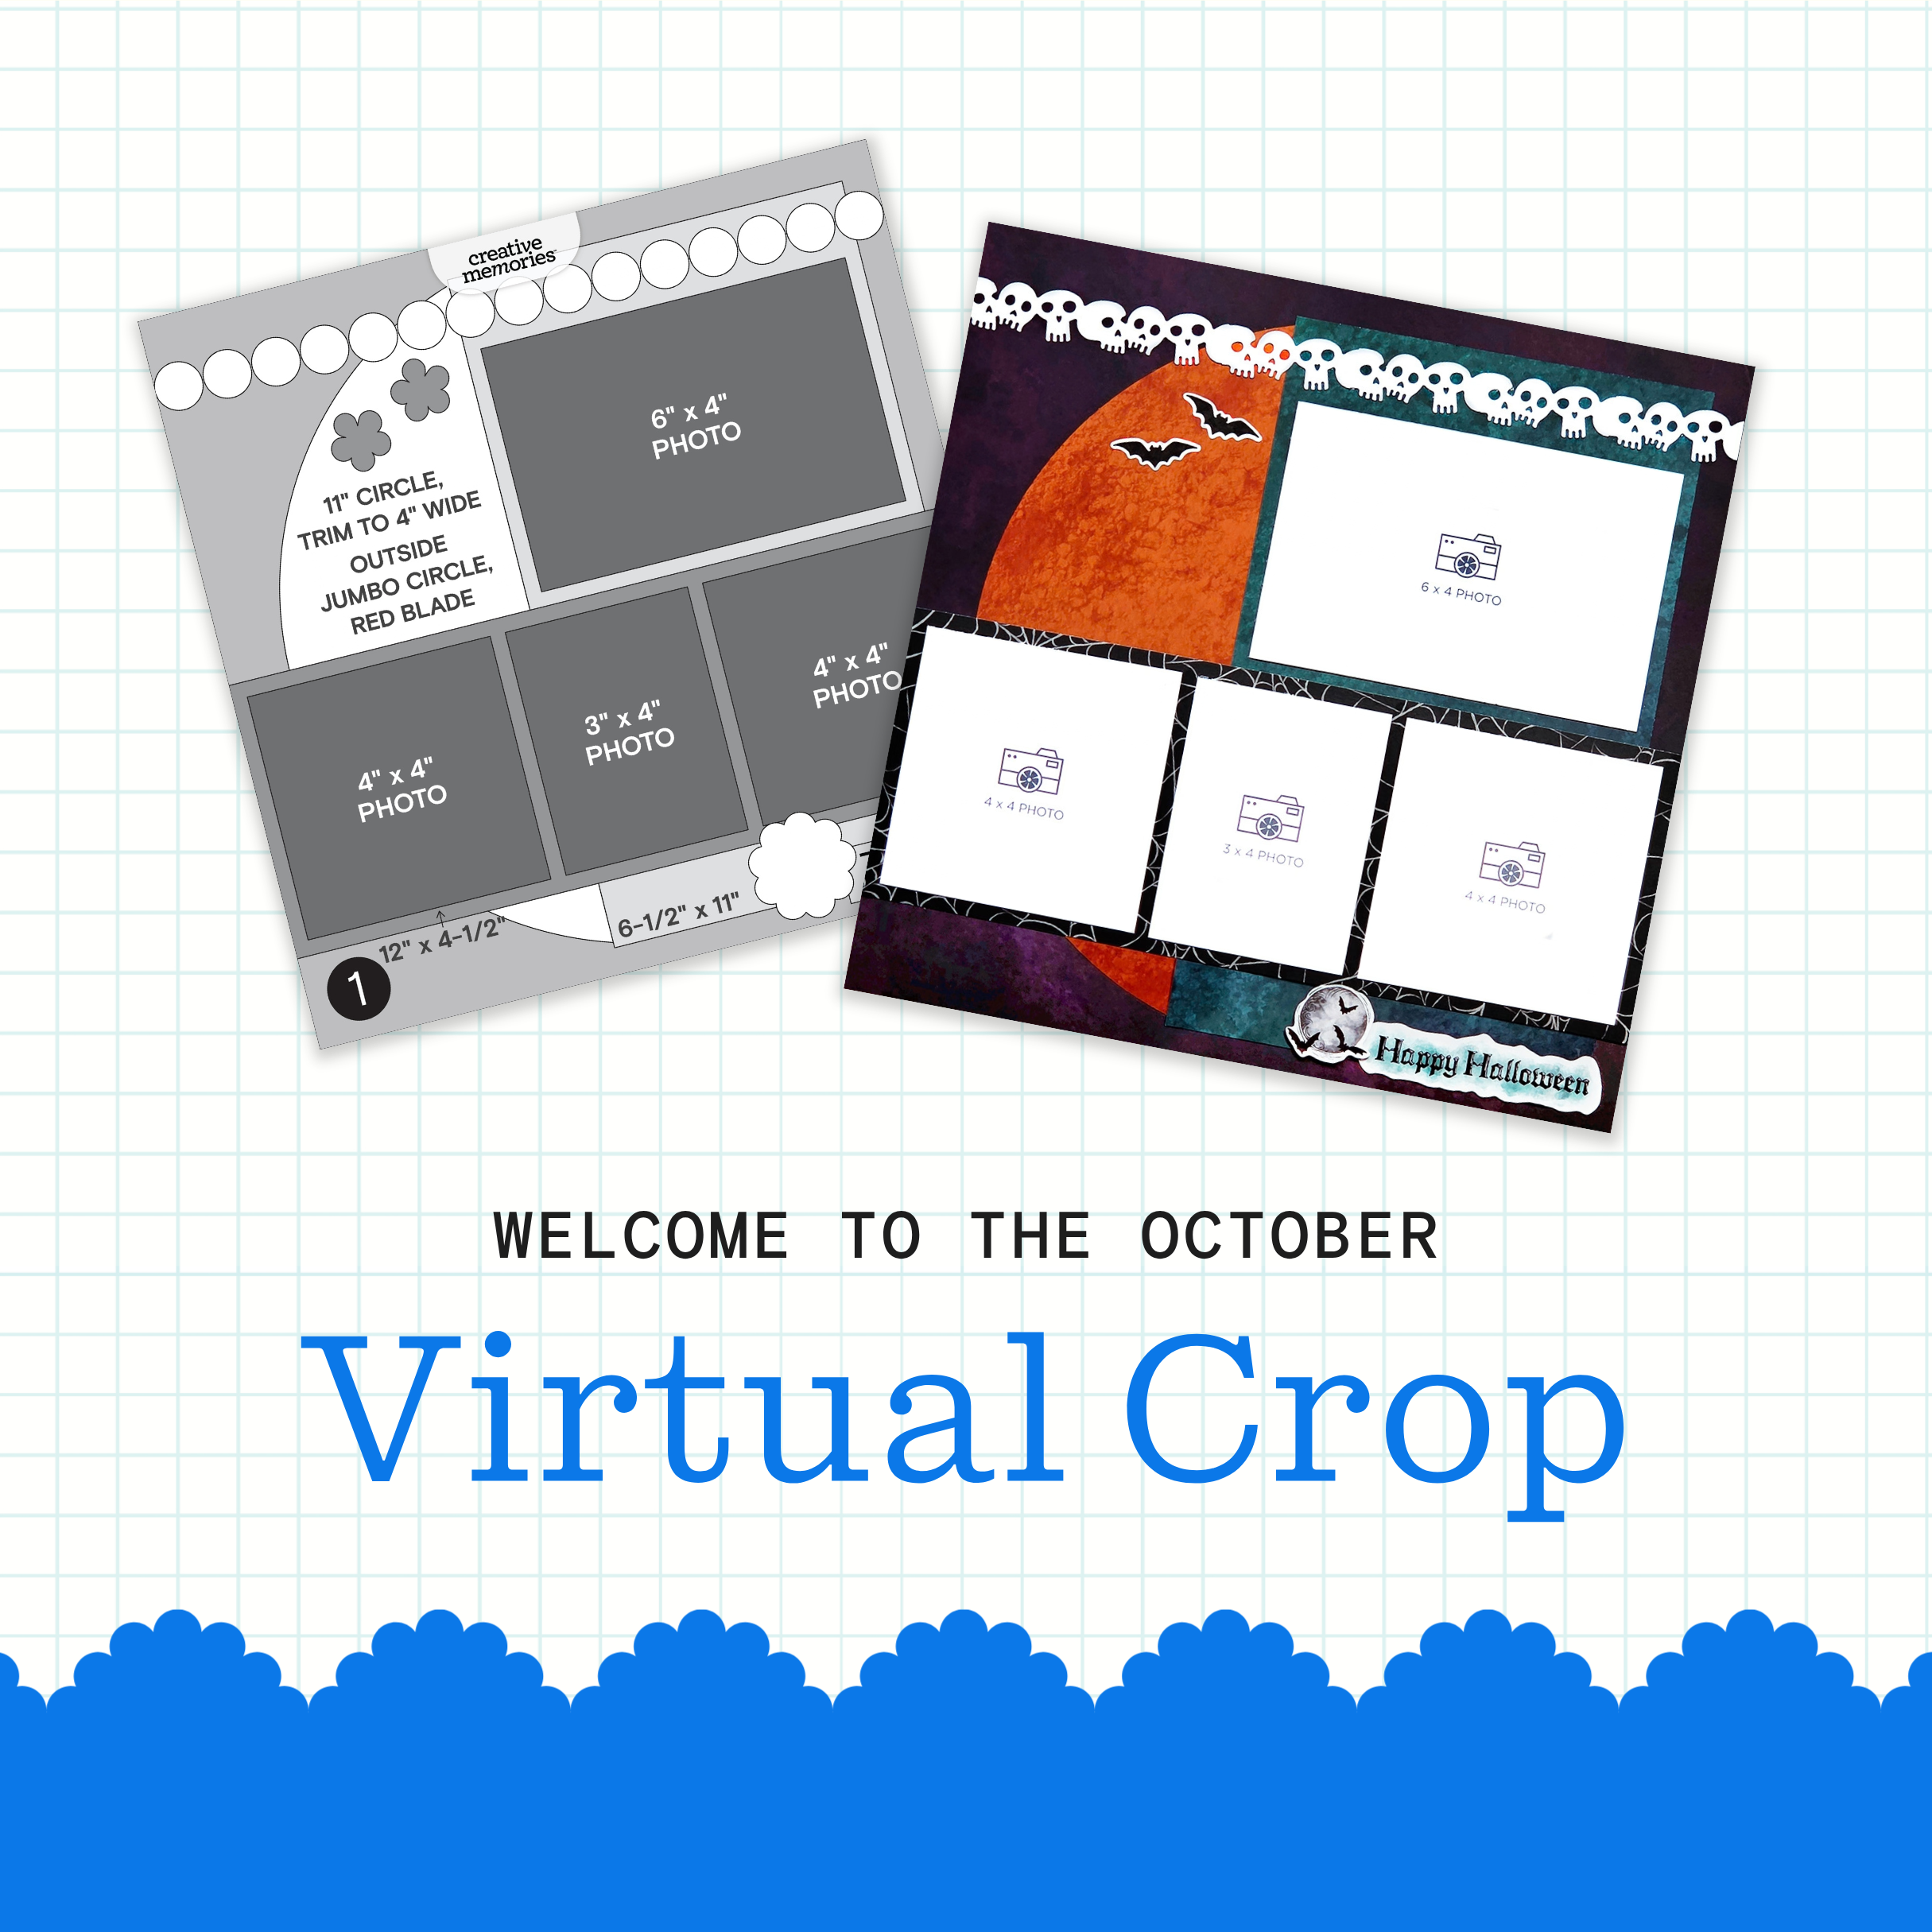
It’s officially time for the October Virtual Crop! This is your invitation to a weekend full of inspiration, connection and fun! Let’s get started!
If this is your first time participating in a Virtual Crop and you would like a quick step-by-step guide of what to expect before you jump in, you can get ALL the details about Virtual Crops in this blog post, including how to participate (in our Virtual Crop Group), supplies you’ll need, examples of challenges, types of prizes and more.
Know what you’re looking for? Find it faster here:
In this post, you will find ALL four sketches for this crop (these sketches are for the entire weekend; no additional sketches will be posted), a downloadable PDF with the four sketches for your convenience, hashtags to use when posting your challenge layouts in the Virtual Crop Group, prize information and layout inspiration. This is about to be an amazing weekend and we can’t wait to see what you create!
To make sure we see all your submissions for a chance to win, you’ll want to post each layout you complete as its own new post with the hashtag for that challenge. You have until Tuesday, October 13 at 11:59pm CT (AU: Wednesday, 14 October, at 2:59pm AET) to submit your layouts for a chance to win (more details on what you can win further down this post!). Again, we’re so excited that you’re here. Happy scrapping!
Now, let the fun begin!
Watch: October Virtual Crop Kickoff Video!
Meet the Sketches
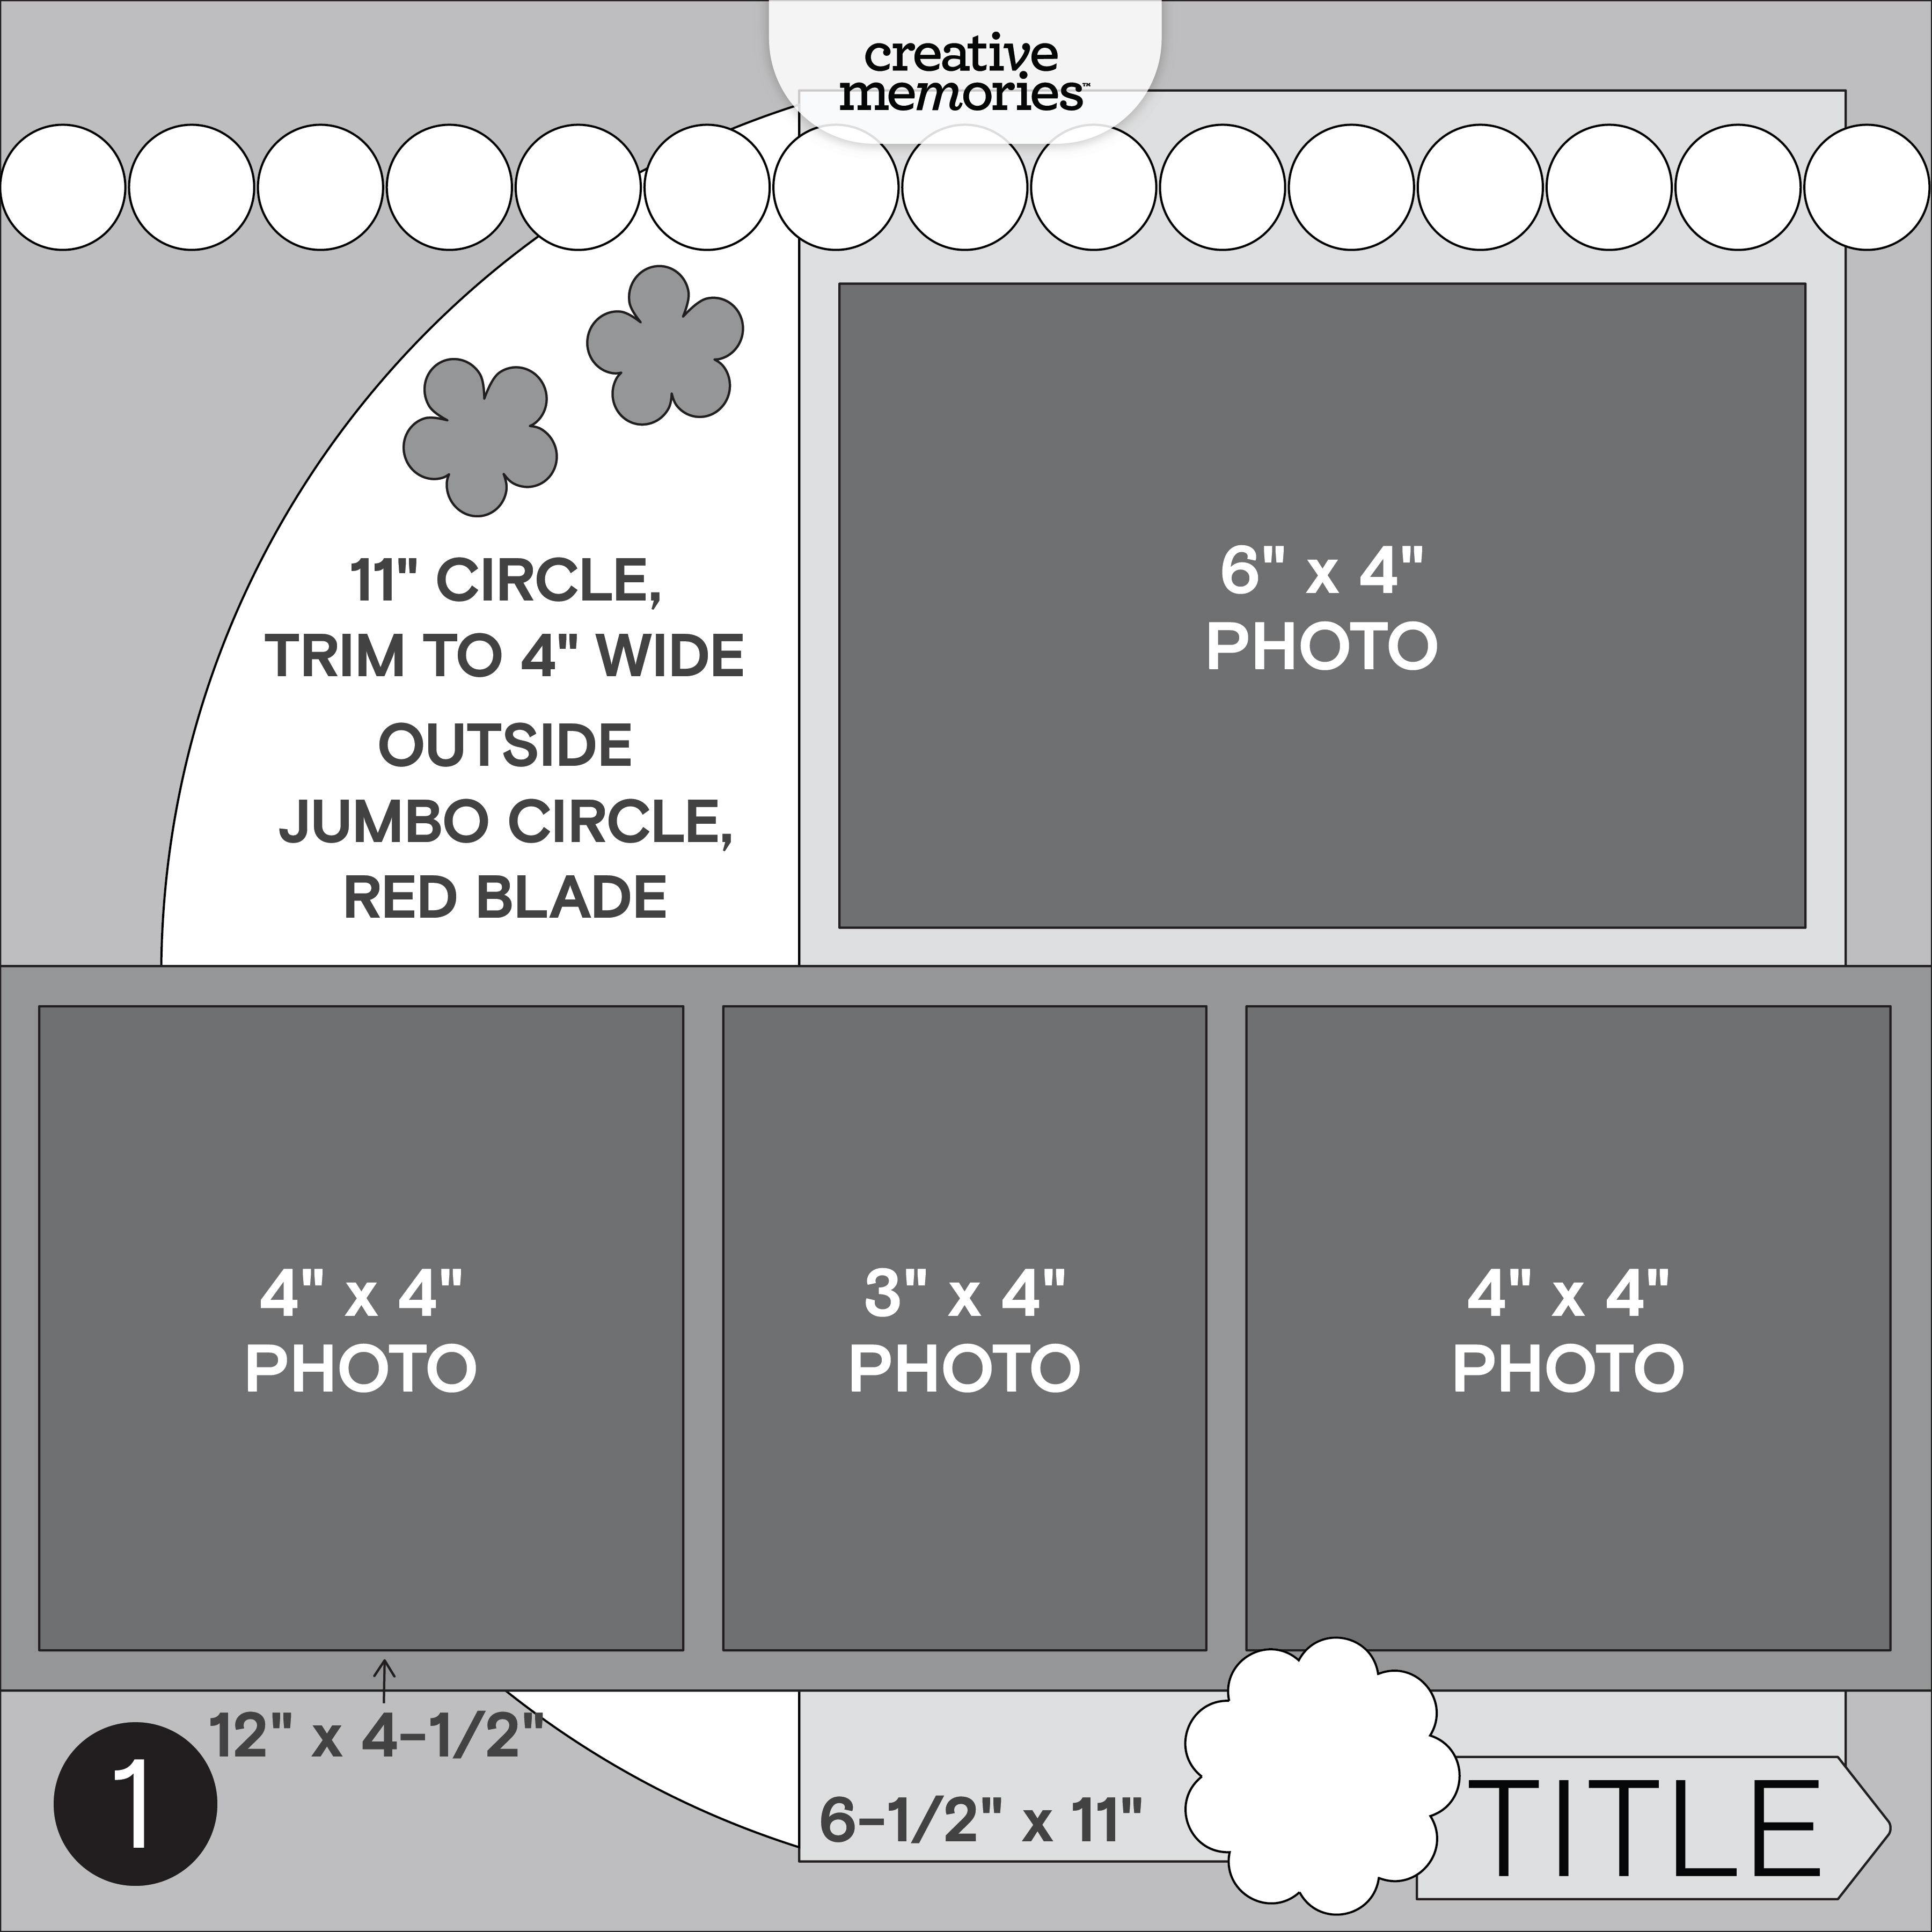
Challenge #1 — #CMVirtualCrop1October2026
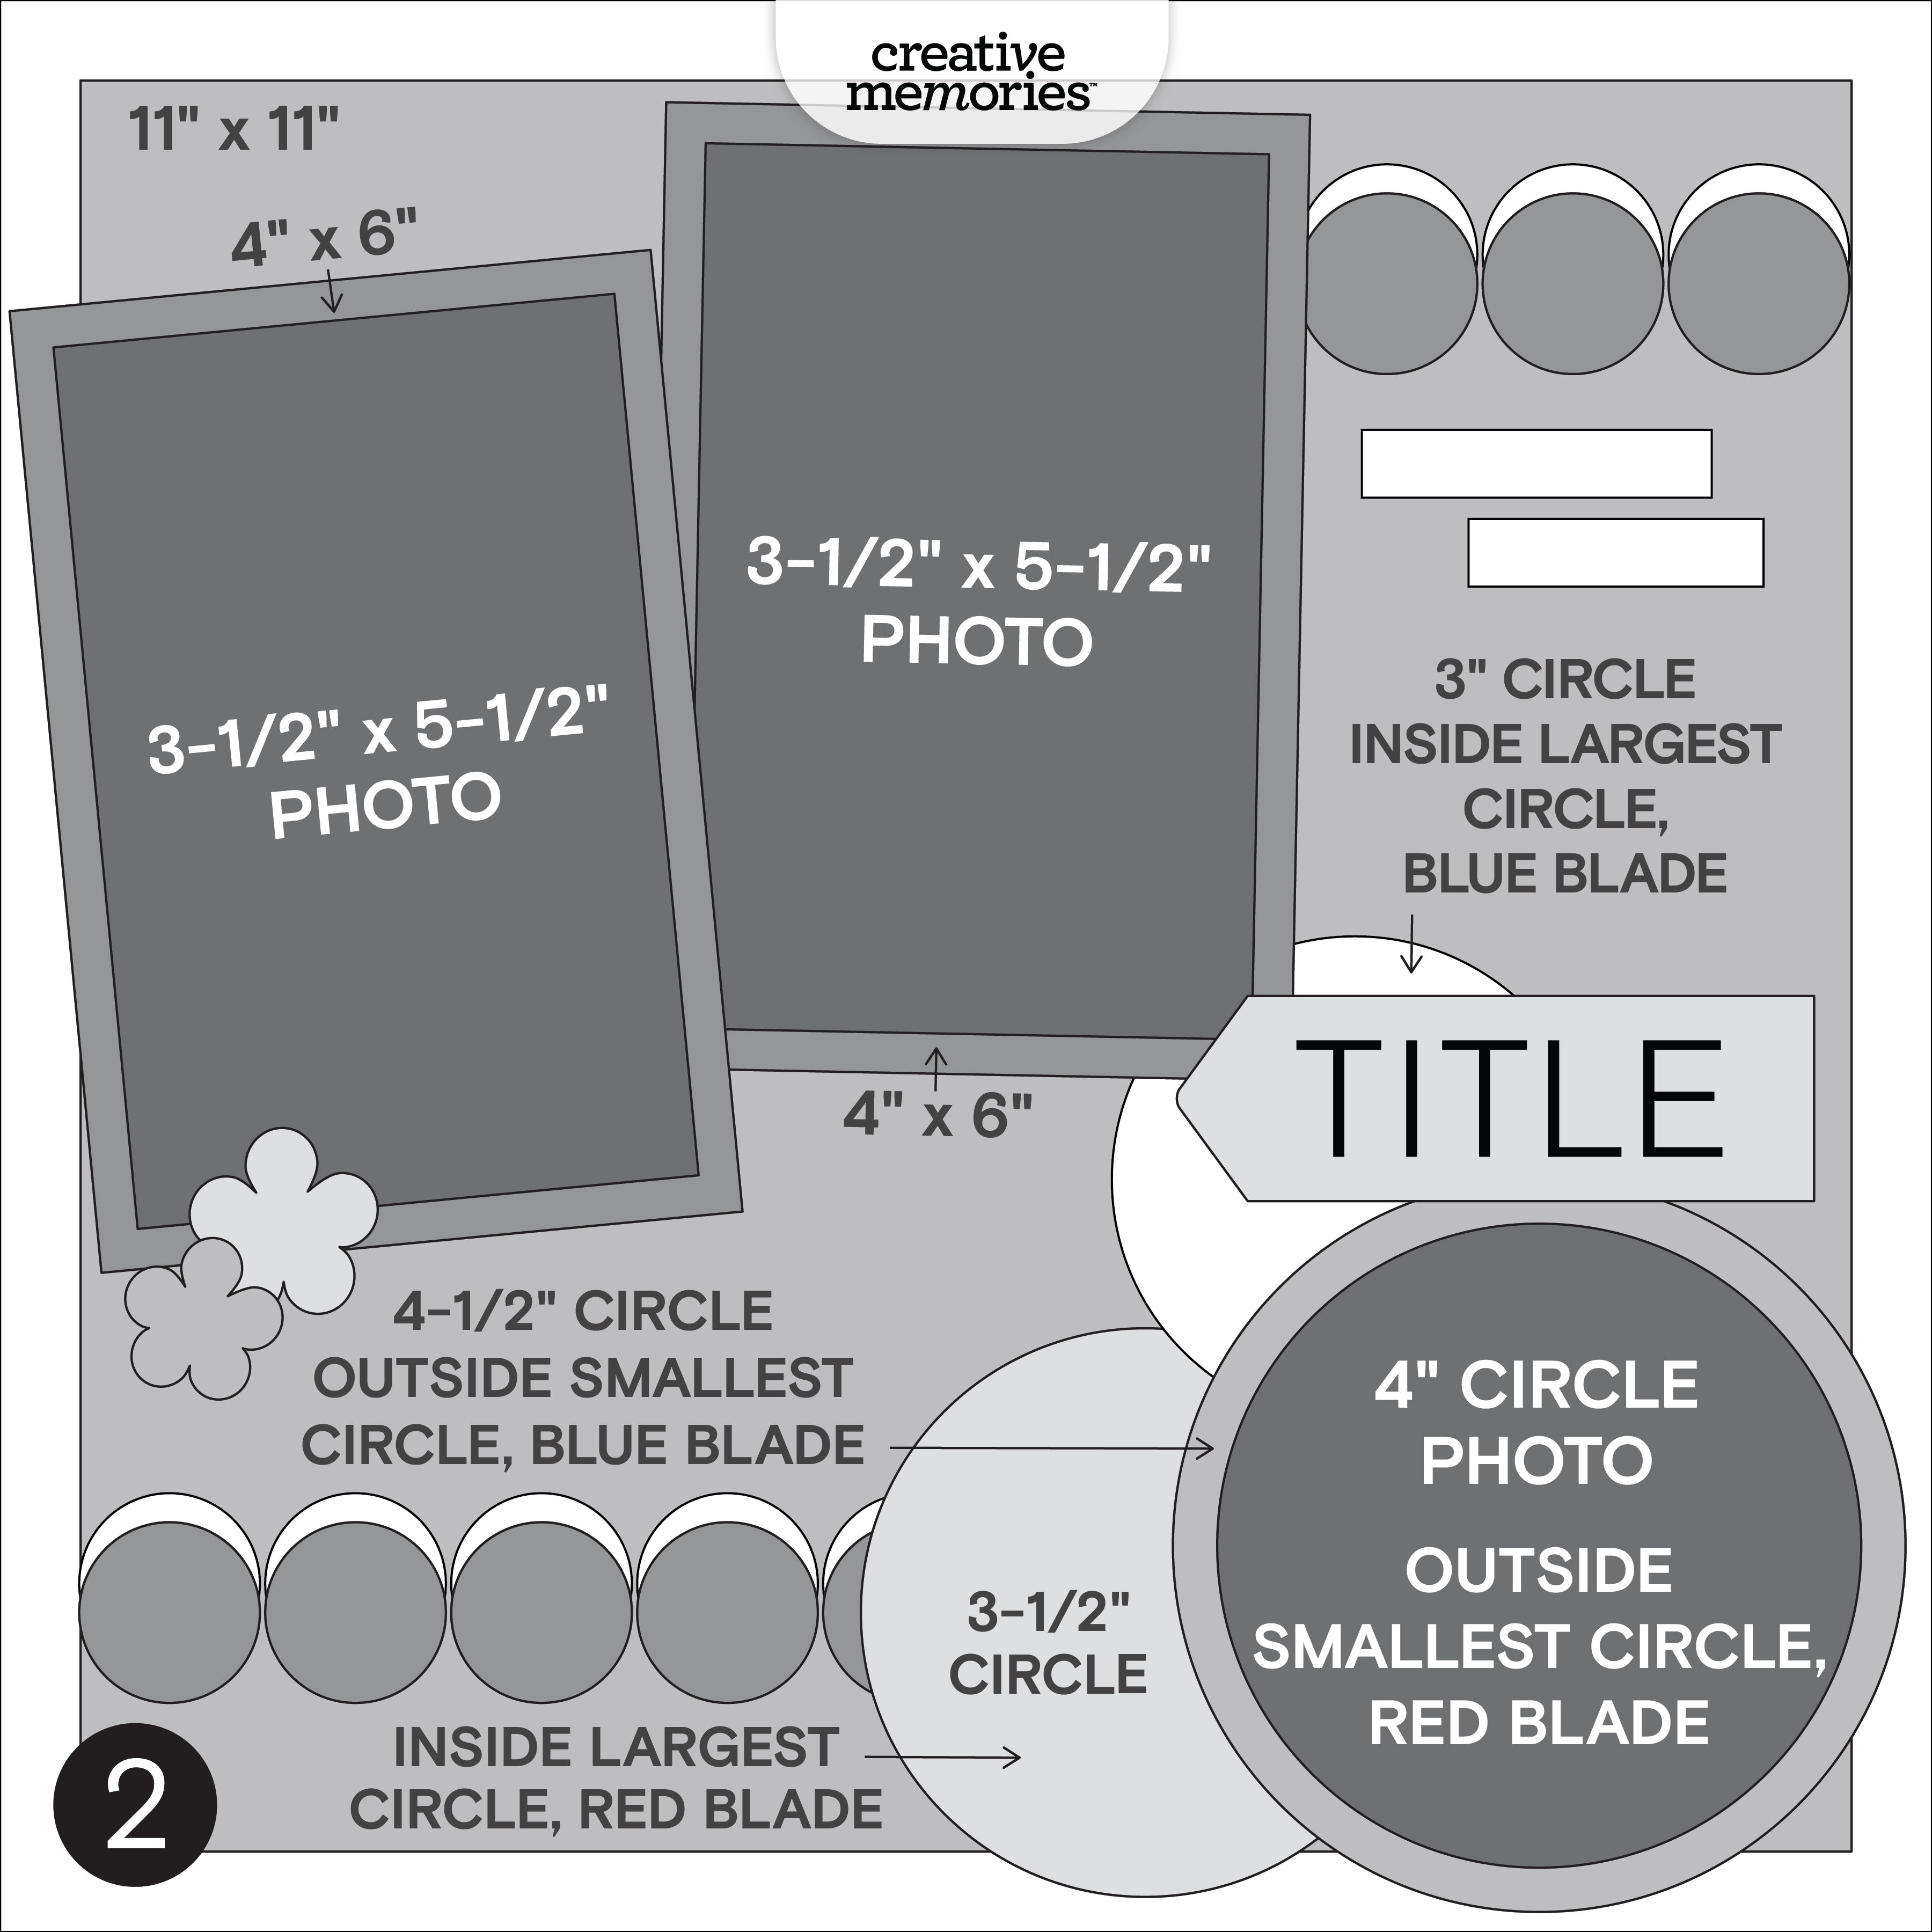
Challenge #2 — #CMVirtualCrop2October2026
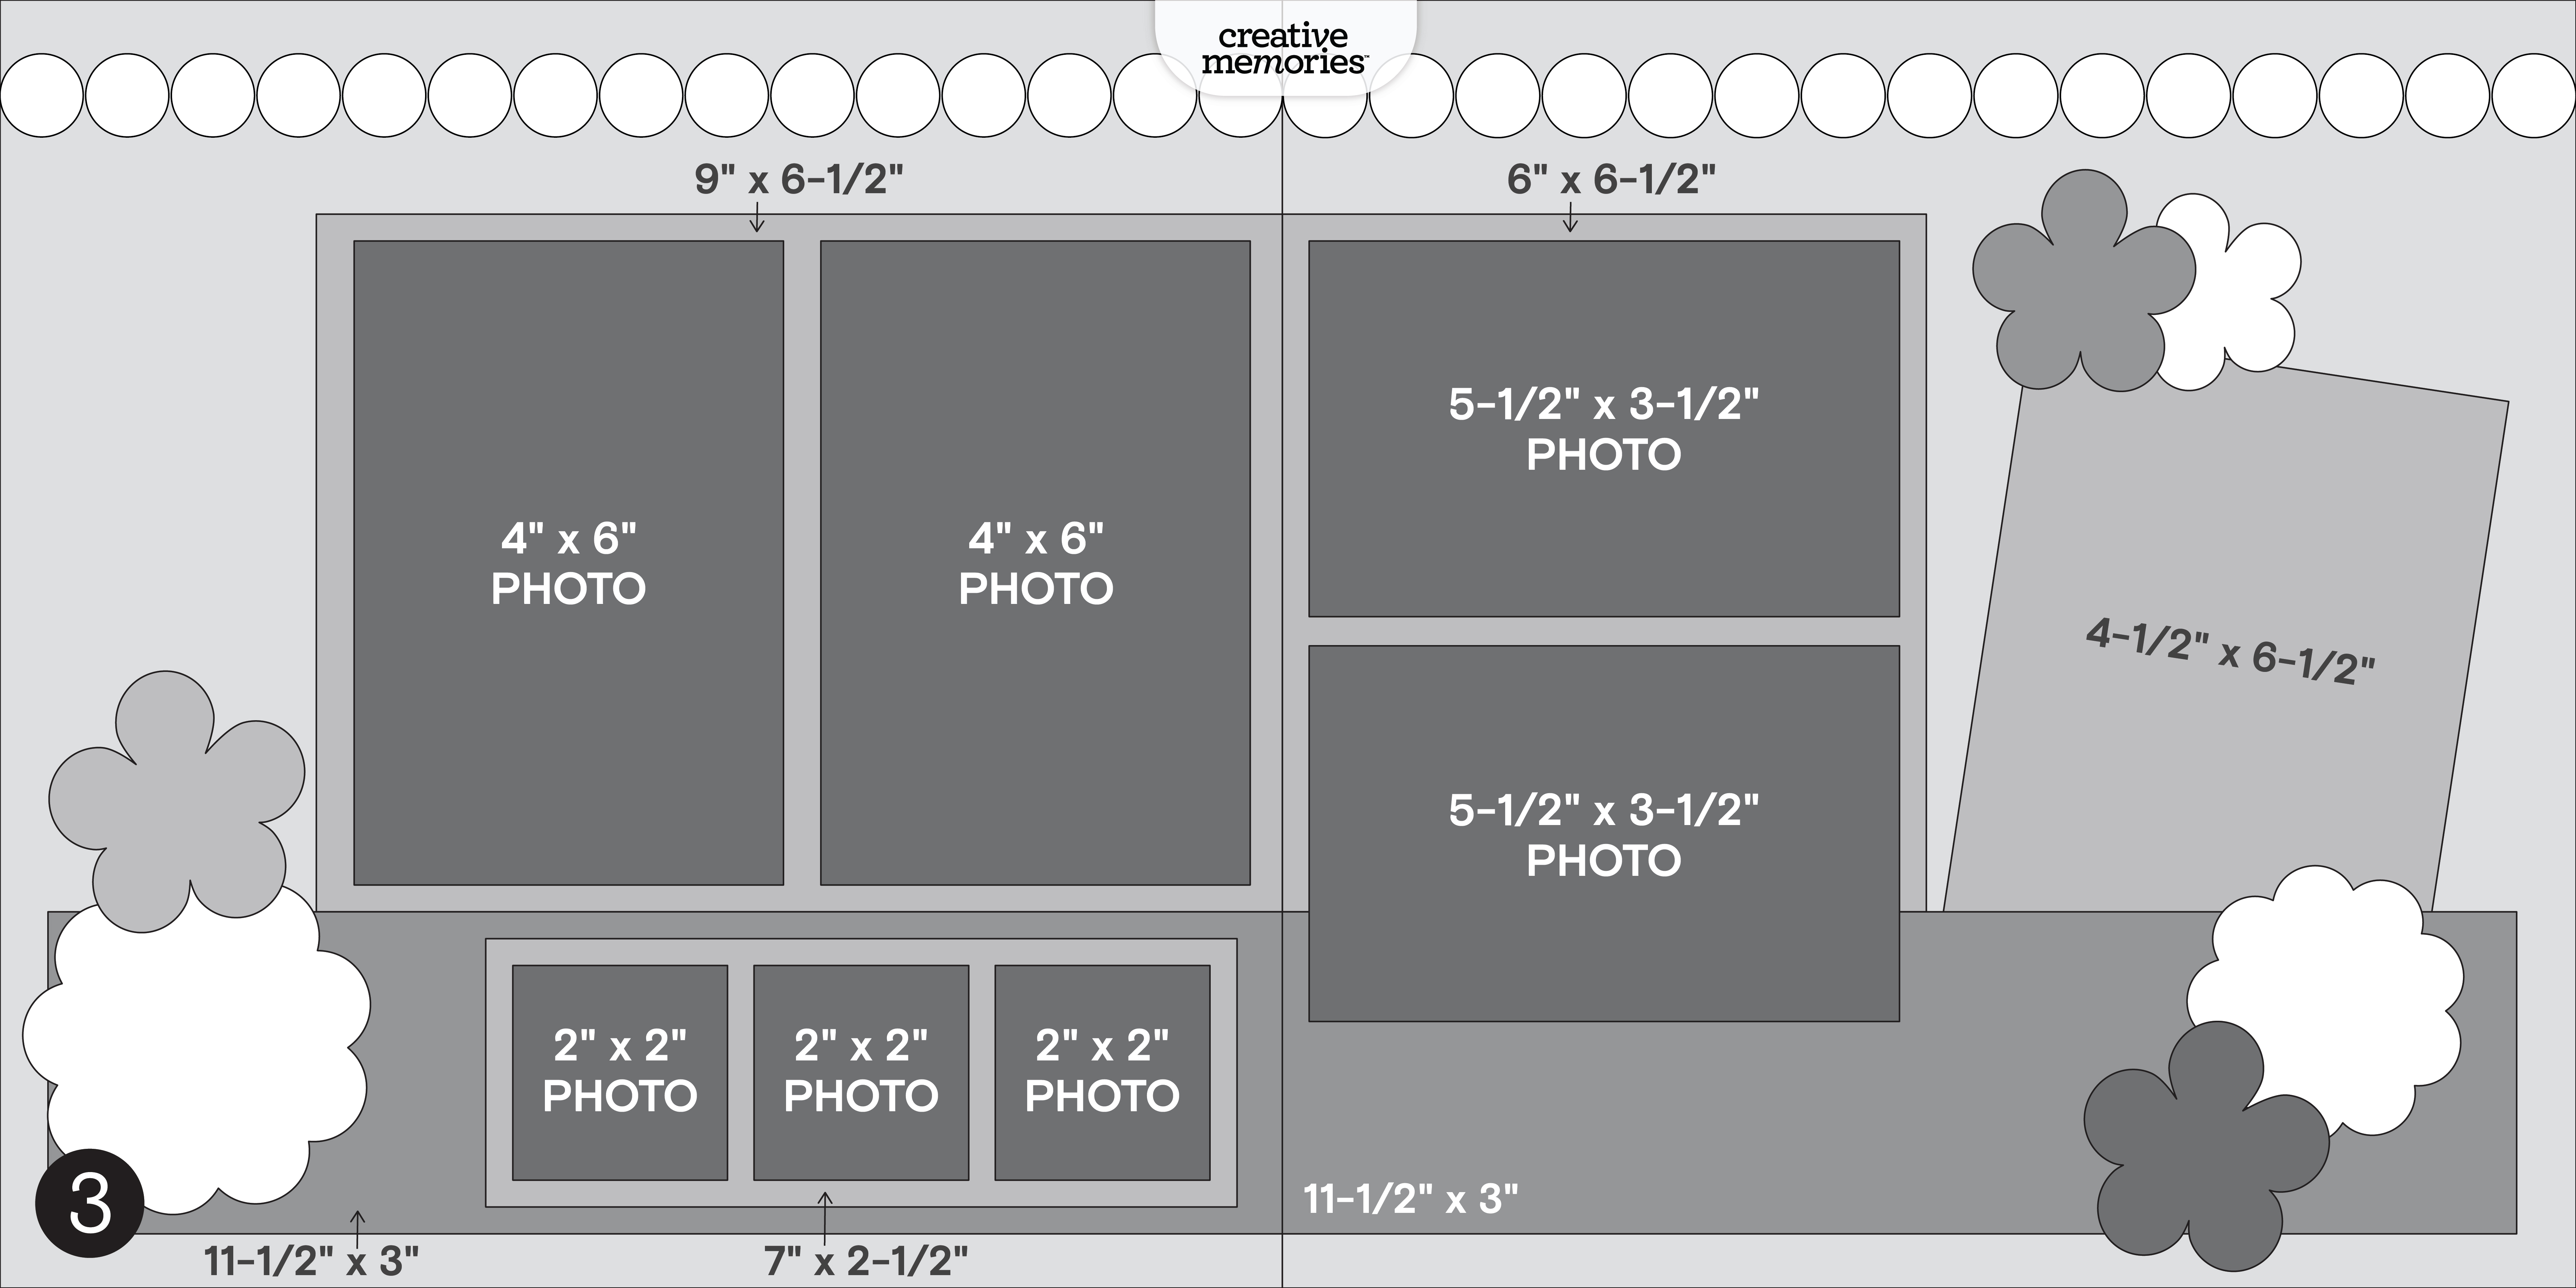
Challenge #3 — #CMVirtualCrop3October2026
Challenge #4 — #CMVirtualCrop4October2026
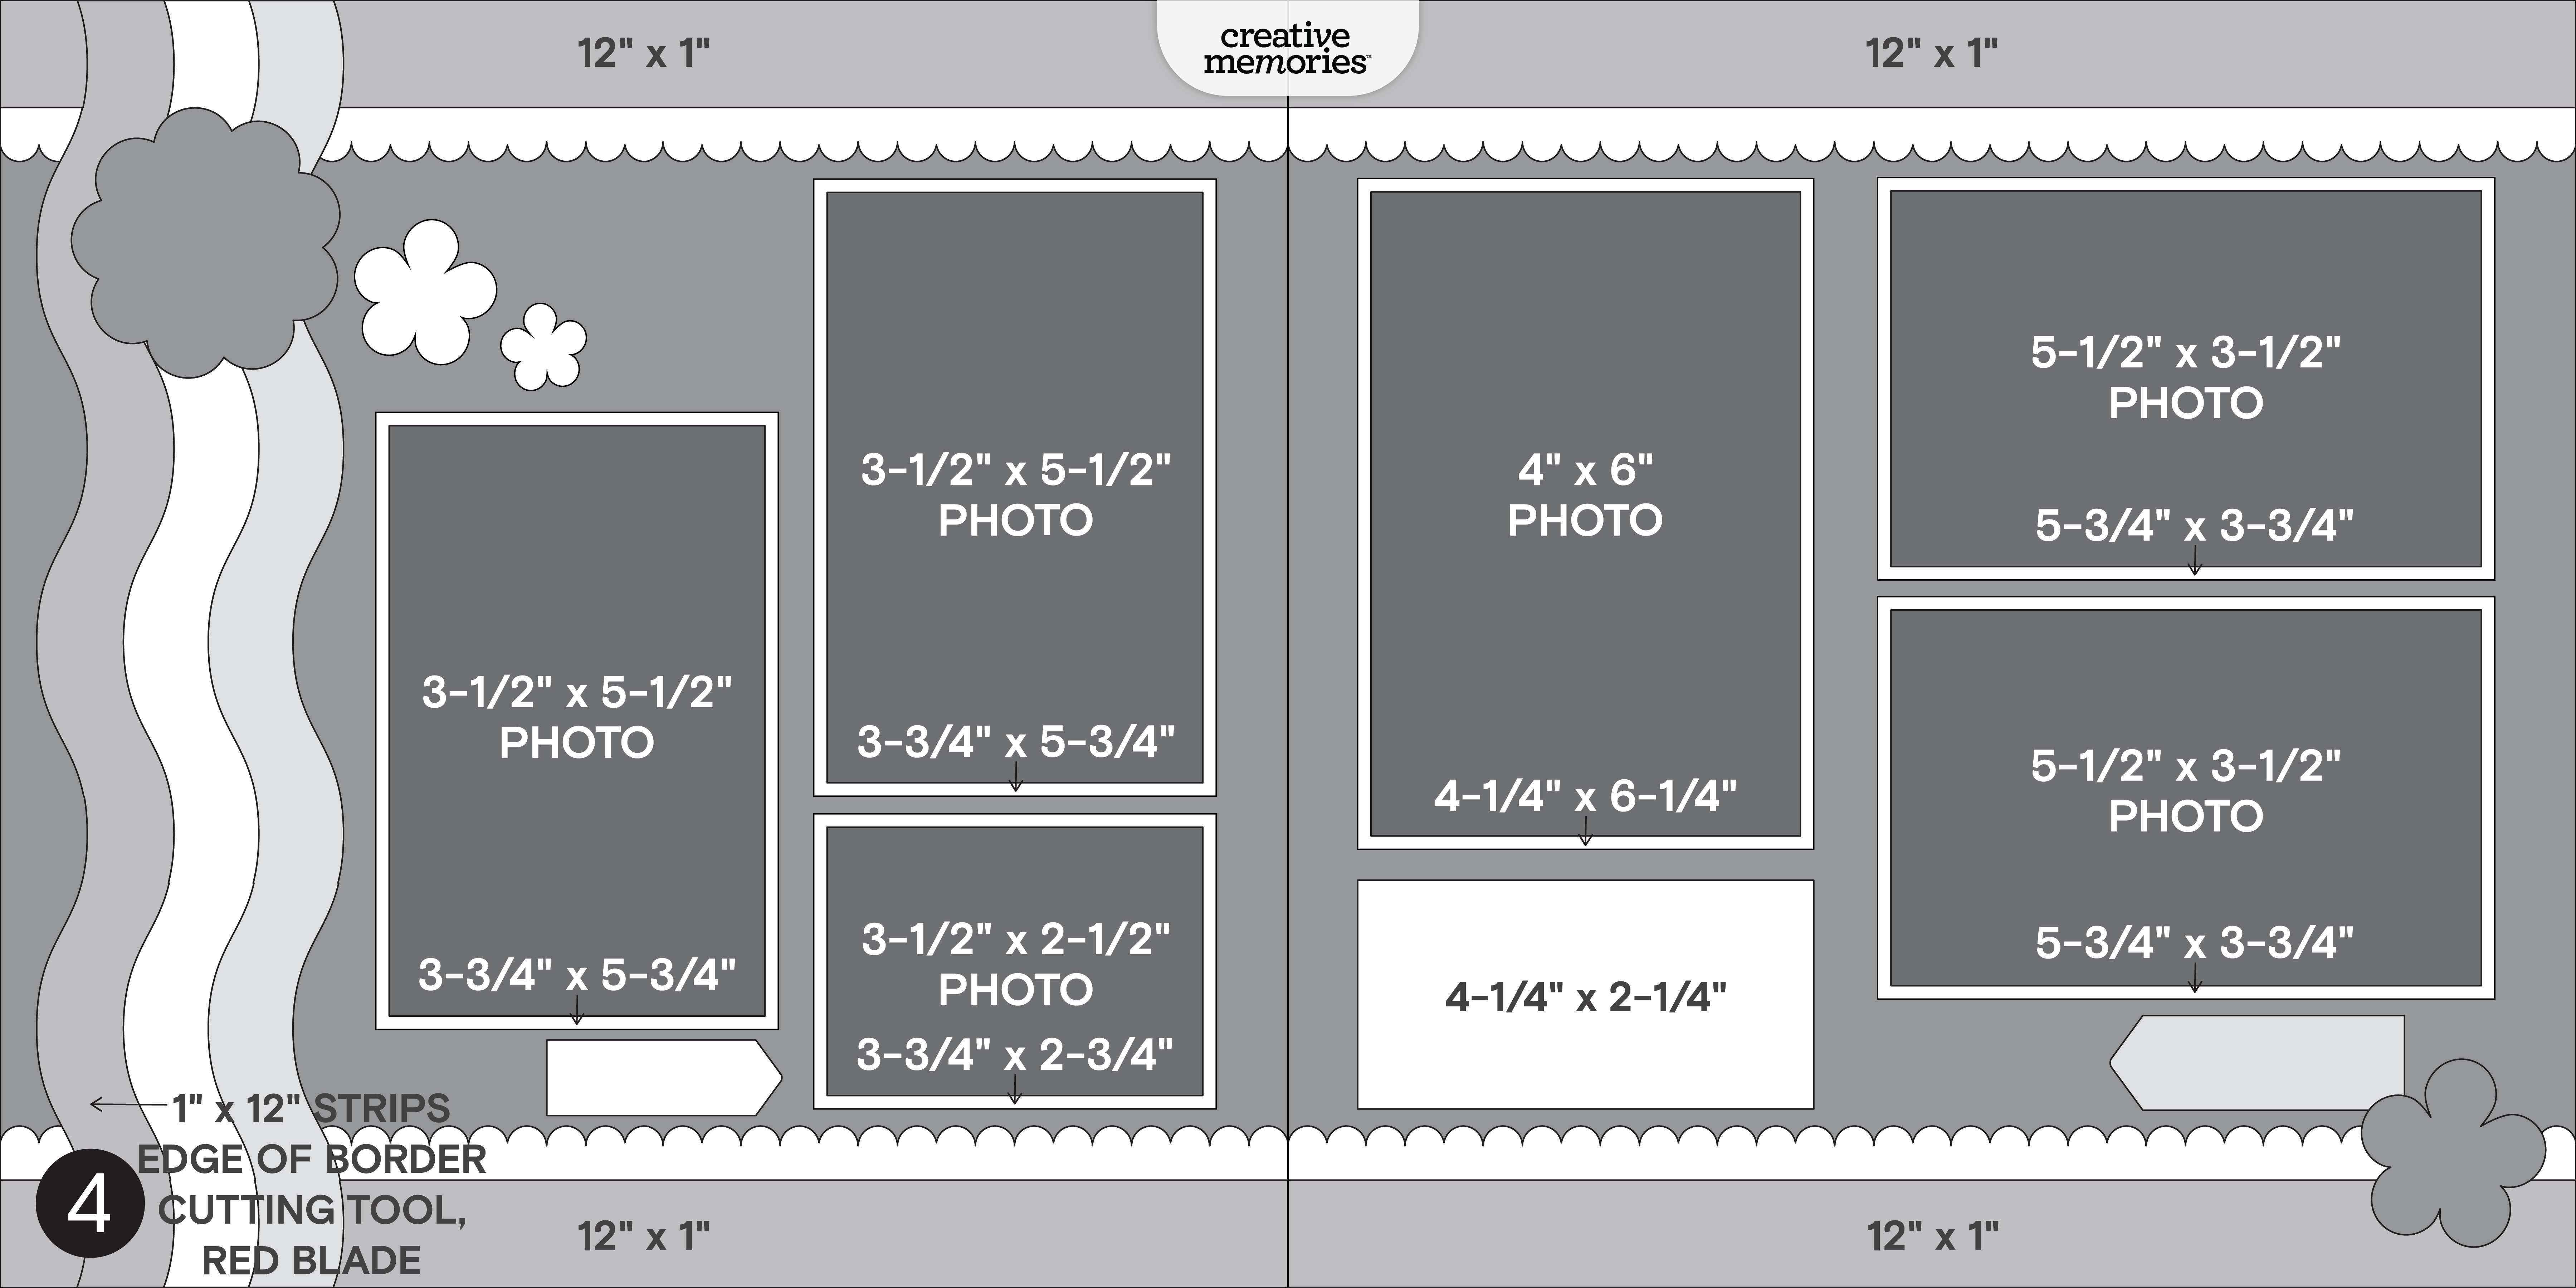
Here’s some inspiration…
Challenge #1
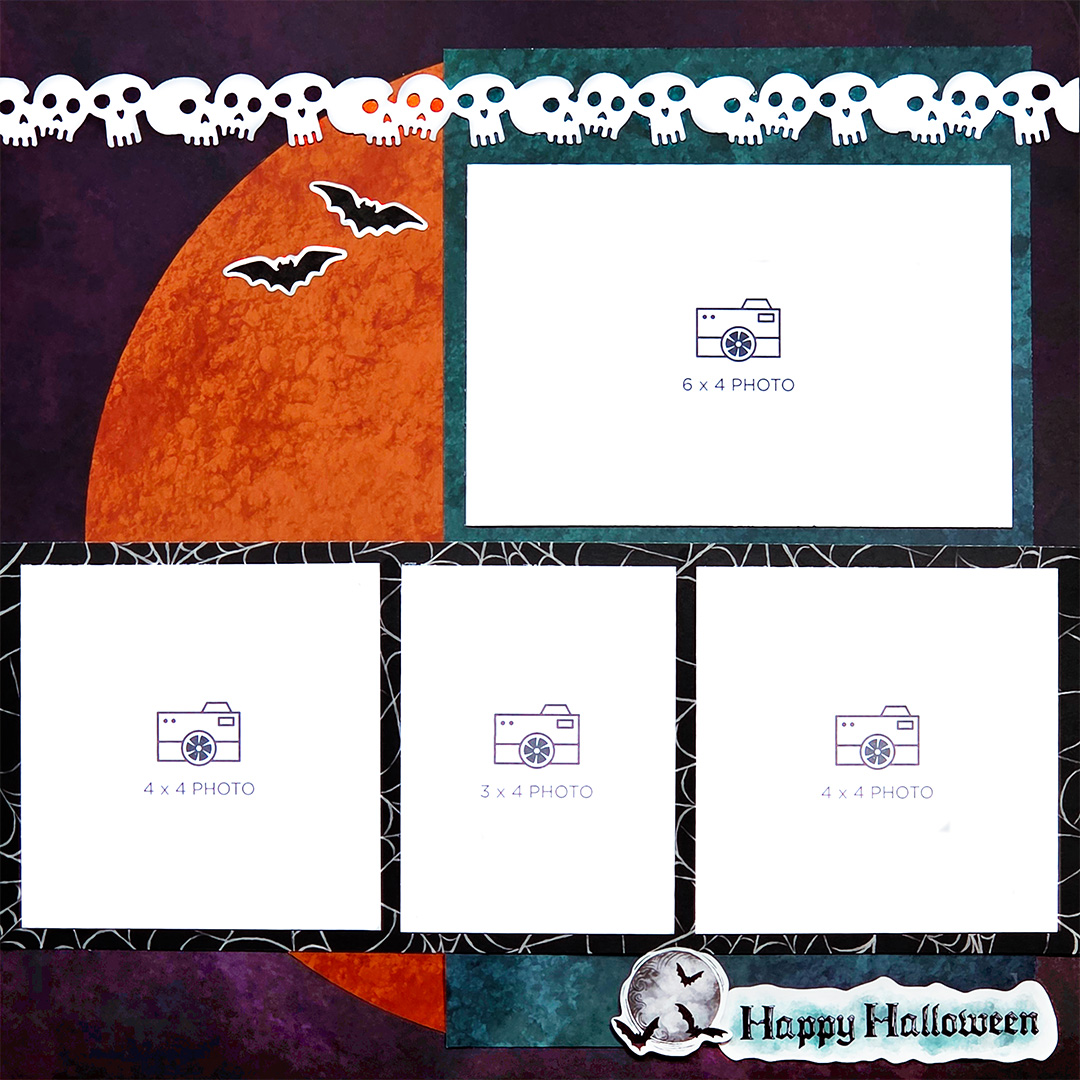
Collection Used: Midnight Magic
Donna’s Tip: “No photo mats required in this layout. The papers are cut to fit and frame your photos. To create the semi-circle, you can use either the Creative Memories Custom Cutting System with the Jumbo Circle Pattern and Red Blade, or you can use the Circle Cutter. Conserve paper by cutting just the part of the circle you need from the edge of the paper. It’s a good idea to start the cut in the middle of the paper and not the edge to avoid accidental tearing. This sketch gives you flexibility to adjust your photo sizes.”
Challenge #2
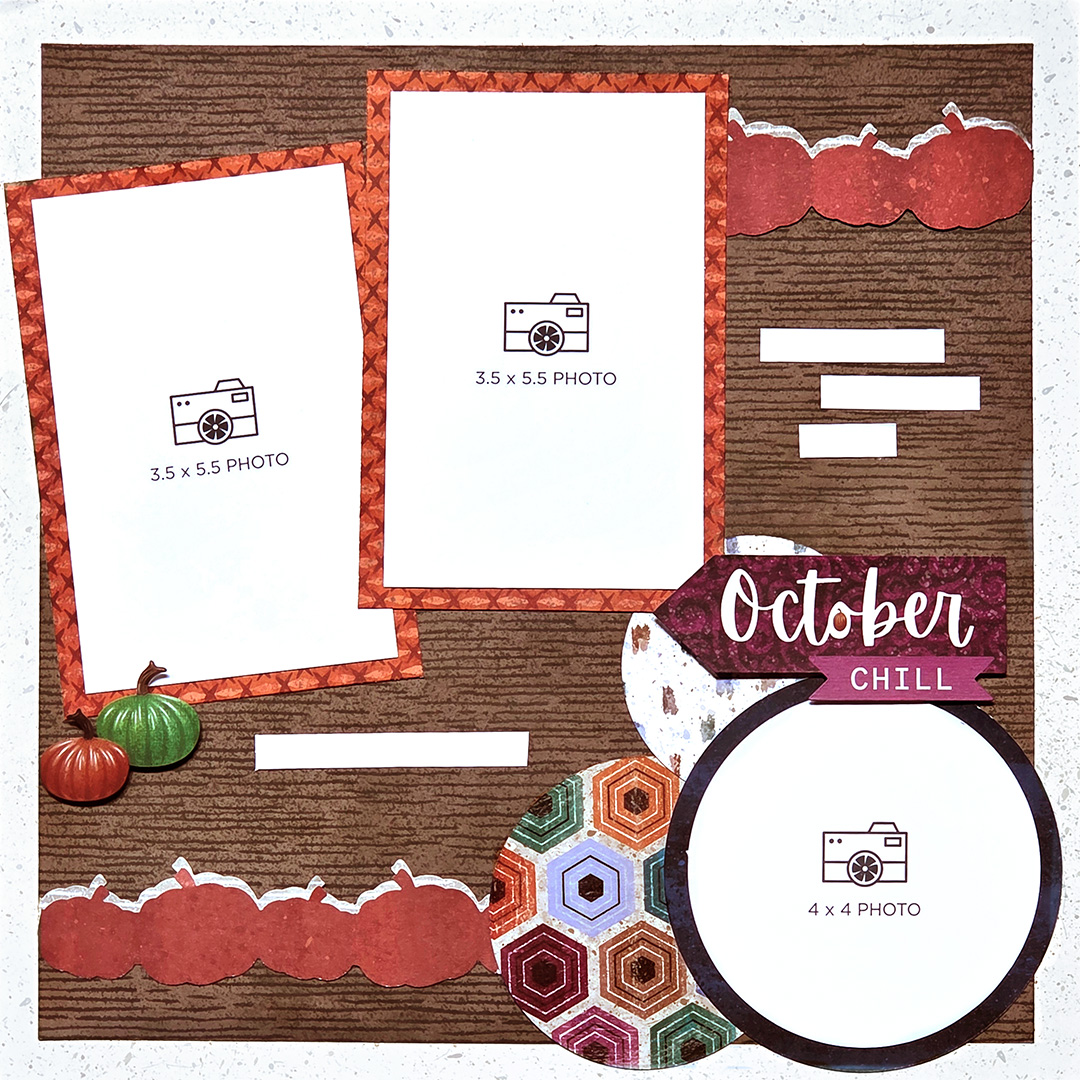
Collection Used: Your Own Way
Donna’s Tip: “To conserve paper, we cut a frame out of the base page and mount the top page onto the frame. Then we can use the leftover paper for photo mats. I like cutting a 1.25” frame to give enough room to easily apply your Tape Runner so it doesn’t show outside the 11×11 top page. To cut any size frame, it’s helpful to know your 12-Inch Trimmer well. The white line on the side of the cartridge housing notes the center of your blade. This is where the cutting starts and stops. And it is 1-inch from each edge of the cartridge housing.”
Challenge #3
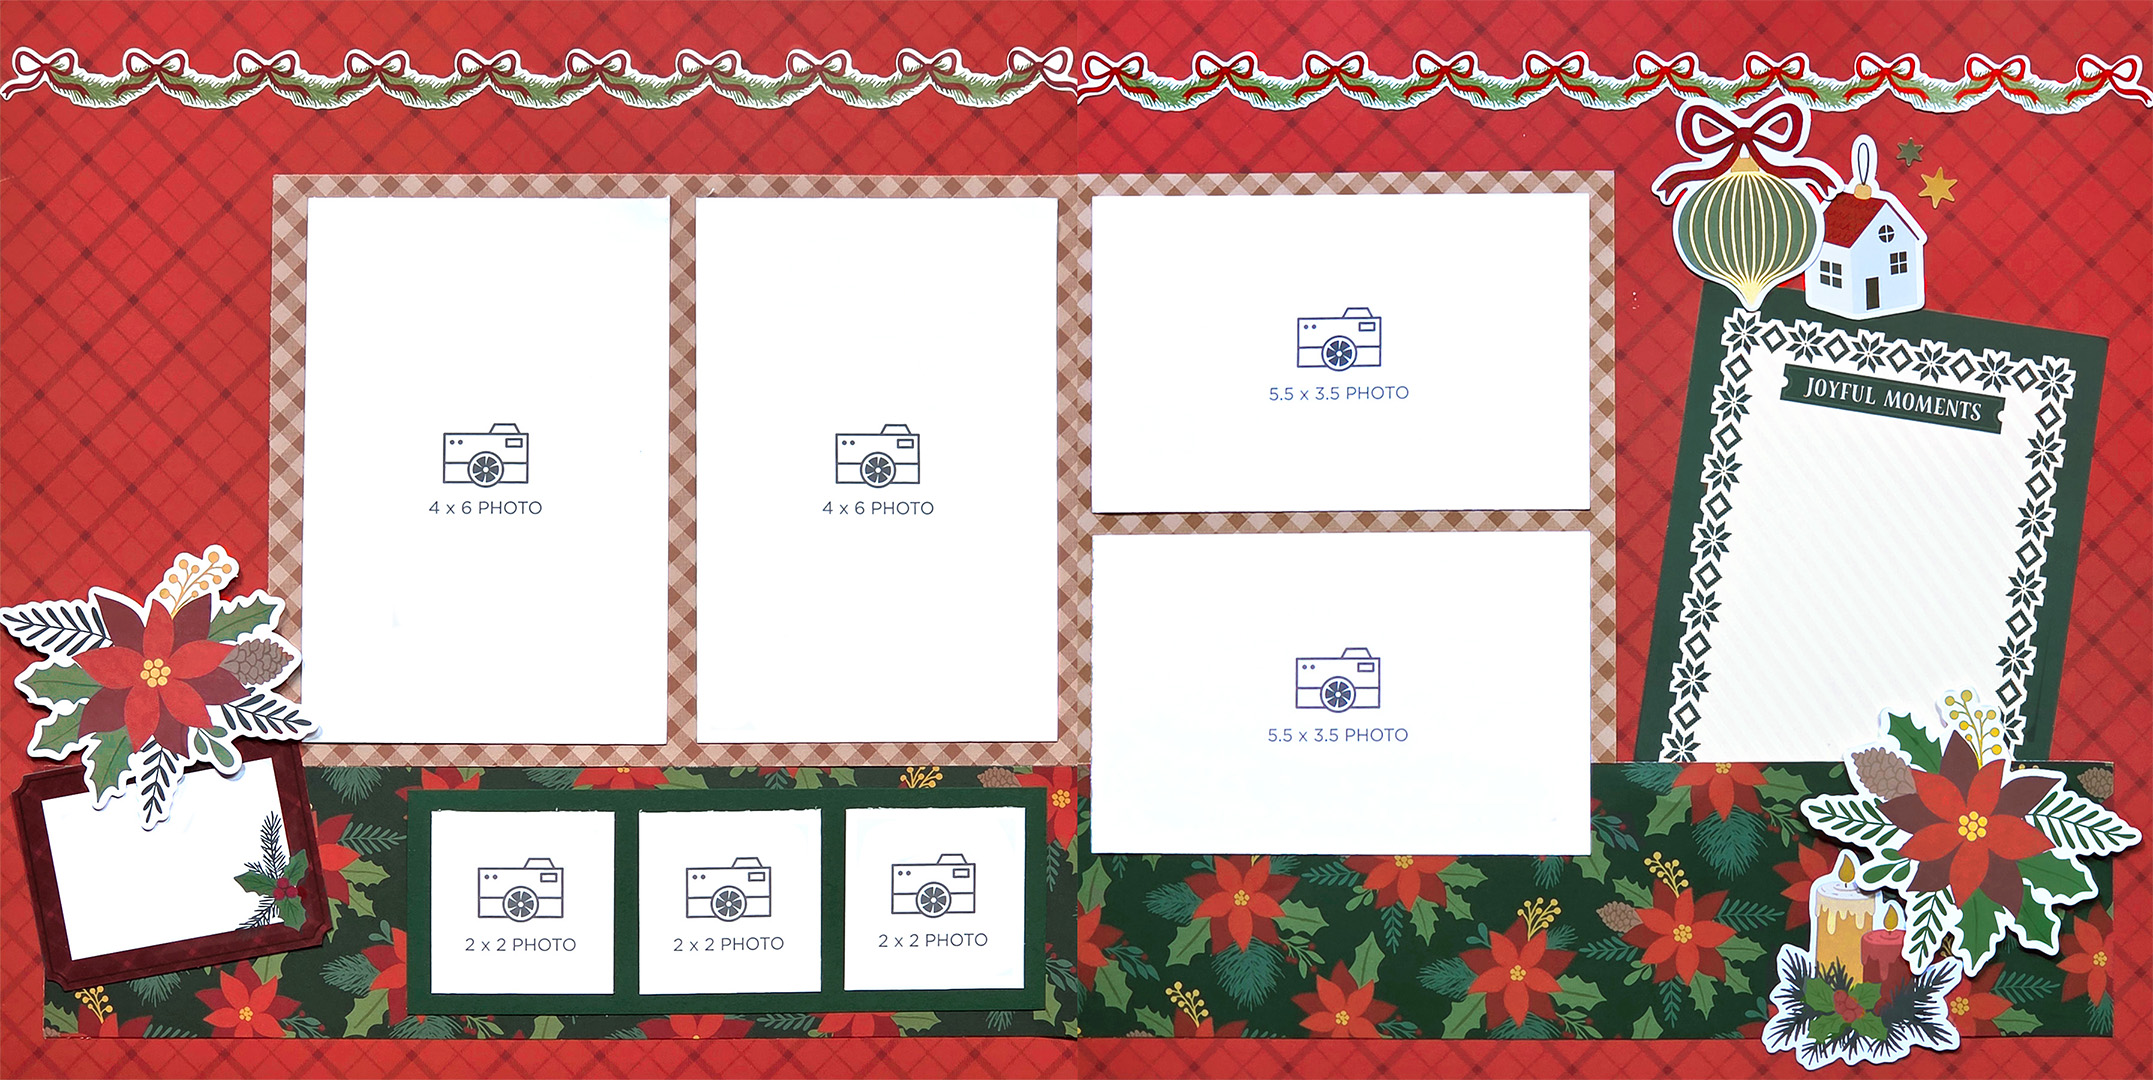
Collection Used: Timeless Tidings
Donna’s Tip: “This sketch has lots of flexibility with photo sizes. And this is a super easy layout to put together. It’s designed with built-in photo mats to frame your photos without matting them. If using paper that is directional, take care when cutting the pieces. The large pieces on both pages should be the same height, but are different widths. When attached the bottom right border, don’t put tape runner where the mat (or photo) will tuck behind it.”
Challenge #4
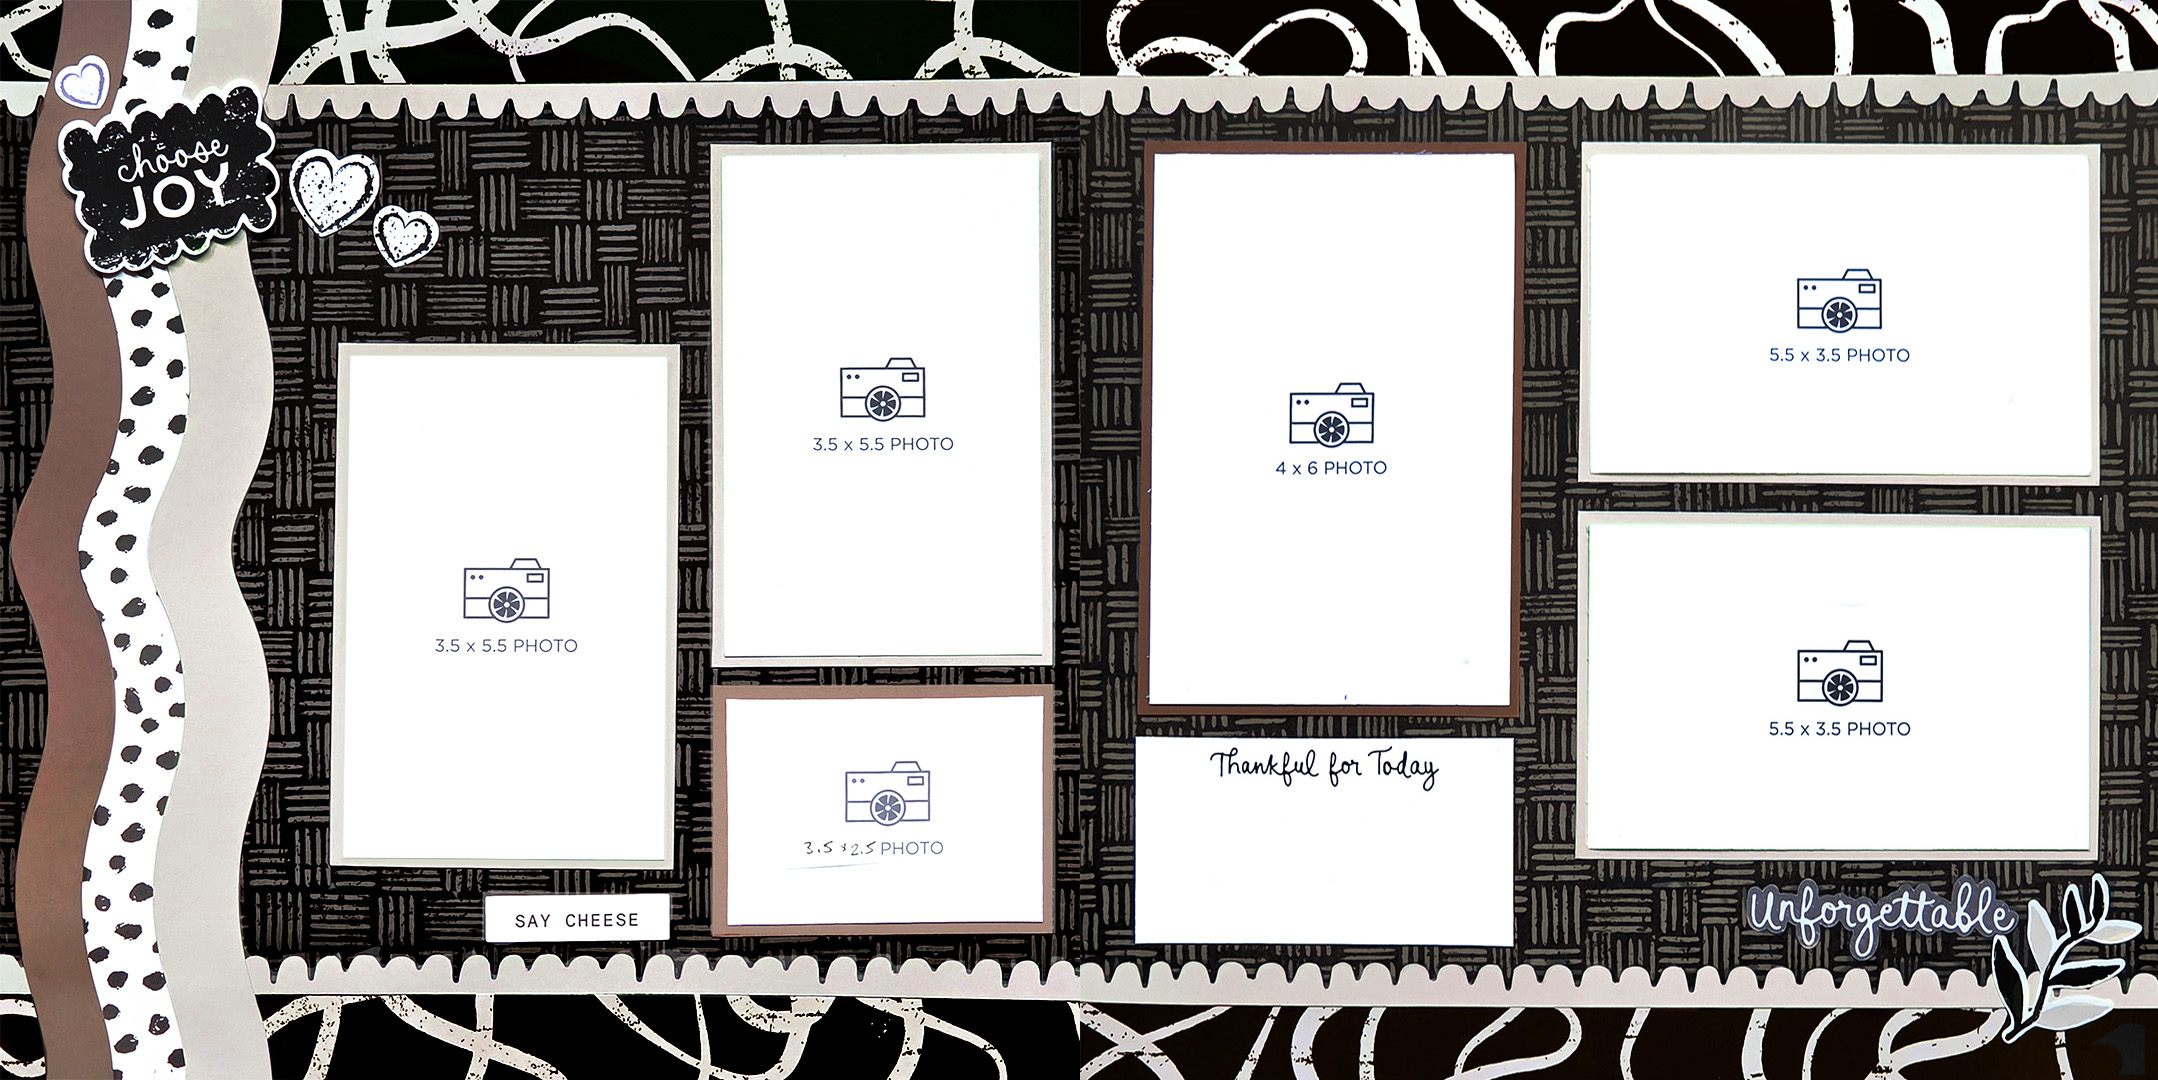
Collection Used: Blackout Brush
Donna’s Tip: “This sketch incorporates two tools and still leaves lots of room for photos.When using the Border Cutting Tools, pay attention to the direction of both your paper and the Border Cutting Tool. I used the 12-Inch Trimmer to slice the Ink Wave Chain borders in half. Because it’s a small piece, it doesn’t have a lot of coverage by the track to keep it steady. Hold your fingertip on top of the border while trimming slowly (moving your finger out of the way of course). This will keep it from slipping and keep the cut straight.
Pieces from the Mat Pack can be trimmed down to make a fast and easy journaling box. Just do the math to make sure you center the wording.”
Prizes
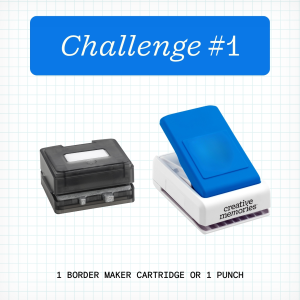
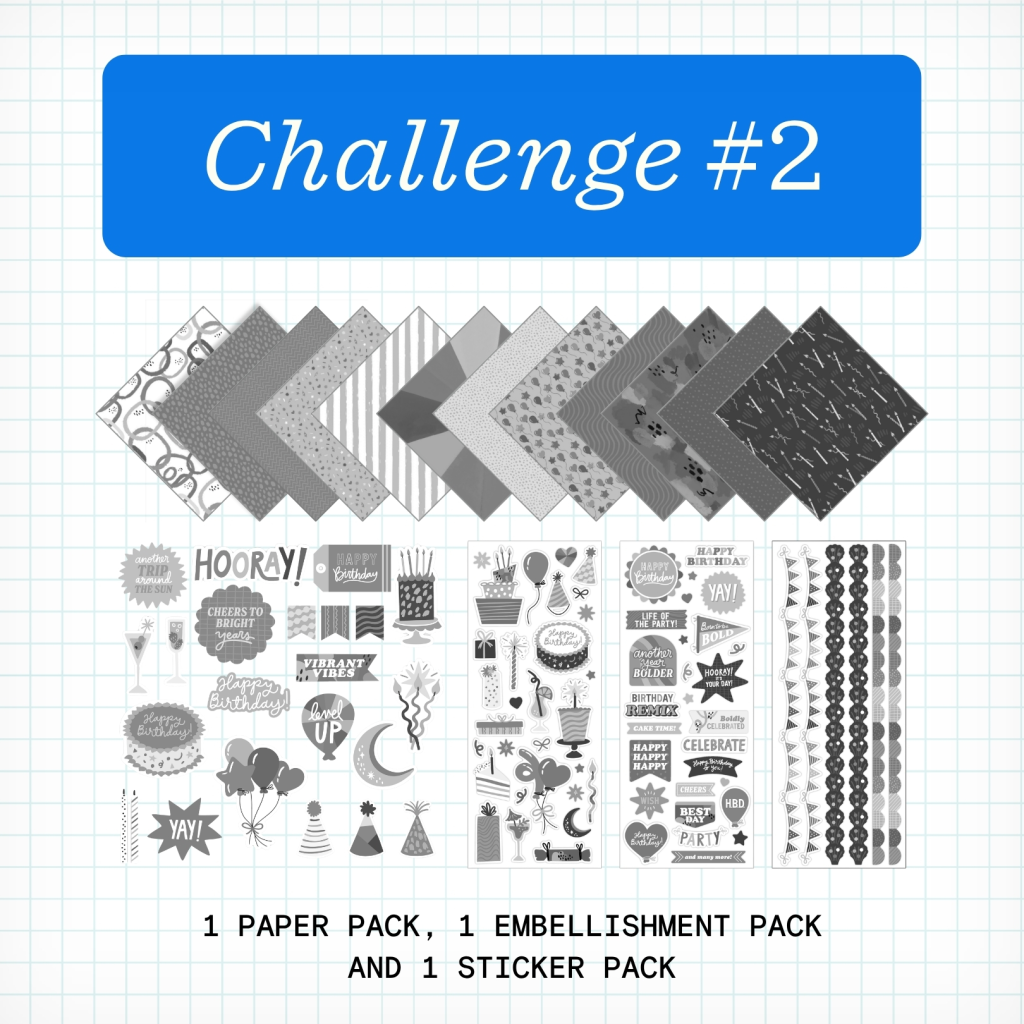
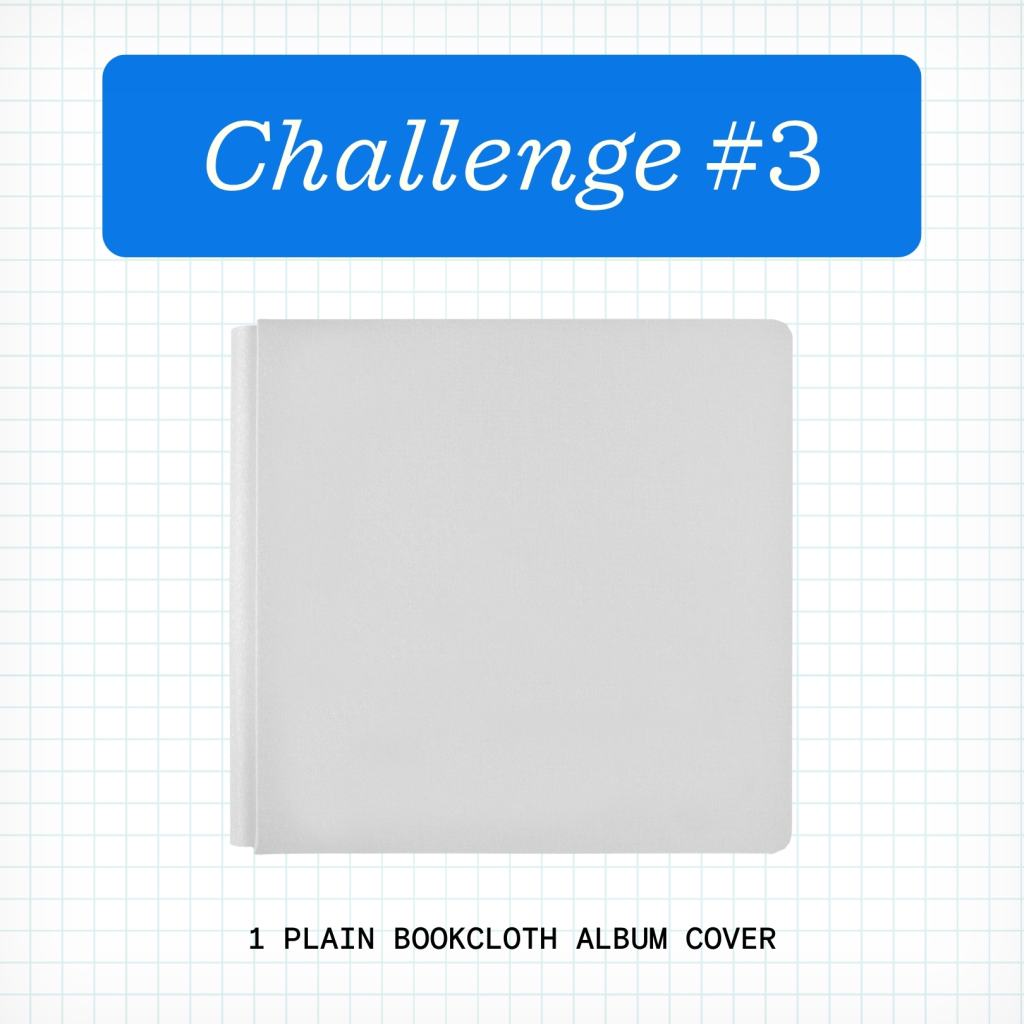
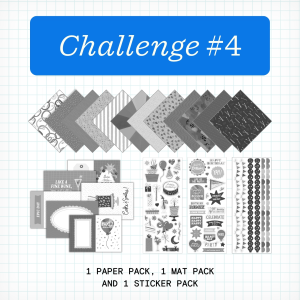
NOTE: The Prize Pack will be awarded to one (1) participant in each challenge. Valid only for products currently in stock (excludes products that are out of stock or expected to return).
We will award the prizes randomly, but to win, it must be obvious you used the sketch we provided as inspiration to create a project. You’re highly encouraged to use Creative Memories products, but it’s not a requirement to win. You have until Tuesday, October 13 at 11:59pm CT (AU: Wednesday, October 14 , at 2:59pm AET) to submit your layouts for a chance to win. Winners will be announced Thursday, October 15, at noon CT (AU: Friday, 16 October, at 3am AET).
Virtual Crop Tracker
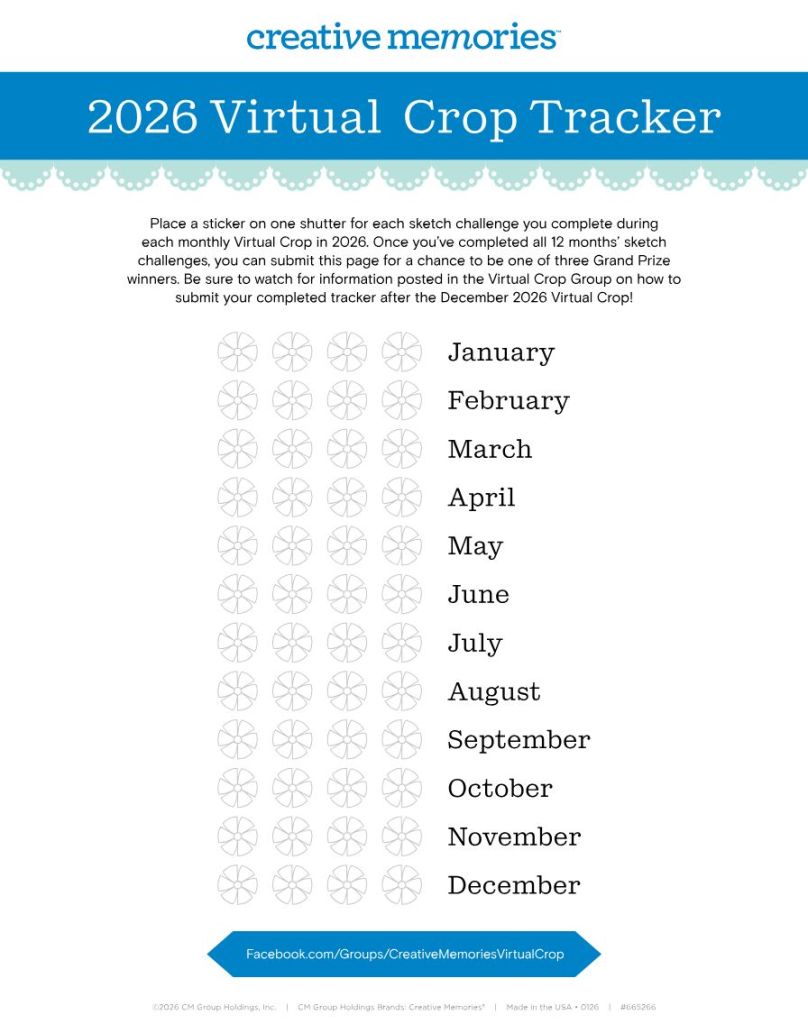
The 2026 Virtual Crop Tracker & Sticker Bundle is on sale now! You can also download the tracker yourself by clicking the image.
Color in or place a sticker on one shutter for each sketch challenge you complete during each monthly Virtual Crop in 2026. Once you’ve completed all 12 months’ sketch challenges (that’s 48 completed pages you’ll be adding to your albums), you can submit your tracker for a chance to be one of three grand prize winners! More information on how to submit will be shared in the Virtual Crop Group as we near the final sketch challenge.
P.S. Are YOU a member of the Virtual Crop Group? It’s your go-to place for MONTHLY Virtual Crops, MONTHLY Completed Album Challenges, QUARTERLY Secret Box Openings with project tutorials and so much more! We hope you’ll join our community of more than 53,000 fellow memory-keeping enthusiasts — you’ll feel right at home!
“Creativity is intelligence having fun.” – Albert Einstein

Great tips! Just an addition to the tips in example #4: When trying to trim a thin piece, a little bit of repositionable tape helps a lot. It keeps the piece in place while cutting, and then can just be rubbed off (the paper and the trimmer) when done. For the part about using mats as journaling boxes, the tip about doing the math to center the words – no need to do math when using CM’s Zero Centering Ruler! Just hold the ruler on the mat to see the same number on both sides of the mat. You will be able to see exactly where the center is!